
How To Season A Cast Iron Skillet
As an Amazon Associate I earn from qualifying purchases.
Today I am thrilled to bring you a guest blogger who will be speaking on a topic we all need to know about – how to season a cast iron skillet the right way. As a Mechanical Design Engineer, Richard Hall may seem an unlikely choice for a food blogger, but his heritage, common-sense know-how, and generosity in sharing his knowledge with us make him the perfect choice for a topic of the utmost importance to any Southern cook! Thank you, Rich!
Hey all,
Since Southern Plate has all these great Southern recipes, I thought it might be useful to share how to season a cast iron skillet or other types of cast iron cookware. You may ask, what is seasoning and why do I need to season my cast iron skillet? The answer is very simple. Seasoning makes it non-stick like all the new miracle cookware. And the why is you can buy and maintain a non-stick skillet with nothing more than vegetable oil and shortening and common sense and it will never wear out. The cast iron skillet can be used to cook on the stovetop, the oven, or the grill. A good iron skillet can be passed down as an heirloom if taken care of properly.
What You Need to Season a Cast Iron Skillet
It is very simple to do albeit a little messy. What you will need is:
- The cast iron skillet
- A box of vegetable shortening, which can be purchased in your favorite supermarket for less than $2.
- A roll of heavy paper towels
- Your oven
Just a quick note, the seasoning of a new skillet and the re-seasoning of an are the same except for the first step. So let’s get started.
How to Season a Cast Iron Skillet
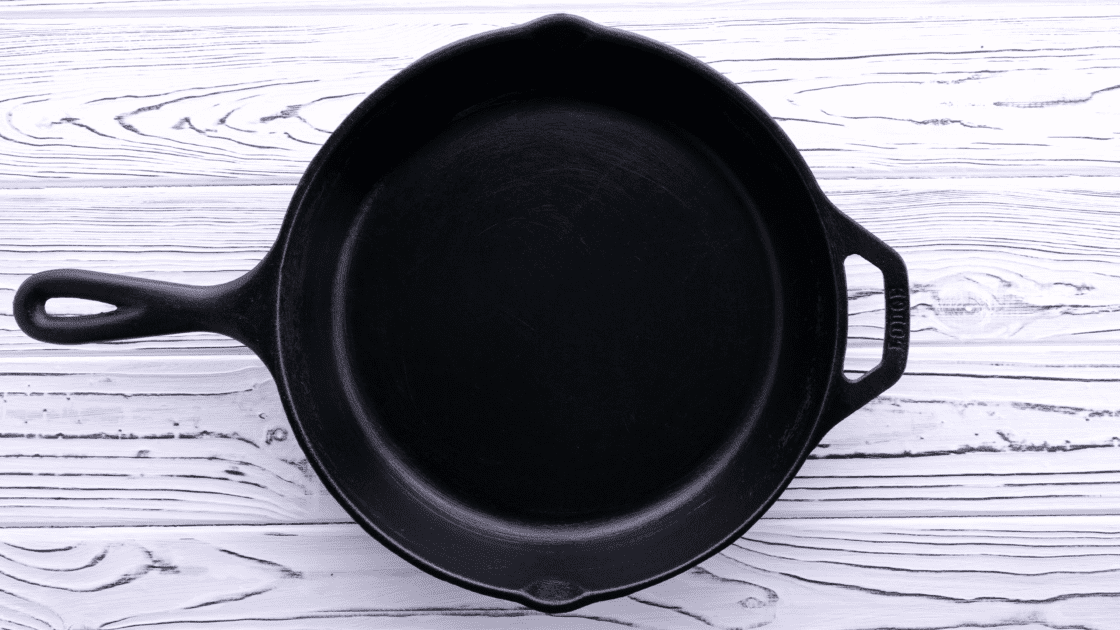
Wash new skillets before seasoning
Make sure your new has been washed in hot water and mild dish soap. This will remove the factory anti-rust coating. For re-seasoning an existing skillet, just make sure to wipe the entire surface with hot water and a clean washcloth or a paper towel (sponges need not apply). Dry the skillet by heating it on the cooktop then let it rest and cool. Preheat your oven to 200 degrees.
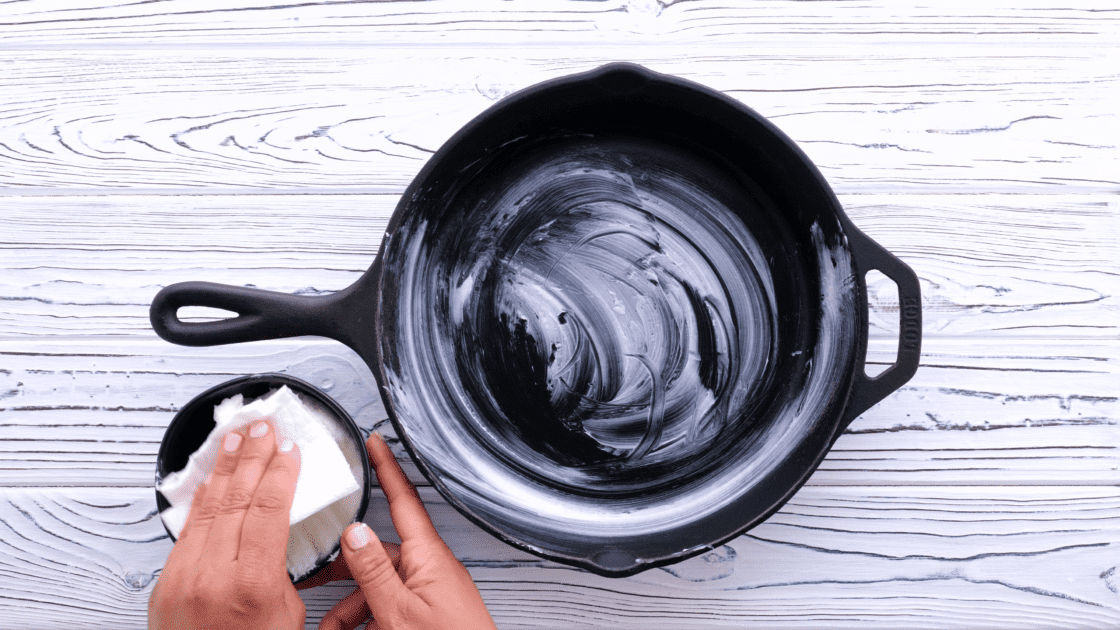
Season with vegetable shortening or oil
Fold the paper towel into a fourth and place a dollop of vegetable shortening in the skillet. The size is not important, but for a 10” skillet, use about 1/4 of a cup. More can be added as required to cover.
Instead of lard or vegetable shortening, use any kind of vegetable oil. I recommend refined coconut oil as it has a higher smoke point.
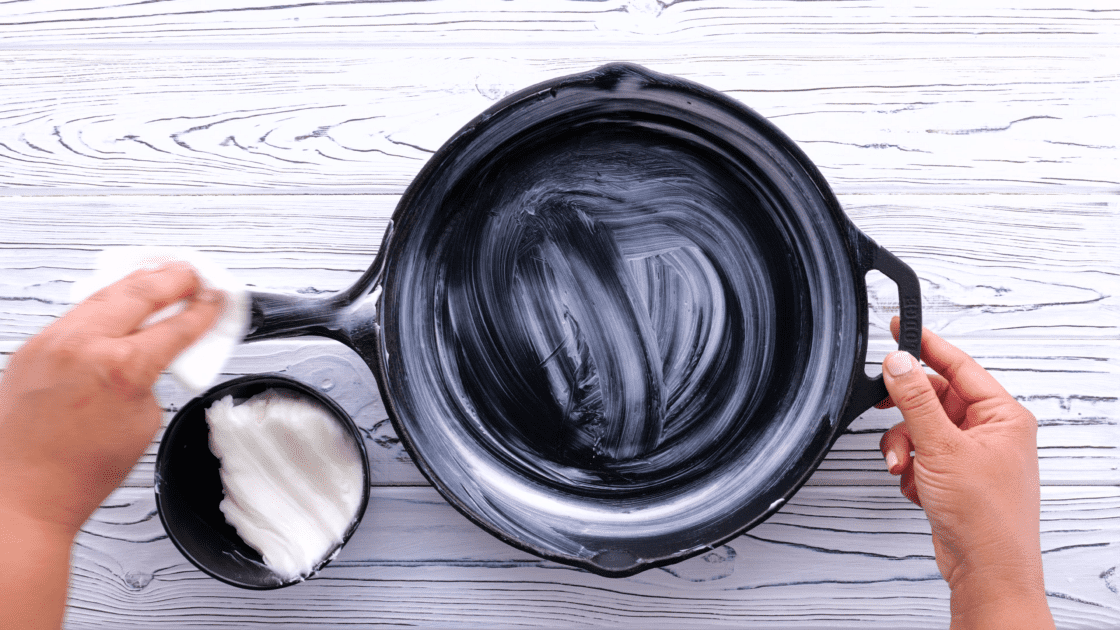
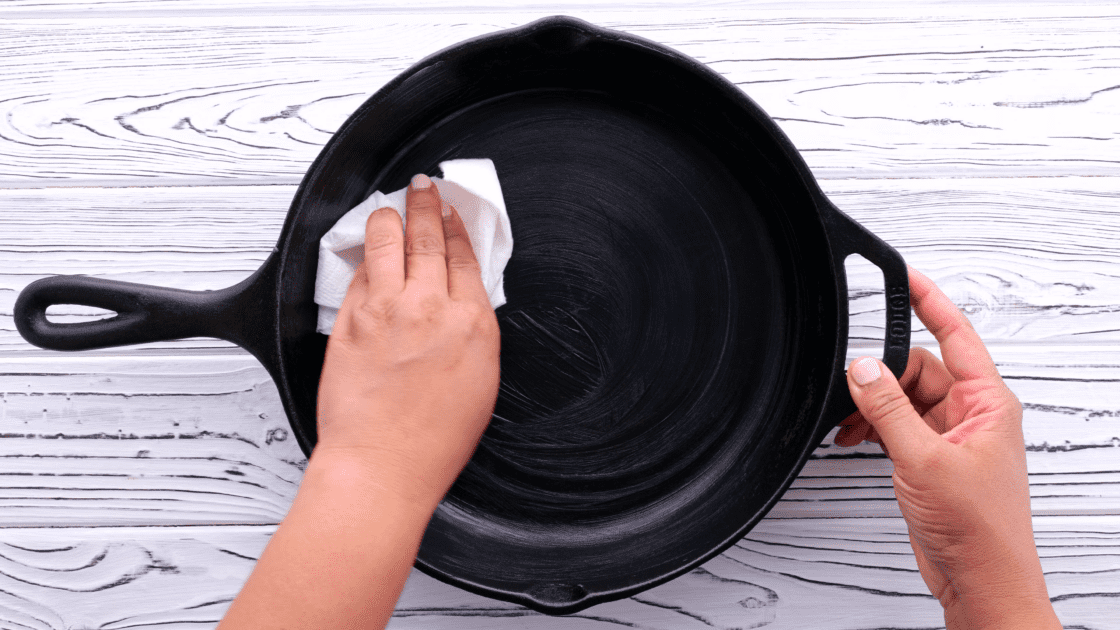
Take the paper towel and coat the interior, the exterior down to the bottom edge, and the handle liberally.
I don’t coat the very bottom of the skillet, as any cooking surface that it touches will make smoke and just burn off the shortening or oil.
Place the skillet in the oven
Once you have the skillet coated, place it in the oven (at 200 degrees) and set a timer for 3 hours. This low temp will open the cast iron pores up and allow the vegetable shortening to penetrate as it liquefies.

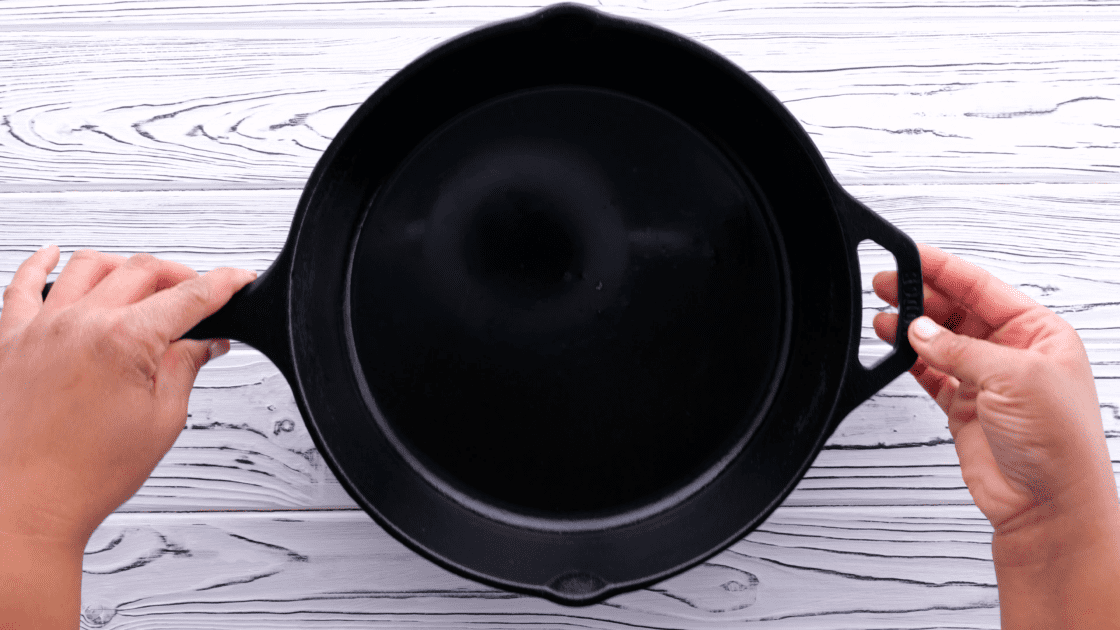
Remove from the oven
After the time is up, cut off the oven and let the skillet cool. Once it is cool enough to touch, wipe it down with another paper towel to remove any or vegetable shortening and just leave a on the surfaces.
In another hour or so, wipe it down again.
After this final wipe, the skillet will continue to cool and in about an hour will look like the last picture.
Using Your Cast Iron Skillet
Now you are ready to use the skillet. For the first couple of uses, cook something greasy like bacon or sausage. This will help heat cycle and re-coat the interior surface which will make the non-stick coating better. Also, be aware that it is going to smoke for the first couple of uses as it heat cycles and burns off the water trapped in the pores and the excess vegetable shortening.
To maintain the skillet you will need to wipe the interior every couple of months with bacon grease during a heat cycle or cook something greasy and re-season about every 2 years following the process above.
Also, don’t let food sit in the skillet as this will remove the seasoning.
After each use, wash the skillet out using a very mild soap solution and warm water. NEVER wash in the dishwasher. The reason for using mild soap solution is to keep from removing the seasoning layer.
One other note that I personally do is the drying step after a wash. I will turn the cooktop on to high heat and place the wet skillet on it for about a minute. This will heat the skillet up enough to dry the water and heat cycle the pores. This keeps everything as it should be.
—
If you choose, you can render your own lard from bacon drippings. If you own a microwave bacon-cooking tray it is very easy. Just cook some bacon and let the drippings cool either in the tray or pour them into a bowl or shallow dish while still hot. Once it has cooled and congealed, you can use it just like the vegetable shortening as described above. This is perfect for the occasional re-seasoning of your skillet.
I hope this has been helpful and if you have any questions just direct them to Southernplate.com and I’m sure Christy can find me to get the answers.
See you ’round,
Rich
Before you go, check out these great cast iron recipes:
Southern Cubed Steak and Milk Gravy
Skillet Carrot Cake from Southern Cast Iron


I have a couple of cast iron skillets. One from my mother-in-law, and one we picked up at an antique type show. My husband took them outside and cleaned them for me. One had alot of build-up on it, the other had rust. I’ve been working on them ALL DAY. They still are not turning black, they are a pretty brown. What do I need to do to get them black??
Use them. Mine were brown after we renewed them as well. The more I’ve used them and then washed with warm water and a scrub brush, then dry on a burner on medium, then wipe with butter and a papertowel. The blacker they’ve become 🙂 happy trails!
Great tips!
Jeff J,
You need to bring the pan to a high heat BEFORE adding anything cold or it will stick like crazy. So if you are cooking something that has been in the fridge, set it to high when you first place it in the pan and then slowly turn down to cook as the food warms up. The moisture from the cold food makes it stick. I personally like to bring food to room temp, but still heat the pan on high and then turn down when I add room temp food.
I have an old iron skillet that was given to me. It was bought at a yard sale by a friend. The inside bottom and sides of the pain are caked with the whatever previous owner fried. If this was from my family I wouldn’t worry so much. I would like to clean it to make it as smooth as possible. Then re-season and start enjoying it. What is the best way to clean it. I have tried a few things and it is really baked on. Please help!
I put my cast iron skillets in my Grill, upside down, on high for about 3 hours, (mine were really caked). I then brushed the rust gunk and rust off, washed with warm soapy water ( I know, I know every one says no soap, but….) then I lathered up with lard, that I purchased at Wal Mart, placed them in my oven, again upside down, ( I placed tin foil under them to catch any dripping) on about 250 for an about 2 to 3 hours. They are a great! I can bake cornbread in them both with sticking.
Thanks for sharing your tips Lynn!
I just purchased my very 1st cast iron skillet. A exterior surface. ll the skillets are NOT smooth like I thought they would be it has a rough Interior & exterior surface. It is OK or should the interior be smooth?
I just purchased my first cast iron skillet too and it also has a rough exterior surface. I have completed one round of seasoning and its a little less rough however. Although, the article says, once is enough, I’m going to give it a second round so seasoning tonite. In the meantime, anyone with great wisdom the Marla or me, please chime in!
The new skillets that are still manufactured (Lodge) are of lower manufacturing quality and do not have the smooth machined surface that the old cast iron does. No blows against Lodge, people are less willing to invest in quality equipment these days so they are most likely just playing the market. I own a lodge pan as well as a few old Wagner and Griswold pieces. I find the old pieces much smoother and easier to build a glassy surface but the Lodge will do just fine with proper care.
My husband has had a cast iron skillet for 10+ years & due to his incessive nagging, I finally seasoned it per your instructions. Let me tell you, I can honestly see why he had been nagging me for so long because I have fallen in LOVE with this skillet! My question is, after I cook with it & run it under water & rinse it out, I put it on the stove & “burn” off the water then put a little grease or oil back in and coat until I cook again. I’ve noticed when I wipe the oil on the skillet, a black residue is on the paper towels. Do I need to just scrub with some coarse salt & oil or is this a sign of it needing to be reseason end again? Thanks!
If your happen to be an irrational germophobe then yes. Otherwise, its just left over goodies that have built up over time. Probably mostly carbon? I’m not a scientist of any sorts but definitely a nerd. Anyway, just remember how hot the pan gets when you cook on it, not much can survive that environment.
What if it is an old mistreated cast iron skillet with rust? Where do I start?
Vanna,
I need to know the answer to that same question! My grandmom passed away a couple years ago and I just got one of her cast iron skillets, but it’s rusty. I just KNOW I can make it cook-worthy again, but I’m not sure the best way to go about it!
Tina
Ladies, the best way to go about making that skillet breathe again is to do the campfire method. Make a fire, and when it has a thick bed of coals under it, take that beloved old girl and push it into the coals. filling the pan sections while it goes. Leave it. Allowing it to lay in there and the fire will remove all the rust and old build up. When the fire is out and cool the next day, remove your pan. Wash it with soap and warm water and heat it on the stove to be sure all the water is evaporated from it’s pours. Seasoning wit Lard gives a nice smooth finish unlike vegetable oils, (I don’t leave any excess that will pool, however it seems that if you use animal fat (lard, butter, bacon grease) that it wont make your pan tacky or sticky if there is too much.) Bake upside down (witha cookie sheet below it) at 200 degrees for an hour, shut the oven off and (after checking that there isn’t an excessive amount of grease still on it) allow it to cool completely.
Between cooking times I clean my pan with a wire scrubber and hot water, and put it on a hot stove burner to dry. Once dry I use about a half a tablespoon of butter and a paper towel wipe the butter all around inside the pan.