
Mini Red Velvet Cakes
As an Amazon Associate I earn from qualifying purchases.
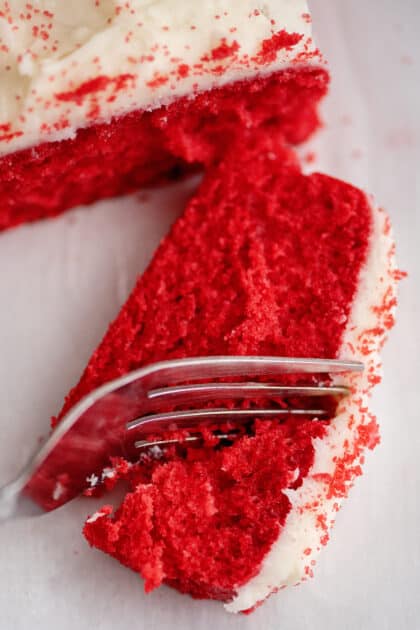
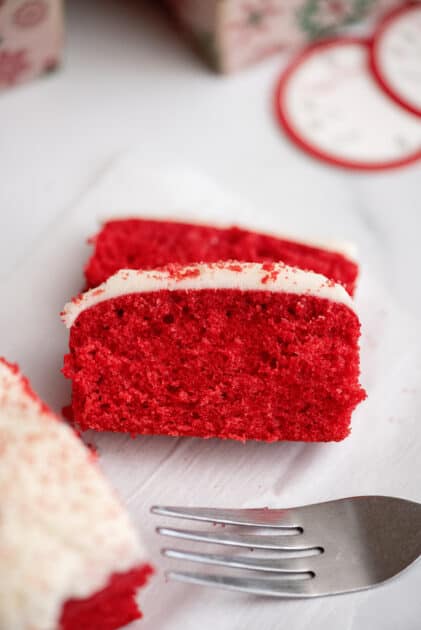
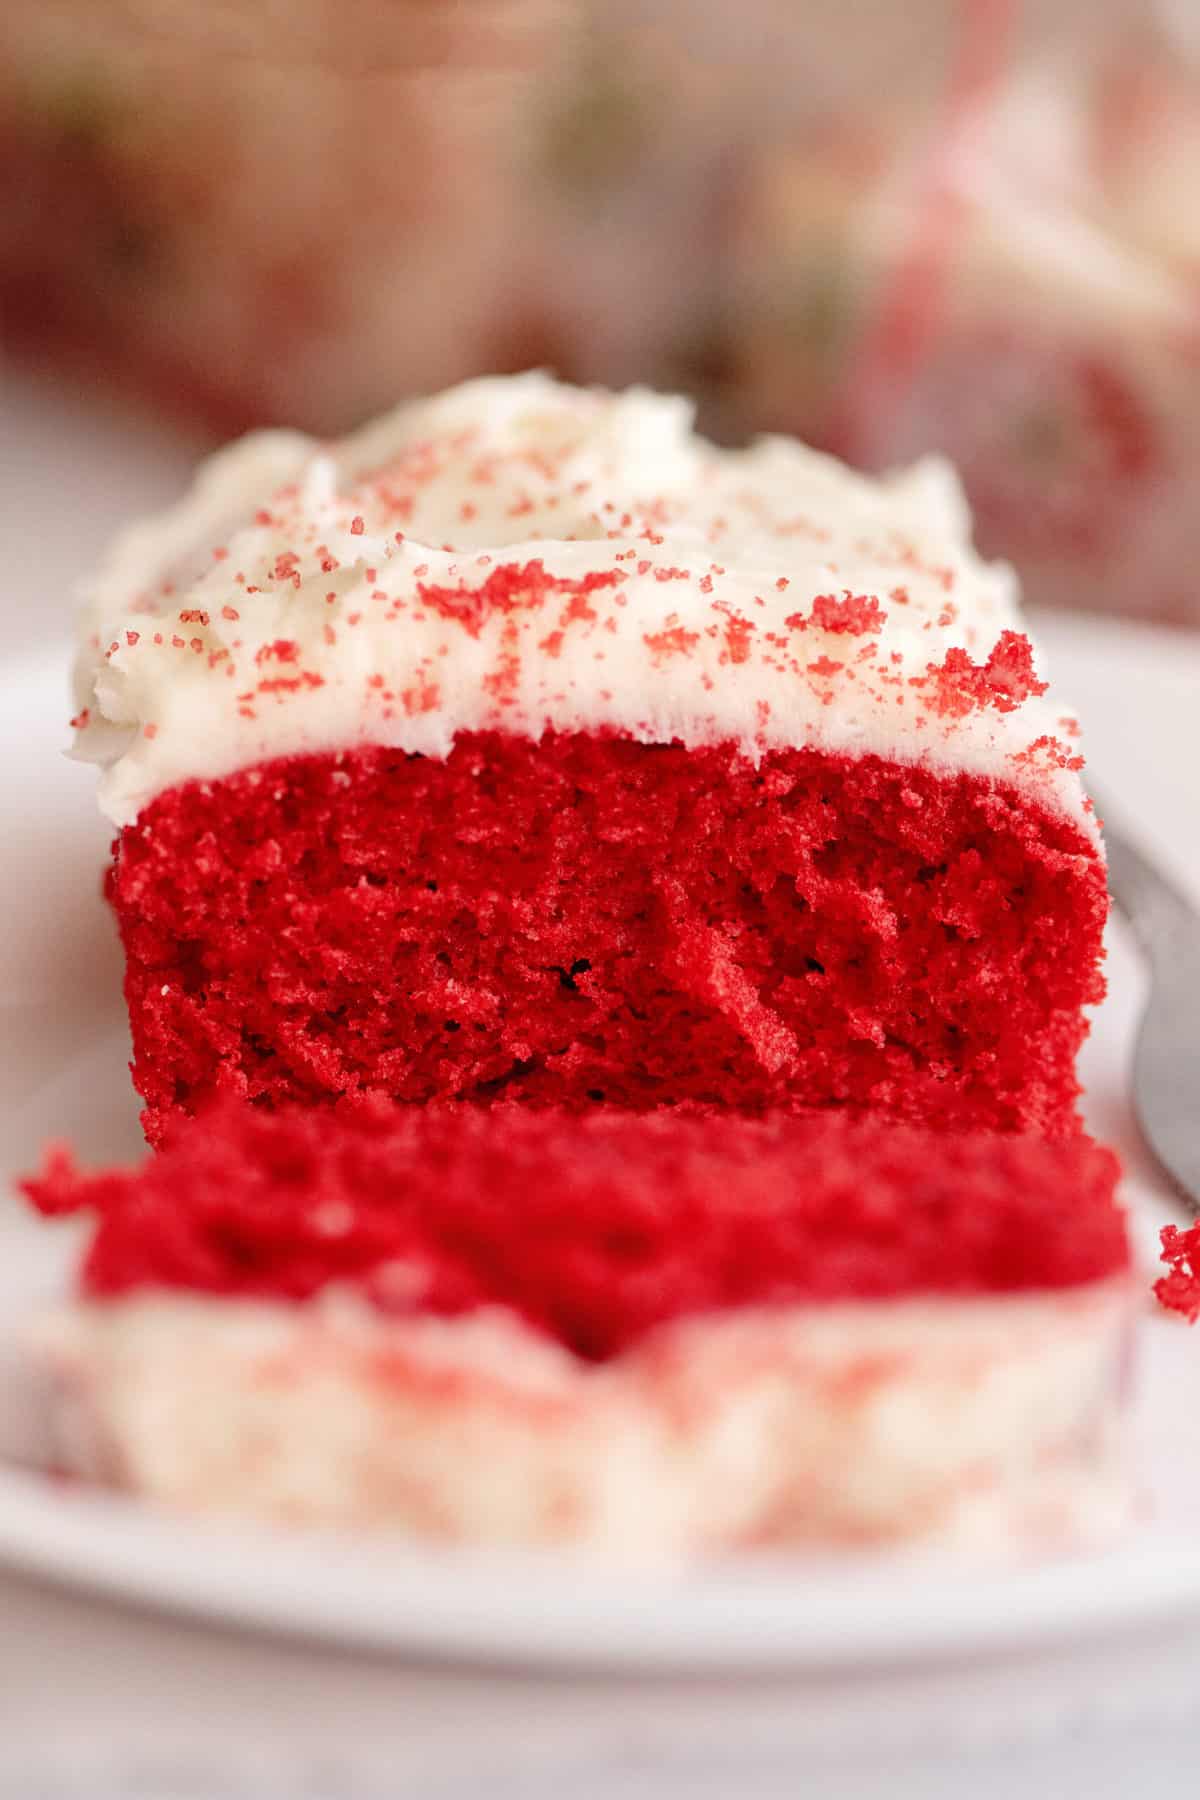
Soft, moist, and flavorful, these fun mini red velvet cakes are made from my homemade and from scratch red velvet cake recipe. With delicious cream cheese icing, they make the perfect dessert or gifts for friends and family.
My childhood was filled with wonderful food each and every day, but even with all of that, Christmas baking made the days extra special. I remember vividly the treats we always had, the family recipes: standard candies, special cookies, etc. I make them all for my family now.
My hope was that my children would have the same wonderful memories and I knew I had done that when they started asking me to make special things for them to take to their friends. Sometimes, especially in the case of my precious son, this makes for a busy day of baking for me, but no matter how busy it gets and how much work his generosity entails for me, I really do love every second of it. This is why I made a big batch of mini red velvet cakes this past weekend.
Of course, even though I used our from-scratch red velvet cake recipe, I did employ a few shortcuts that saved me a good bit of trouble and time. So today I’m going to share that with you just in case you find yourself needing to make a few dozen mini red velvet cakes sometime before Christmas as well!
Because as mothers, we all know that could totally happen…
There’s a lot to love about this mini red velvet cakes recipe. But let me just say they’re quick and easy to make and taste unbelievably soft and moist. You’re going to want to keep a batch for yourself after you give them a try, believe me! I mean, who can resist the irresistibly sweet combination of chocolate and red food color with cream cheese frosting? Not me!
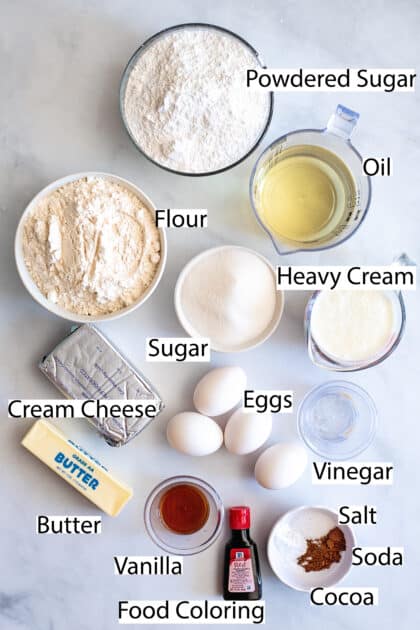
Recipe Ingredients
- All-purpose flour
- Unsweetened cocoa powder
- Baking soda
- Salt
- Granulated sugar
- Buttermilk
- Vegetable Oil
- Eggs
- Vinegar
- Vanilla extract
- Red food coloring
- Crisco® for spraying loaf pans (I pick it up at Publix)
Cream Cheese Frosting
- Cream cheese (check out our easy-peasy homemade cream cheese recipe)
- Butter
- Vanilla extract
- Confectioner’s sugar
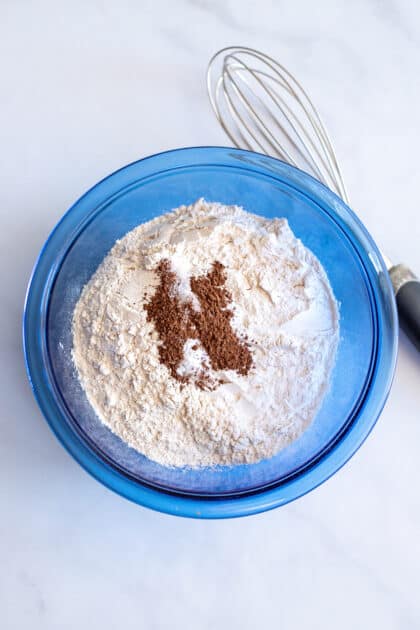
In a medium bowl, stir together the flour, cocoa powder, baking soda, and salt.
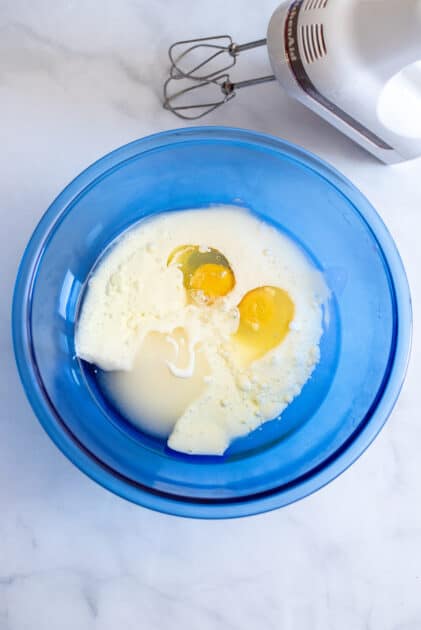
In a separate large bowl, mix together the sugar, buttermilk, oil, eggs, and vinegar.
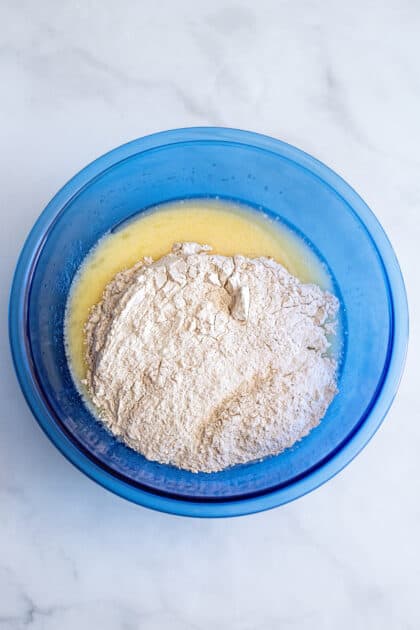
Add the dry ingredients to the wet ingredients and beat this on medium speed until well blended.
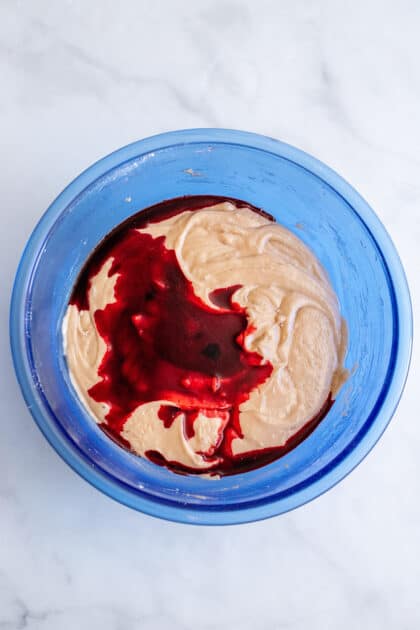
Add the vanilla and the entire bottle of red food coloring to the cake batter and mix again on low speed until well blended and uniform in color.
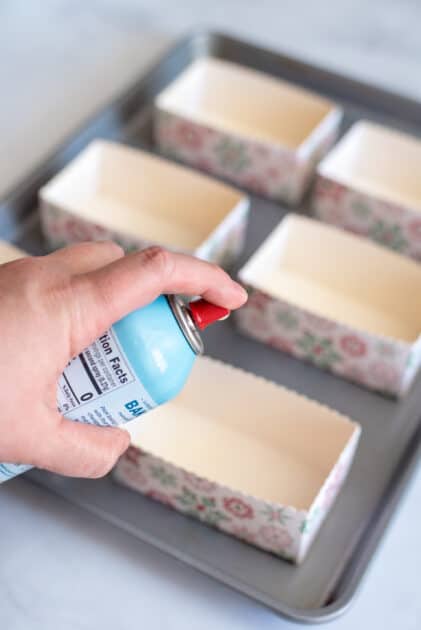
Spray the mini loaf pans with Crisco® cooking spray. I’m using loaf pans from Amazon, which are 4.5-in x 2-in x 2.5-in. Using these tins and this recipe, you should make 14 mini red velvet cakes.
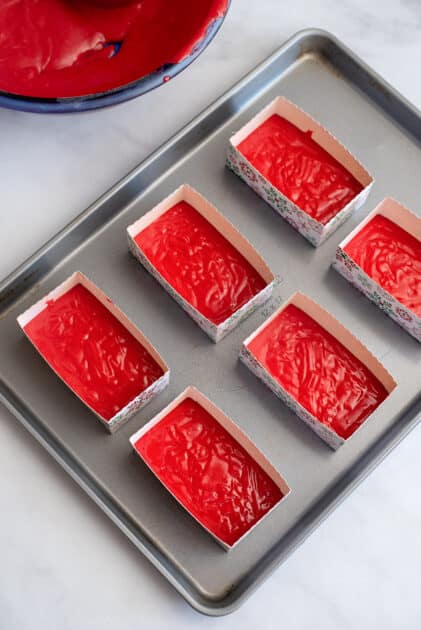
Place pans on baking sheets and add 1 cup of cake batter to each pan.
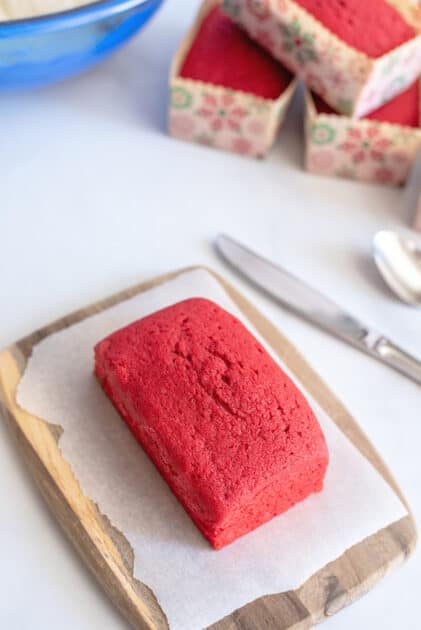
Bake at 350 for 20 to 23 minutes, or until the center springs back when pressed lightly with a finger. Allow the cakes to cool completely before icing.
How to Make Cream Cheese Frosting
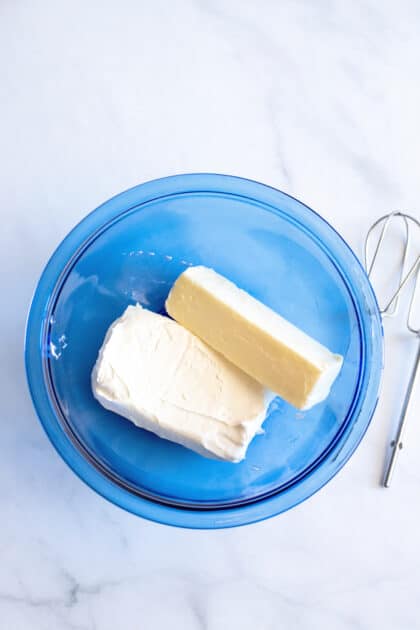
Cream together the softened cream cheese and butter or margarine.
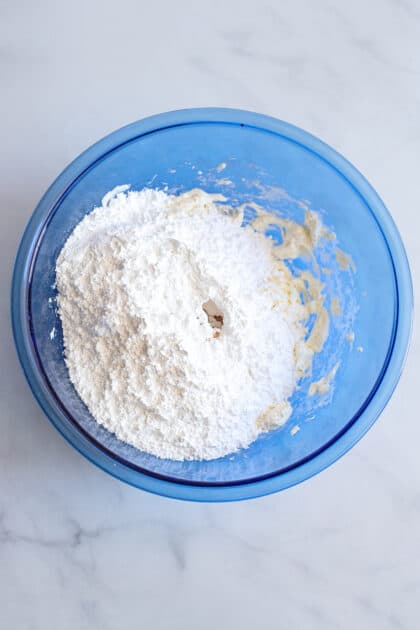
Add the powdered sugar and vanilla extract.
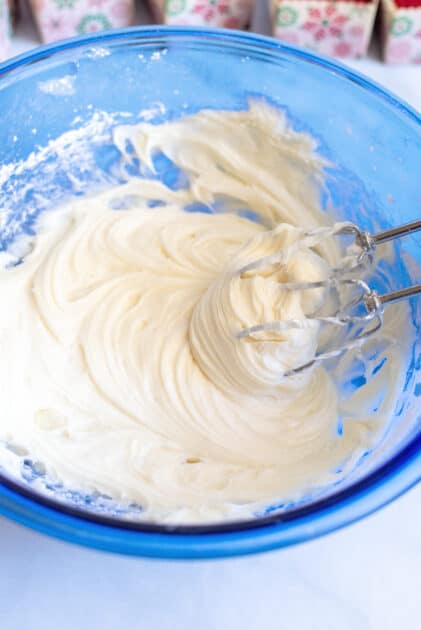
Beat with an electric mixer until smooth and creamy, scraping down sides as needed.
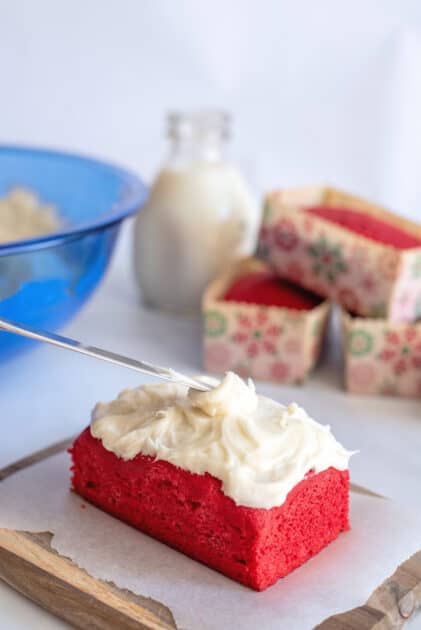
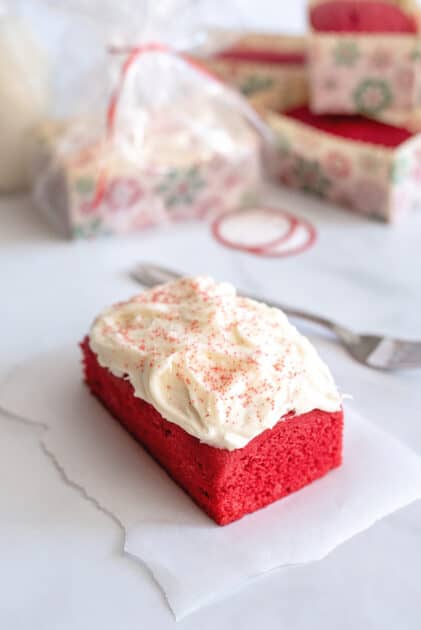
Ice each cooled mini red velvet cake by spreading a thin layer on top using a butter knife.
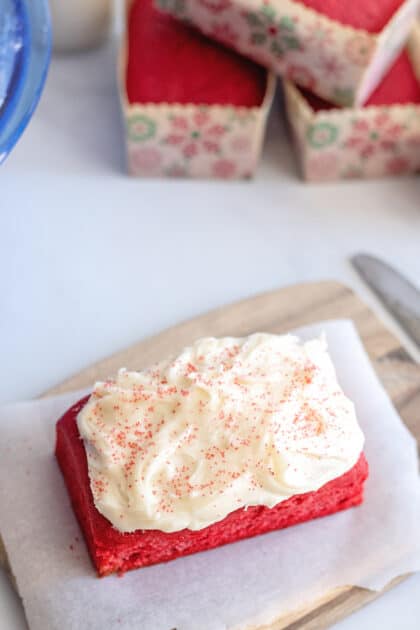
I sprinkled red sugar crystals over the mini cakes too for decoration.
But if you’re packaging them, the sugar crystals also prevent the wrapping from sticking.
If you let these sit out for about ten minutes after icing them, the icing dries just a little, which also makes packaging easier as well.
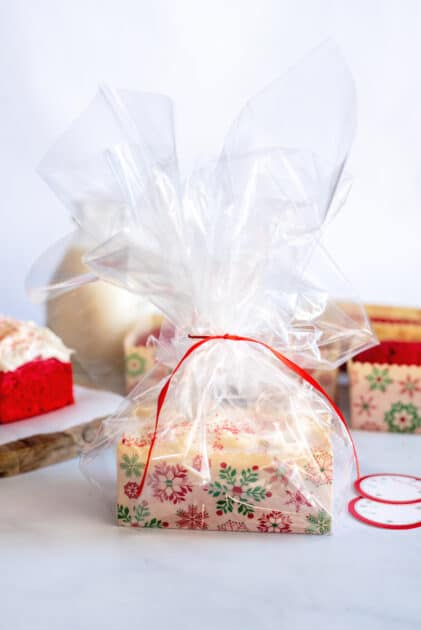
Packaging is as simple as a clear party treat bag and some red ribbon. These bags are sold in quantities of 20 for about $1, which also helps to keep costs down. I love how easy they are to wrap up for gift giving this way! Also, how festive do they look?
And just like that, in very little time with not nearly as much effort as you think, I’ve made 14 mini red velvet cakes!
Storage
Store mini red velvet cake leftovers in an airtight container in the fridge for up to 3 days. You can also freeze the cakes for up to 3 months. Thaw overnight before serving.
Recipe Notes
- This mini cake recipe makes 14 of this specific loaf pan. But feel free to adapt the recipe to suit you. Simply half the ingredients to make 7 mini cakes, for example.
- If you don’t have buttermilk available, you can make it at home. For every 1/4 cup of whole milk, you need to add 1 teaspoon of lemon juice or white vinegar. Let this mixture sit for 5 minutes until it curdles.
- For a seasonal touch, you could also decorate the mini cakes with fresh raspberries or strawberries and fresh mint leaves.
- If you prefer, you can also top your mini cakes with buttercream frosting.
Check out these other great cake recipes:
Aunt Sue’s Easy Pound Cake Recipe
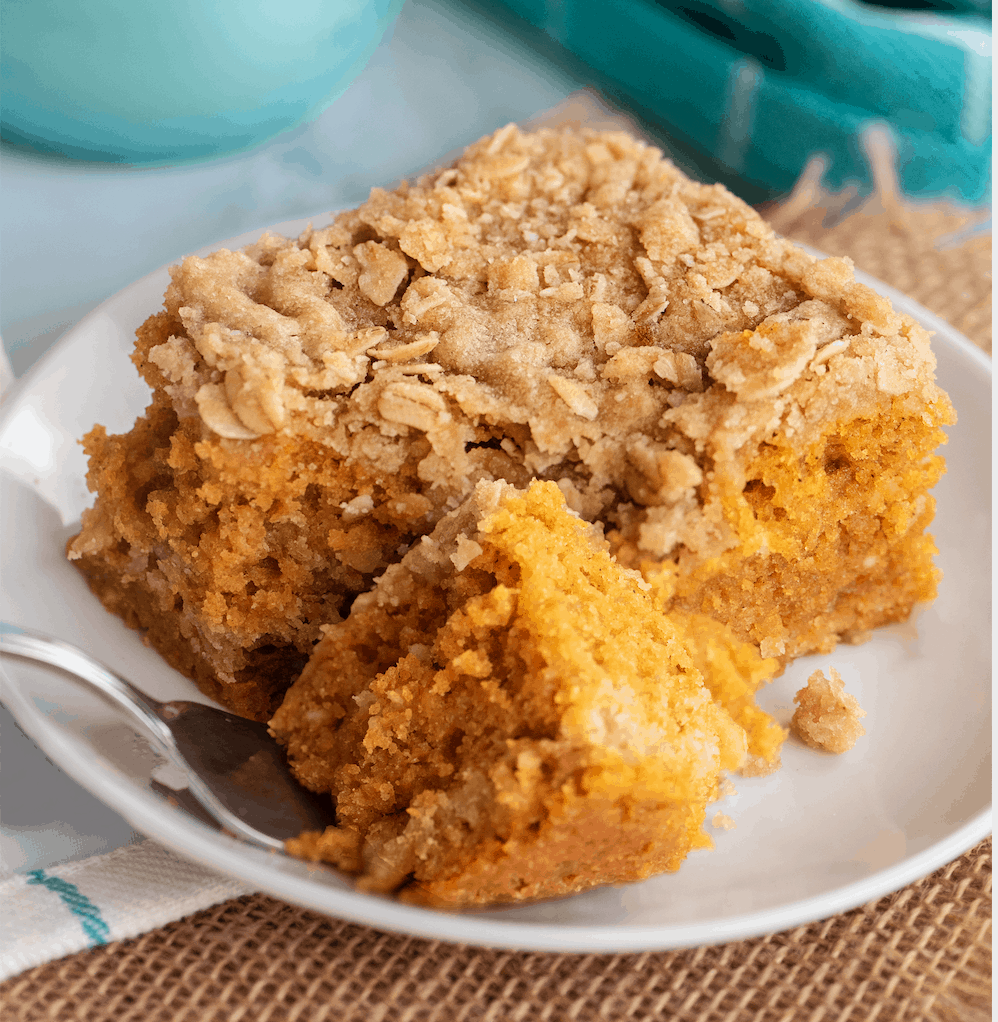
Pumpkin Praline Cake With Cream Cheese Icing
Vegan Sweet Potato Cake With Maple Cashew Icing
Phenomenal Red Velvet Cupcakes
Mini Bundt Cake Recipe Using Aunt Sue’s Famous Pound Cake
Ingredients
- 5 cups all-purpose flour
- 2 teaspoons unsweetened cocoa powder
- 2 teaspoons baking soda
- 2 teaspoons salt
- 3 cups granulated sugar
- 2 cups buttermilk
- 3 cups vegetable oil
- 4 eggs
- 2 teaspoons vinegar
- 2 teaspoons vanilla extract
- 2 bottles red food coloring 1-ounce each
Cream Cheese Frosting
- 2 packages cream cheese 8 ounces each, at room temperature
- 1 cup butter or margarine, at room temperature
- 2 pounds confectioner's sugar
- 2 teaspoons vanilla extract
Instructions
- In a medium bowl, stir together the flour, cocoa powder, baking soda, and salt.5 cups all-purpose flour, 2 teaspoons unsweetened cocoa powder, 2 teaspoons baking soda, 2 teaspoons salt
- In a separate large bowl, mix together the sugar, buttermilk, oil, eggs, and vinegar. Add the dry ingredients to the wet ingredients and beat on medium speed until well blended.3 cups granulated sugar, 2 cups buttermilk, 3 cups vegetable oil, 4 eggs, 2 teaspoons vinegar
- Add the vanilla and the entire bottle of red food coloring to the cake batter and mix again on low speed until well blended and uniform in color.2 teaspoons vanilla extract, 2 bottles red food coloring
- Spray mini loaf pans with Crisco® cooking spray (see post for exact pan size). Place pans on baking sheets and add 1 cup of cake batter to each pan.
- Bake at 350 for 20 to 23 minutes, or until the center springs back when pressed lightly with a finger. Allow the cakes to cool completely before icing.
For Icing
- Cream together the cream cheese and butter. Add the sugar and vanilla and beat with an electric mixer until smooth and creamy, scraping down sides as needed. Ice the cooled cakes.2 packages cream cheese, 1 cup butter, 2 pounds confectioner's sugar, 2 teaspoons vanilla extract
- Can be left at room temperature but I love them refrigerated!

is 2 teaspoons of cocoa powder really enough for that cocoa taste?
Hello ! Looking for clarification. The recipe calls to add an entire bottle of red food coloring but recipe says 2-1 ounce bottles. Thank you ! Merry Christmas ! Happy New Year !
Well, I use one. Mama uses two. So any amount between those two will work 😉
These were awesome I did half red and half green, they where a great success for a bakesale to benefit a family who’s young mom is battling breast cancer. Thank you for the wonderful recipe!!!
Thank you Ruth, I am so glad they were enjoyed and helped to benefit someone in need!!!
Where did you get the little clear bags and the tin foil little pans? I don’t think you said. thanks
I get them in the party favor section at walmart or dollar tree 🙂
Hi Christy, do these need to be refrigerated? If I give them out, but person doesn’t want to eat right away. Or if I make the day before giving out. Thanks, looks like a great treat.
If they are going to be sitting out for more than two or three days I refrigerate. Refrigerated, they will last up to a week, easy. You can also freeze them if they are sealed well 🙂