
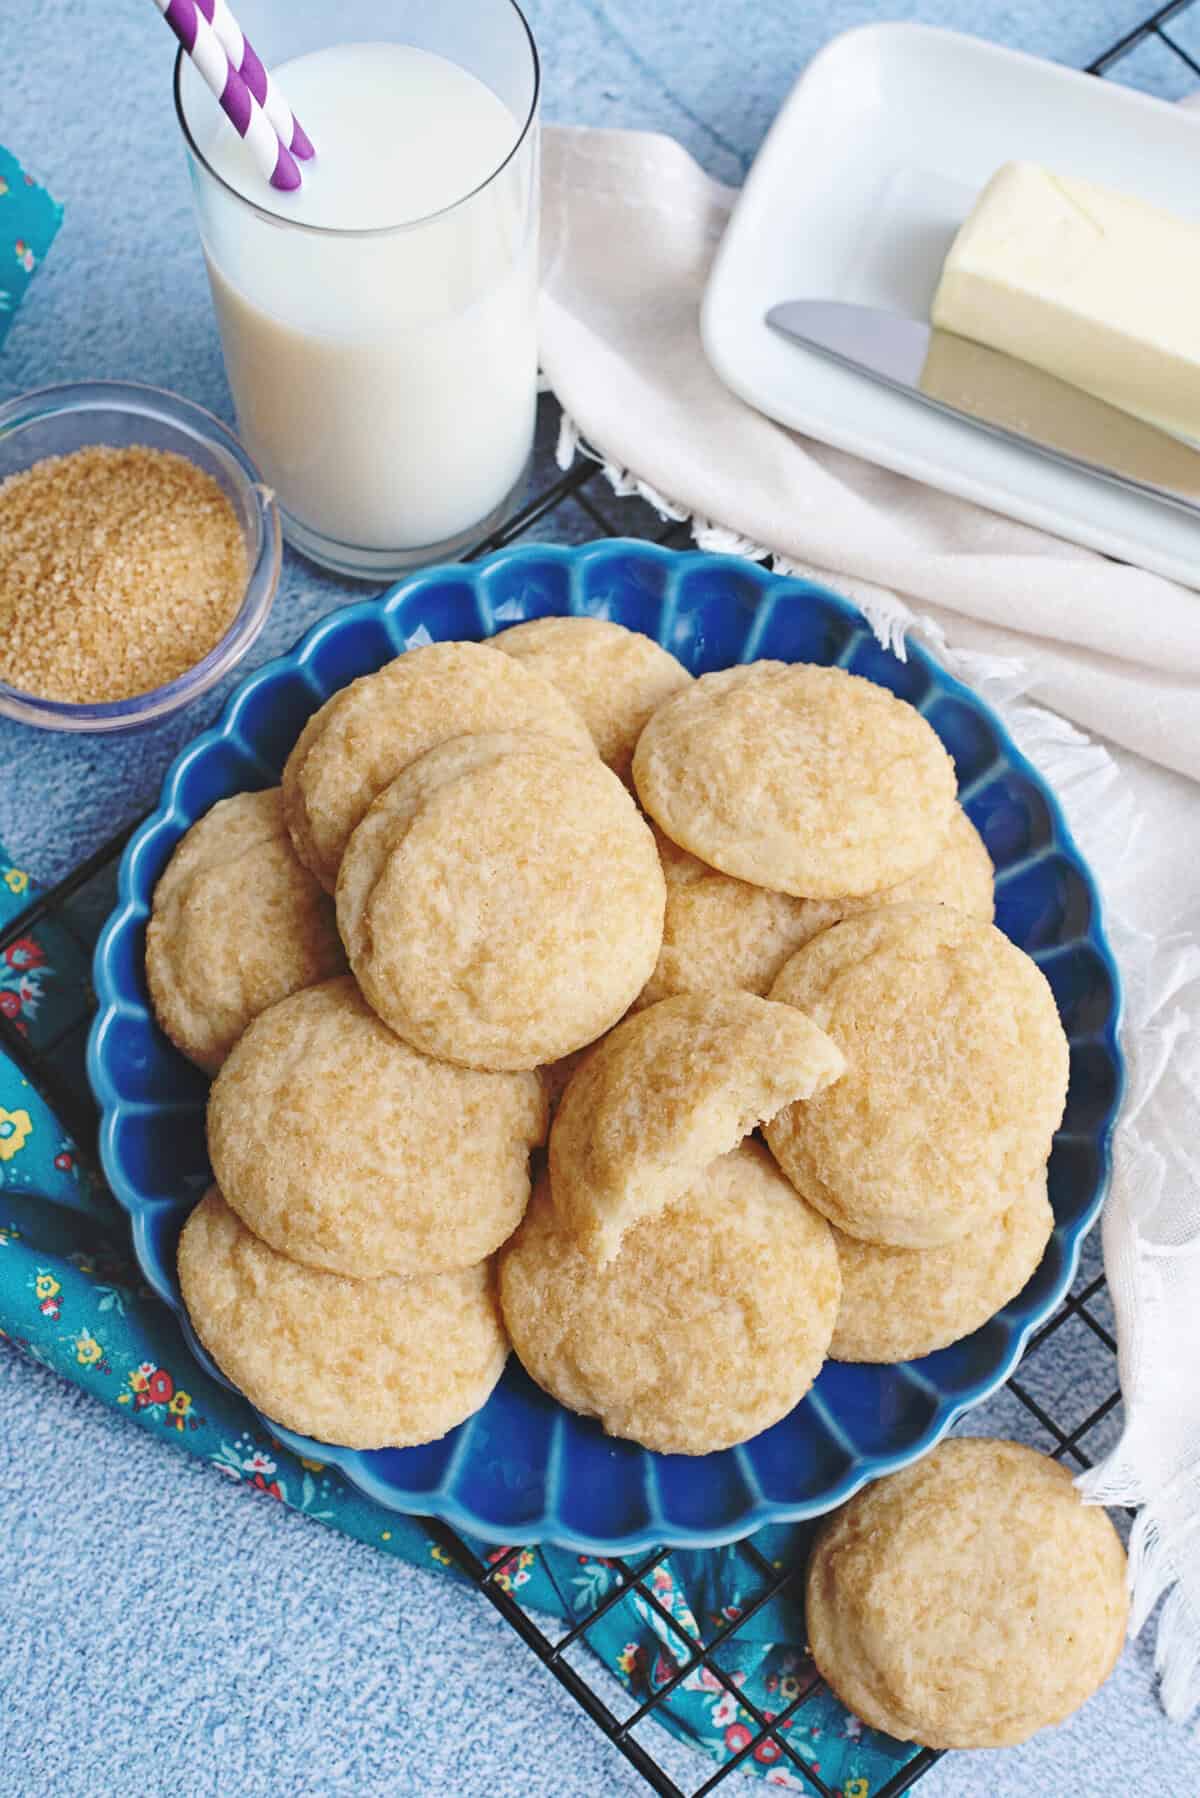
Sweet & Simple Old Fashioned Butter Cookies
These old-fashioned butter cookies are an underrated treat that doesn’t need layers of frosting or mix-ins to get your attention. They’re crisp and golden brown around the edges, but incredibly tender and melt-in-your-mouth soft right in the center, just like the perfect cookie should be!
A Quick Look At The Recipe
- Recipe Name: Sweet & Simple Old Fashioned Butter Cookies
- Serves: 30 Cookies
- Main Ingredients: unsalted butter, granulated sugar, egg, vanilla extract, all-purpose flour, baking powder, salt, milk
- Why You'll Love It: These old fashioned butter cookies are a beautiful, yet simple classic. When you take a bite, you get a clean, satisfying little snap at first, followed immediately by a middle that is so soft it practically dissolves on your tongue!
Simple Ingredients for the Best Buttery Flavor!
Growing up, my grandmother always kept a ceramic jar on her counter that smelled faintly of vanilla and sweet cream. More often than not, it was filled with these exact cookies. They aren’t anything fancy, but they have a rich, purely buttery flavor that immediately puts a smile on my face.
When you take a bite, you aren’t fighting through a ton of competing flavors or heavy spices. Instead, it’s just the clean sweetness of sugar blended with real, rich butter, rounded out by a heavy splash of good vanilla. Because we flatten the dough slightly with a glass before it hits the oven, you get this amazing contrast where the bottom and edges turn a beautiful light gold and get just a little bit crispy, while the middle stays wonderfully soft.
If you love a simple bake that’ll have your taste buds swooning, this is the one to keep in your recipe binder. And if you’re looking for more quick sweets, you’ll love these fluffy chocolate and raspberry beignets!
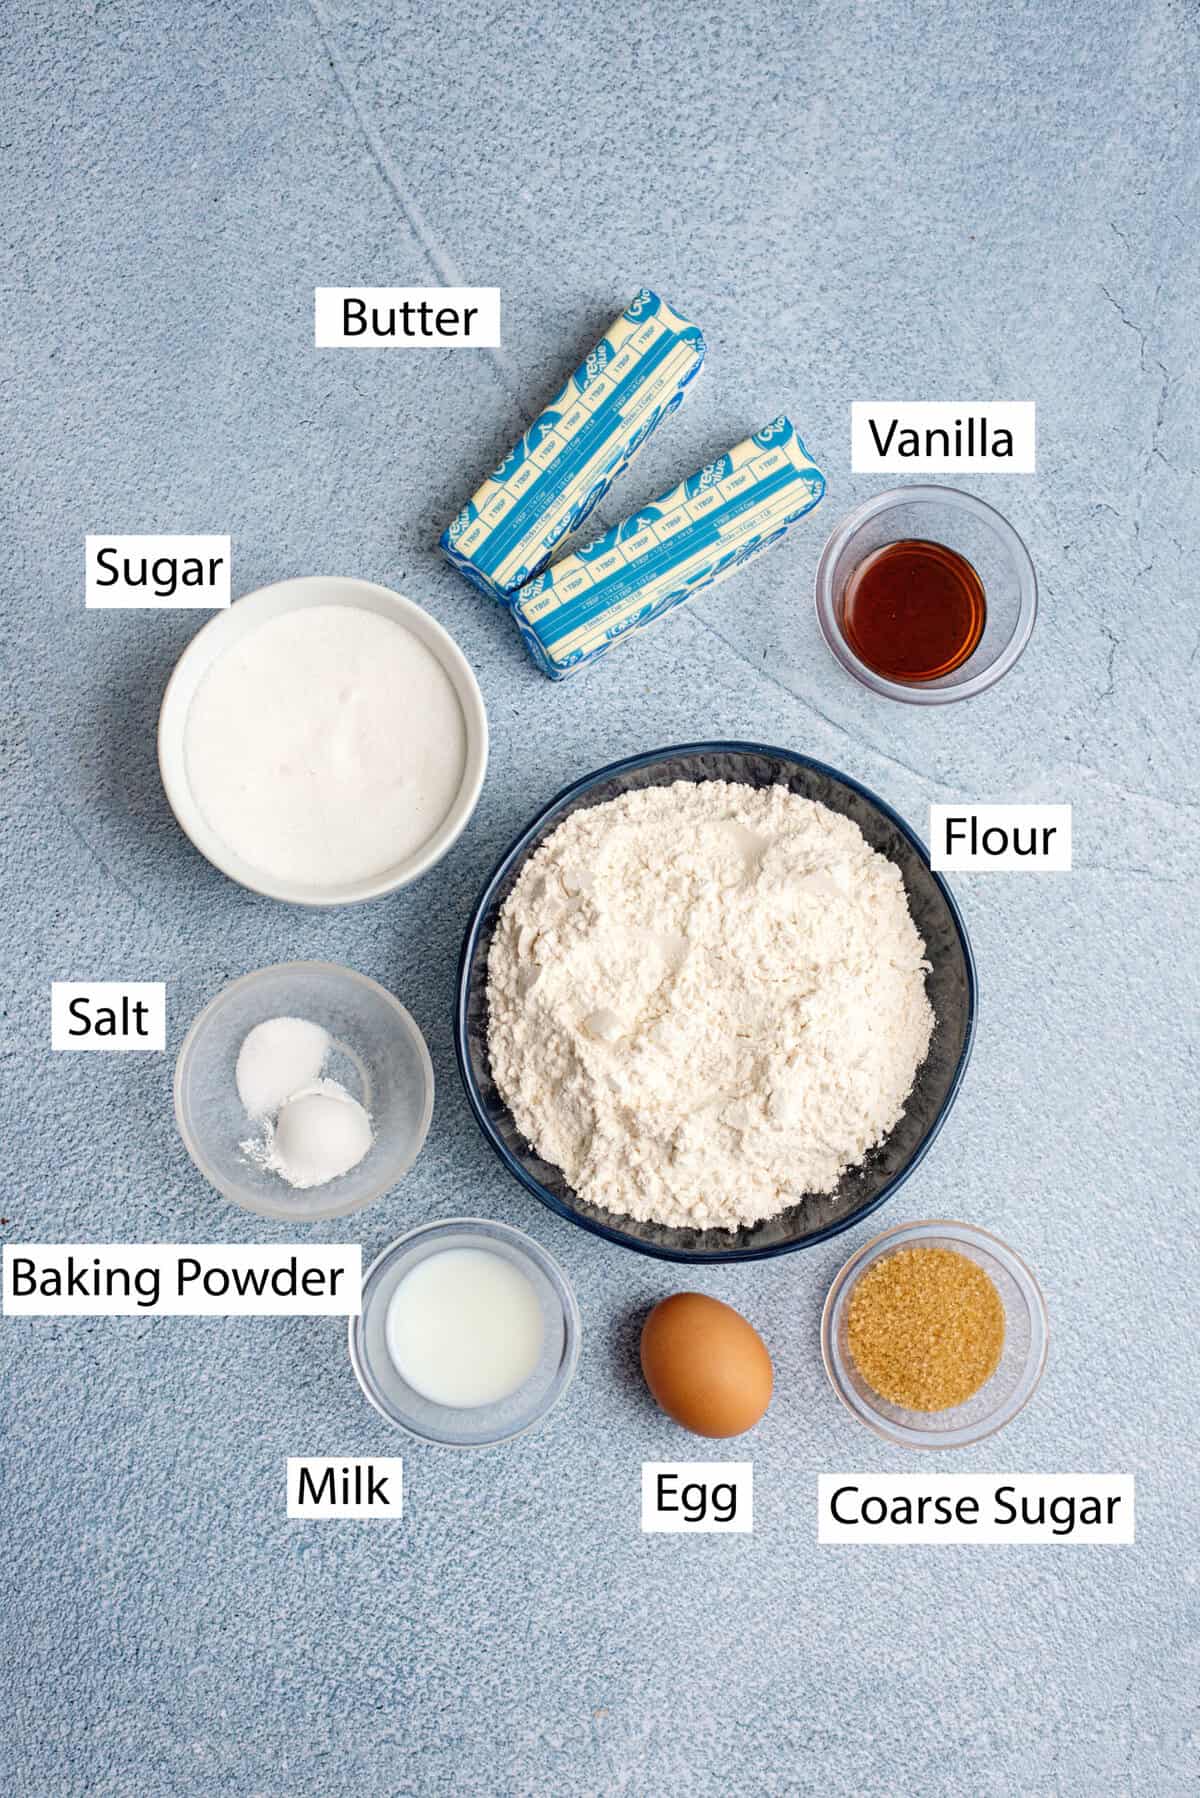
Ingredients For Old Fashioned Butter Cookies
- Unsalted butter
- Granulated sugar
- Large eggs
- Vanilla extract
- All-purpose flour
- Baking powder
- Salt
- Milk
- Coarse sugar (optional)
- Sprinkles (optional)
- Melted chocolate for dipping (optional)
Expert Tips from My Kitchen
- The Fingerprint Butter Test: Don’t rely on the clock to tell you when your sticks of butter are ready. Give the wrapper a gentle poke. Your finger should leave a clean indent without sinking all the way through or getting greasy. If the butter is too cold, it won’t cream properly with the sugar; if it’s melting or shiny, your cookies will flatten out like pancakes on the cookie tray.
- Lighten Up on the Flour: My grandmother always taught me never to scoop the measuring cup directly into the flour bag. Doing that packs the purpose flour down tight, meaning you accidentally add way too much and end up with a dry, crumbly cookie dough (not the good crumbly that you’d get from a crumbl-style cookie). Fluff it up with a fork first, spoon it gently into your cup, and sweep the excess off the top with a butter knife.
- Step Away from the Mixer Early: The second you pour your dry ingredients into the wet mixture, turn your hand mixer to its absolute lowest speed (or switch to a wooden spoon). You want to mix just until the white streaks of flour vanish. Overworking the dough develops the gluten, which robs the cookies of that signature melt-in-your-mouth tenderness.
How to Make Old Fashioned Butter Cookies
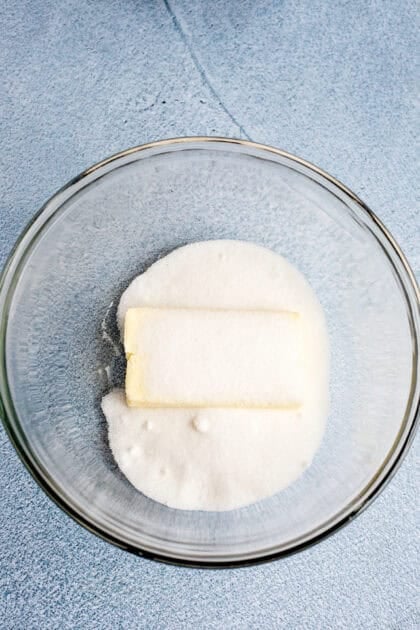
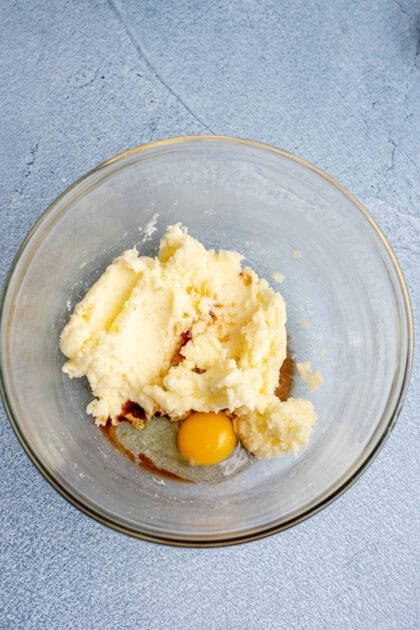
1. Cream the Base
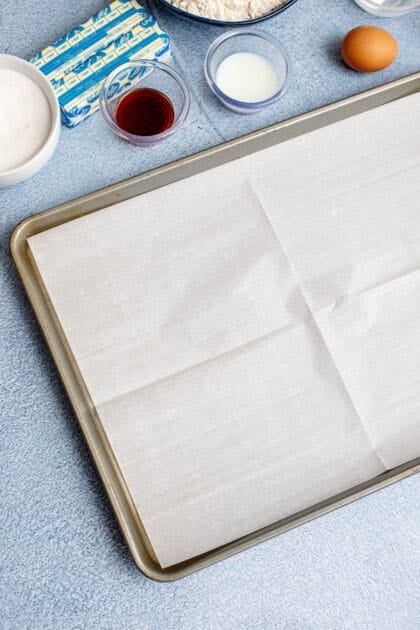
Preheat your oven to 350°F. Line two large cookie sheets with parchment paper rather than using ungreased cookie sheets, which can cause the bottoms to scorch. In a large bowl, cream butter and granulated sugar together at medium speed. Take your time here; let it run for about three to four minutes until the mixture looks pale yellow, light, and fluffy. Beat in the large egg and the pure vanilla extract until the mixture is completely smooth.
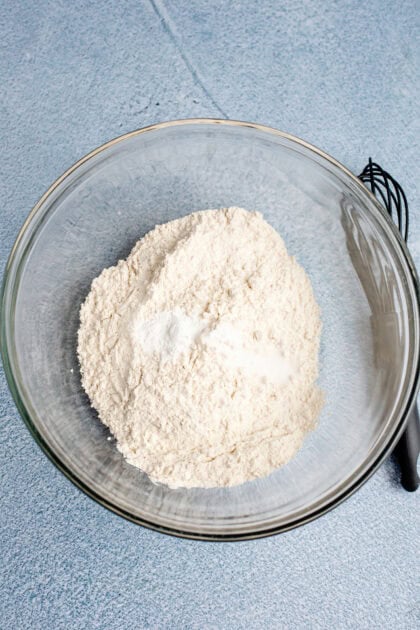
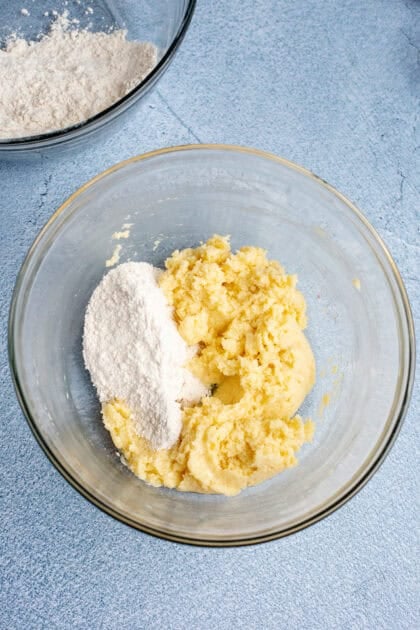
2. Form the Cookie Dough
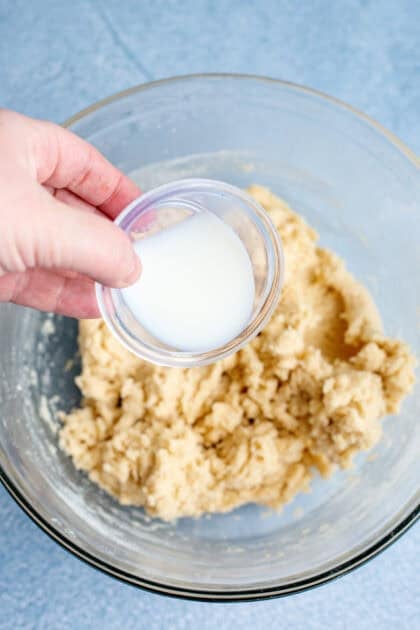
In a separate medium bowl, quickly whisk together your all-purpose flour, baking powder, and salt. Gradually add these dry ingredients to your wet mixture, running your mixer on low speed just until a soft dough begins to form. Pour in the single tablespoon of milk and give it one final, brief stir to bring the dough together.
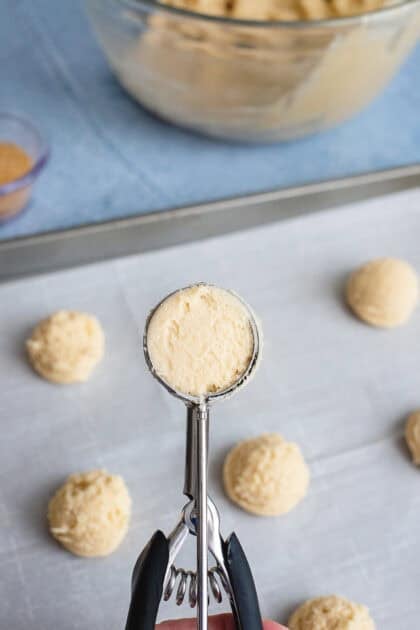
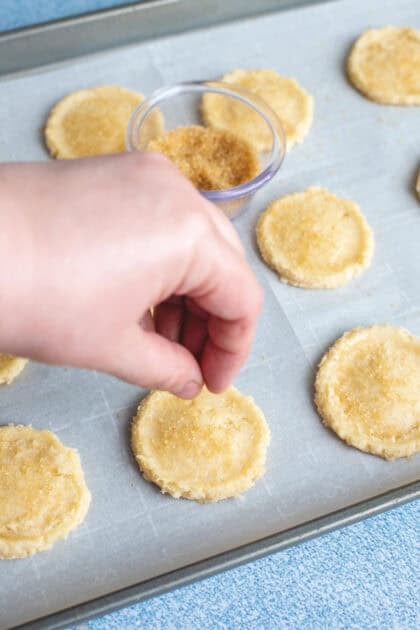
3. Shape and Flatten
Using a small cookie scoop, portion out tablespoon-sized pieces of dough and roll them into smooth, neat balls between your palms. Place cookies onto your prepared baking sheet, leaving about two inches of space between each one. Grab a drinking glass, dip the flat bottom into a little extra sugar so it doesn’t stick, and gently press down on each ball until it’s about a 1/4-inch thickness. If you’re using sprinkles or coarse sugar, press them gently into the tops now.
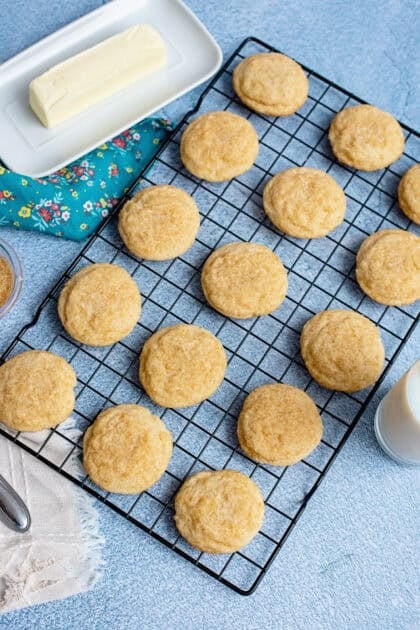
4. Bake and Cool
Bake for 10 to 12 minutes, keeping a close eye on the oven towards the end of the baking time. You want the edges to show just a hint of light golden brown while the centers stay nice and pale. Let the cookies rest on the hot pan for 5 minutes so they can set up, then transfer cookies to a wire rack to finish cooling completely.

Serve with your favorite cookie companion drink like milk or a fancier old-fashioned egg cream, and enjoy!
Old Fashioned Butter Cookies FAQs
When most people think of the original butter cookie, their minds go straight to those classic Danish butter cookies, the ones that come in the iconic blue tin we all used for sewing supplies growing up!
Denmark really put them on the map commercially, but historically, they evolved across Europe as a simple celebration of high-quality dairy, sugar, and flour. They are the close cousins of Scottish shortbread and French sable cookies!
It all comes down to two things: high-quality butter and a perfect texture contrast. Because there are so few ingredients, using a good brand of European-style or high-fat butter makes a massive difference in the final taste.
Texture-wise, a great butter cookie should have a clean, delicate crunch right around the very edges, but a center that is so tender and rich it practically melts on your tongue. It shouldn’t be tough, and it definitely shouldn’t taste heavy or greasy.
For me, it’s not keeping an eye on your butter. If your sticks of butter are shiny, greasy, or melting when you start, they won’t be able to hold onto air when you mix them with the sugar. This usually causes the dough to puddle out into flat, oily disks in the oven. Another is scooping your measuring cup straight into the flour bag packs it down tight. That extra flour will sneak into your dough, leaving you with dry, crumbly cookies.
Have a little patience with your ingredients! Give your butter time to sit on the counter until it’s just soft enough that a gentle poke leaves an indent. When you cream it with the sugar, take your time and let it get nice, pale, and fluffy.
Similar Recipes
If you’re filling up your baking calendar with more buttery goods, take a look at my buttery pear bundt cake or this soft, buttery apple crackle cake.
When you get a chance to bake a batch of these butter cookies, please leave a star rating and a comment below to let me know how they turned out for you!
Ingredients
- 1 cup unsalted butter softened
- 1 cup granulated sugar
- 1 large egg
- 1 tablespoon vanilla extract
- 2 ¼ cups all-purpose flour
- ½ teaspoon baking powder
- ¼ teaspoon salt
- 1 tablespoon milk
Optional for topping:
- Coarse sugar
- Sprinkles
- Melted chocolate for dipping
Instructions
- Preheat the oven to 350°F. Line baking sheets with parchment paper. In a large mixing bowl, cream together the butter and sugar until light and fluffy. Mix in the egg and vanilla extract until fully combined.
- In a separate bowl, whisk together the flour, baking powder, and salt. Gradually add the dry ingredients to the butter mixture, mixing until a soft dough forms. Add the milk and mix just until smooth.
- Scoop tablespoon-sized portions of dough, roll into balls, and gently flatten with the bottom of a glass. Add sprinkles or coarse sugar if desired.
- Bake for 10 to 12 minutes, or until the edges are lightly golden. Allow the cookies to cool on the baking sheet for 5 minutes before transferring to a wire rack to cool completely. Store the cookies in an airtight container at room temperature for up to 5 days.
Notes
- Don’t rely on the clock to tell you when your sticks of butter are ready. Give the wrapper a gentle poke. Your finger should leave a clean indent without sinking all the way through or getting greasy.
- My grandmother always taught me never to scoop the measuring cup directly into the flour bag. Fluff it up with a fork first, spoon it gently into your cup, and sweep the excess off the top with a butter knife.
- The second you pour your dry ingredients into the wet mixture, turn your hand mixer to its absolute lowest speed (or switch to a wooden spoon). You want to mix just until the white streaks of flour vanish.