Canning: THE MUSICAL! (Canning Tutorial)
As an Amazon Associate I earn from qualifying purchases.
Welcome to Southern Plate’s Canning Tutorial, complete with music!
At the bottom of this post you’ll find additional handy recipes for home canning. This video is just another sign that I have an incredibly low threshold for boredom!
Introduction To Canning (Formerly known as “Canning: THE MUSICAL!” from Christy SouthernPlate.com on Vimeo.
Canning is an incredibly gratifying and simple process. I love to give home canned jams and preserves as Christmas gifts and this is the prime time of year with fruit in abundance. Whats more, canning can be very economical, especially when you save and reuse your canning jars! If you’re in on the new trend of “going green” this is a great compliment to your efforts.
A lot of people have never attempted canning. Whether they are intimidated or just don’t know where to begin, I am going to show you just how easy it is in this tutorial! I will be focusing on water bath canning. This method works great for high acid foods such as fruits and some vegetables. For meats and other food goods, you’ll need to use the pressure canning method.
No matter which method you use, a current book on home canning is essential. These books offer recipes as well as processing times. There are many available at bookstores and grocers, but I personally recommend contacting your Cooperative Extension Service for a copy of theirs.
The Cooperative Extension Service is a government funded agency with experts in a variety of fields on hand to serve the public by offering much needed information and education. Did you know that your local extension has an expert in food preservation and nutrition on staff? Once you learn to utilize this amazing resource you won’t know how you lived without them! Most extension services even offer classes on different methods of cooking, food preservation, and other topics that can make your life easier as well as further your education – all for little or no cost. To find the extension service nearest to you, visit this link.
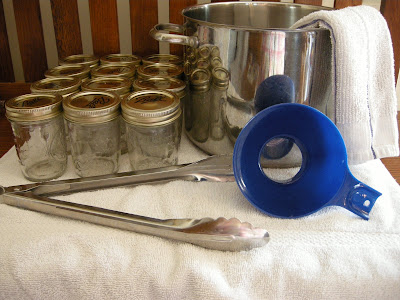
I made it a point not to use any special equipment for this tutorial. I wanted you to be able to can with things you had around your house as your main equipment. The one thing I did use was my canning funnel. You don’t have to use this at all. In fact, before I had mine I just used a liquid measuring cup to pour my jams into the jars. I’m exceptionally messy though, so I need my special canning funnel.
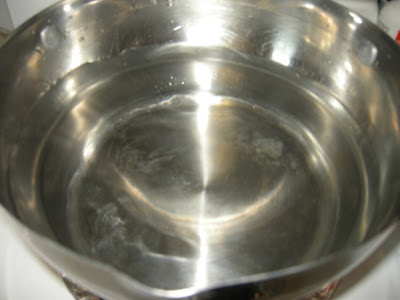
Your pot MUST have a flat bottom and a lid to fit it. Do not use a pot with ridges or a shaped bottom.
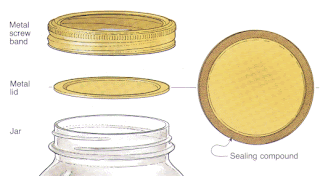
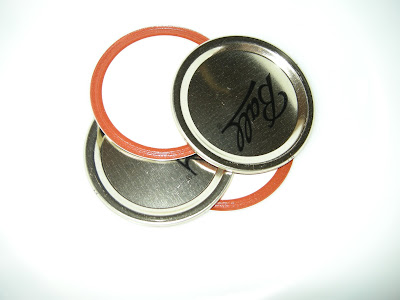
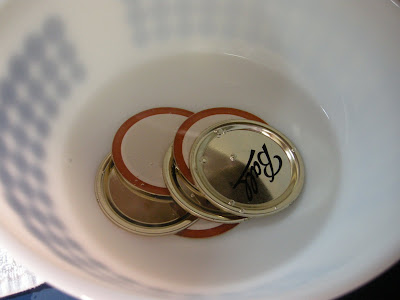
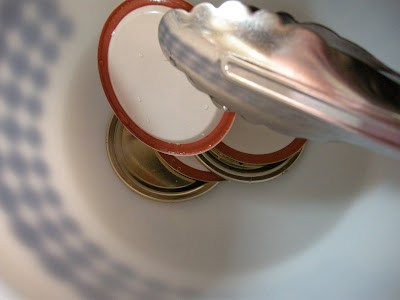
The above photo shows the canning jar, metal lid, and metal screw band. On the underside of the metal lid there is a sealing compound. You must always use new metal lid inserts each time you can but the screw band and jar are reusable. The rings around the top of the jar are called “lugs”. This will be helpful later when determining how much head space to leave at the top – or how high we should fill it basically.
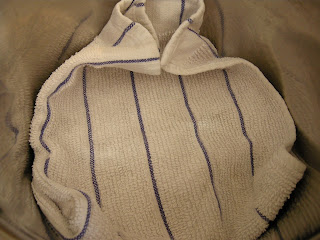
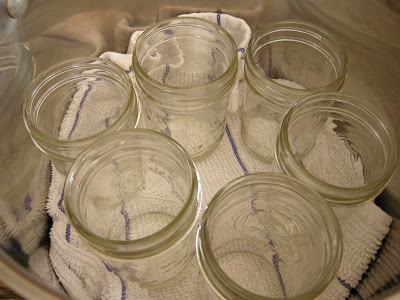
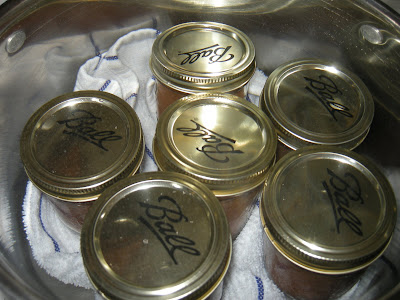
Instead of a canning rack, we are simply going to take a heavy dishtowel and place it in the bottom of our pot. This keeps the jars from having direct contact with the bottom during the boiling process as well as offers a bit of cushion to keep them from clinking around so much.
Of course you can go to the expense of purchasing a water bath canner, which comes with a rack that holds your jars away from the bottom.
I asked my mother if she had ever used one and she said she had one once, but ended up selling it at a yard sale. For us, its just easier to do it this way and not have to find more space to store a large and cumbersome pot. I can see how serious canners might enjoy one, though. I’m more of a hobbyist canner.
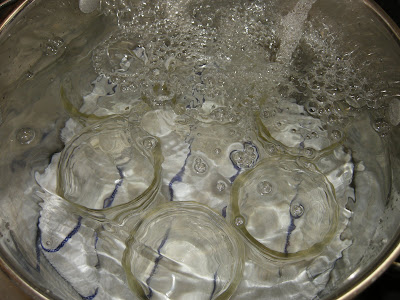
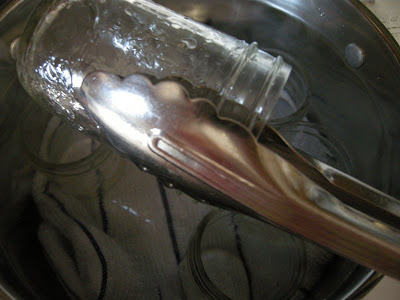
Place jars in bottom of your pot on top of the towel. We are only going to can as many as we can fit in one load and then do a second batch after we finish the first.
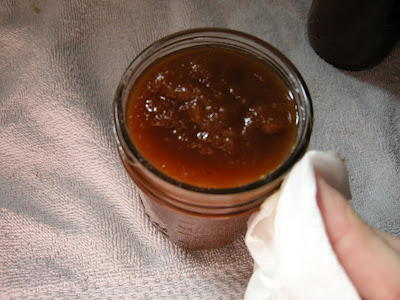
Now your jars are sterilized and ready to be filled! Make sure the liquid you are filling them with is hot.
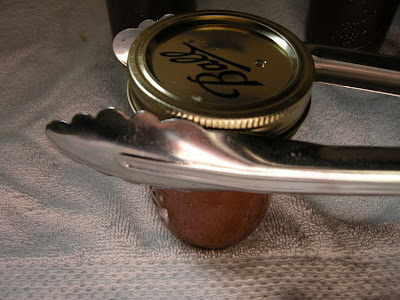
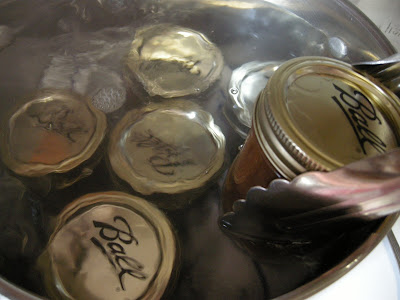
Your jars are going to be hot so pick them up with the tongs and place them carefully back into your pot, on top of the towel in the bottom.
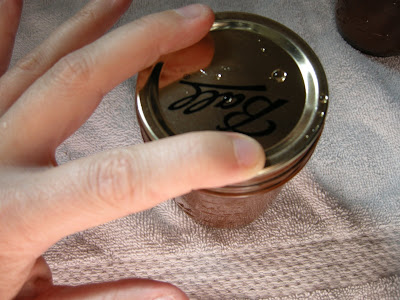
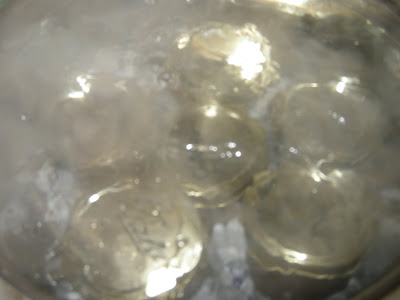
When the time is up, turn the heat off and carefully remove the lid. Using your tongs, remove each jar from the pot and place on a towel lined counter to cool. These are some very strong tongs I am using but I still like to have a pot holder in my left hand to kind of support the bottom of the jar while I am moving it from my pot to the towel.
However, if it isn’t sealed the next day there are two options. You can remove the ring and lid and replace with a new metal lid insert and process again or you can simply refrigerate the jar and begin using it.
This is the only safe way to can besides using a pressure canner. The way most of us were taught to can by our mother and grandmothers was to sterilize your jars, fill with hot liquid, and place lids on jars. As the jars cooled, the lids sealed. However, this method has been proven to be unsafe. Without proper processing time, bacteria present both in the air and fruit are not properly.
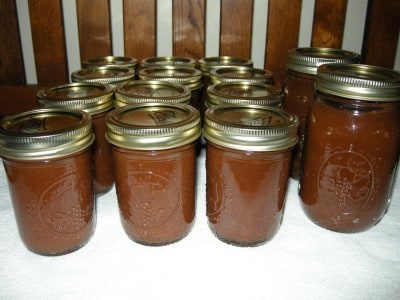
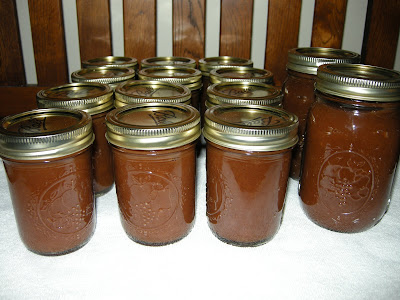
My one crock pot yielded a dozen half pint jars and two pint jars of apple butter!
I might be able to help!
~~~~~~~~~~~~~~~~~~~~~~~~~~~~~~~~~~~~~~~~~~~~~~~~~~~~~~~~~~~~~~~~~~~~~~~~~
Peach Preserves
(Makes about 7 half pints)
10 large peaches
6 Cups sugar
Use hard, ripe peches. Wash peaches, Dip them in boiling water for 30-60 seconds until skins loosen. Then, dip them quickly in cold water and slip off skins. Cut in half, remove pits, and cut them in slices. Combine peaches and sugar in a large, thick-bottom saucepan and let htem sit for twelve to eighteen hours in a cool place. Then, heat peach mixture slowly to a boil, stirring often to prevent sticking. Boil gently until fruit is clear and syrup is thick, about 40 minutes. As mixture thickens, stir frequently to prevent sticking. Remove from ehat nad quickly skim off foam, if neccesary. Fill hot jars immediatelyw ith peaches, leaving 1/4 inch head space. Add boiling syrup to cover peaces, leaving same 1/4 inch head space. Wipe jar rims and apply lids.
Process in boiling water bath.
Half pints, 5 minutes.
Pints, 10 minutes.
~~~~~~~~~~~~~~~~~~~~~~~~~~~~~~~~~
Pear Preserves
(makes about 5 half pints)
6 medium sized pears
2 1/2 C water
1 lemon
1 1/2 C sugar
1 1/2 C sugar
Use hard, ripe pears. Wash pears and peel them. Cut them in halves or quarters and remove cores. Wash lemon and cut it into thin slices. Combine 1 1/2 C sugar dn water in large, thick bottom saucepan. Heat over high heat and boil for 2 minutes. Add pears, reduce heat, and boil gently for 15 minutes. Add 1 1/2 C sugar adn lemon slices. Stir until sugar dissolves. Then, increase heat and boil rapidly until pears are clear, about 25 minutes. Remove pan from heat, cover it, and let pears sit for 12 to 24 hours in a cool place. Then, heat pears and syrup to boiling. Fill hot jars immediately with pears, leaving 1/2 Inch head space. Add boiling syrup to cover pears, leaving 1/4 inch head space. Wipe jar rims and apply lids.
Process in boiling water bath.
Half pints, 5 minutes
Whole pints, 10 minutes.
~~~~~~~~~~~~~~~~~~~~~~~~~~~~~~~~~~
Peach Butter
(Makes about 8 half pints)
18 medium sized peaches
4 cups sugar
Use fully ripe peaches that have no insect or disease damage. Wash peaches and dip in boiling water for 30 to 60 seconds until skins loosen. Dip quickly in cold water and slip off skins. Cut peaches in half, remove pits, and chop. Place in large, thick bottom sauce pan and cook until soft, adding only enough water to prevent sticking. Press peaches through a sieve or food mill. Mreasure pul. Place two quarts peach pulp in saucepan. Add sugar and cook until butter is thick and has taken on a glossiness or sheen. As mixture thickens, stir frequently to prevent sticking. Fill hot jars immediately with the butter, leaving a 1/4 inch head space. Wipe jar rims and apply lids.
Process in boiling water bath.
Half pints, 5 minutes
Pints, 10 minutes
~~~~~~~~~~~~~~~~~~~~~~~~~~~~~~~~~
Orange Lemon Marmalade
(Makes about 4 half pints)
4 oranges
4 lemons
sugar
water
1/4 tsp canning salt
Use smooth, thick skinned, well colored fruit that is free of blemishes. Peel oranges and lemons and remove white membrane beneath peeling. Set fruit pulp aside. Slice peeling into very thin strips. Parboil strips of peeling three times by adding 1 quart of cold water to strips in a large, thick bottom saucepan, bringing to a boil, boiling five minutes. Then, drain and discard water after each cooking. Cut pulp of fruit into thin slices and remove membranes. Combine pul and drained, parboiled peel. Measure fuit (pulp, juice, and parboiled peel) into large saucepan. Add 3 cups water for each cup of fruit mixture. Boil mixture rapidly for 40 minutes. Measure fruit mixture again adn add 1 cup sugar for each cup of fruit. Add salt. boil mixture on high heat for fifteen minutes. If a thicker marmalade is desired, boil longer but stir and watch carefully to avoid scorching. Remove from heat and let stand until slightly cool. Then, stir to distribute fruit equally. Fill hot jars immediately with marmalde, leaving 1/4 inch head space. Wipe jar rims and apply lids.
Process in boiling water bath
Half pints, 5 minutes
Pints, 15 minutes







Am I completely off my rocker, or do I really remember seeing a recipe for pumpkin butter on here?? I can’t seem to locate it – and I have a question for when (if?) it does turn up…..can it be made in the crock pot like your YUMMY apple butter? Also, I’ve read that pumpkin should only be frozen and not canned. Can pumpkin butter be canned like the apple butter? Looking forward to your reply………and thank you for being YOU!
AHHHHHH!! This is very exciting Christy!!! I cant wait to do this…especially with apple butter(my fav to spread on biscuits…or just about anything!!)
I had a couple of jars that did not seal when I canned pickled okra. I put the 2 jars in fridge and I wanted to know if they’ll turn out alright after staying in there a couple of months or should I just throw them out?
They’ll be fine in the fridge, just like if you’d gotten pickled at the store:)
Smart of you!!
I never would have thought to use frozen corn! This only shows that we never stop learning and can learn from the younger generation something we thought we knew all about………..I must say that your tip about processing even the fruit preserves etc is a must and I must mend my ways or risk killing off all my friends and they are getting scarce don’tcha know :o)
Thank you so much for this tutorial! I’ve been wanting to try my hand at canning for such a long time, but have a glass top stove, and they say not to use a water bath canner on them (it may crack the stove top). Now, I can just use my big gumbo pot w/ a dish rag! Awesome!! 🙂
Your canning tutorial and making (and canning) the apple butter inspired me to make my own jelly! I bought a canner and everything 😀 I just finished making it a few minutes ago, the jars are going pop! as they seal. I took the easy way out and just made the jelly from frozen white grape-raspberry juice concentrate. I hope it turns out well! I also made some pickles last night, but they’re refrigerator pickles so no canning required 🙂
Thanks so much- we just used your tutorial to can for the first time- the laptop was literally on the counter next to the jars. Your details really helped. You weren’t kidding about the flat-bottomed pan for example. Thanks, you made it sound simple, and it turned out to be pretty easy, thanks to you.