
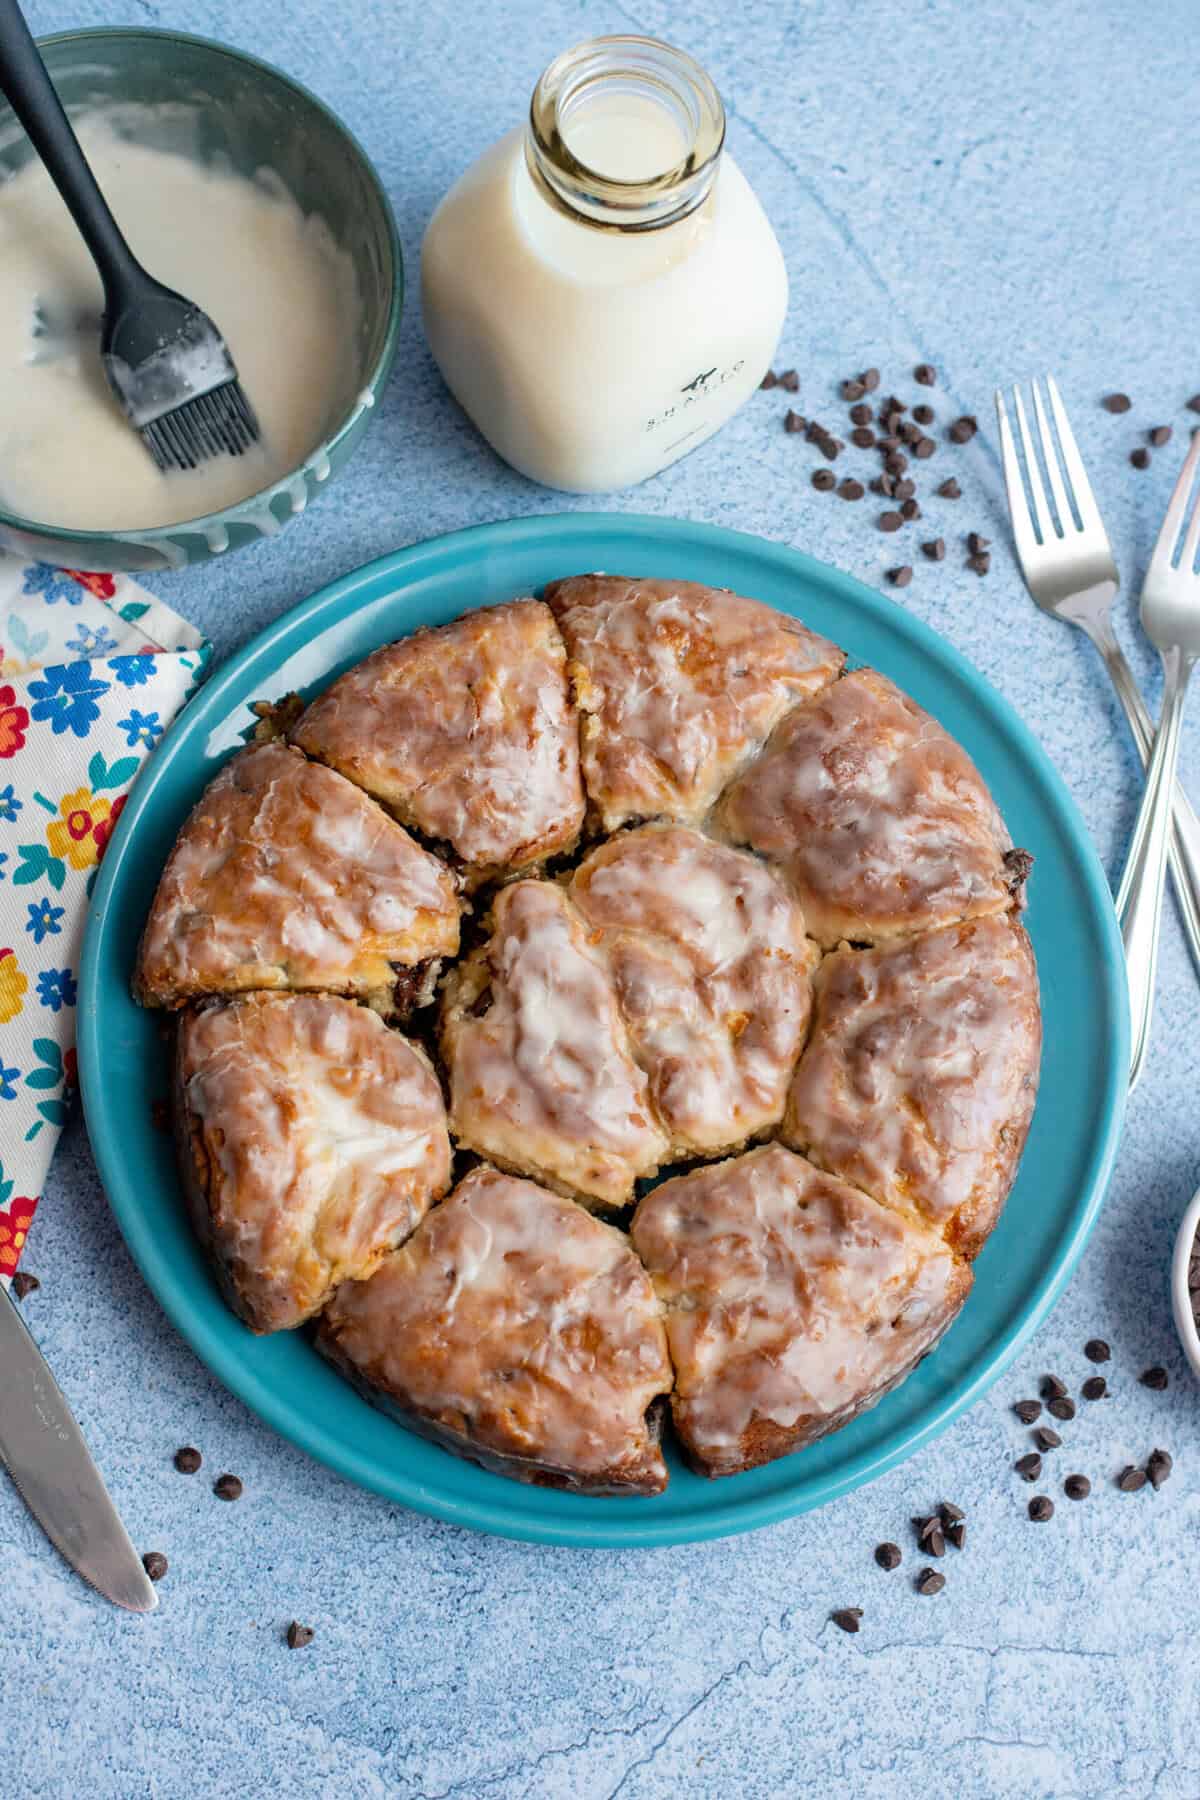
Light and Fluffy Chocolate Chip Biscuits
Warm, tender, and dotted with melty morsels, these chocolate chip biscuits are a fun twist on a Southern classic.
A Quick Look At The Recipe
- Recipe Name: Light and Fluffy Chocolate Chip Biscuits
- Serves: 12 Biscuits
- Main Ingredients: self-rising flour, of whole milk can add 1/4 cup more if it needs it, unsalted butter, semi-sweet chocolate chips, sugar, Glaze, confectioner's sugar, vanilla extract or butter flavoring
- Why You'll Love It: These Chocolate Chip Biscuits are a fun twist on a Southern classic. Tender biscuits loaded with melty chocolate chunks and mini chocolate chips, then brushed with a sweet whipping cream glaze.
What’s Not to Love About These Chocolate Chip Biscuits?
If you’ve ever wanted the comfort of homemade biscuits and the sweetness of a cookie all in one bite, this recipe is for you! They’ve got all the flaky layers that us Southerners swear by, and the chocolate chips give them just enough sweetness to make them pass as a dessert.
Speakin’ of flaky, have you had a chance to check out our Flaky, Fruity Apple Strudel recipe? Oh, if not, you’re really missin’ out!
These lil’ guys are perfect for breakfast with coffee, an after-school snack with a glass of milk, or a quick treat you can whip up in 30 minutes.
Now y’all come with me while we make us some sweet and flaky biscuits!
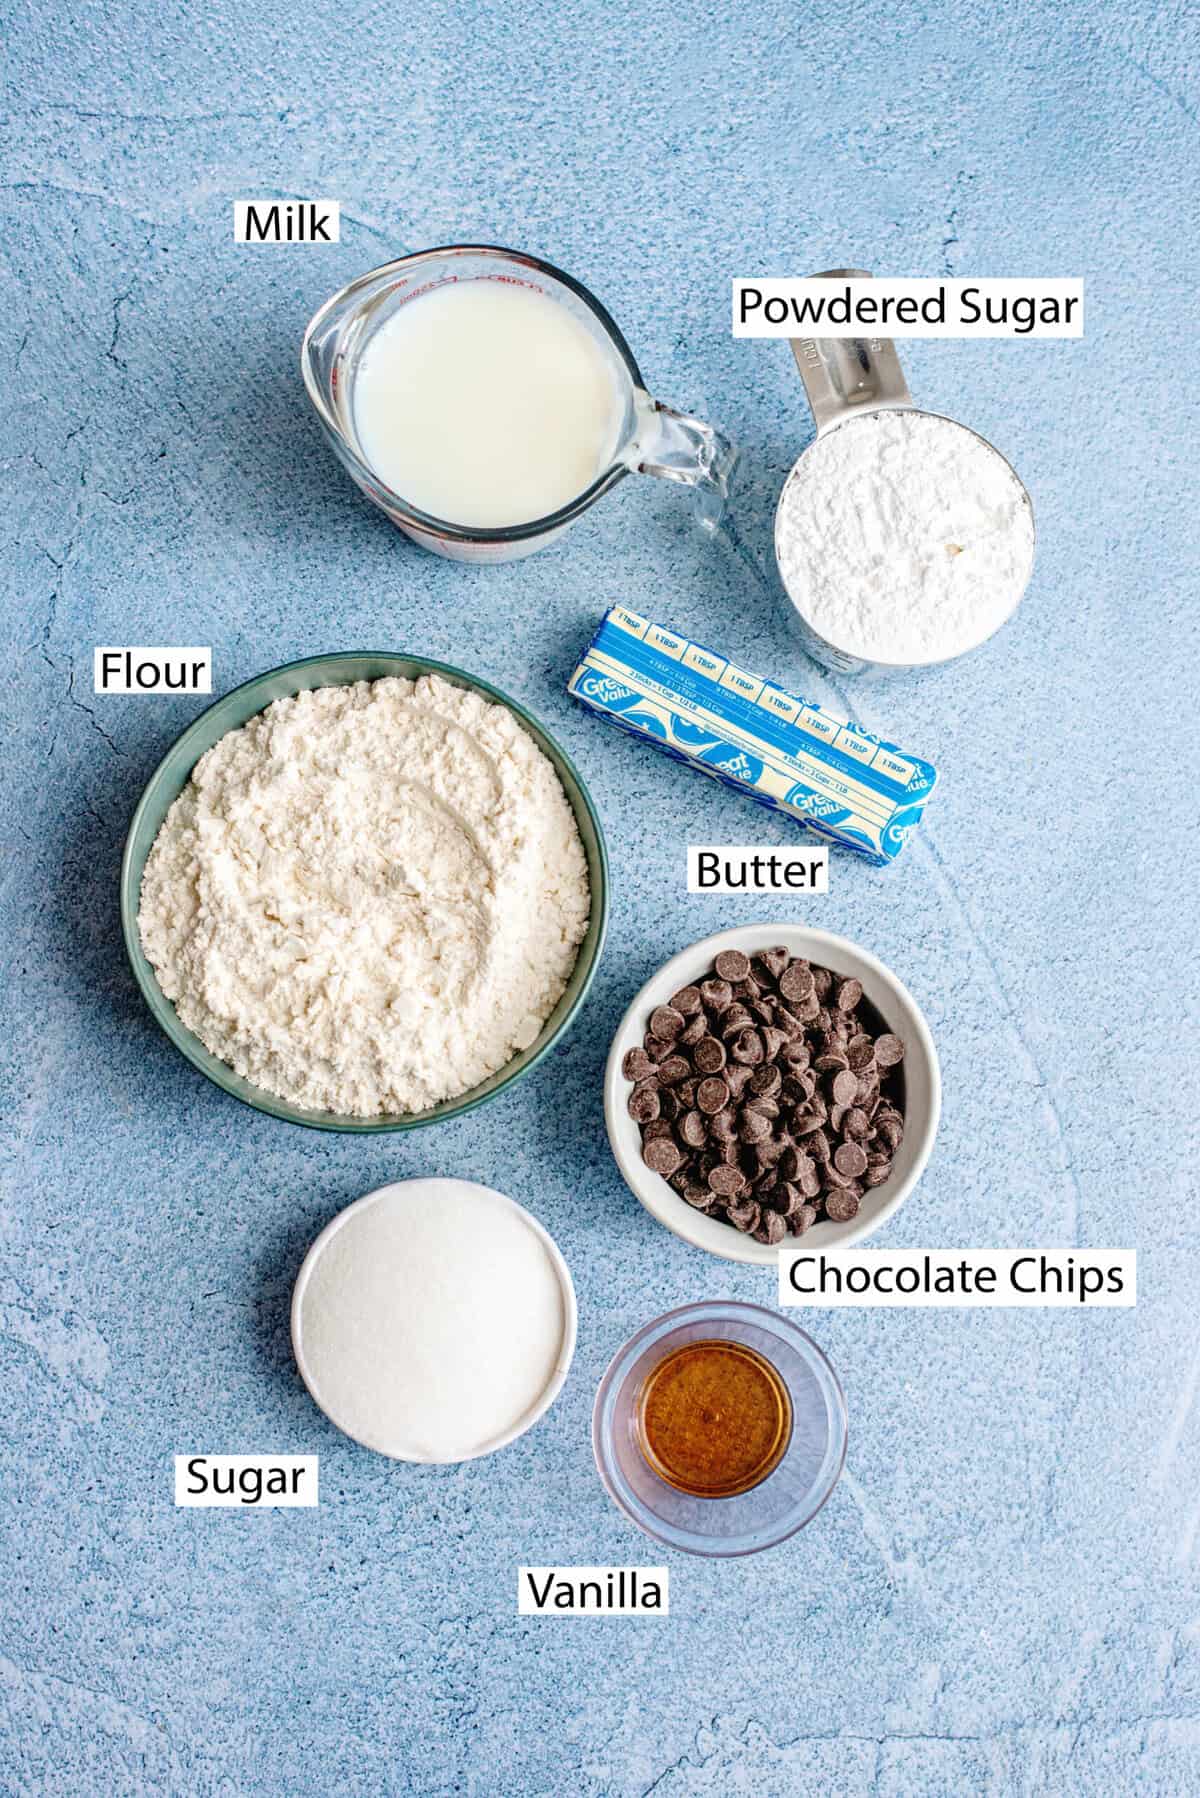
Ingredients
- Self-rising flour
- Whole milk
- Unsalted butter
- Semi-sweet chocolate chips
- Sugar
- Confectioner’s sugar
- Vanilla extract or butter flavoring
How to Get the Best Chocolate Biscuits Every Single Time!
- Keep the butter cold. Cold unsalted butter equals flaky layers. If your kitchen is warm, pop the dough back in the fridge for 5 minutes before baking.
- Don’t overwork the dough. Handle it as little as possible once the milk goes in! Too much mixing makes tough biscuits.
- Use parchment paper. For easy cleanup and even browning, line your baking tray with parchment paper instead of greasing.
- Try mini chocolate chips. They distribute more evenly, giving you melty chocolate in every bite.
Step-by-Step Instructions
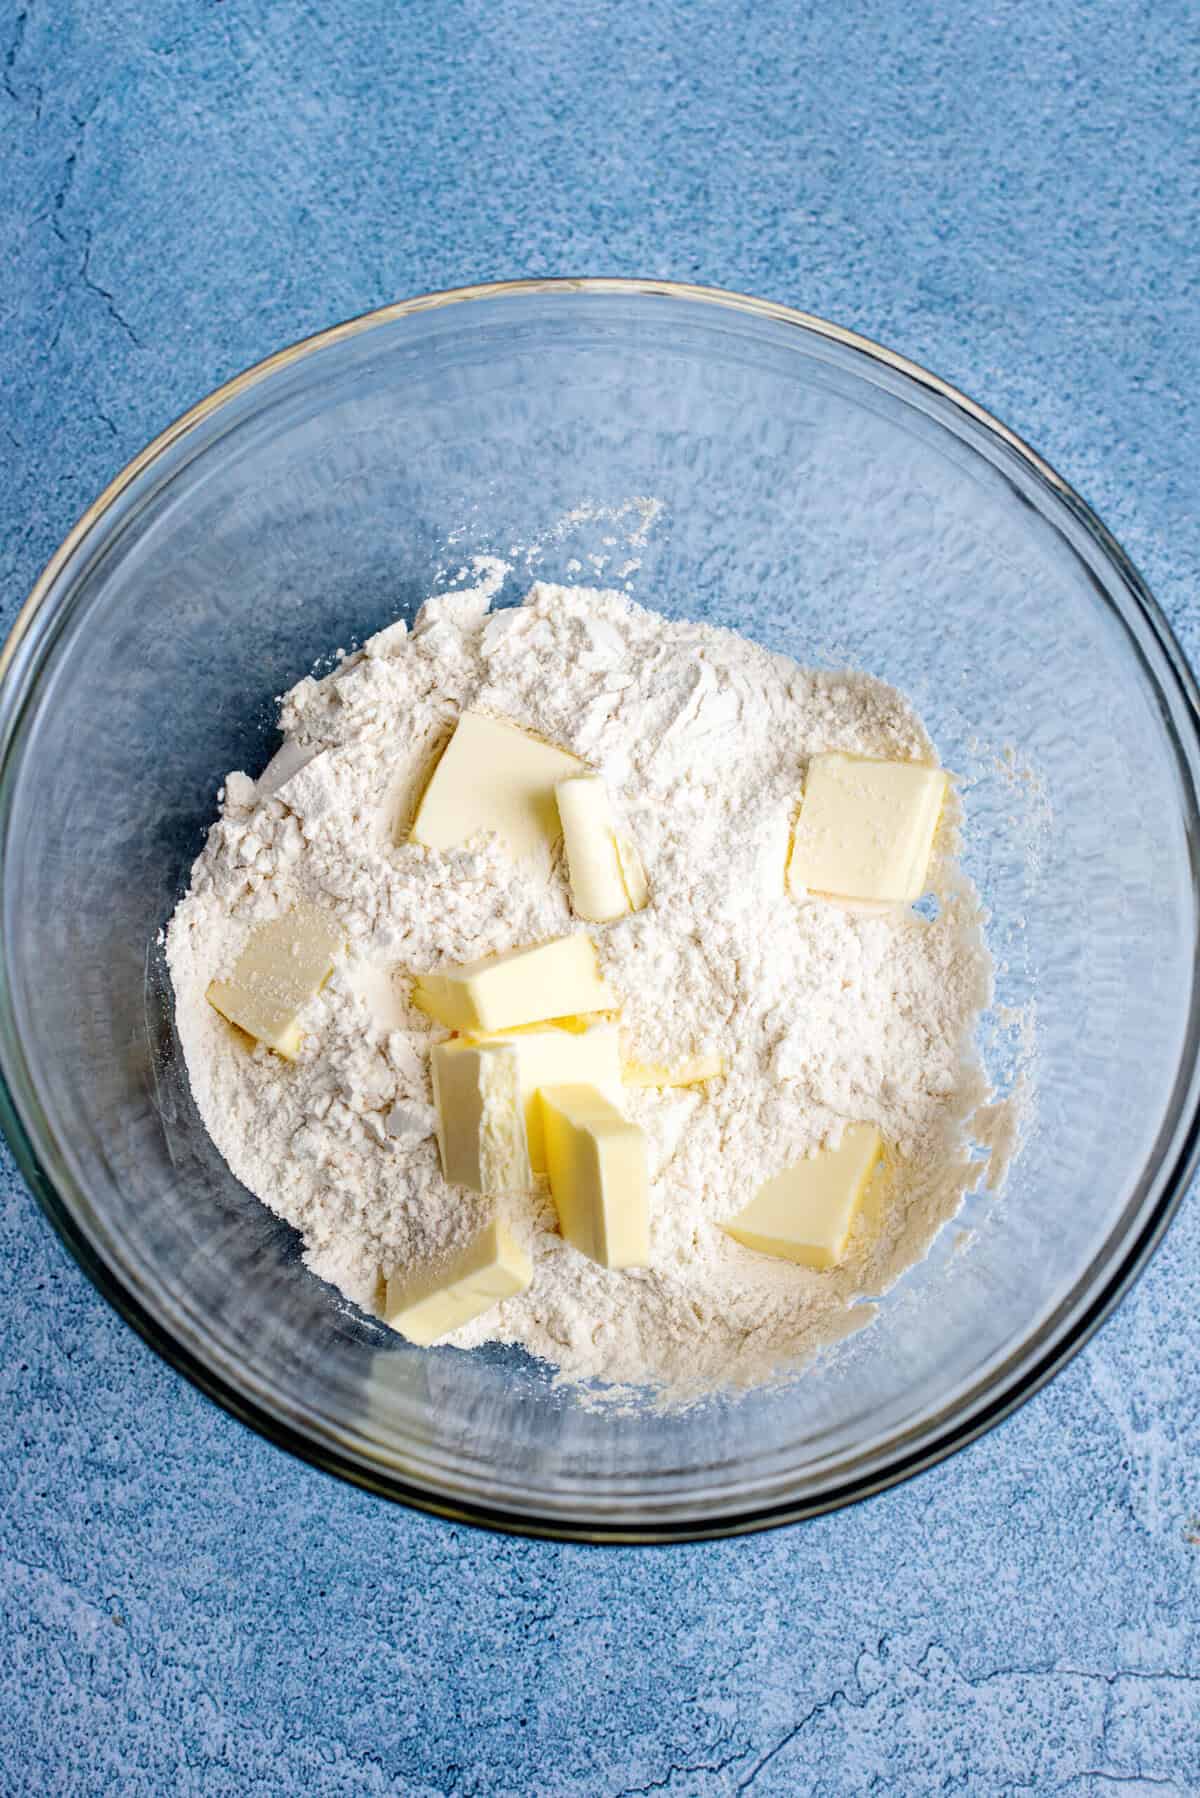
1. Cut in the Butter
In a large bowl, combine the self-rising flour and cold butter slices. Use a pastry cutter, fork, or even your fingers to cut the butter into the flour until the mixture looks like coarse crumbs. Chill the bowl in the fridge for about 10 minutes.
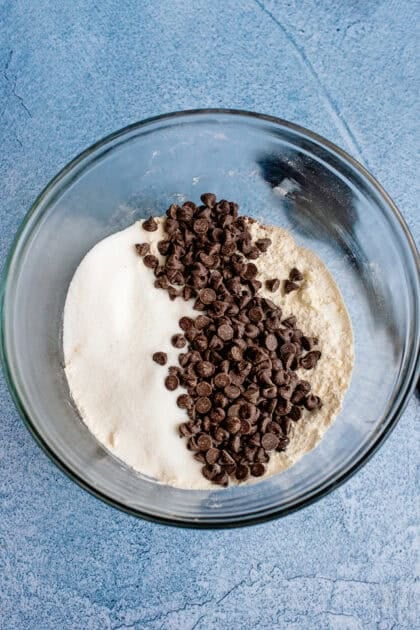
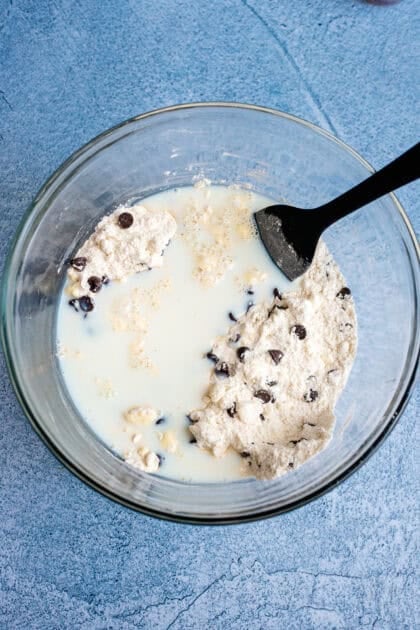
2. Add Sugar, Chips & Milk
Stir in the sugar and chocolate chips until well blended. Pour in the milk and stir just until the dough comes together. Don’t overmix, or your biscuits will lose their tenderness!
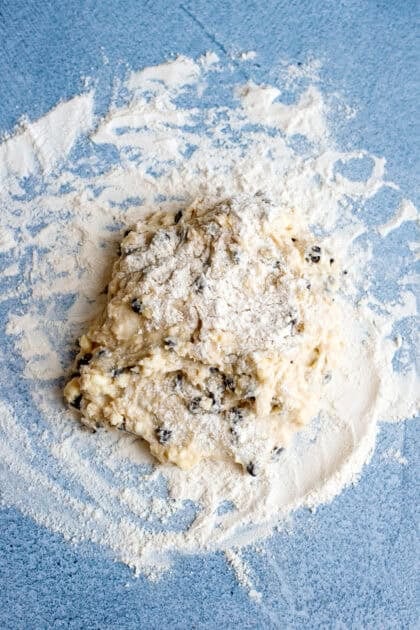
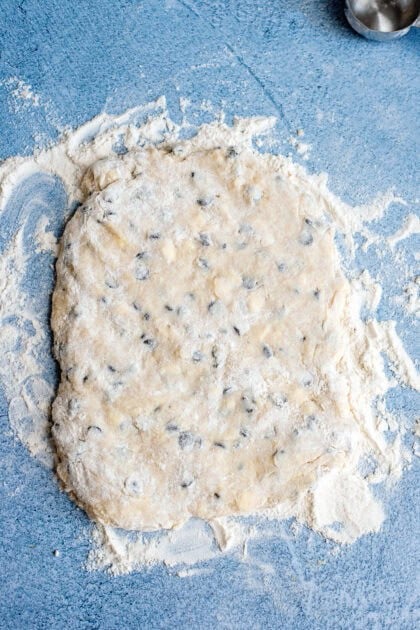
3. Fold the Dough
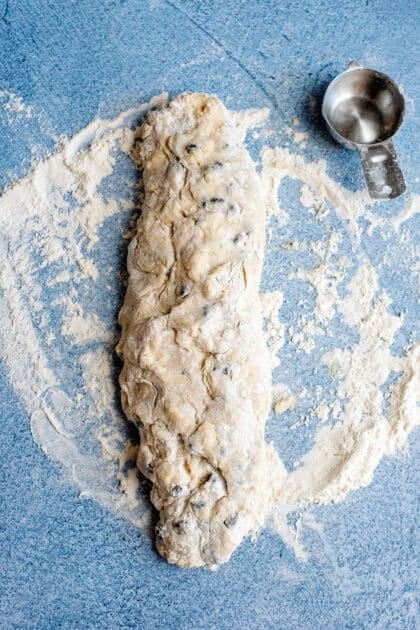
Turn the dough onto a lightly floured surface. Pat it into a rectangle, fold it like a letter, and repeat once more. This folding step is what creates those flaky layers.
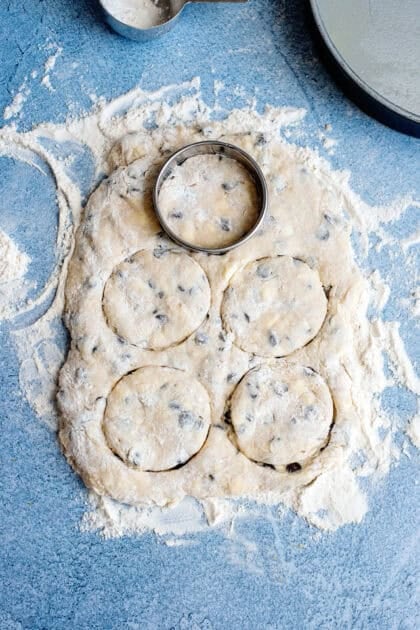
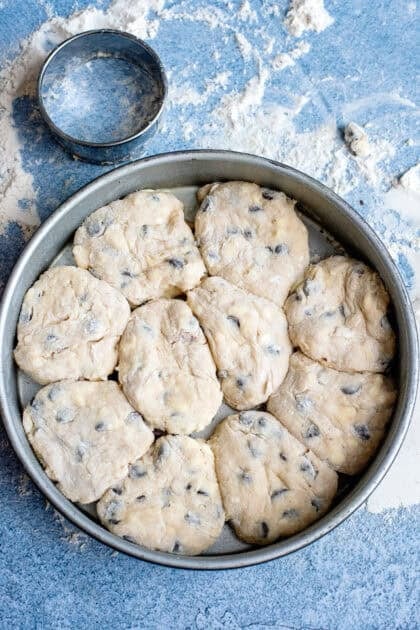
4. Cut & Bake
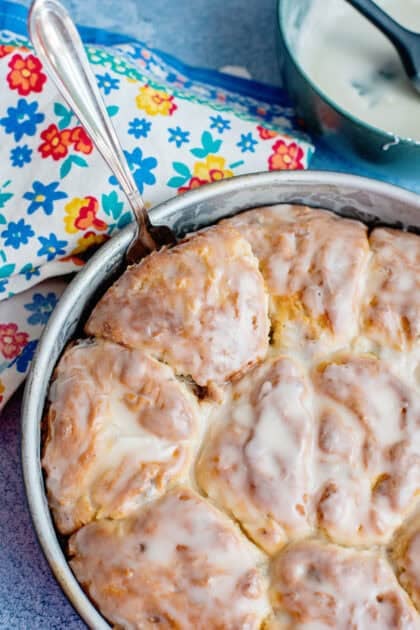
Use a biscuit cutter or a floured juice glass to cut out rounds. Place them in a greased cake pan with the sides touching. Bake at 450°F for 14–16 minutes, until the tops and the edges of the biscuit are lightly golden brown.
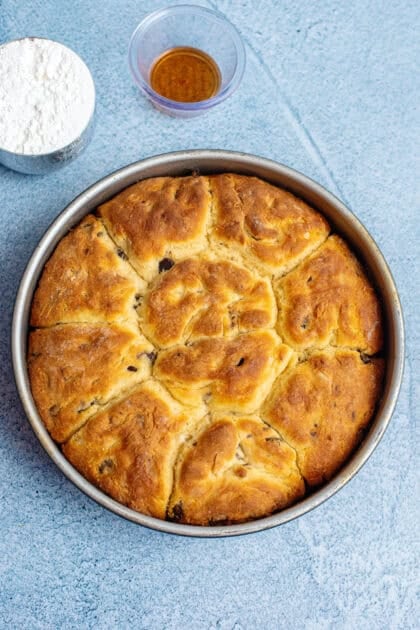
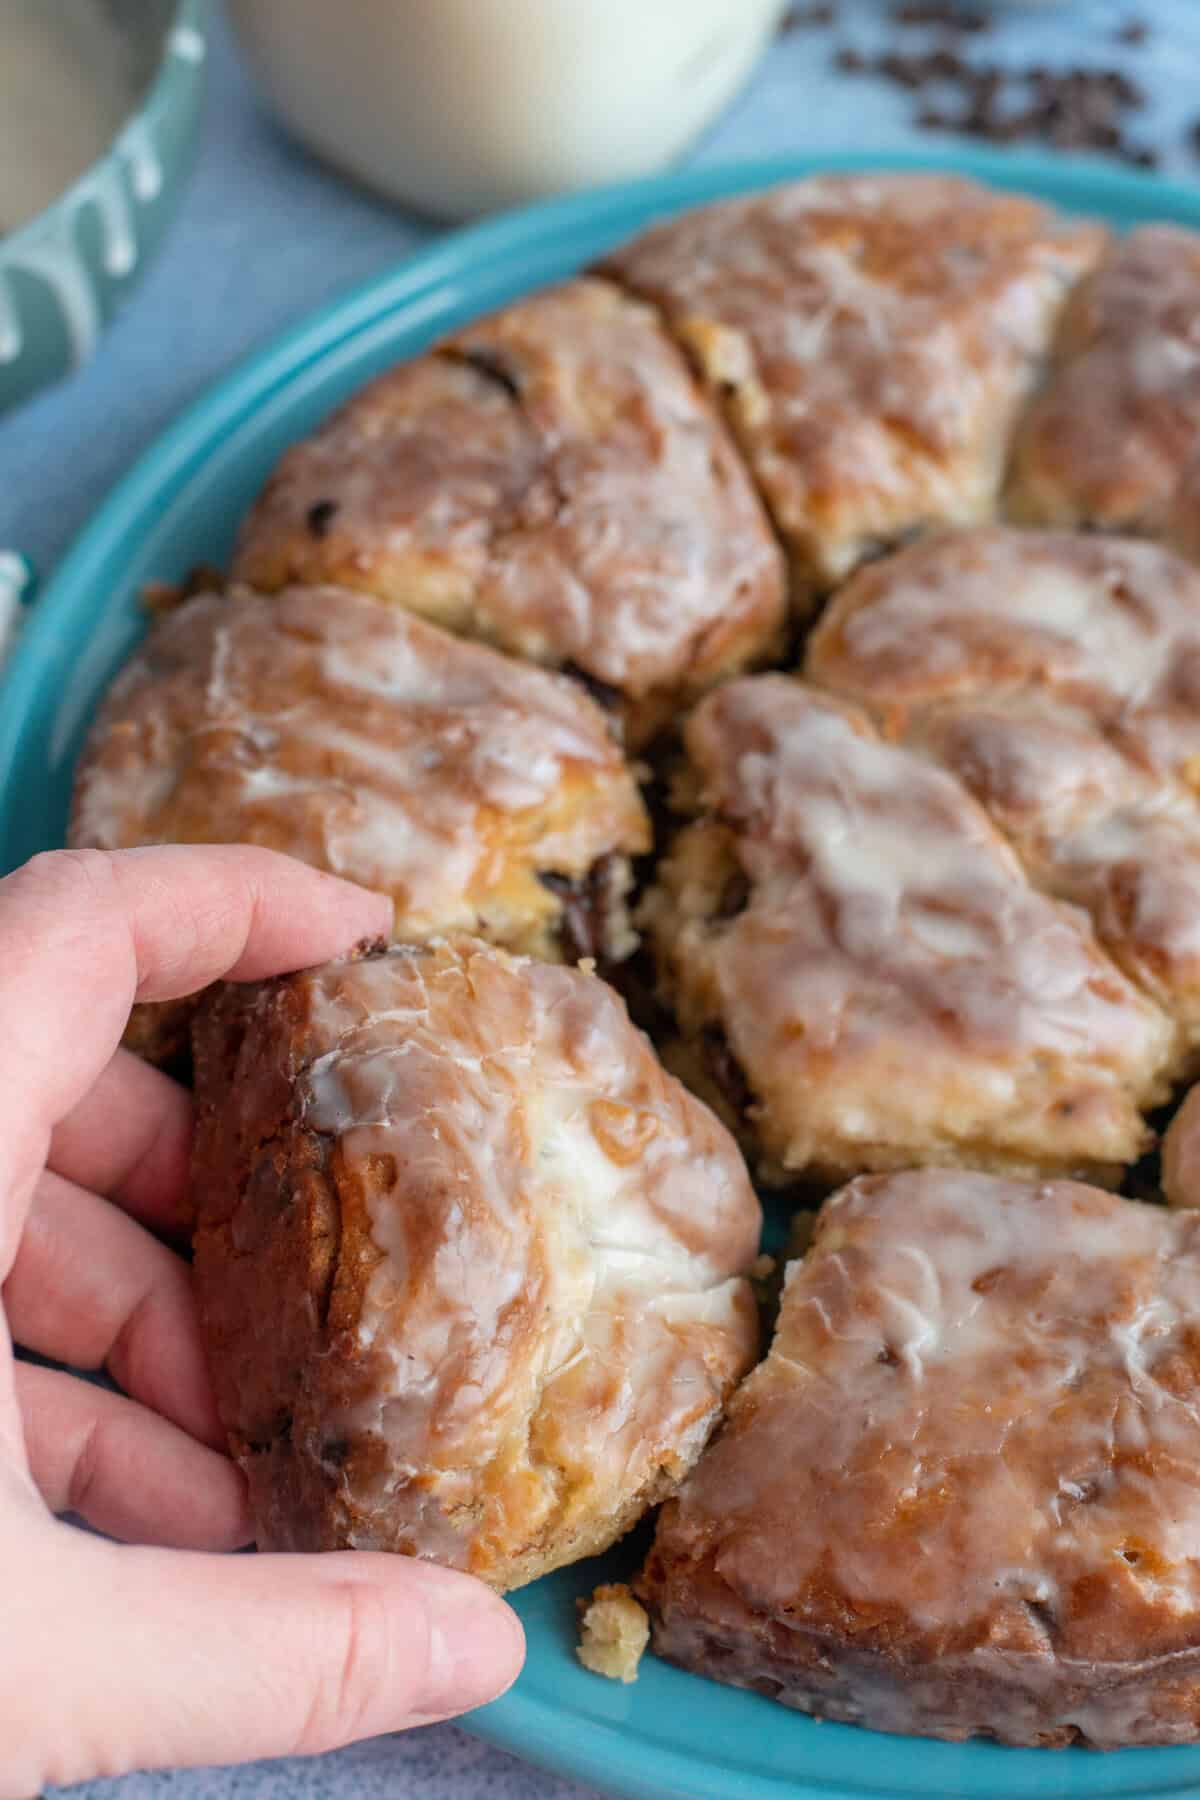
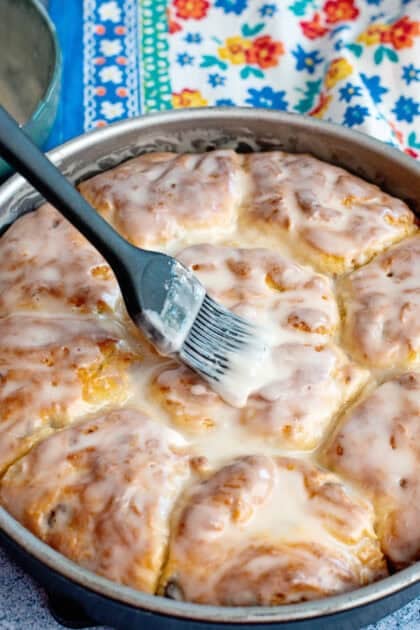
5. Glaze & Serve
Can’t forget the glaze! In a medium bowl, stir together the confectioner’s sugar, vanilla, and milk until smooth.
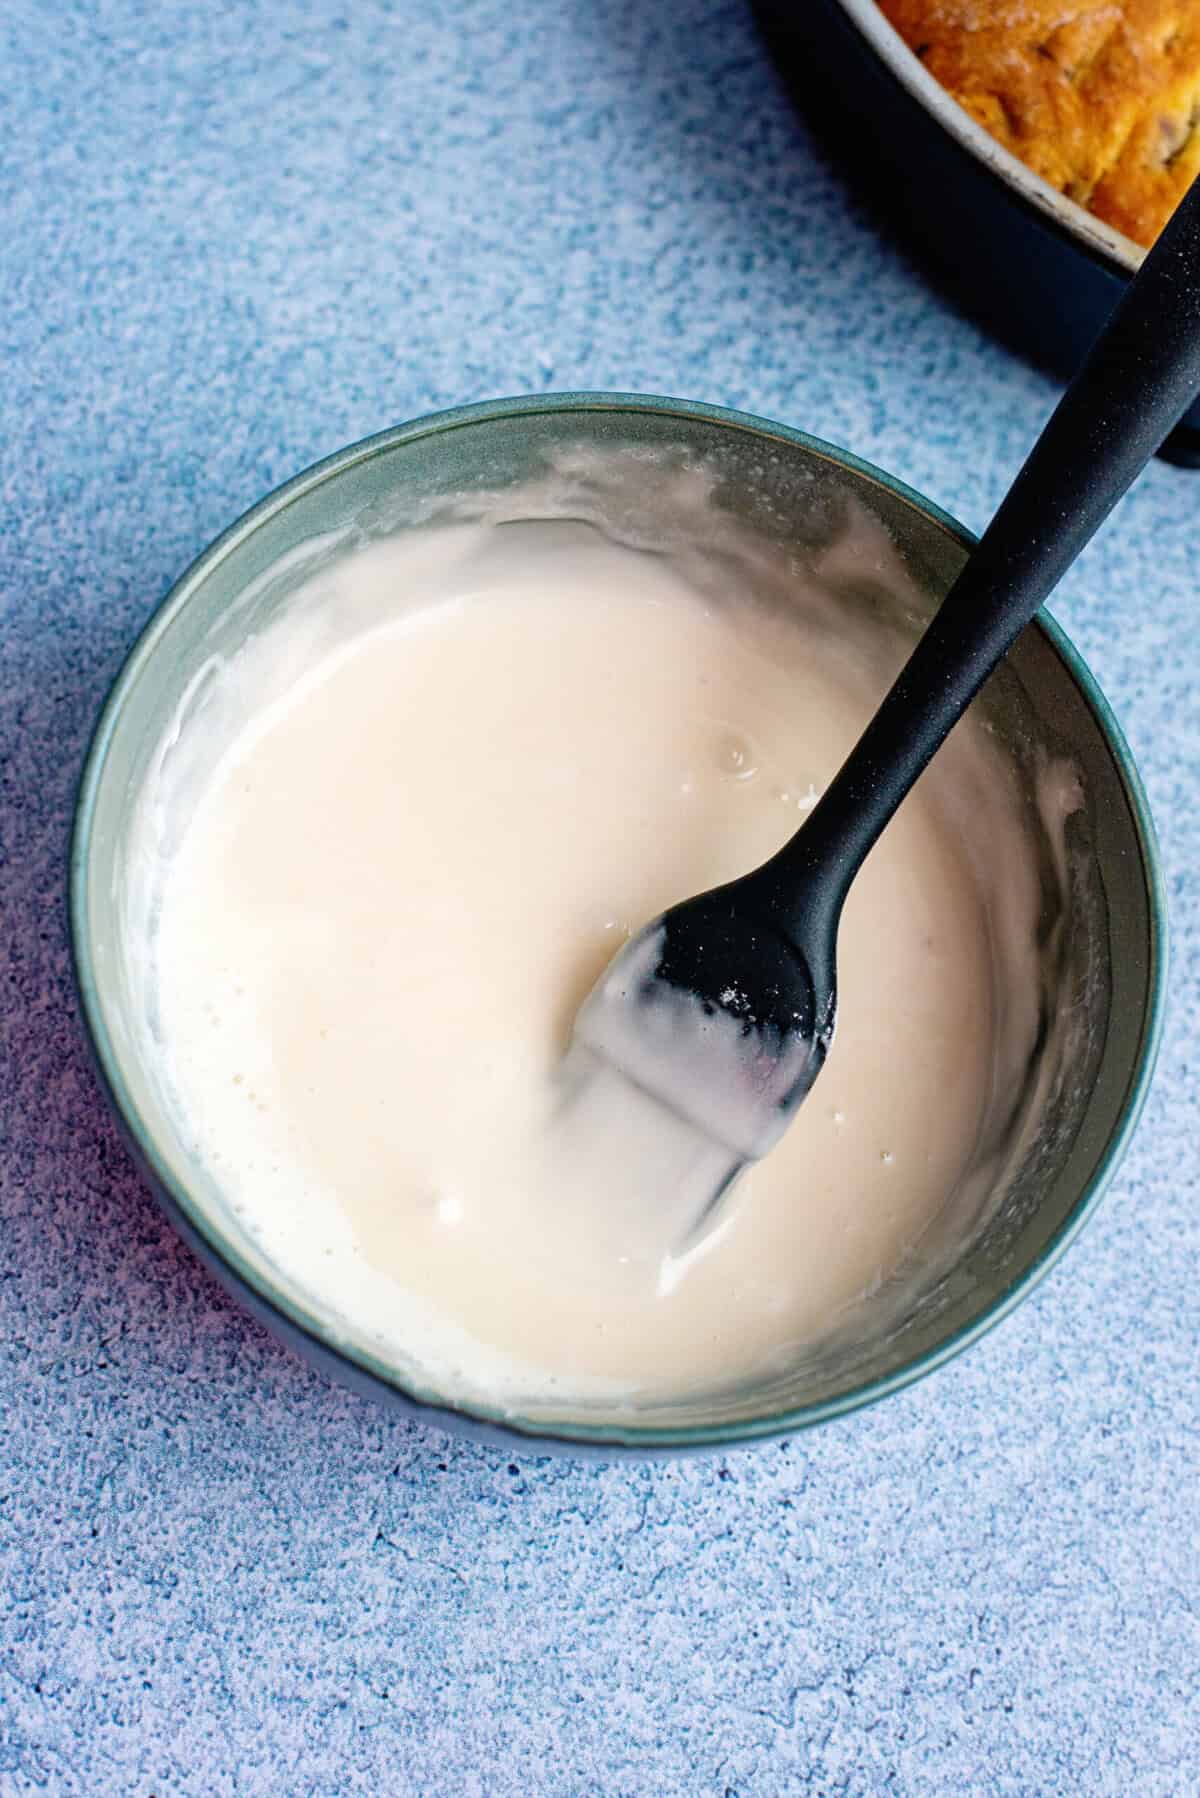
While still warm, brush the biscuits with glaze made from powdered sugar, vanilla, and milk. Let them cool on a wire rack for a few minutes before serving.
Storage
Store leftover chocolate chip biscuits in an airtight container at room temperature for 2–3 days. For longer storage, freeze them (without glaze) and reheat in a 350°F oven for 5–7 minutes.
You can also just keep them in the fridge for up to a week!
Recipe FAQs
To make your own self-rising flour, simply add 1.5 teaspoons of baking powder and 1/2 teaspoon of salt for each cup of all-purpose flour.
Yes! Just add 1 tablespoon of baking powder and ½ teaspoon of salt per cup of flour to make your own self-rising version.
You can use buttermilk in place of whole milk in this Southern biscuit recipe if you like. You can also add one tablespoon of vinegar or lemon juice to the amount of milk called for and stir, then let it sit for five minutes before using it to make your own buttermilk. Or you can just add whole milk and leave it be. It will be good either way.
Not at all. Dark chocolate, milk chocolate, or even peanut butter chips are all great options.
Make sure your butter is cold and the dough isn’t too wet. If needed, refrigerate the cut dough for 10 minutes before baking.
There are so many different ways to serve these puppies! Instead of the glaze, serve your chocolate chip biscuits with whipped cream (here’s our homemade recipe). Alternatively, go extra indulgent and add chocolate gravy to your homemade biscuit.
You may also like these biscuit recipes:
Ingredients
- 2.25 cups self-rising flour
- 1 cup of whole milk can add 1/4 cup more if it needs it
- 1/2 cup unsalted butter cold, cut into slices
- 1 cup semi-sweet chocolate chips
- 1/2 cup sugar
Glaze
- 1 cup confectioner’s sugar
- 1 teaspoon vanilla extract or butter flavoring
- 1 tablespoon whole milk
Instructions
- In a large bowl, place the flour and cold butter slices. Cut the butter into the flour with a fork, pastry blender, or pastry cutter until fully incorporated, and it resembles lumpy flour. Place this bowl in the refrigerator for 10 minutes.
- After 10 minutes have passed, stir the sugar and chocolate chips into the flour mixture until well blended. Add milk and stir just until moistened (can add 1/4 cup more milk if need be).
- Turn the dough out onto a lightly floured surface. Dip your palms in flour and pat the dough out into a rectangular shape. Gently fold the right side over onto the middle of the rectangle. Fold the left side over on top of the folded right side, like you are folding a piece of paper to put into an envelope.
- Pat this out again into a rectangle and repeat the folding process once more.
- Dip a juice glass or biscuit cutter into flour and cut out the biscuits. Place biscuits in a lightly greased cake pan with their sides touching. Bake at 450 for 14-16 minutes or until lightly golden brown on top.
To make the glaze
- Stir together the confectioner’s sugar, vanilla, and milk until smooth. Brush over the top of the biscuits. Allow them to sit for a few minutes before serving.
My dough also turned out more like cake batter – I couldn’t even knead or roll out or anything. Is there a typo in the recipe? My kids are looking forward to trying this recipe again!
No type-o’s, this is the exact recipe I use. However, this is a much softer biscuit batter than the traditional ones. Depending on the flour you use, it may absorb milk more or less than others (and even brands vary by batches). If you try it again and have the same problem, add in another 1/4 cup of flour and let it sit for a minute or two so it can absorb the milk. Then, generously flour your surface before turning it out and make sure you pat your hands in flour, too, as they will stick like nothing else! lol
I’m terribly sorry you had a problem with this recipe though! And also, this batter isn’t really the type that you roll out or knead, so make sure you avoid both of those actions. Just pat it out and then fold it over into itself like I talk about in the post. Your hands are all you need here 🙂
These look soooo good!! Pinned! Thanks so much Christy…:)
I hope you get to try them soon Debbie!!
My dough turned out more batter like..just wondering if it was supposed to be that way? I made it work..just wondering. Your recipes always work perfectly, so maybe I measured something wrong.
It should be thicker than batter but it is *much* softer than traditional biscuit dough. How did they turn out?
They turned out great.. I think I was just being paranoid. Thanks! Will definitely be making them again. 🙂
These look so good!! I will making these for sure. Thanks so much for all of the good food.
I hope you enjoy them Jacqueline!!
They remind me of the old Hardee’s cinnamon & raisin biscuits, only better. Thanks to you I have nearly mastered biscuit making & they turn out pretty high instead of “pie crust wanna-be’s.” I am going to try this. It’s like my biscuit making final exam! Wish me luck! 🙂
LOL, you got this Lori!! 😉
Christy, although I haven’t tried this recipe yet, I do the fold over kneading also (learning on your site). but with each fold over I spread a lite layer of room temp butter then sprinkle cinnamon sugar before folding. It gives it that layer effect of canned biscuits. Also replace the CC with raisins. I make square biscuits so that I don’t have the scraps to rework. Then refrigerate the dough for 20 minutes before preheating the oven to make sure the butter has become cold again.
I bet they are wonderful MaryAnn!!
These look amazing! Would these be good frozen then reheated and how would I go about that? Freeze before or after baking. We are going on vacay in a month and I would love to make and freeze these now to take with us. Thoughts?
I haven’t ever frozen them but it should work, they just never last that long in my house. Let me know if you try it!
I have made these several times. They are delicious! I would like to try making them ahead and freezing them. Would it be better to freeze them before baking or after baking? Any tips on freezing these would be appreciated.