
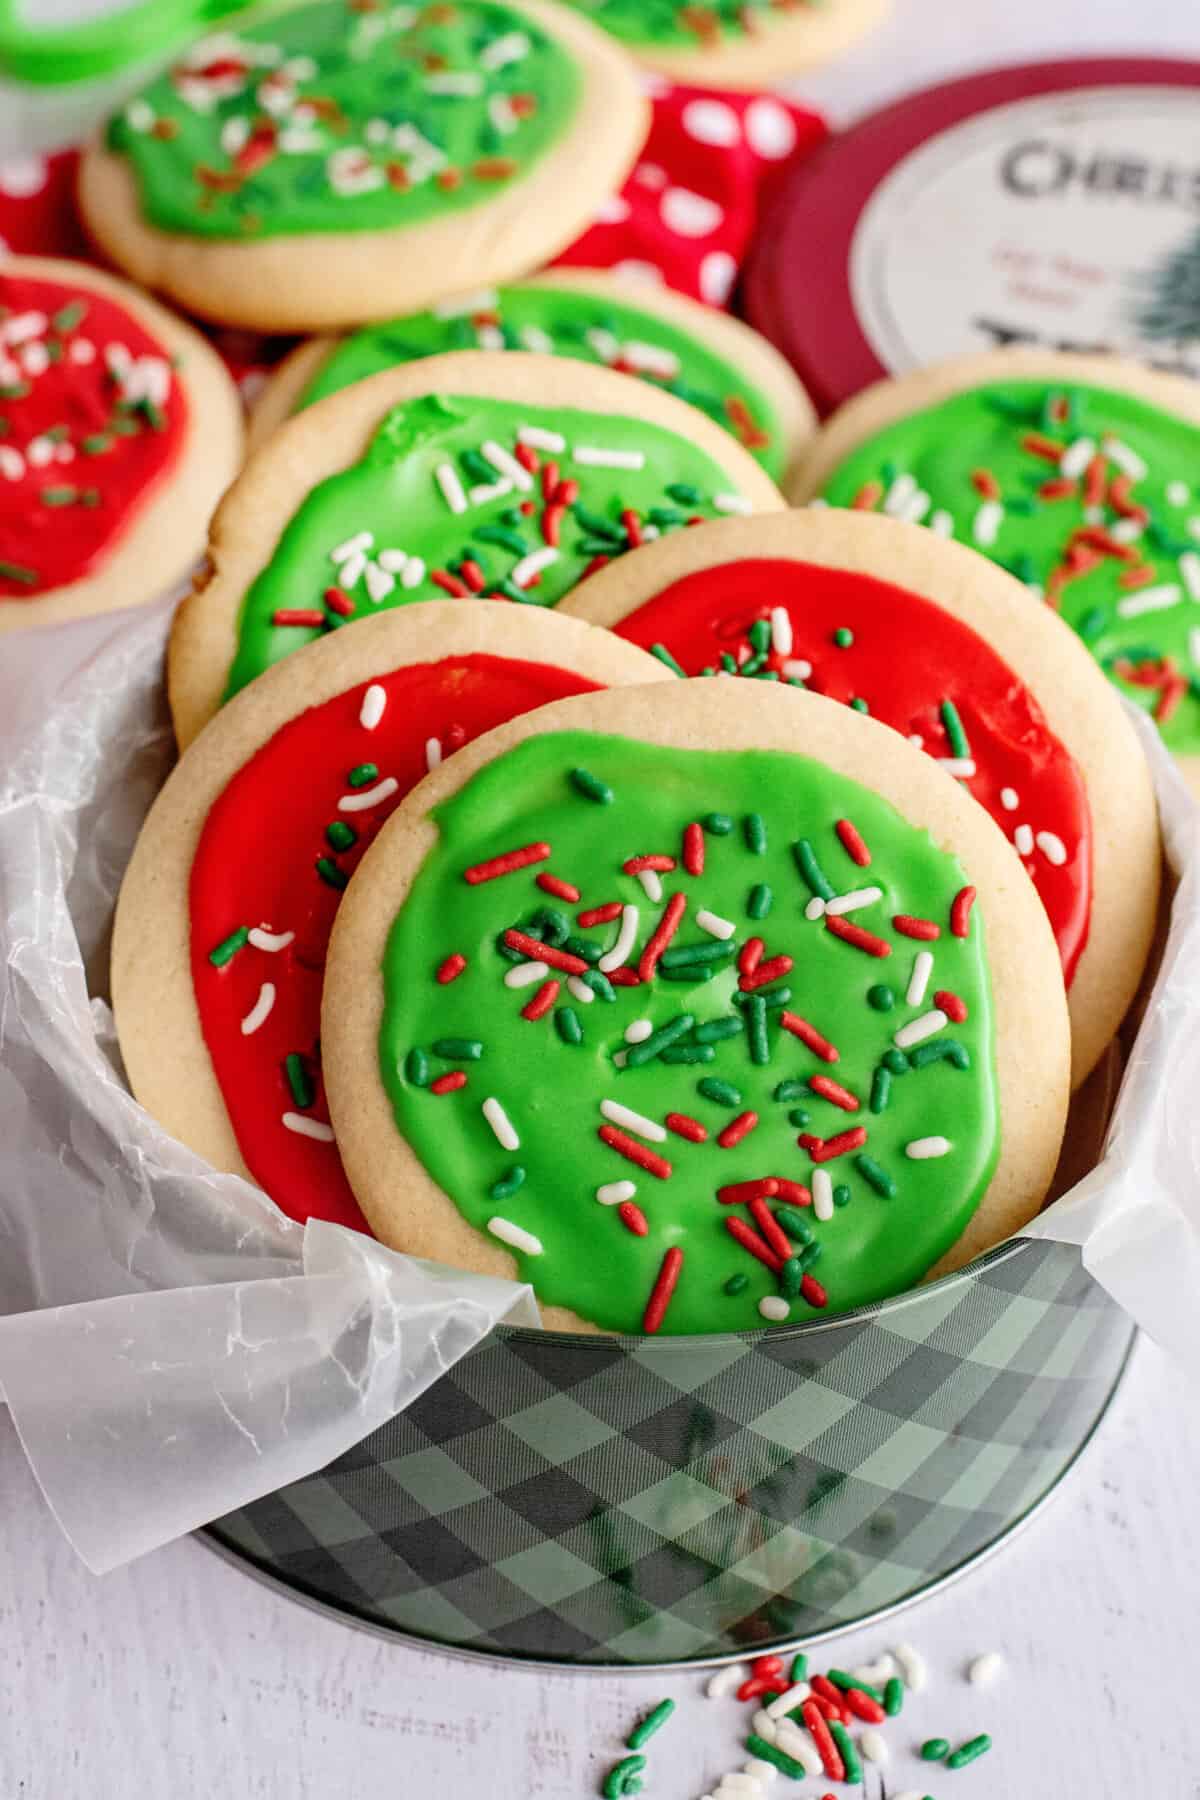
Christmas Cutout Cookies
What happens when you take sweet sugar cookies, cut the dough using Christmas cookie cutters, and add red and green icing? You get Christmas cutout cookies, a must-make cookie recipe these holidays.
A Quick Look At The Recipe
- Recipe Name: Christmas Cutout Cookies
- Serves: 24 cookies
- Main Ingredients: shortening, granulated sugar, vanilla extract, egg, milk, plain flour, baking powder, salt
- Why You'll Love It: What happens when you take sweet sugar cookies, cut the dough using Christmas cookie cutters, and add red and green icing? You get Christmas cutout cookies.
Throughout my childhood, this was our one must-have sugar cookie recipe for cookie decorating. Mama would make a huge batch so we all had plenty to decorate. She cut them into shapes of trees, stars, and reindeer and each of us got our own platter full. She mixed up red, green, and yellow icing and always had plenty of sprinkles to go on top. They will be “wet” right after icing and decorating but if you wait an hour or so they will dry enough to be stacked in a cookie jar.
Our Christmas cutout cookies start with a simple sugar cookie recipe. I bet you already have most of the ingredients at home right now: milk, shortening, baking powder, vanilla extract, salt, sugar, flour, and eggs. We just need to combine the wet ingredients, combine the dry ingredients in a separate mixing bowl, and then mix them both together. Once the dough has chilled for at least an hour, it’s time to roll it out and put our Christmas cookie cutters to the test!
The sugar cookies bake for less than 10 minutes. Then we have to wait just a little bit longer before we get to the fun part: Christmas decorations! Make as many different icing flavors as you like, go wild on the Christmas sprinkles, and most importantly, have fun decorating your Christmas cutout cookies.
My best holiday memories as a child were decorating these cookies and all of the other little arts and crafts that Mama did with us to help make the house festive. It seemed we were always busy, up to something and having a wonderful time together. So I hope you make a new holiday tradition in your house with these Christmas cutout cookies. Santa will love them.
If you want to make some other delicious Christmas desserts check out some of my other recipes like Bon Bons With Coconut, Homemade Fudge With Variations, Snowman Oreo Balls, Cream Cheese Mints, and Spritz Cookies.
What You’ll Need to Make Christmas Cut Out Cookies:
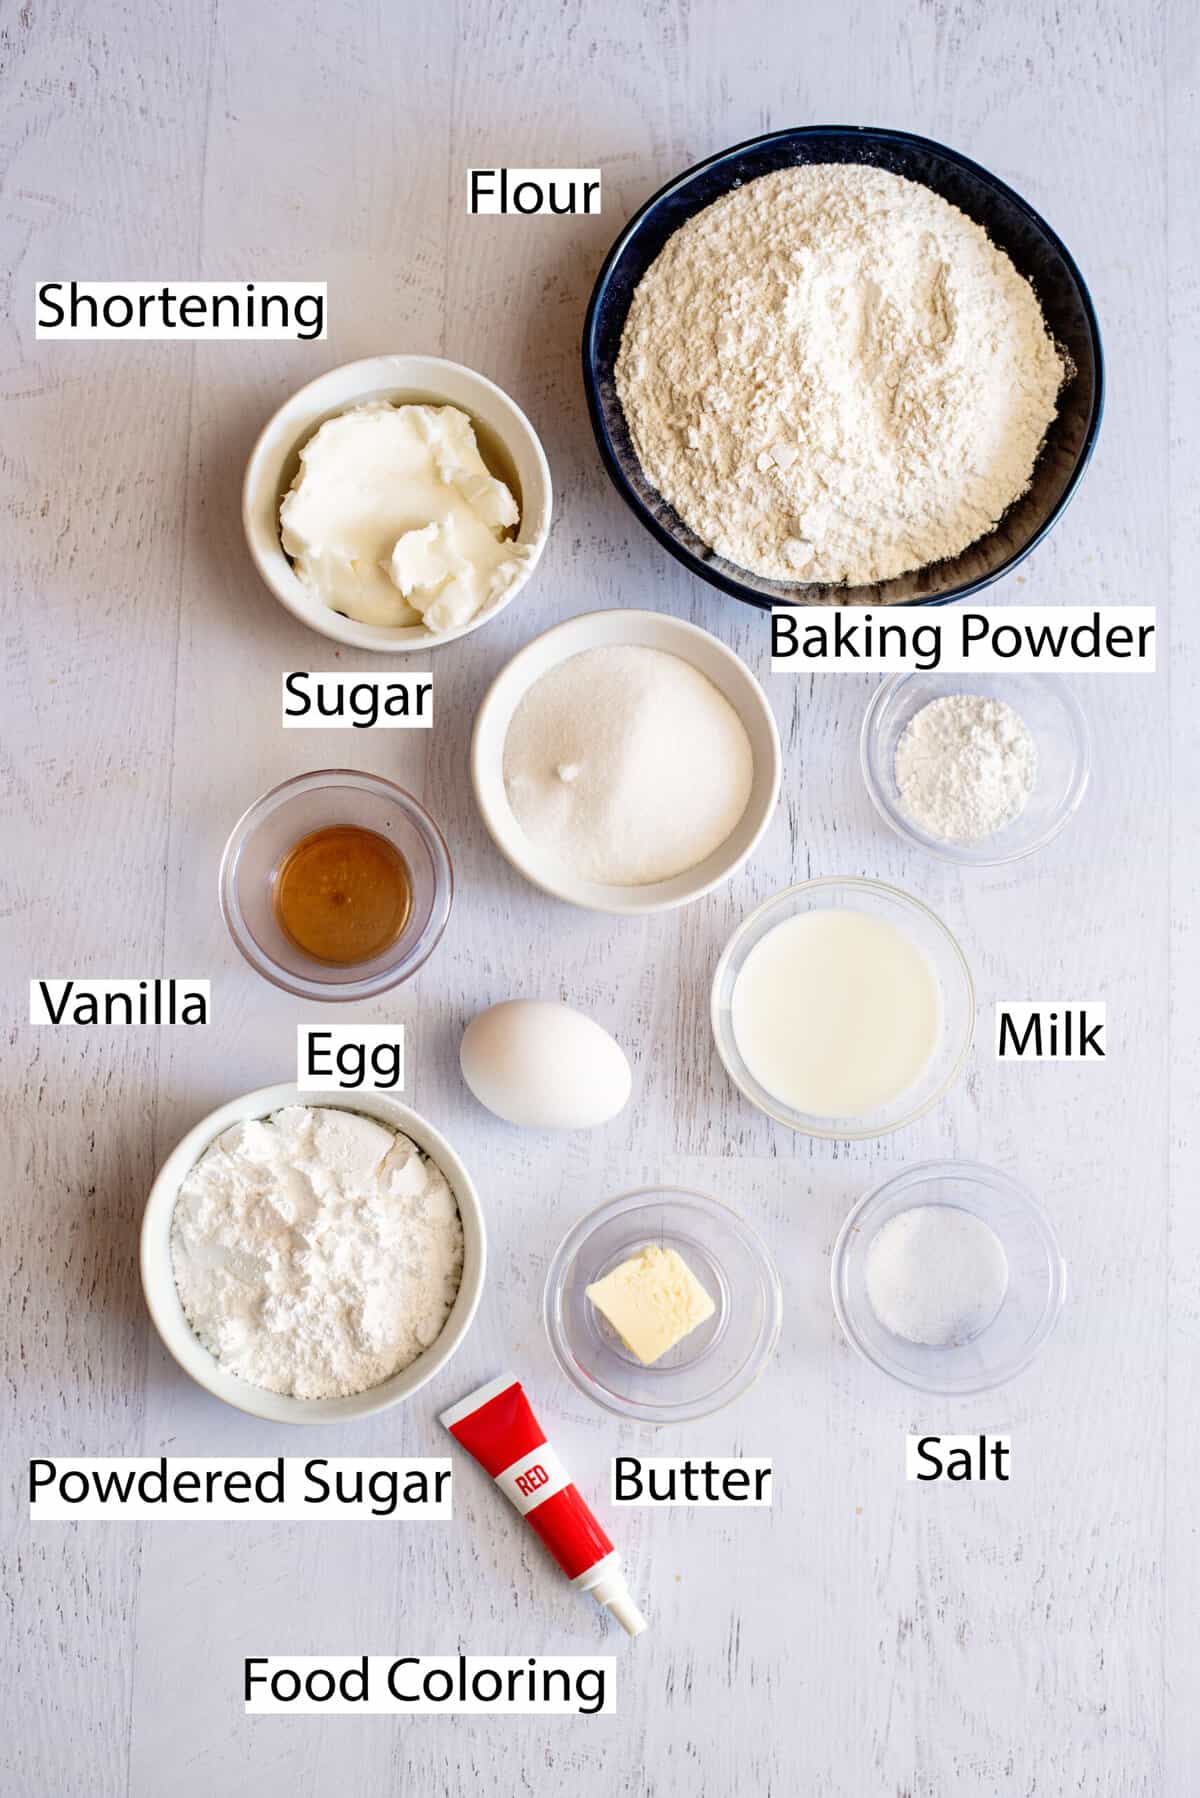
- Milk
- Vegetable shortening
- Baking powder
- Vanilla extract
- Salt
- Granulated sugar
- All-purpose flour
- Eggs
Helpful Kitchen Tools
How to Make Christmas Cutout Cookies
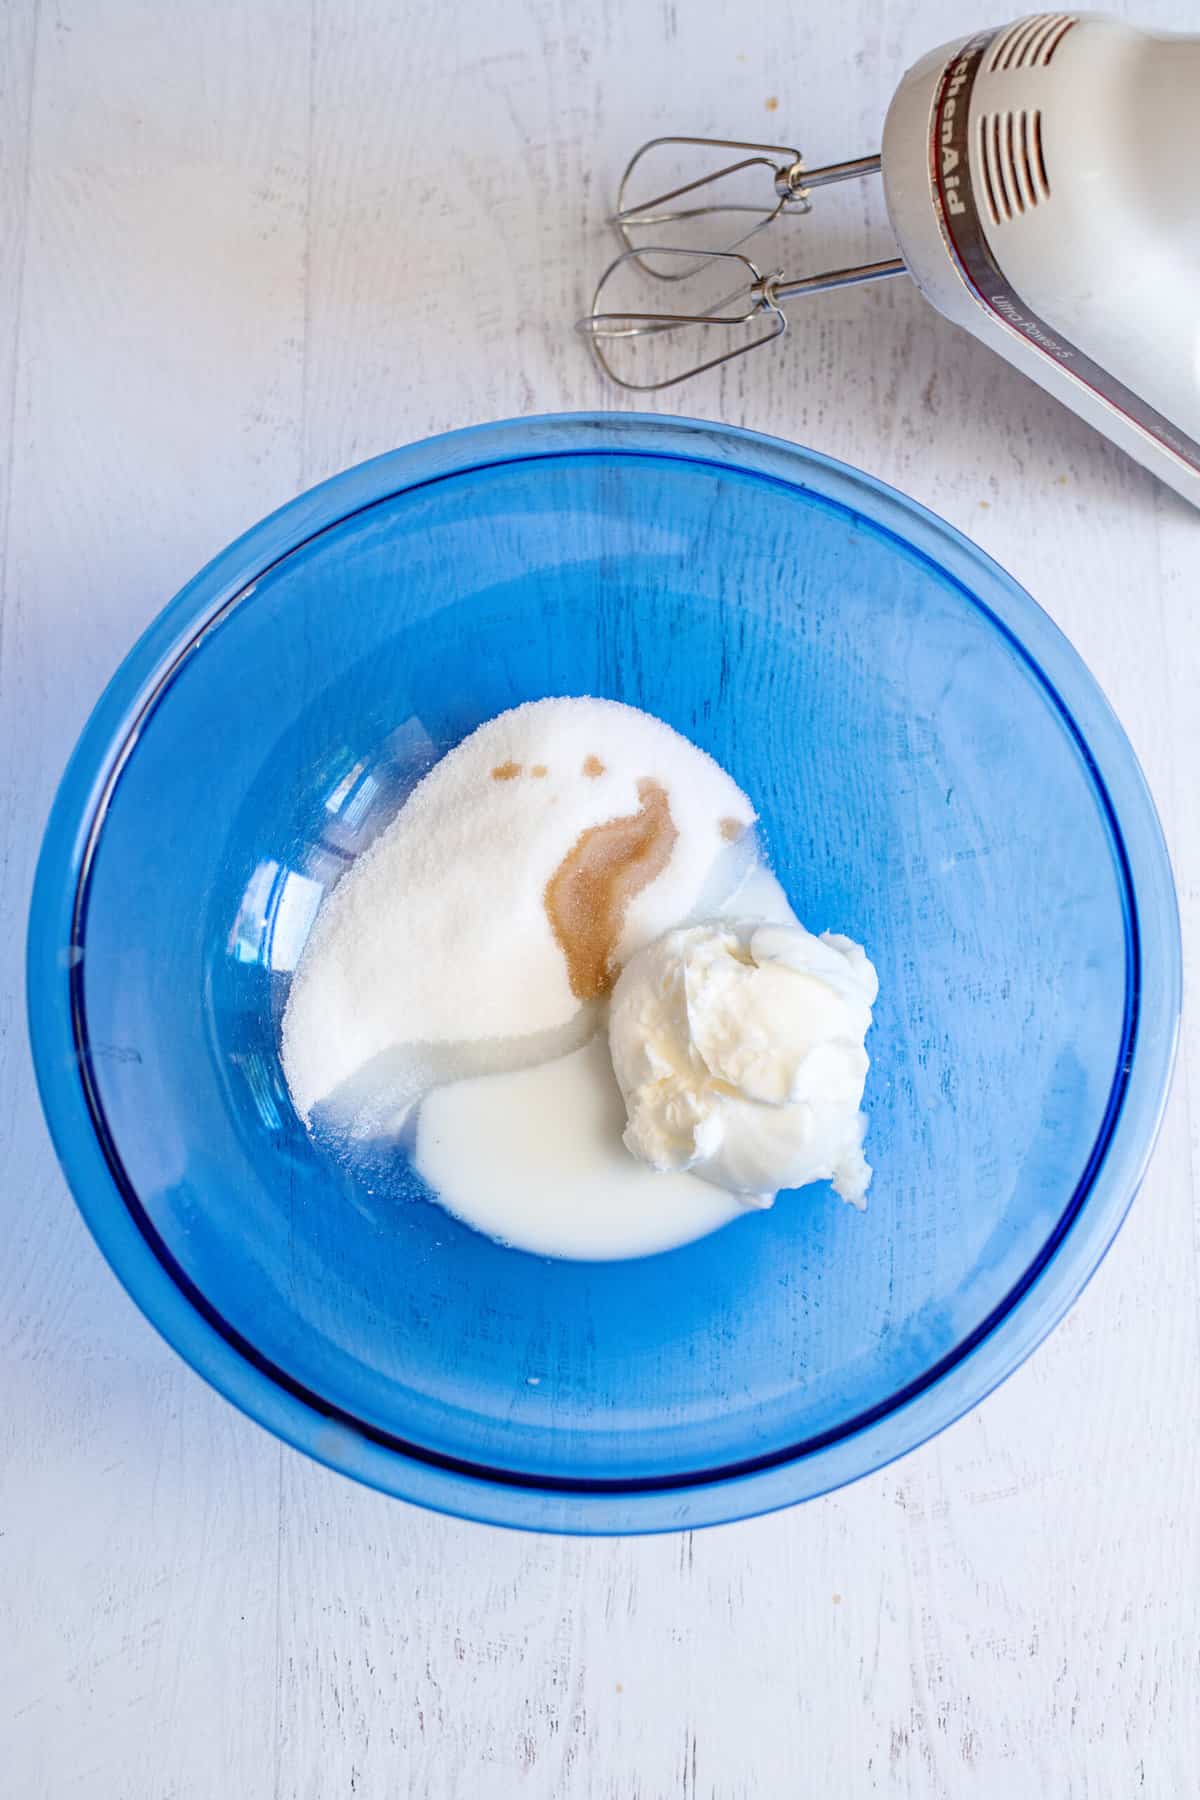
Prep the cookie dough
Combine sugar, shortening, milk, and vanilla in a mixing bowl.

Cream together. Add eggs and mix well.
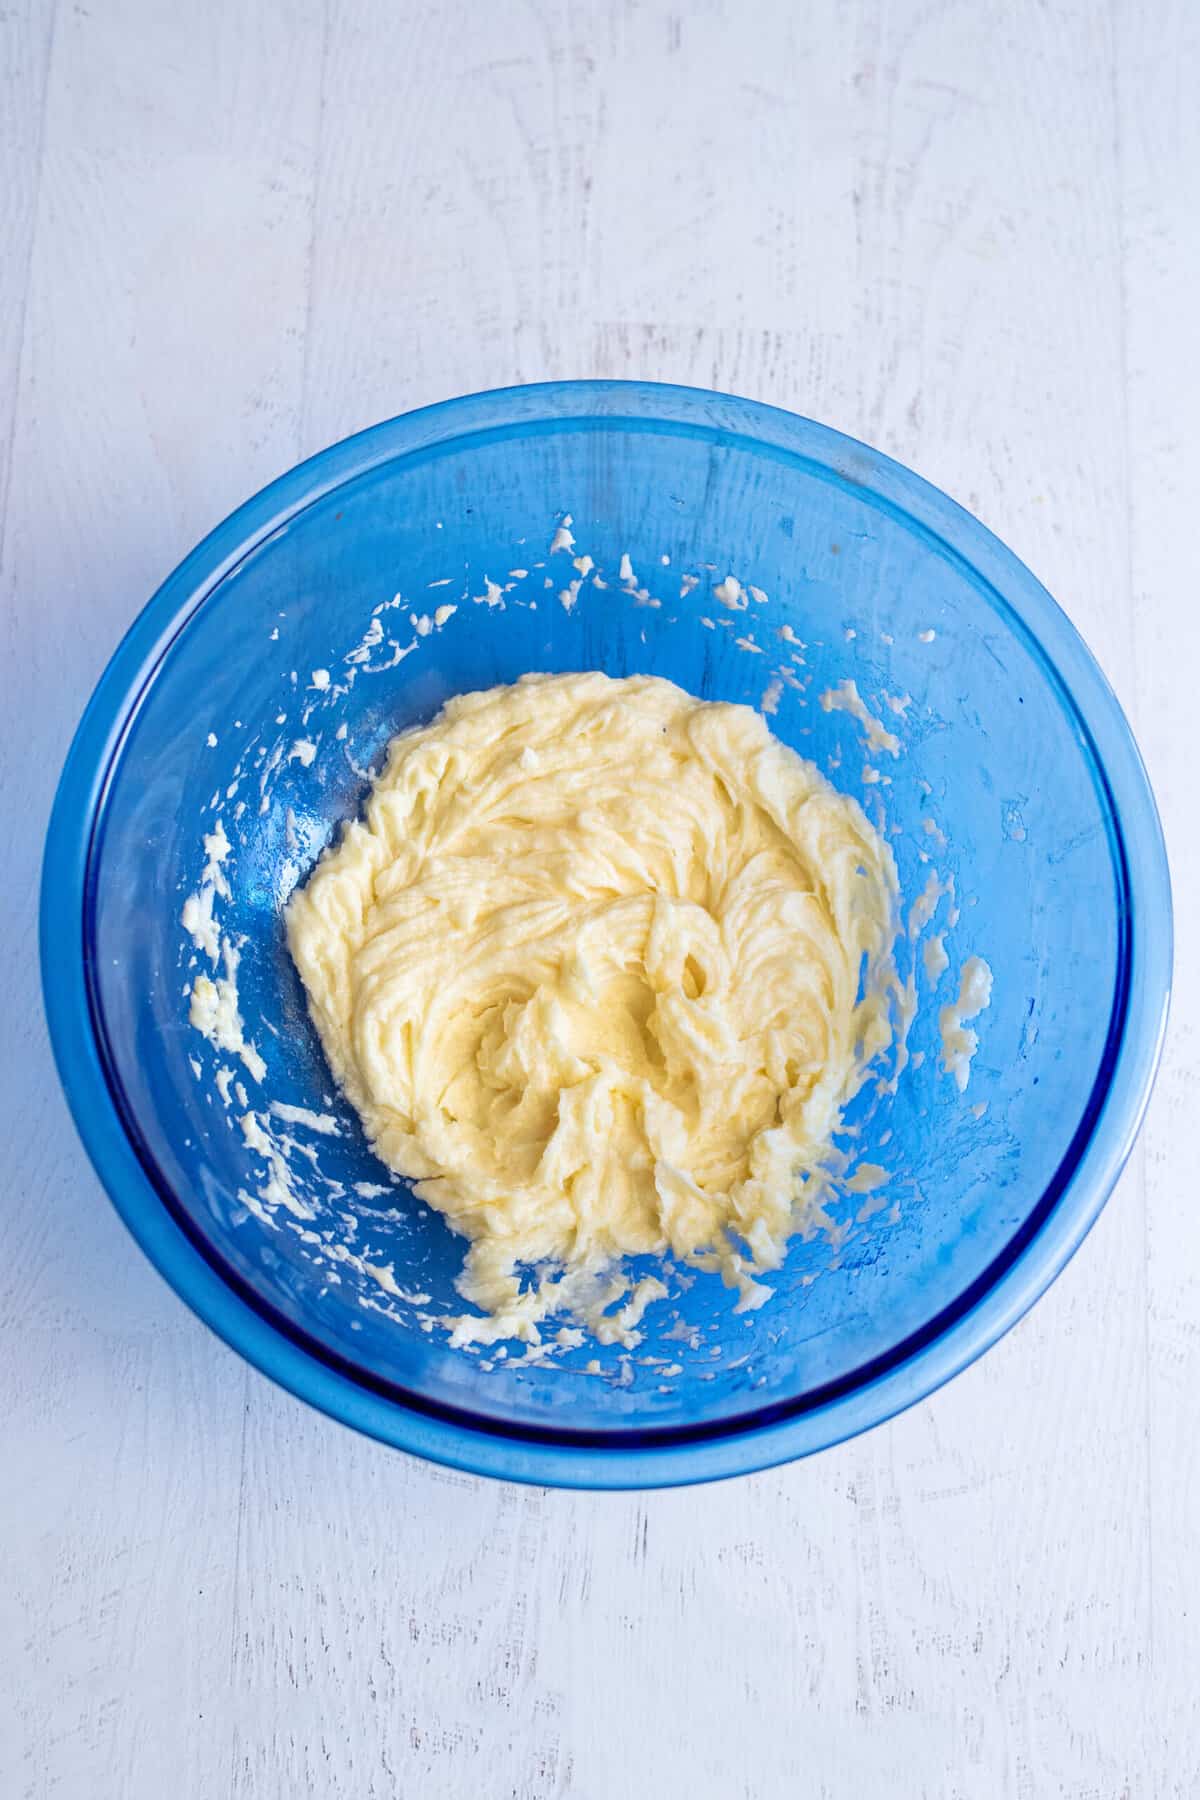
The cookie dough will look like this.
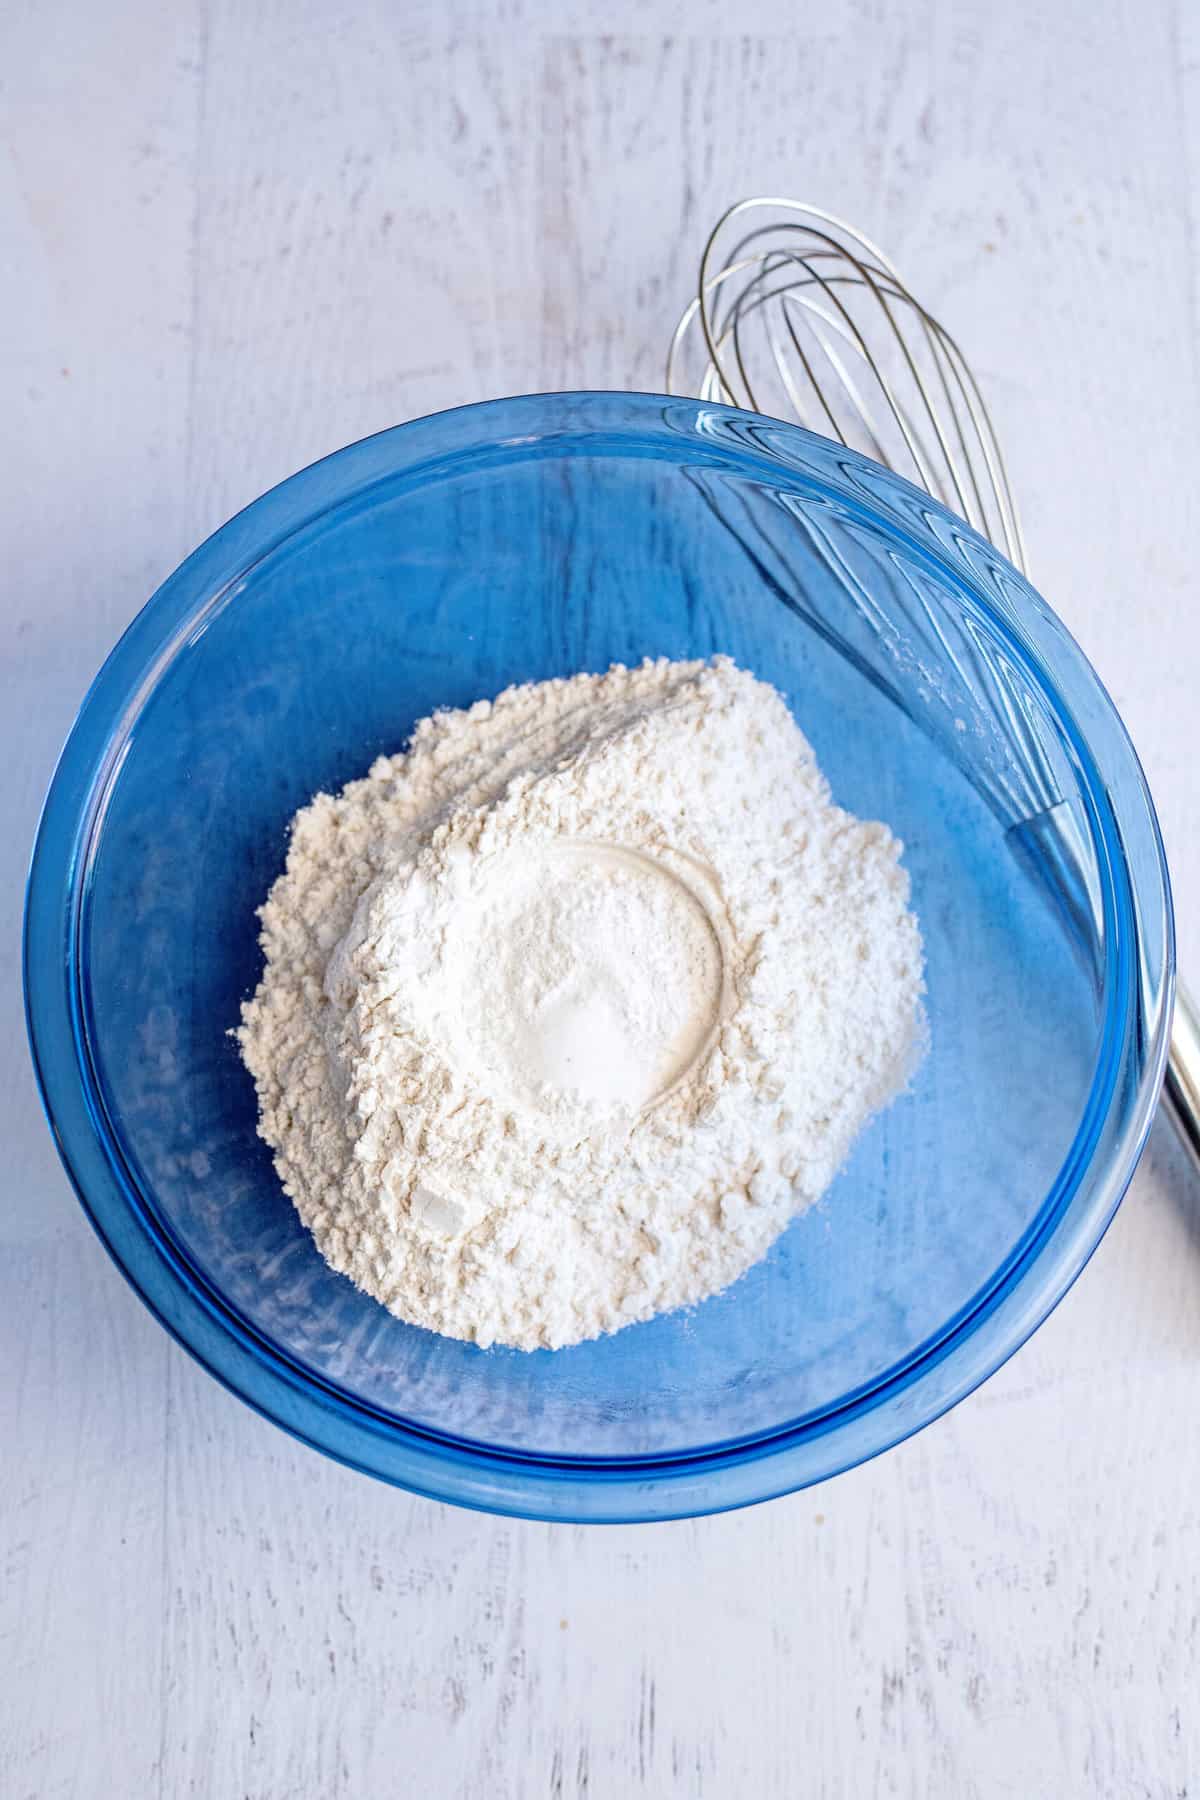
In a separate bowl, add flour, baking powder and salt.
Whisk those dry ingredients together until combined.
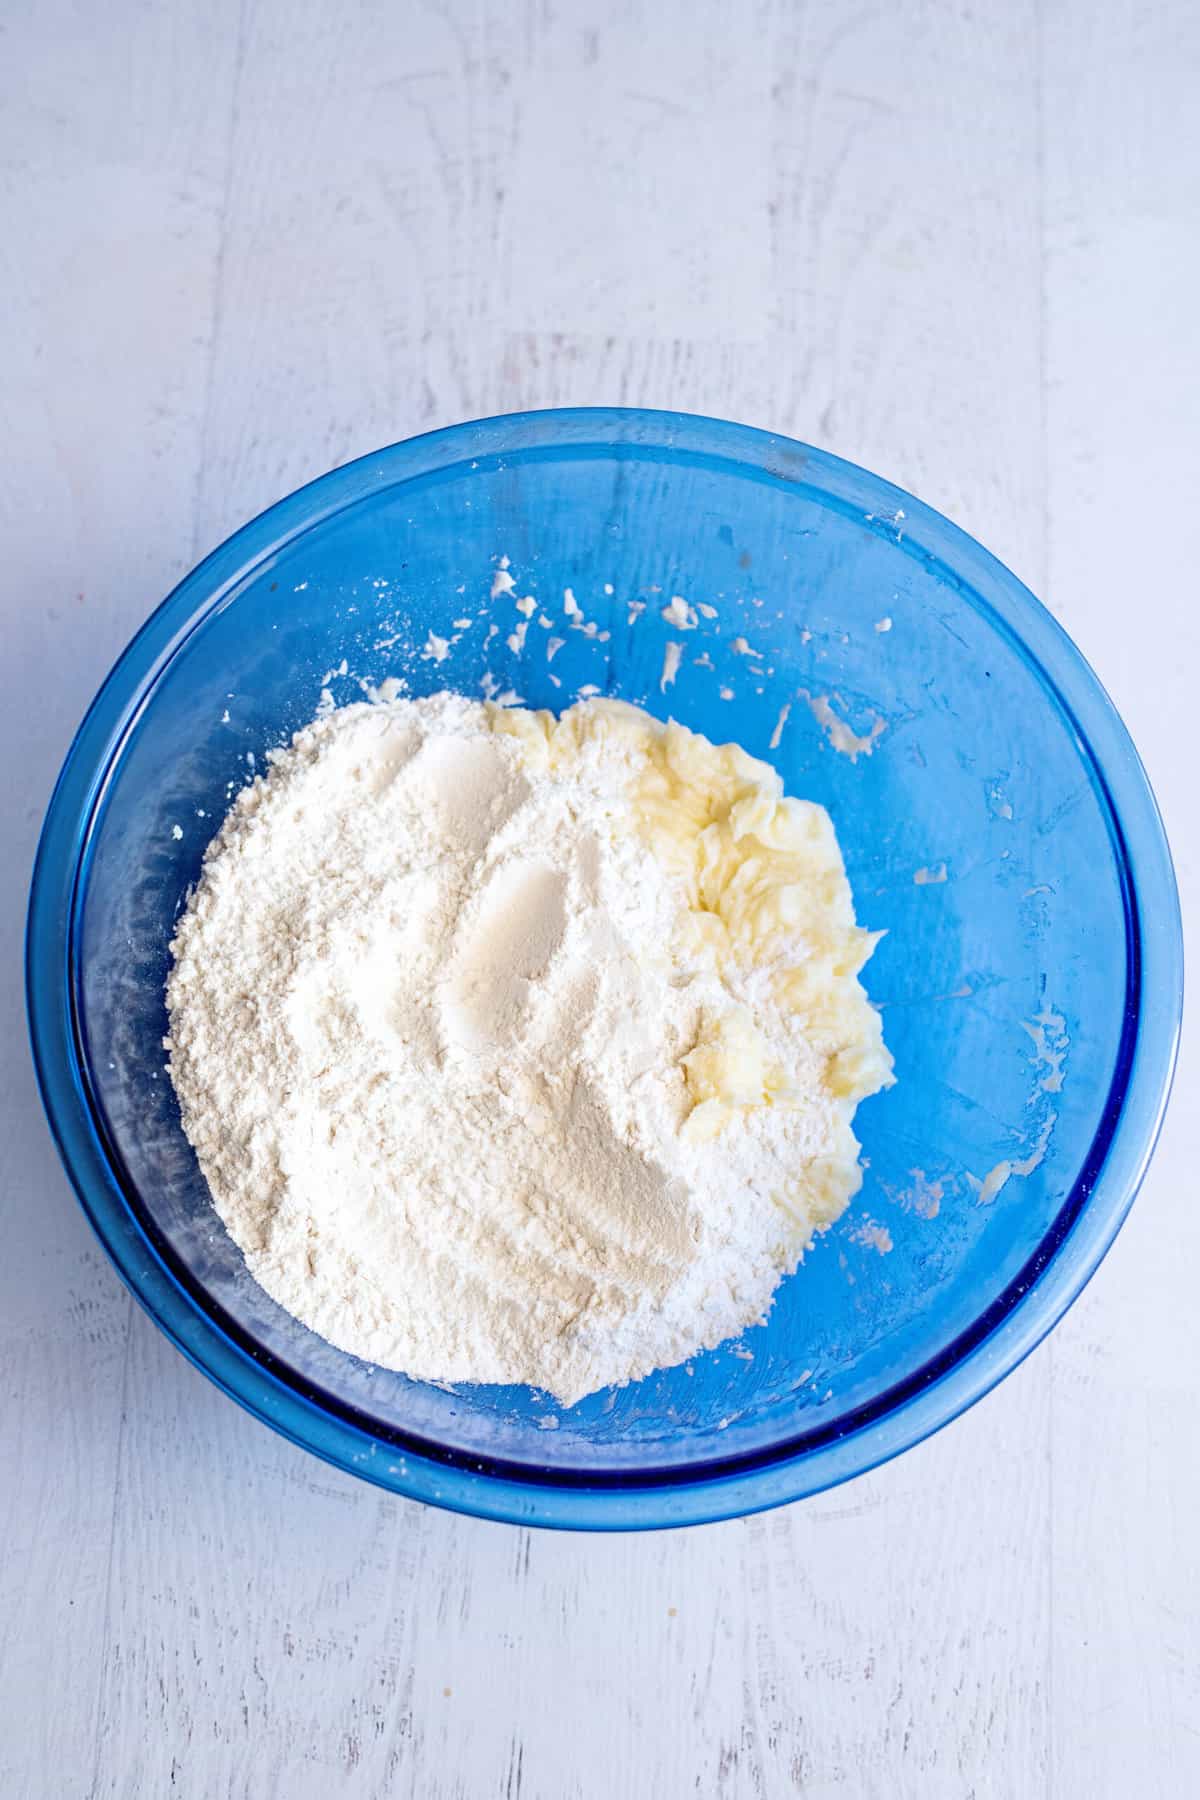
Add the dry ingredients to your wet ingredients, and mix until well-combined.

Divide…
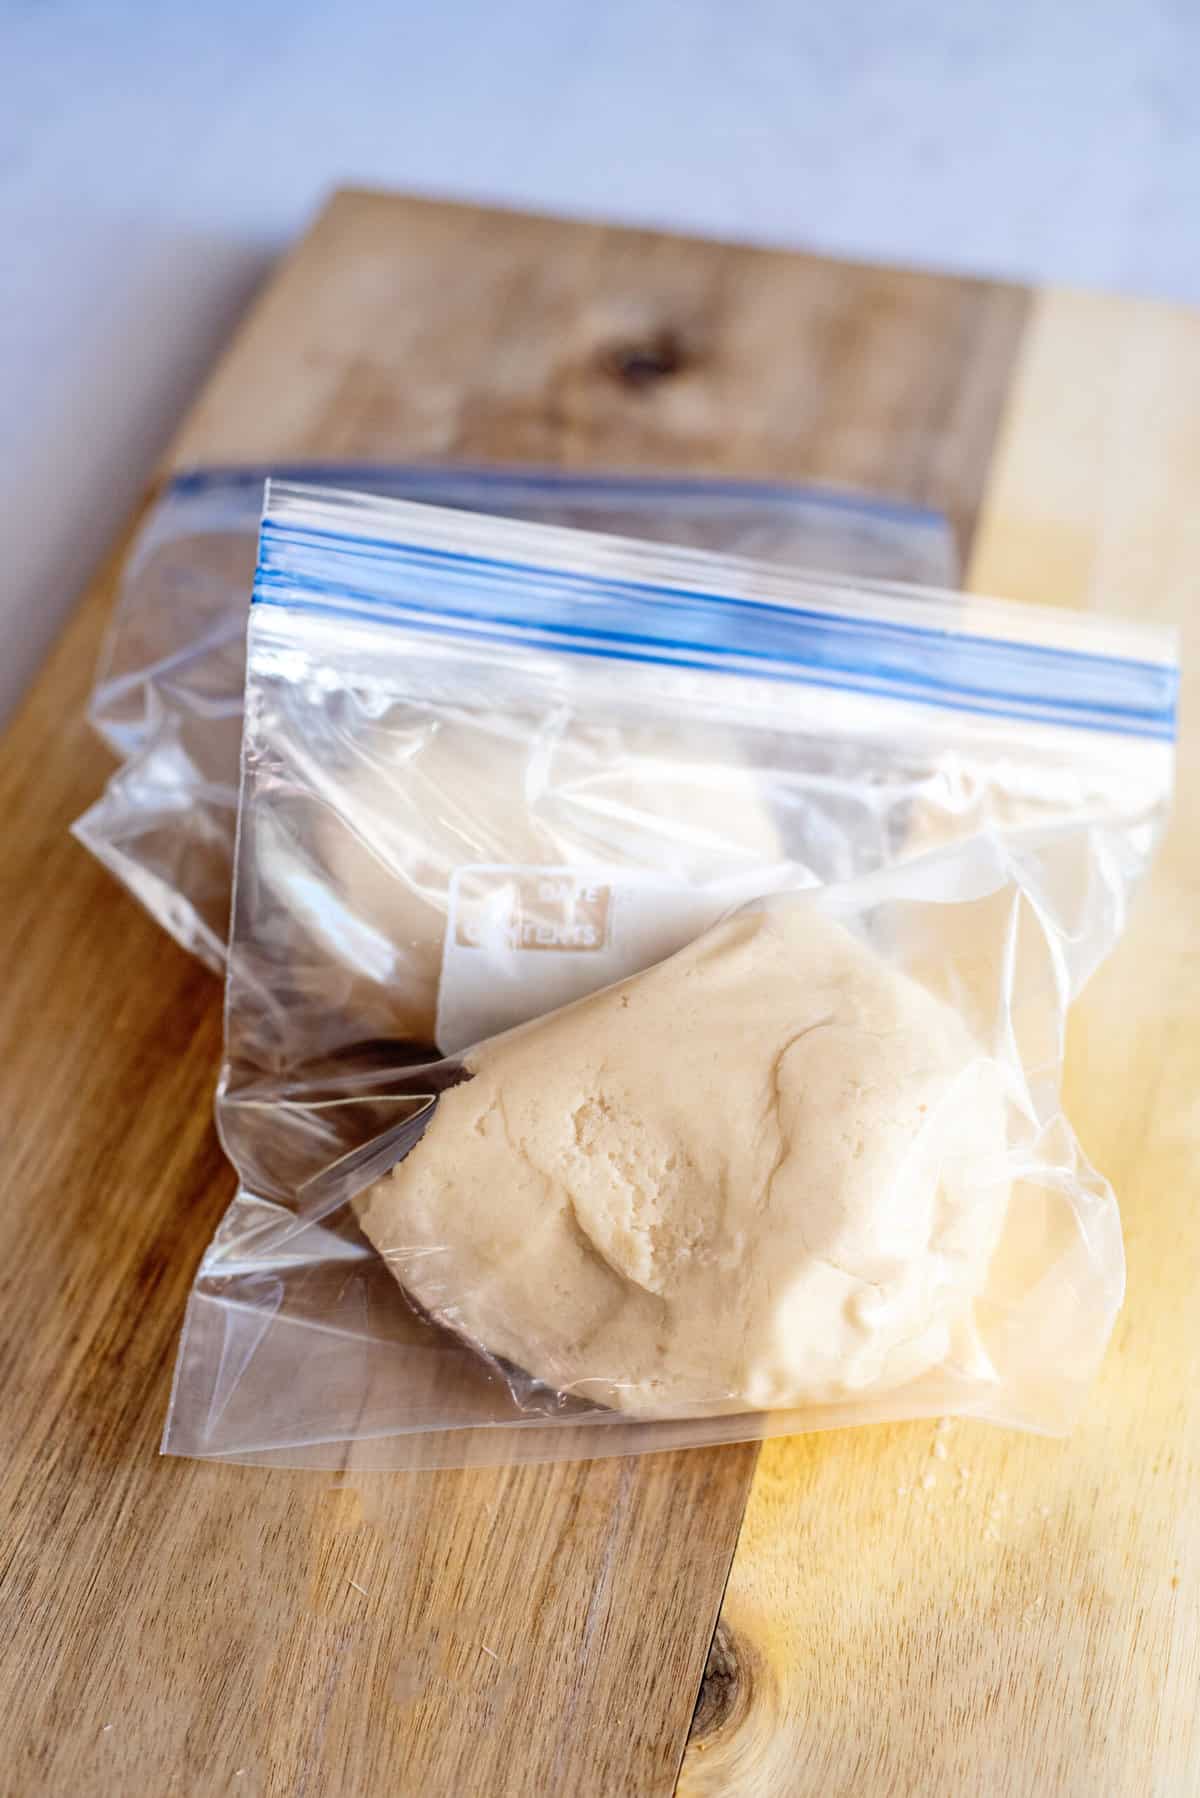
and refrigerate the dough for at least one hour. I just put mine in sandwich bags.
**If you are in a hurry, pop it in the freezer for about 15 minutes and it will be just fine.
Making the Cutout Cookies
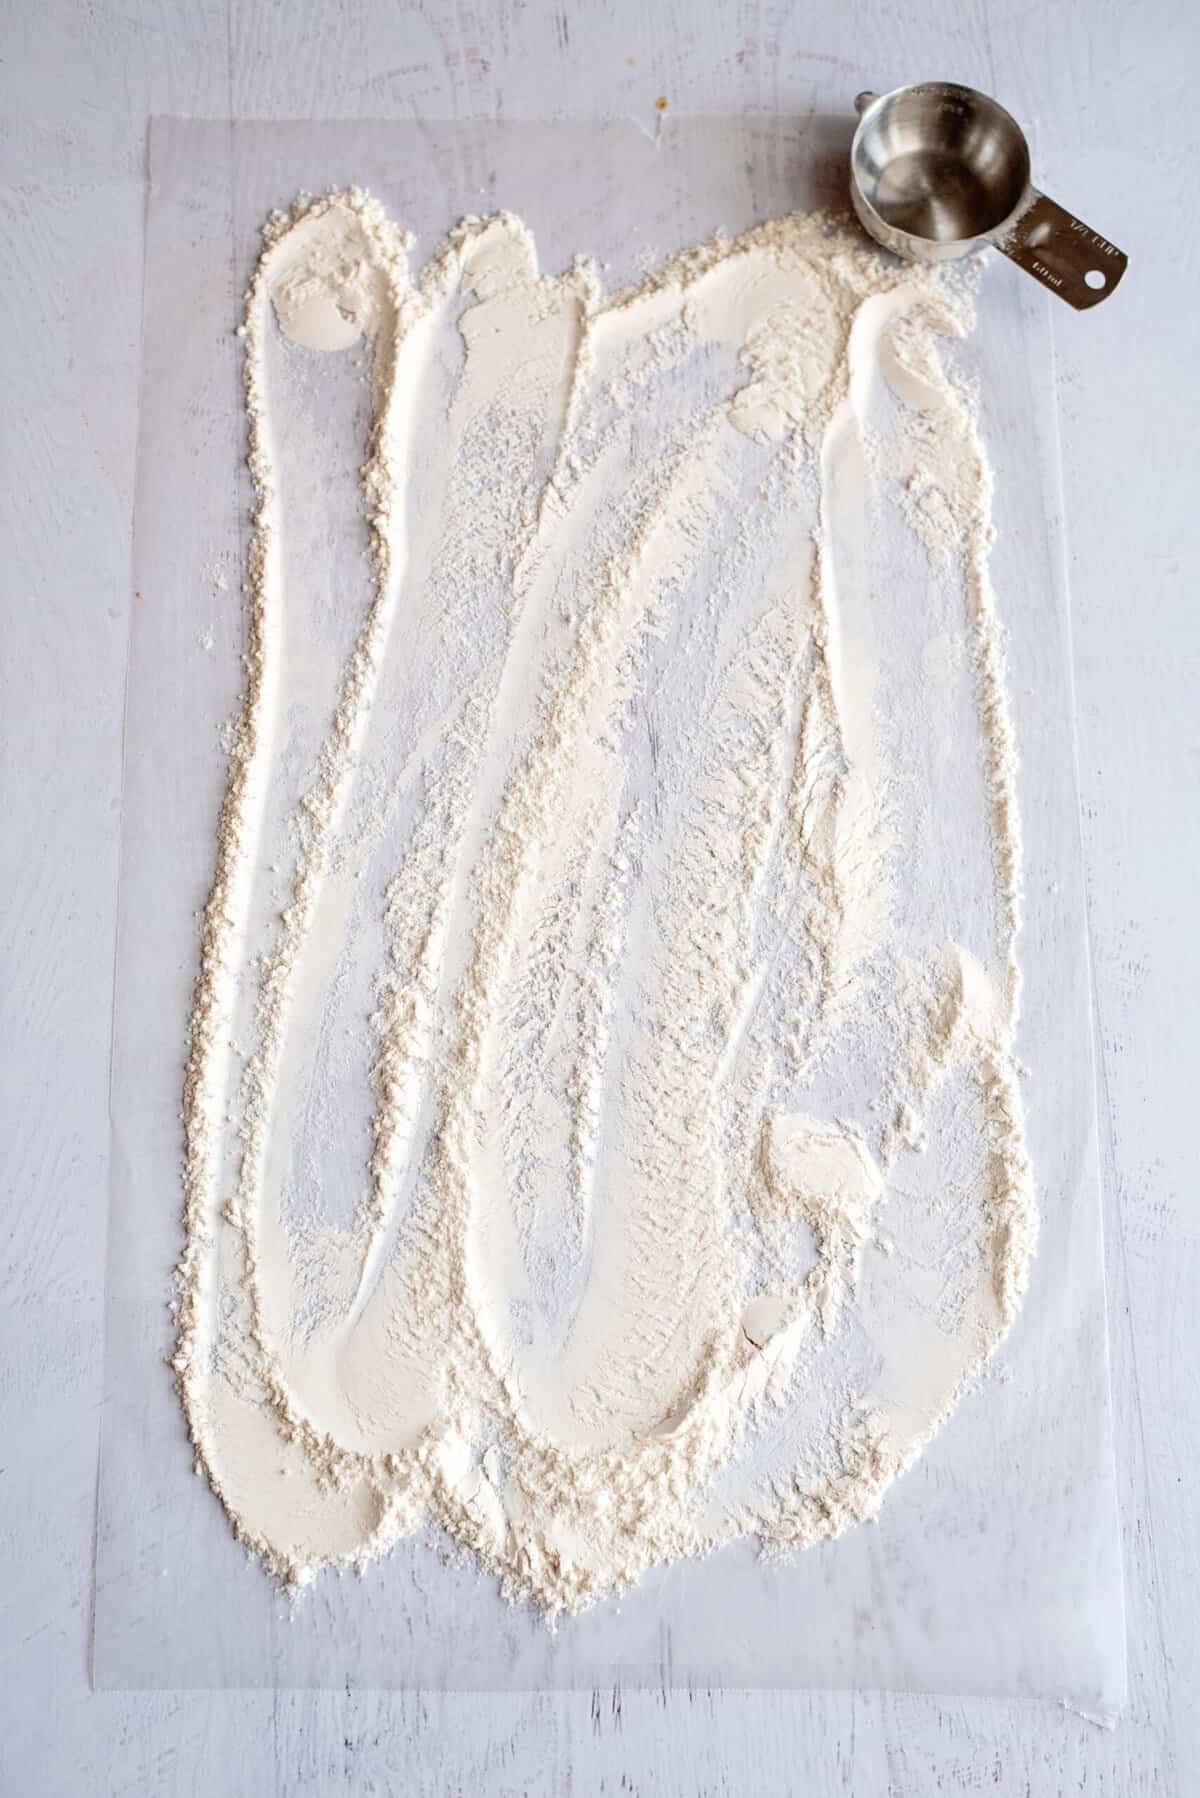
Whenever I make cutout cookies, I like to line my countertop with waxed paper or parchment paper for less mess.
Dust the waxed paper-lined countertop with flour.
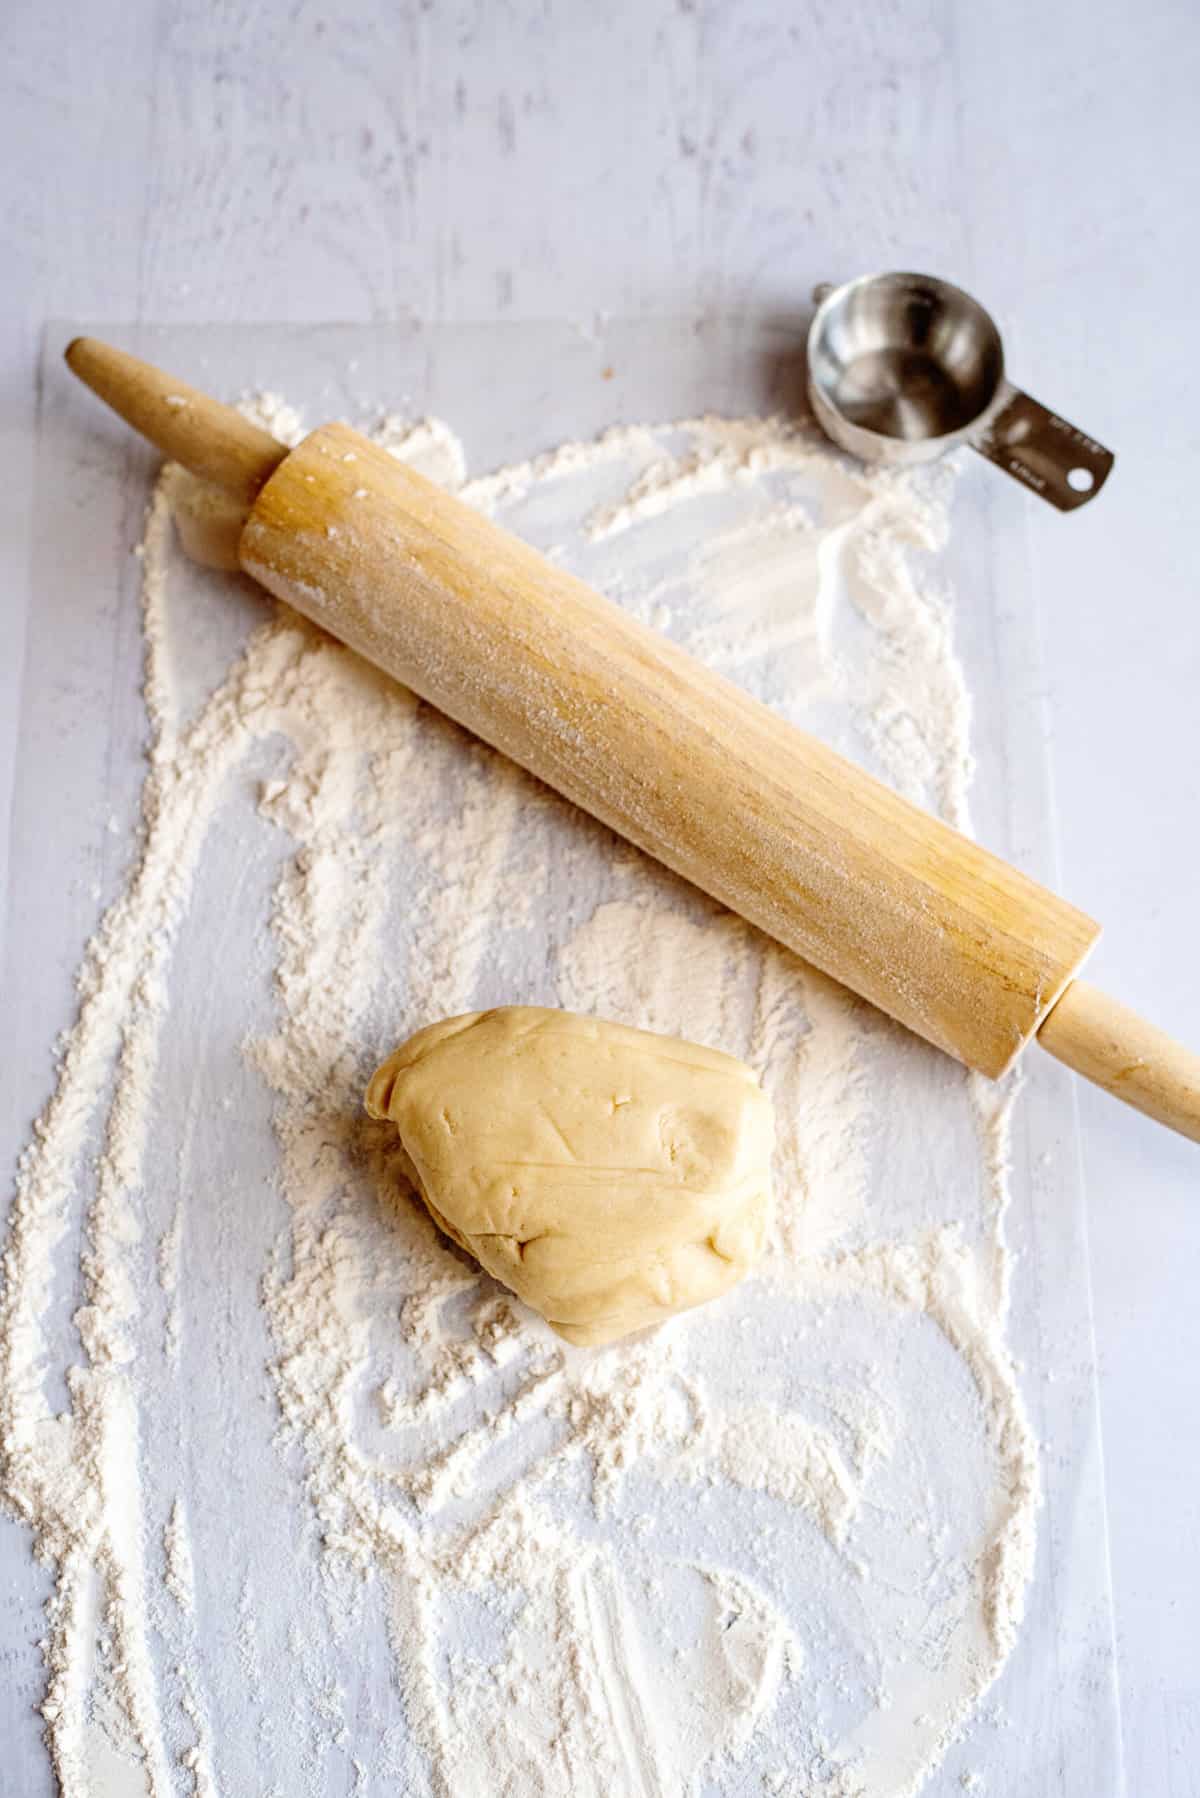
Place a portion of your chilled dough on the floured surface.
Dust the top with flour again.
With a little bit of flour in your hand, run it over your rolling pin to keep it from sticking to the dough.
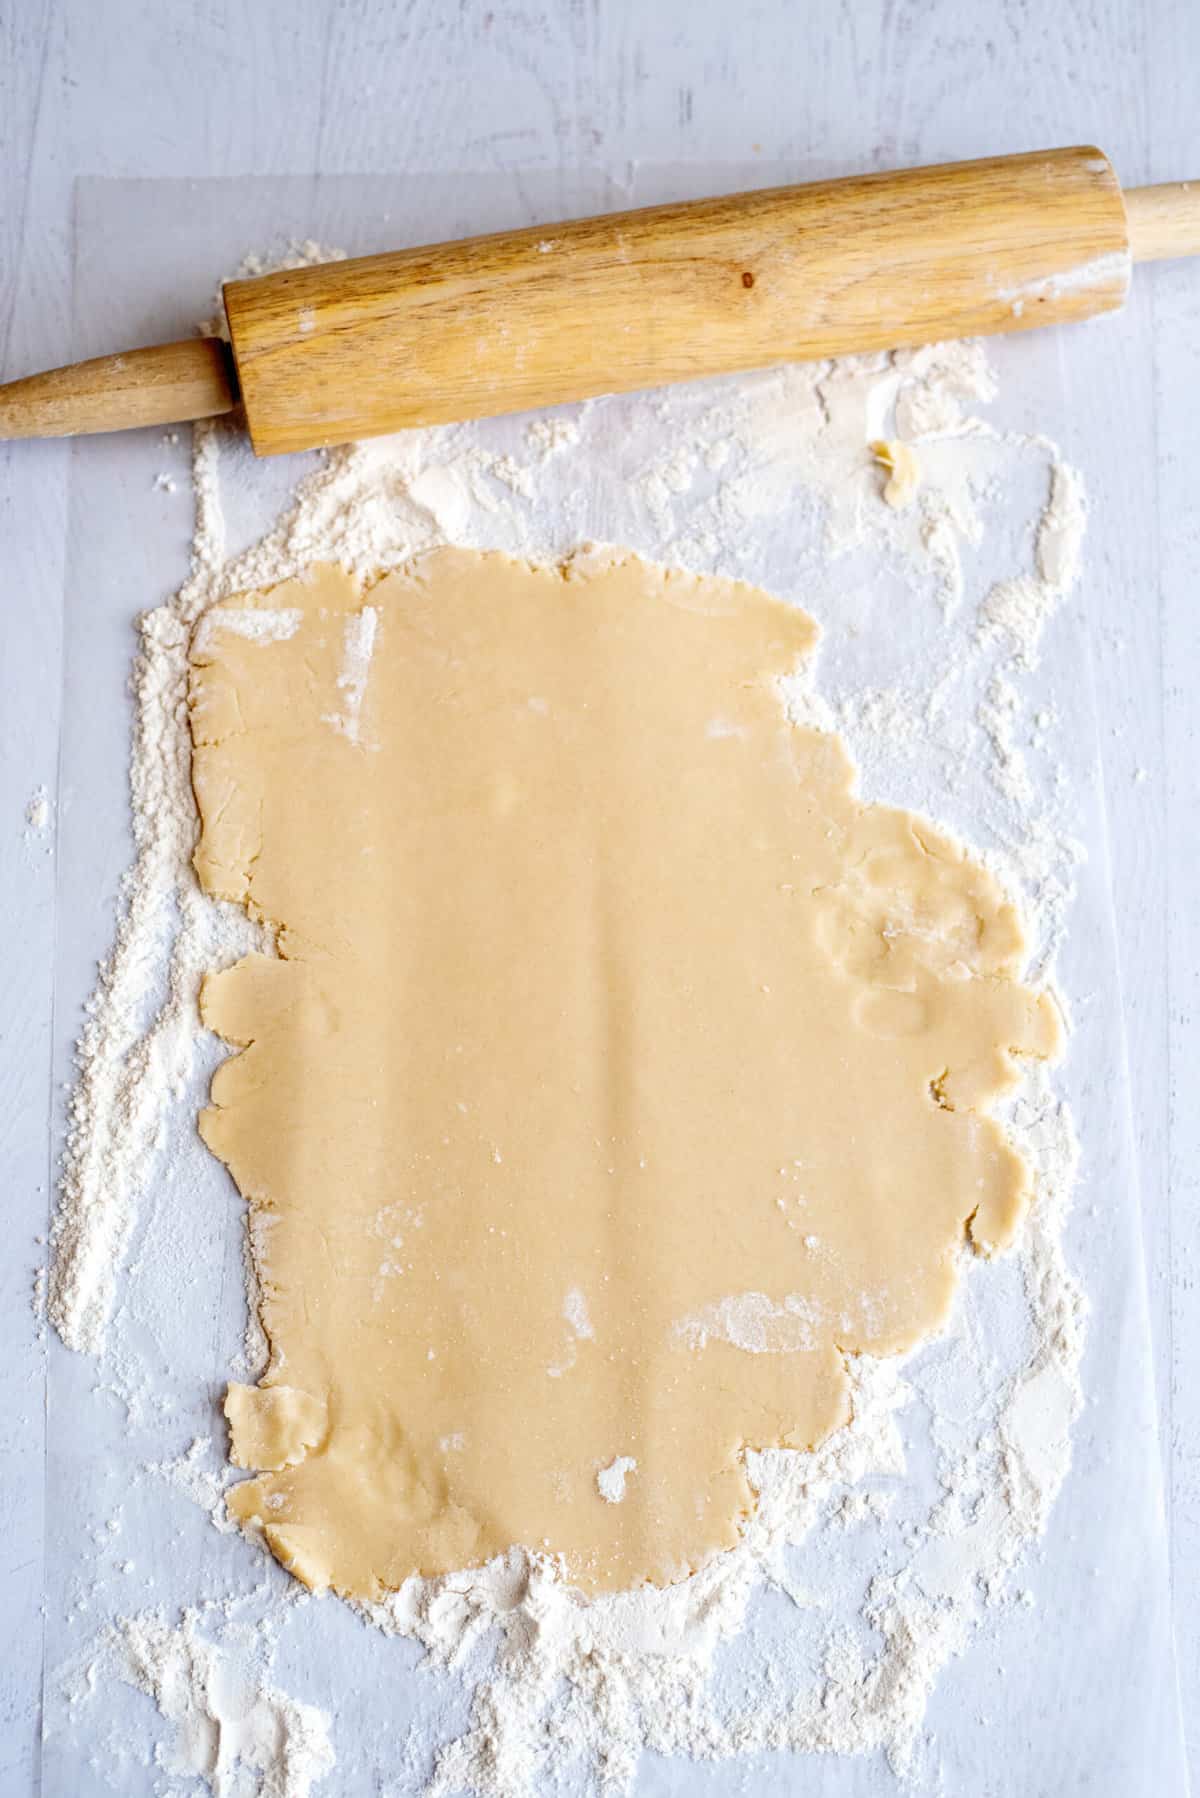
Roll the dough out to about 1/8 of an inch (I prefer mine to be about 1/4 of an inch – I’m such a rebel). Prepare a baking sheet by spraying with cooking spray.
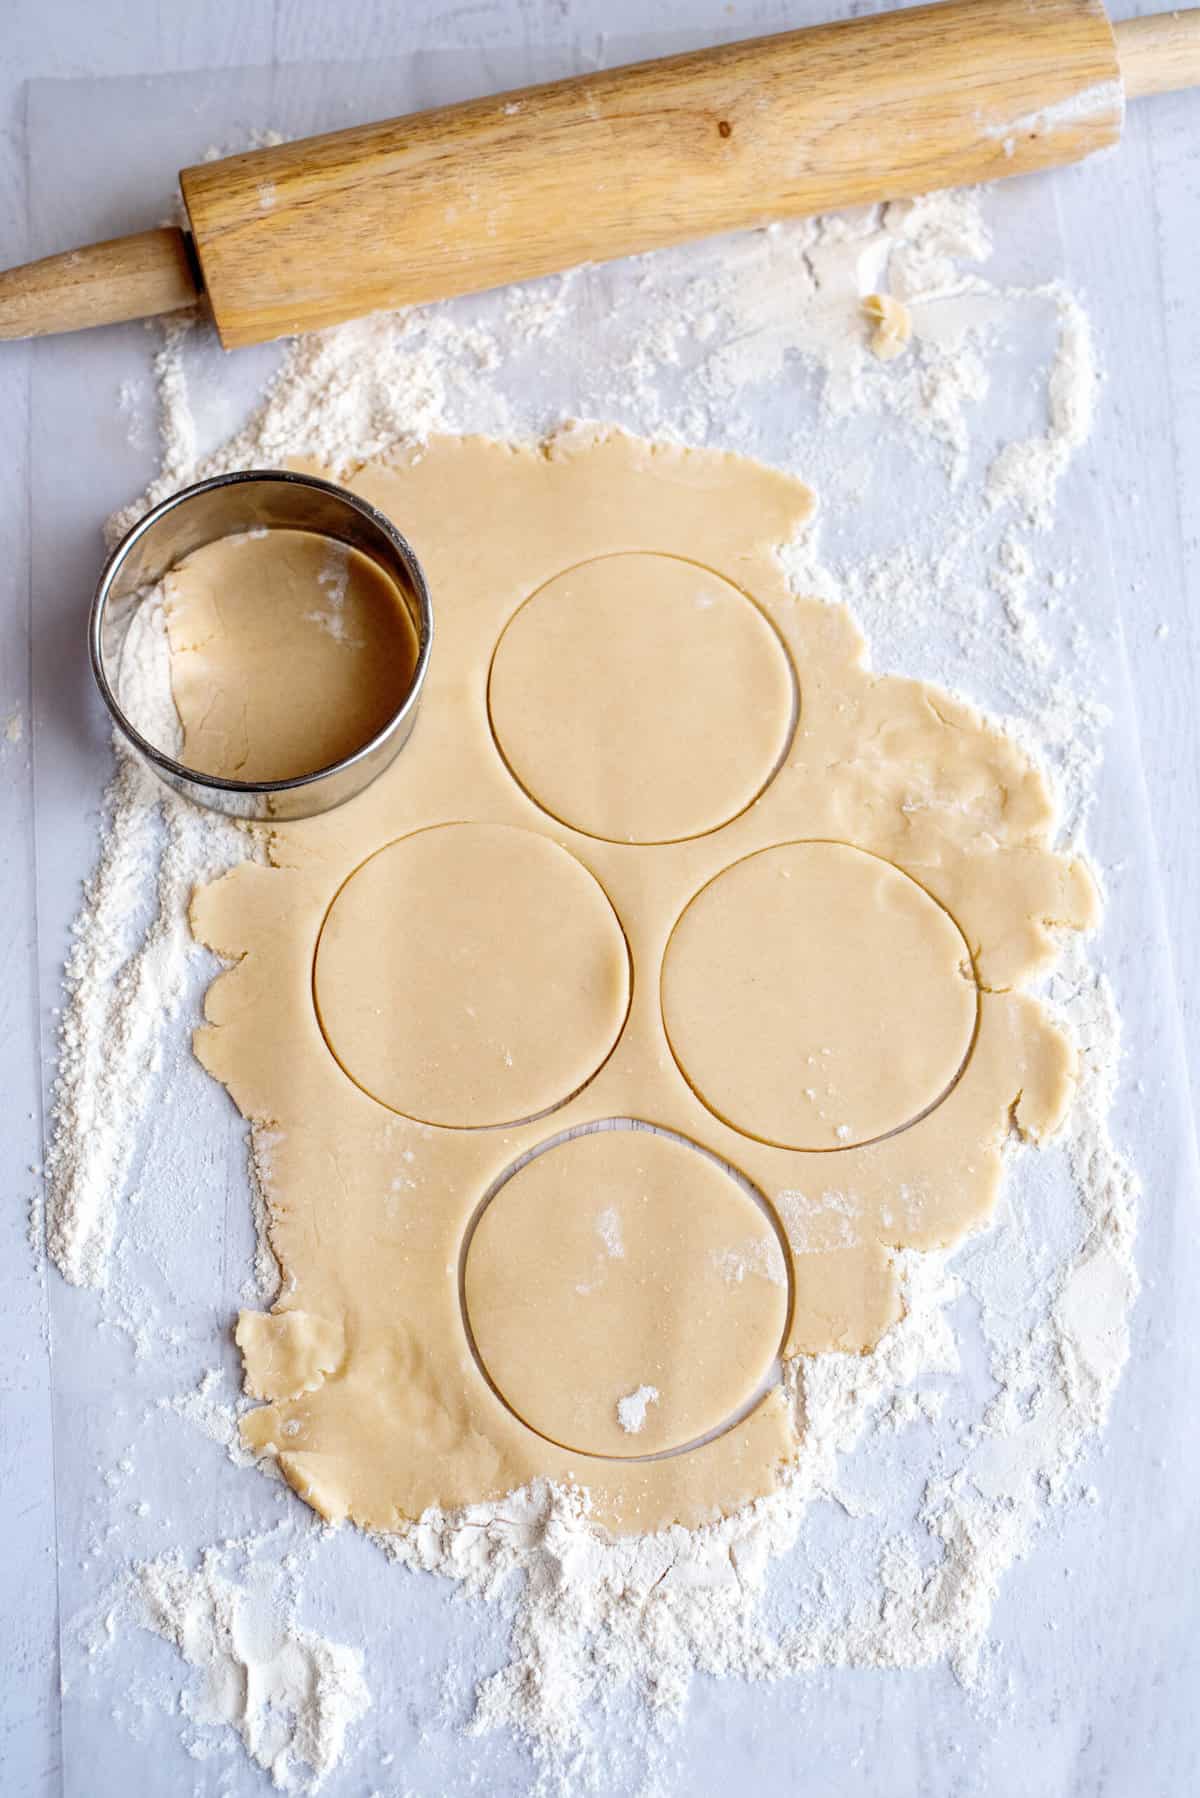
Now it’s time to cut out the Christmas cookies.
Be careful not to tear them when you pick them up.
I use this really thin cookie spatula I have.
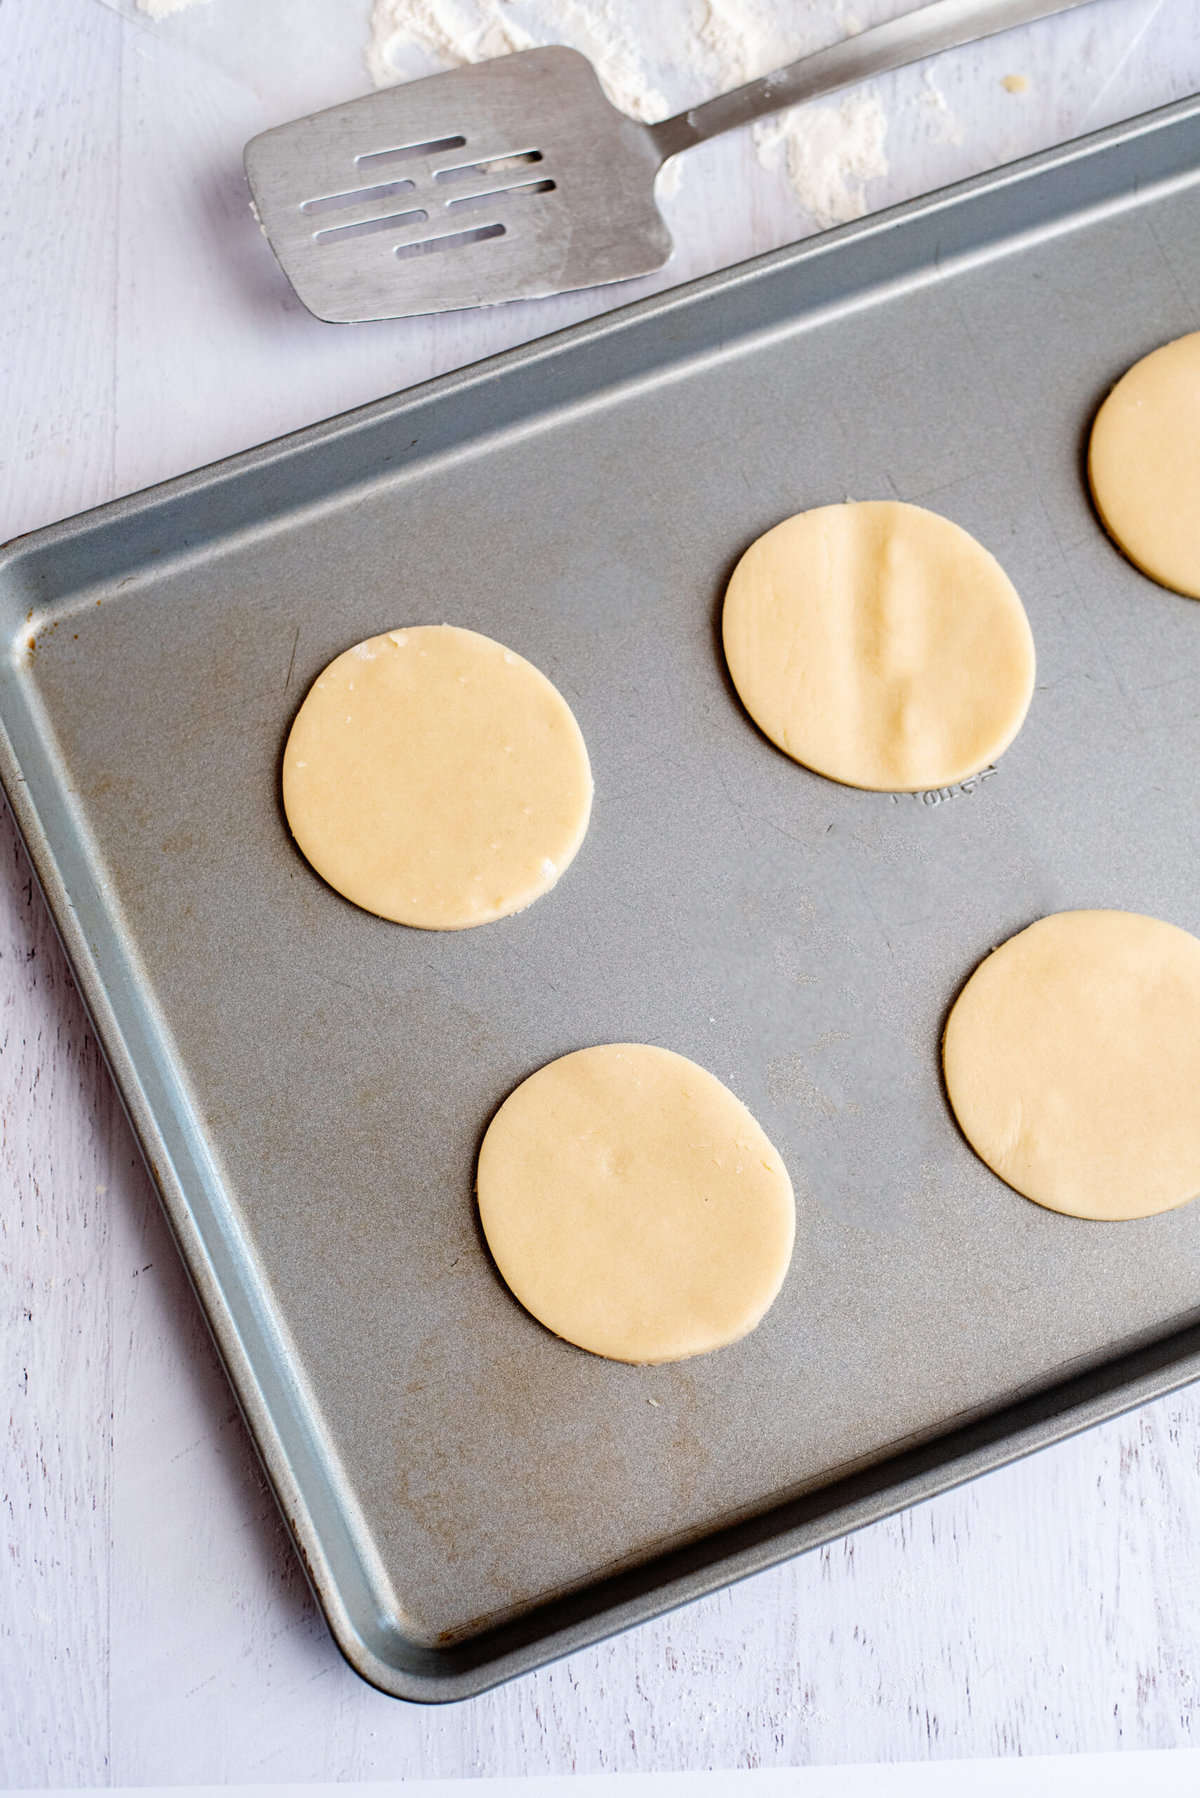
Place on the greased cookie sheet.
The dough scraps can be balled up together and rolled out again. I usually only do this once and after the second cutting I throw that dough away. If you keep balling it up and rolling it out, it will get “piece-y” and you’ll start having layered cookies. Just try it a few times and you’ll see what I mean!
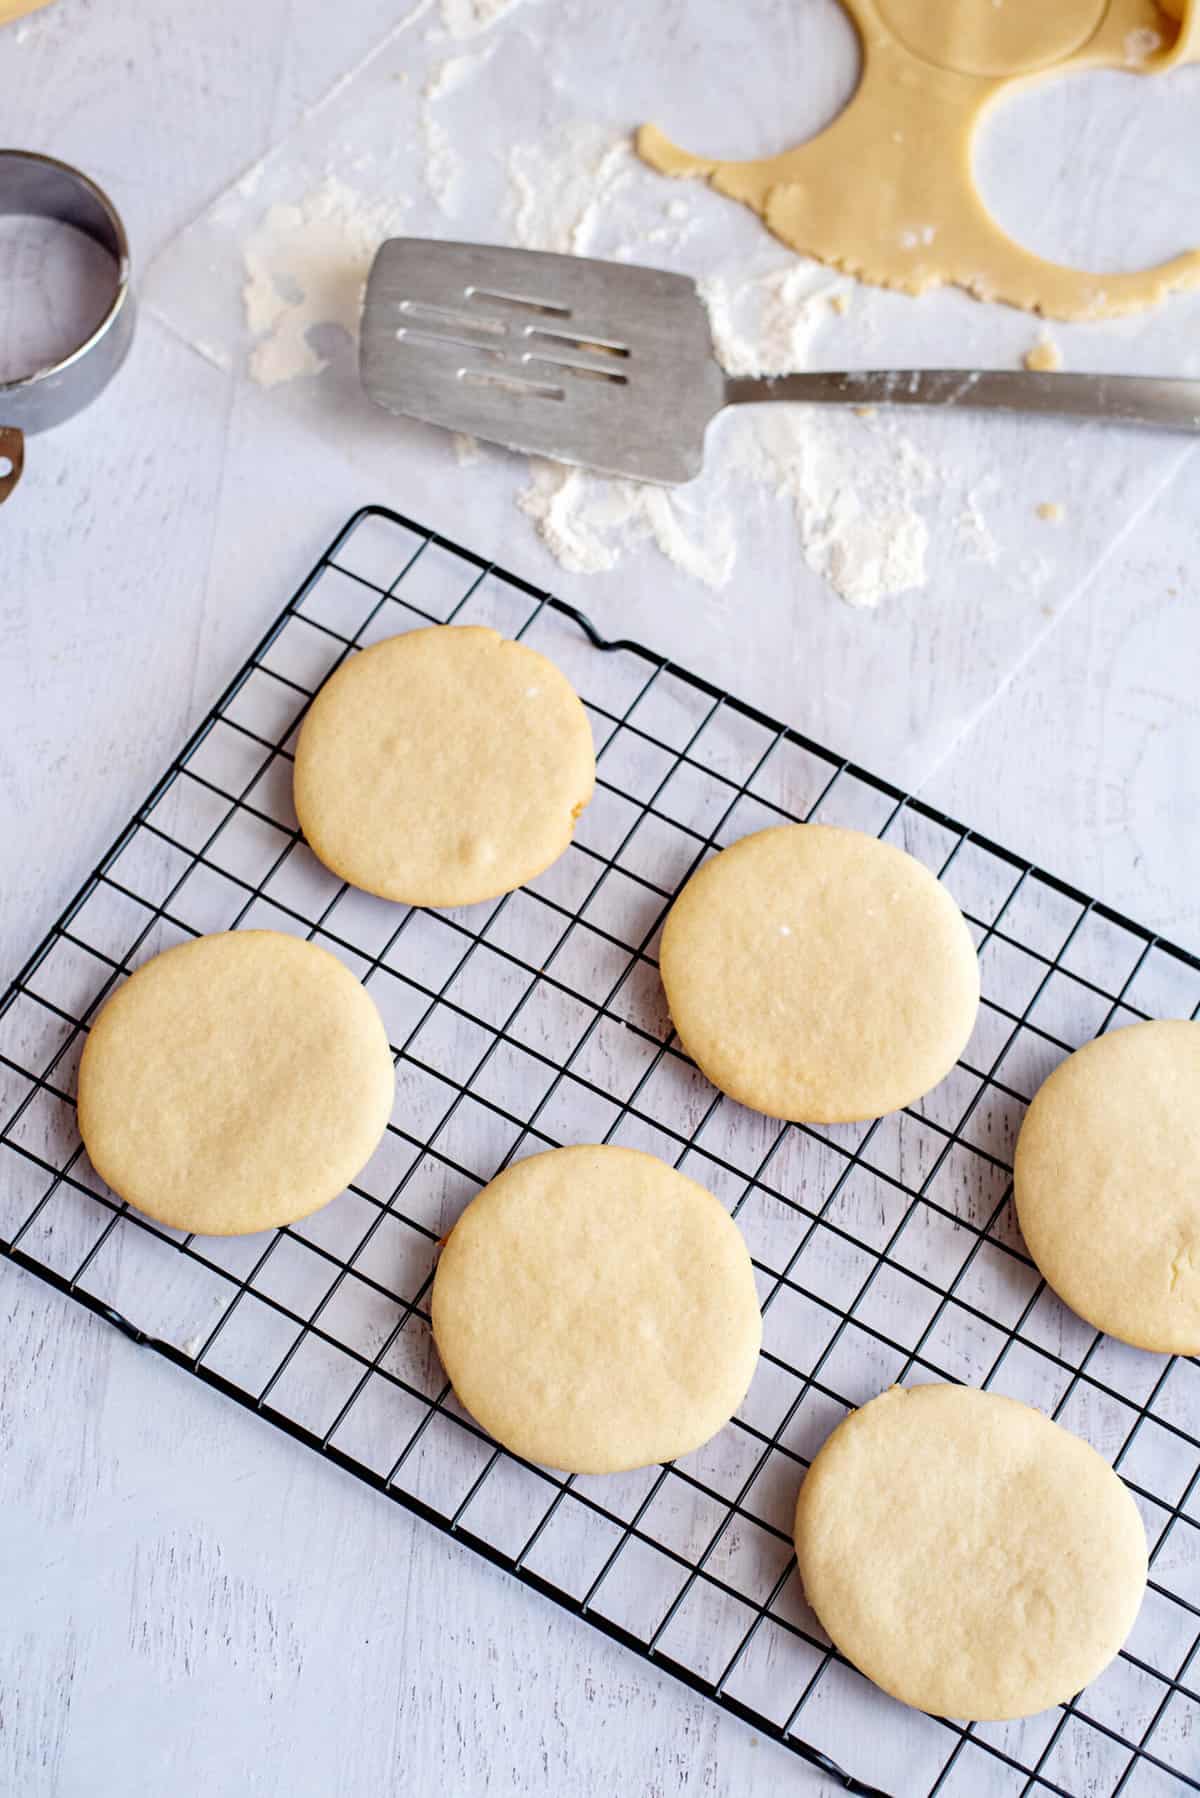
Bake for 6-8 minutes.
They will still look a lot like they did when they were uncooked, but puffed up slightly and if you look you’ll see just a hint of browning around the bottom.
Decorating the Christmas cut out cookies
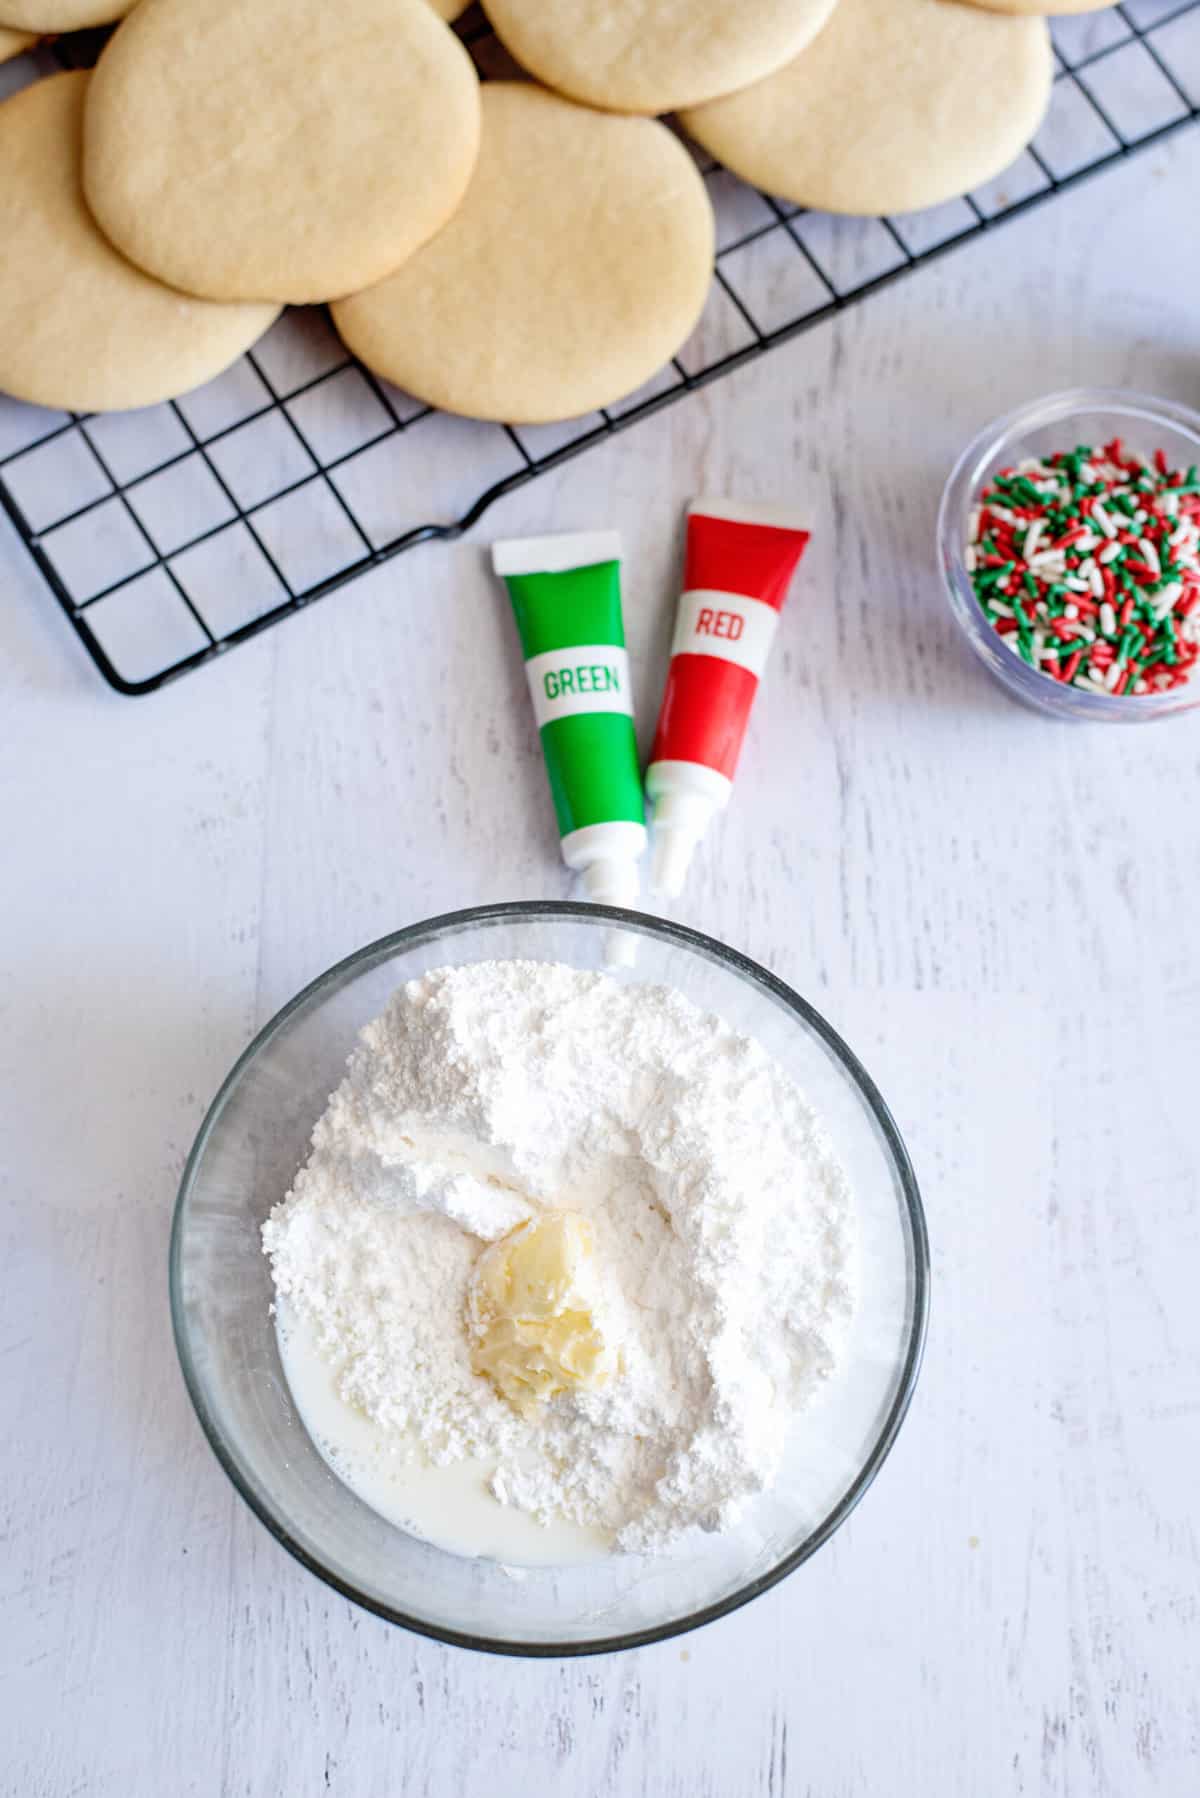
This is only a teeny tiny portion of my sprinkles and sugars collection. I have an entire storage bin of them! Gather together some Christmas sprinkles and colored sugar for decorating.
Place margarine or butter (well-softened) in a bowls (if you want three different colors of icing). Add powdered sugar, milk, and flavoring. Cut that together with a fork. You are really just mooshing it.

Keep mixing until it’s smooth and creamy.
Feel free to add another tablespoon of milk if you need to.
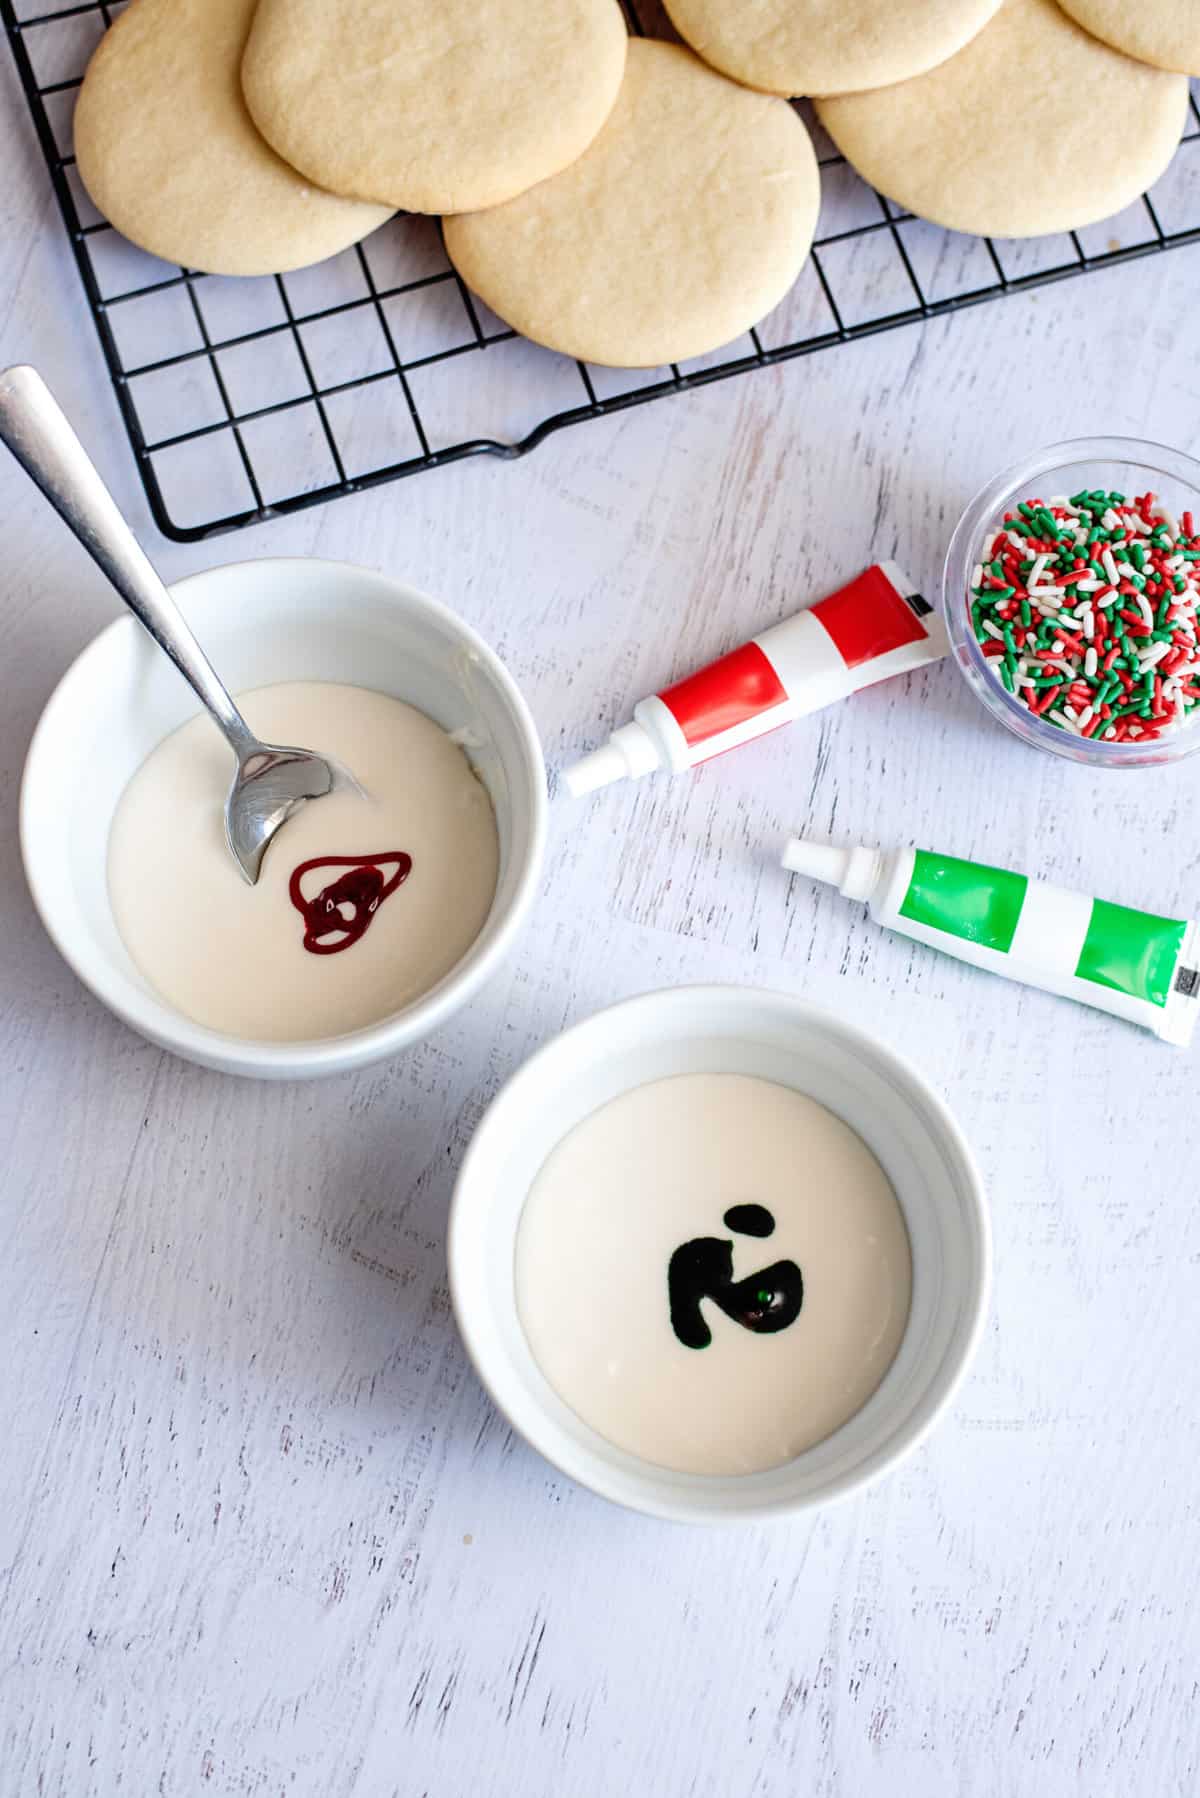
Separate into bowls and dye each bowl with the gel food coloring of your choice and stir until the colors are even.
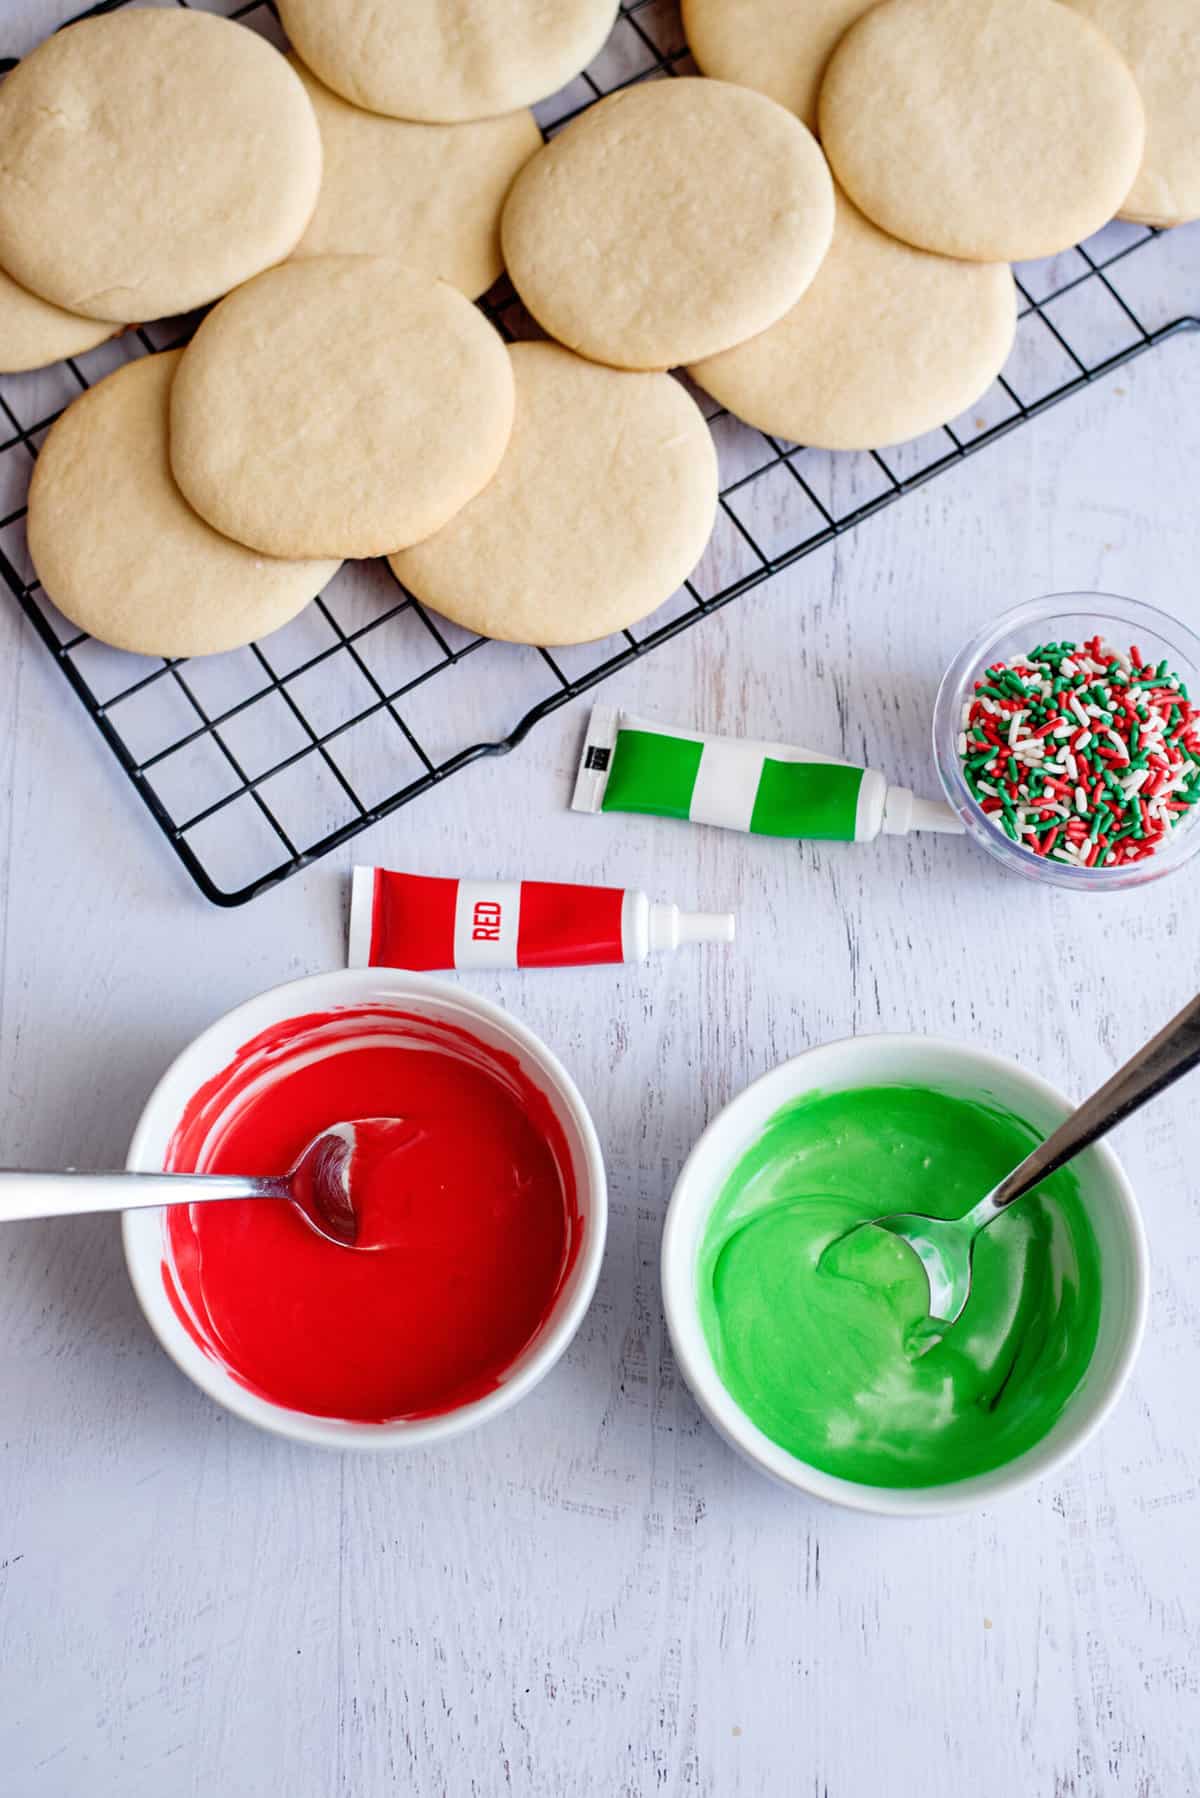
It should look like these!
From there, I lay out a sheet of waxed paper for each person and put cookies on top of it. Then I give everyone spoons so they have one for each icing color.
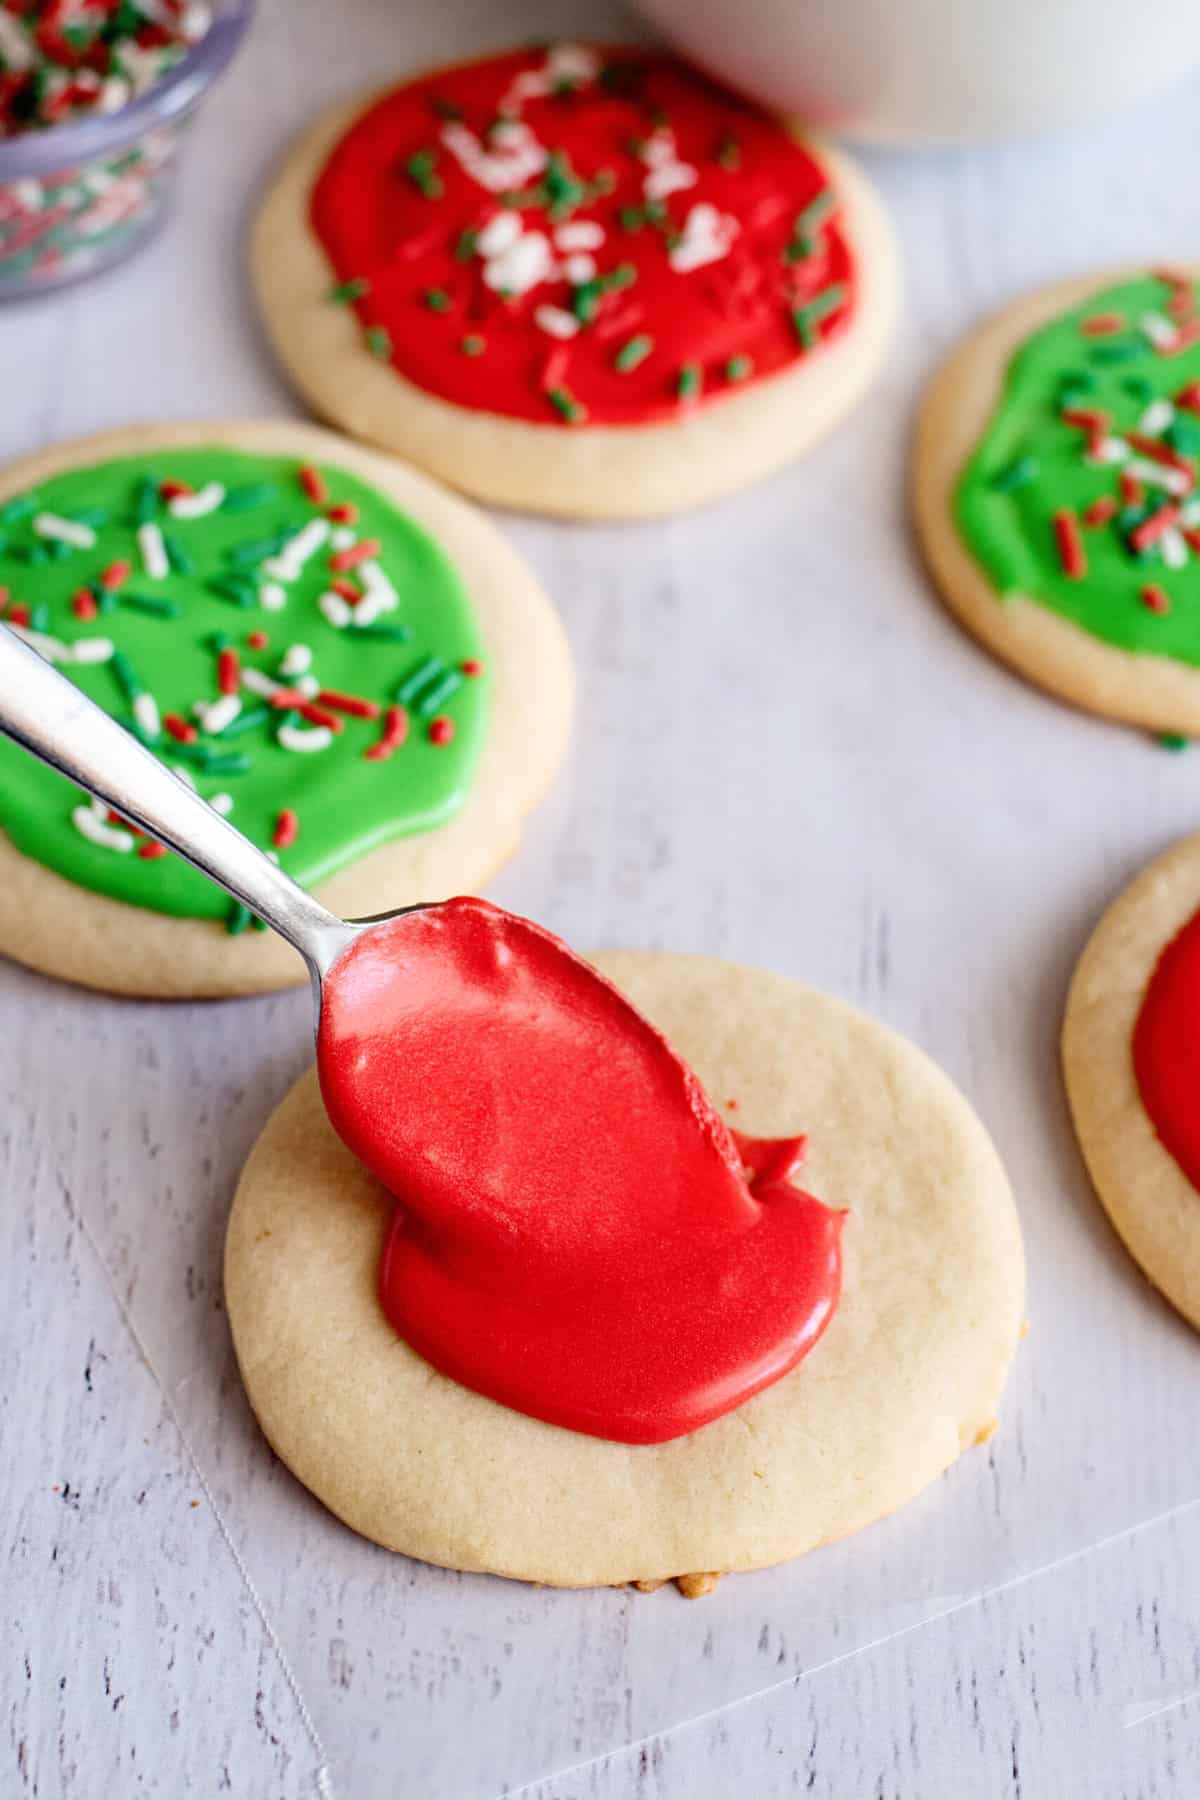
Just drizzle your icing on the cookie with a spoon, spread it around, and add sprinkles!
I let my kids pretty much do whatever they want with their cookies. This isn’t a time to produce a “perfectly” decorated cookie, it’s a time to let kids do it their way and be proud of their creations. They LOVE this part!
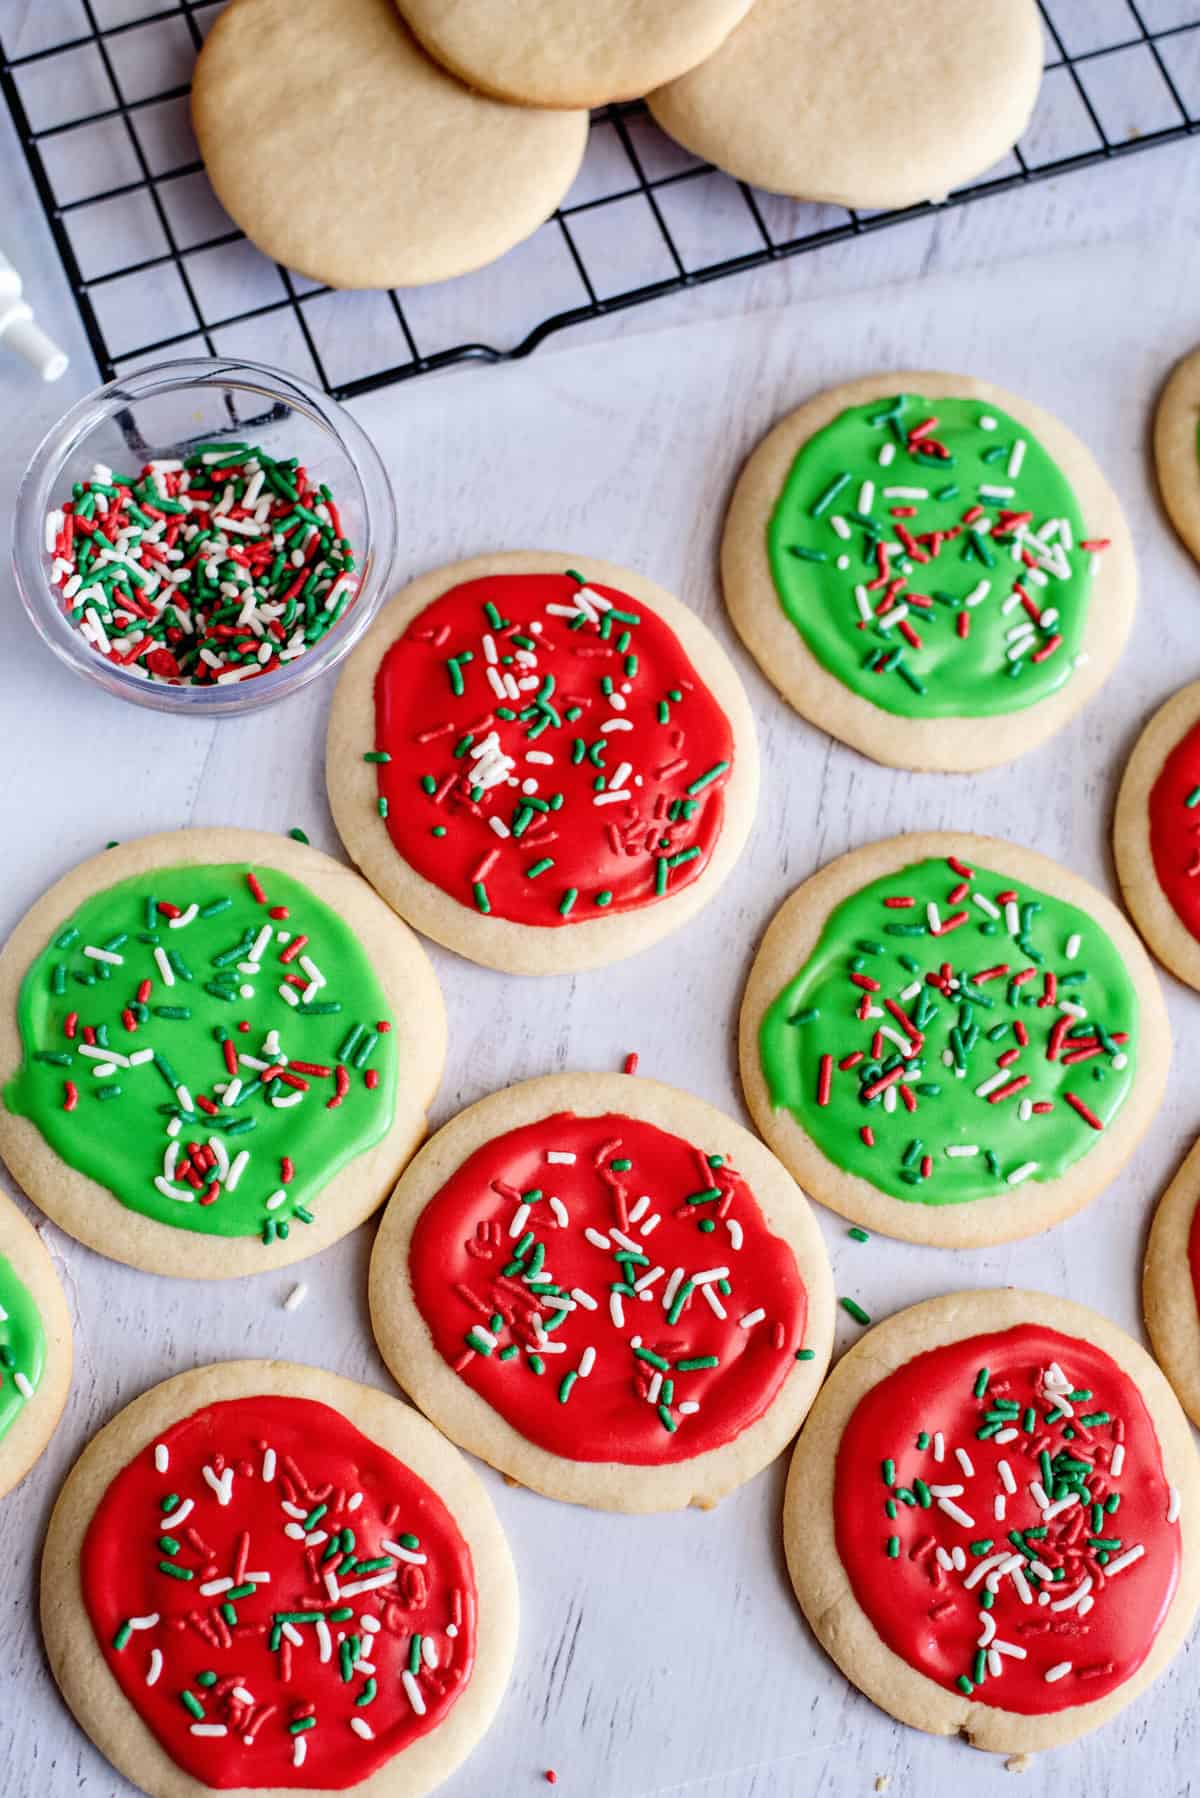
Kinda like this. Allow cookies to sit out for an hour or two until they are completely dried.

Then you can store them in a cookie jar or other airtight bin, stacked on top of each other.
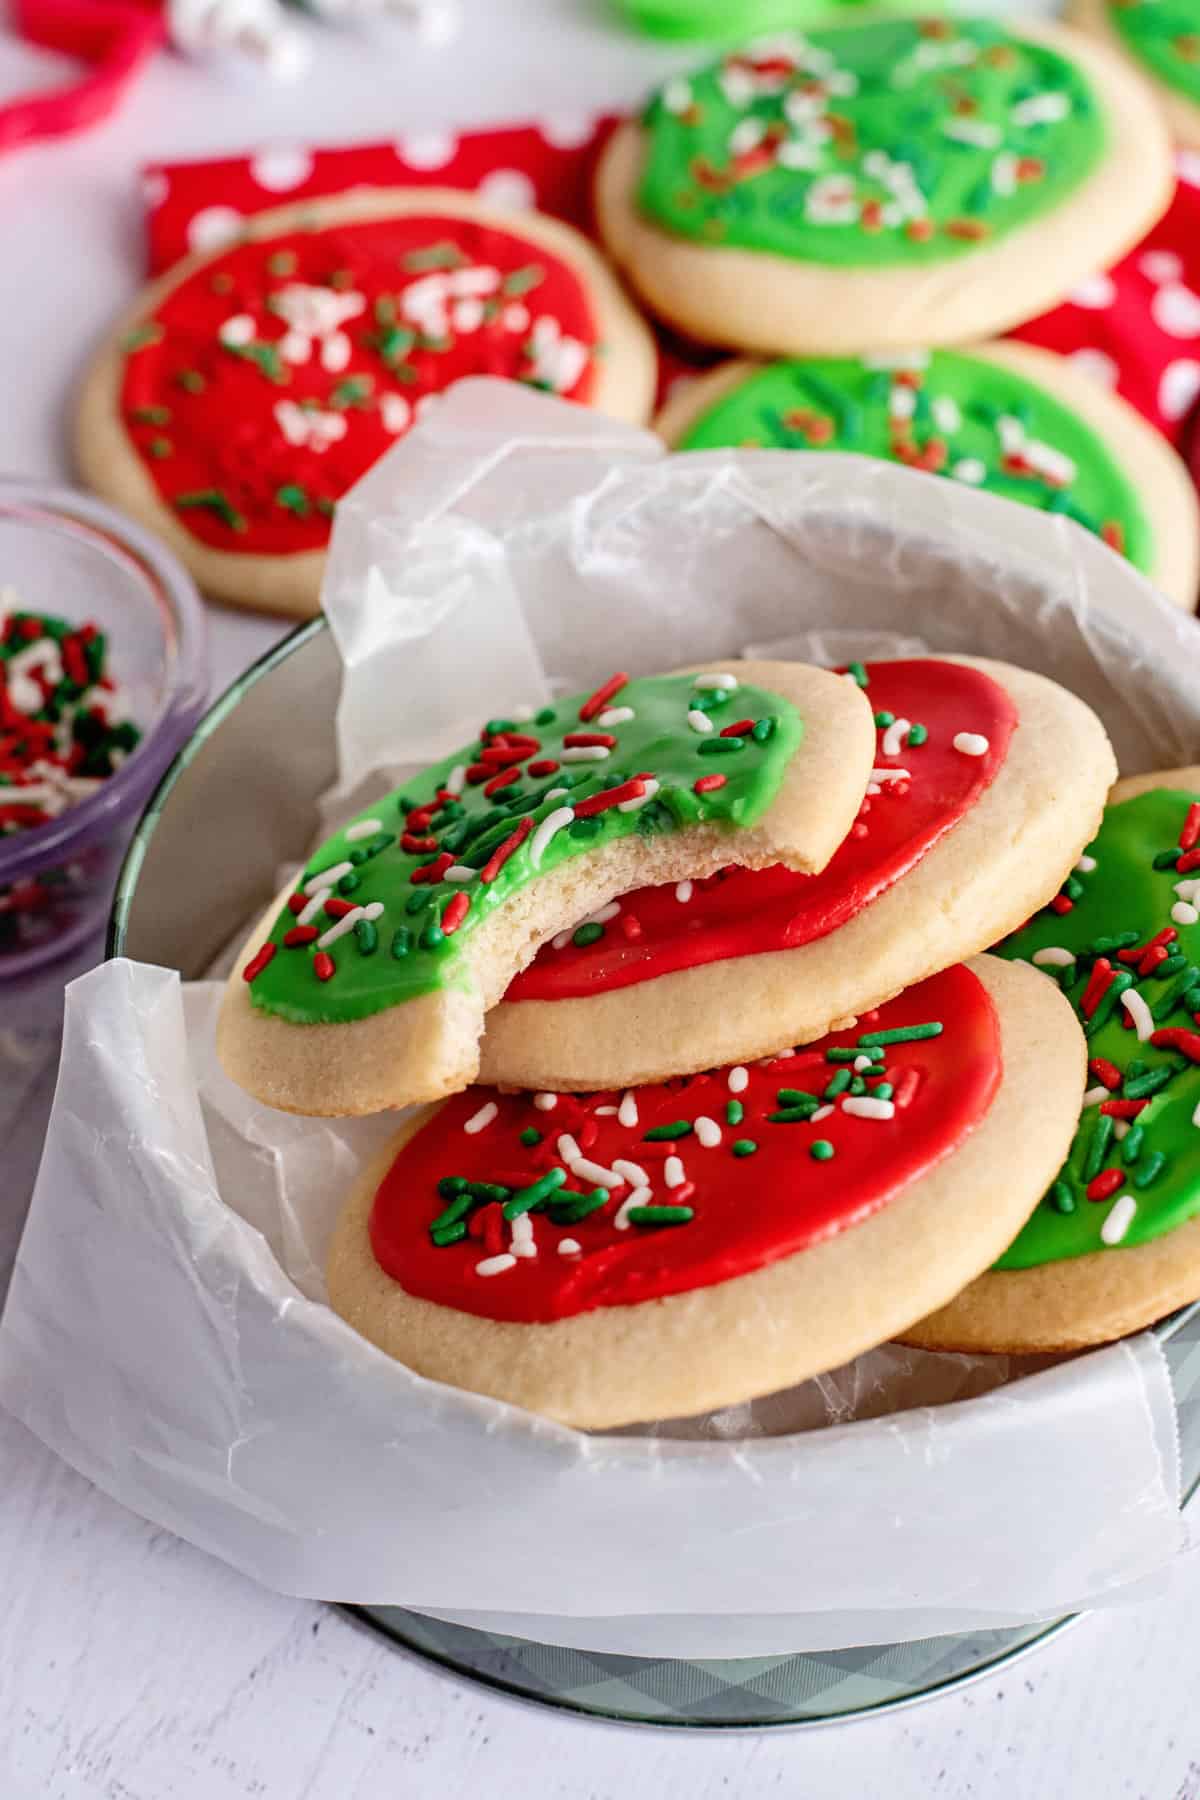
Arrange on a plate and enjoy your Christmas sugar cookies!
Storage
- Store decorated cookies in an airtight container for up to 5 days at room temperature or up to 10 days in the refrigerator.
- These Christmas cutout sugar cookies also freeze so well (with or without decorations). Once they’re set, freeze them for up to 3 months. Thaw at room temperature or in the fridge before serving.
Recipe Notes
- Please note that this is a double batch. One recipe will yield about two dozen average-sized cookies. I tend to make mine a bit larger though.
- Now, you need to chill the cookie dough for at least an hour. However, feel free to make it in advance and refrigerate the dough for at least 2 days.
- I also strongly recommend doing as I do and dividing the dough before refrigerating. It will make it so much easier to roll out.
- Instead of a spoon, another great way to distribute the cookie icing is to use a piping bag, a zipper seal bag with the corner snipped off, or a squeeze bottle.
- For a little extra sugar cookie flavor, add 1/2 teaspoon of almond extract.
- Yes, you can use softened unsalted butter instead of shortening in the sugar cookie recipe.
- Instead of sugar cookie icing, you can use royal icing instead.
- If you don’t have Christmas cookie cutters, you can just use the top of a glass to make circular sugar cookies.
Check out these other Christmas cookie recipes:
14 Favorite Christmas Cookie Recipes
Southern Plate’s Must-Make Christmas Cookies
Chewy Oatmeal Cranberry Cookies
Candy Cane Cookies (Elf Favorite)
Ingredients
- 2/3 cup shortening
- 3/4 cup granulated sugar
- 1/2 teaspoon vanilla extract
- 1 egg
- 4 teaspoons milk
- 2 cups plain flour
- 1.5 teaspoons baking powder
- 1/4 teaspoon salt
Icing
- 1 cup confectioner's sugar
- 1 tablespoon softened butter or margarine
- 2 tablespoons milk
- 1 teaspoon vanilla or butter flavoring
Instructions
- Thoroughly cream together shortening, sugar, and vanilla. Add egg and beat until fluffy then stir in the milk.2/3 cup shortening, 3/4 cup granulated sugar, 1/2 teaspoon vanilla extract, 1 egg, 4 teaspoons milk
- Sift the remaining dry ingredients together in a separate bowl, stir, then add to the wet ingredients, and mix well.2 cups plain flour, 1.5 teaspoons baking powder, 1/4 teaspoon salt
- Divide dough in half and refrigerate for at least 1 hour.
- On a floured surface, roll half of the dough to 1/8-inch thick. Keep the remaining dough chilled until ready to roll. Cut into shapes using Christmas cookie cutters.
- Bake on a greased cookie sheet at 375 for 6-8 minutes.
- Let cookies cool slightly before removing them from the baking sheet. Once cool, go ahead and decorate them with the cookie icing.
Icing
- In a bowl, mix all ingredients together with a fork (if using three different colors, repeat the process with three different bowls). If too dry, add a little more milk. Once mixed, add a few drops of food coloring.1 cup confectioner's sugar, 1 tablespoon softened butter or margarine, 2 tablespoons milk, 1 teaspoon vanilla or butter flavoring
- Ice the cooled cookies and then let them set for at least an hour before storing.
Nutrition
This cookie recipe will be added to my favorites. I am also going to make them during the year with different cookie cutters. The recipe is so easy i can have myb11 year old granddaughter make and roll the cookie dough and have her and my other 3 grandbabies decorate. It will be a great memory for the kids to remember grandma. I do have a question about the icing. Do you make the recipe for each color you’re using or do you split it up?
Just want to say that these are my go-to cut-out sugar cookies. I get out your cookbook every Christmas to make them. They are what my kids will remember as “Mom’s sugar cookies”. Thanks so much for sharing your recipes and Merry Christmas!
I use a recipe similar to this, but add a smidge of cinnamon. It’s our family tradition-children making and decorating cookies with their grandmother. My grandchildren are the 4th generation to do this, and we make it a party. We have cookies and milk together after the baking is done, and celebrate the Christmas season.
What a wonderful tradition!!!
I have made these cookies for the last three years with my grands! They remind me of the ones I remember from my childhood. I’ve even made them for Easter! Thanks for sharing your recipe!
What wonderful memories!!! Have a Merry Christmas!!
Gotta tell this story. My mother-in-law made these decorated cookies each year when her kids were growing up. My husband told me about how she just LOVED baking these cookies, and how he and his sisters would help, and how they all just had a wonderful time making these cookies and how he loved that tradition (funny, I only saw her once or twice making these cookies)He would just LOVE it if I could do that with our kids.
Now, I’m a good baker….except when it comes to rolling out thin dough sugar cookies. But I wanted to make him happy, so at the next family gathering, I sidled up to mother-in-law and asked if she would give me her recipe. “Of course!” she exclaimed. “I’m so glad YOU’RE going to do them this year! I HATE doing them! I’m SO GLAD I don’t have to anymore!!”
LOL, too funny!!!