
Water Pie Recipe from The Great Depression
A Great Depression-era recipe, this humble Water Pie uses the bare minimum to create a deliciously creamy, buttery dessert that proves resourcefulness can still taste like comfort. With a flaky crust, a rich brown sugar filling, and a crisp, caramelized top, you won’t believe one of the main ingredients is water!
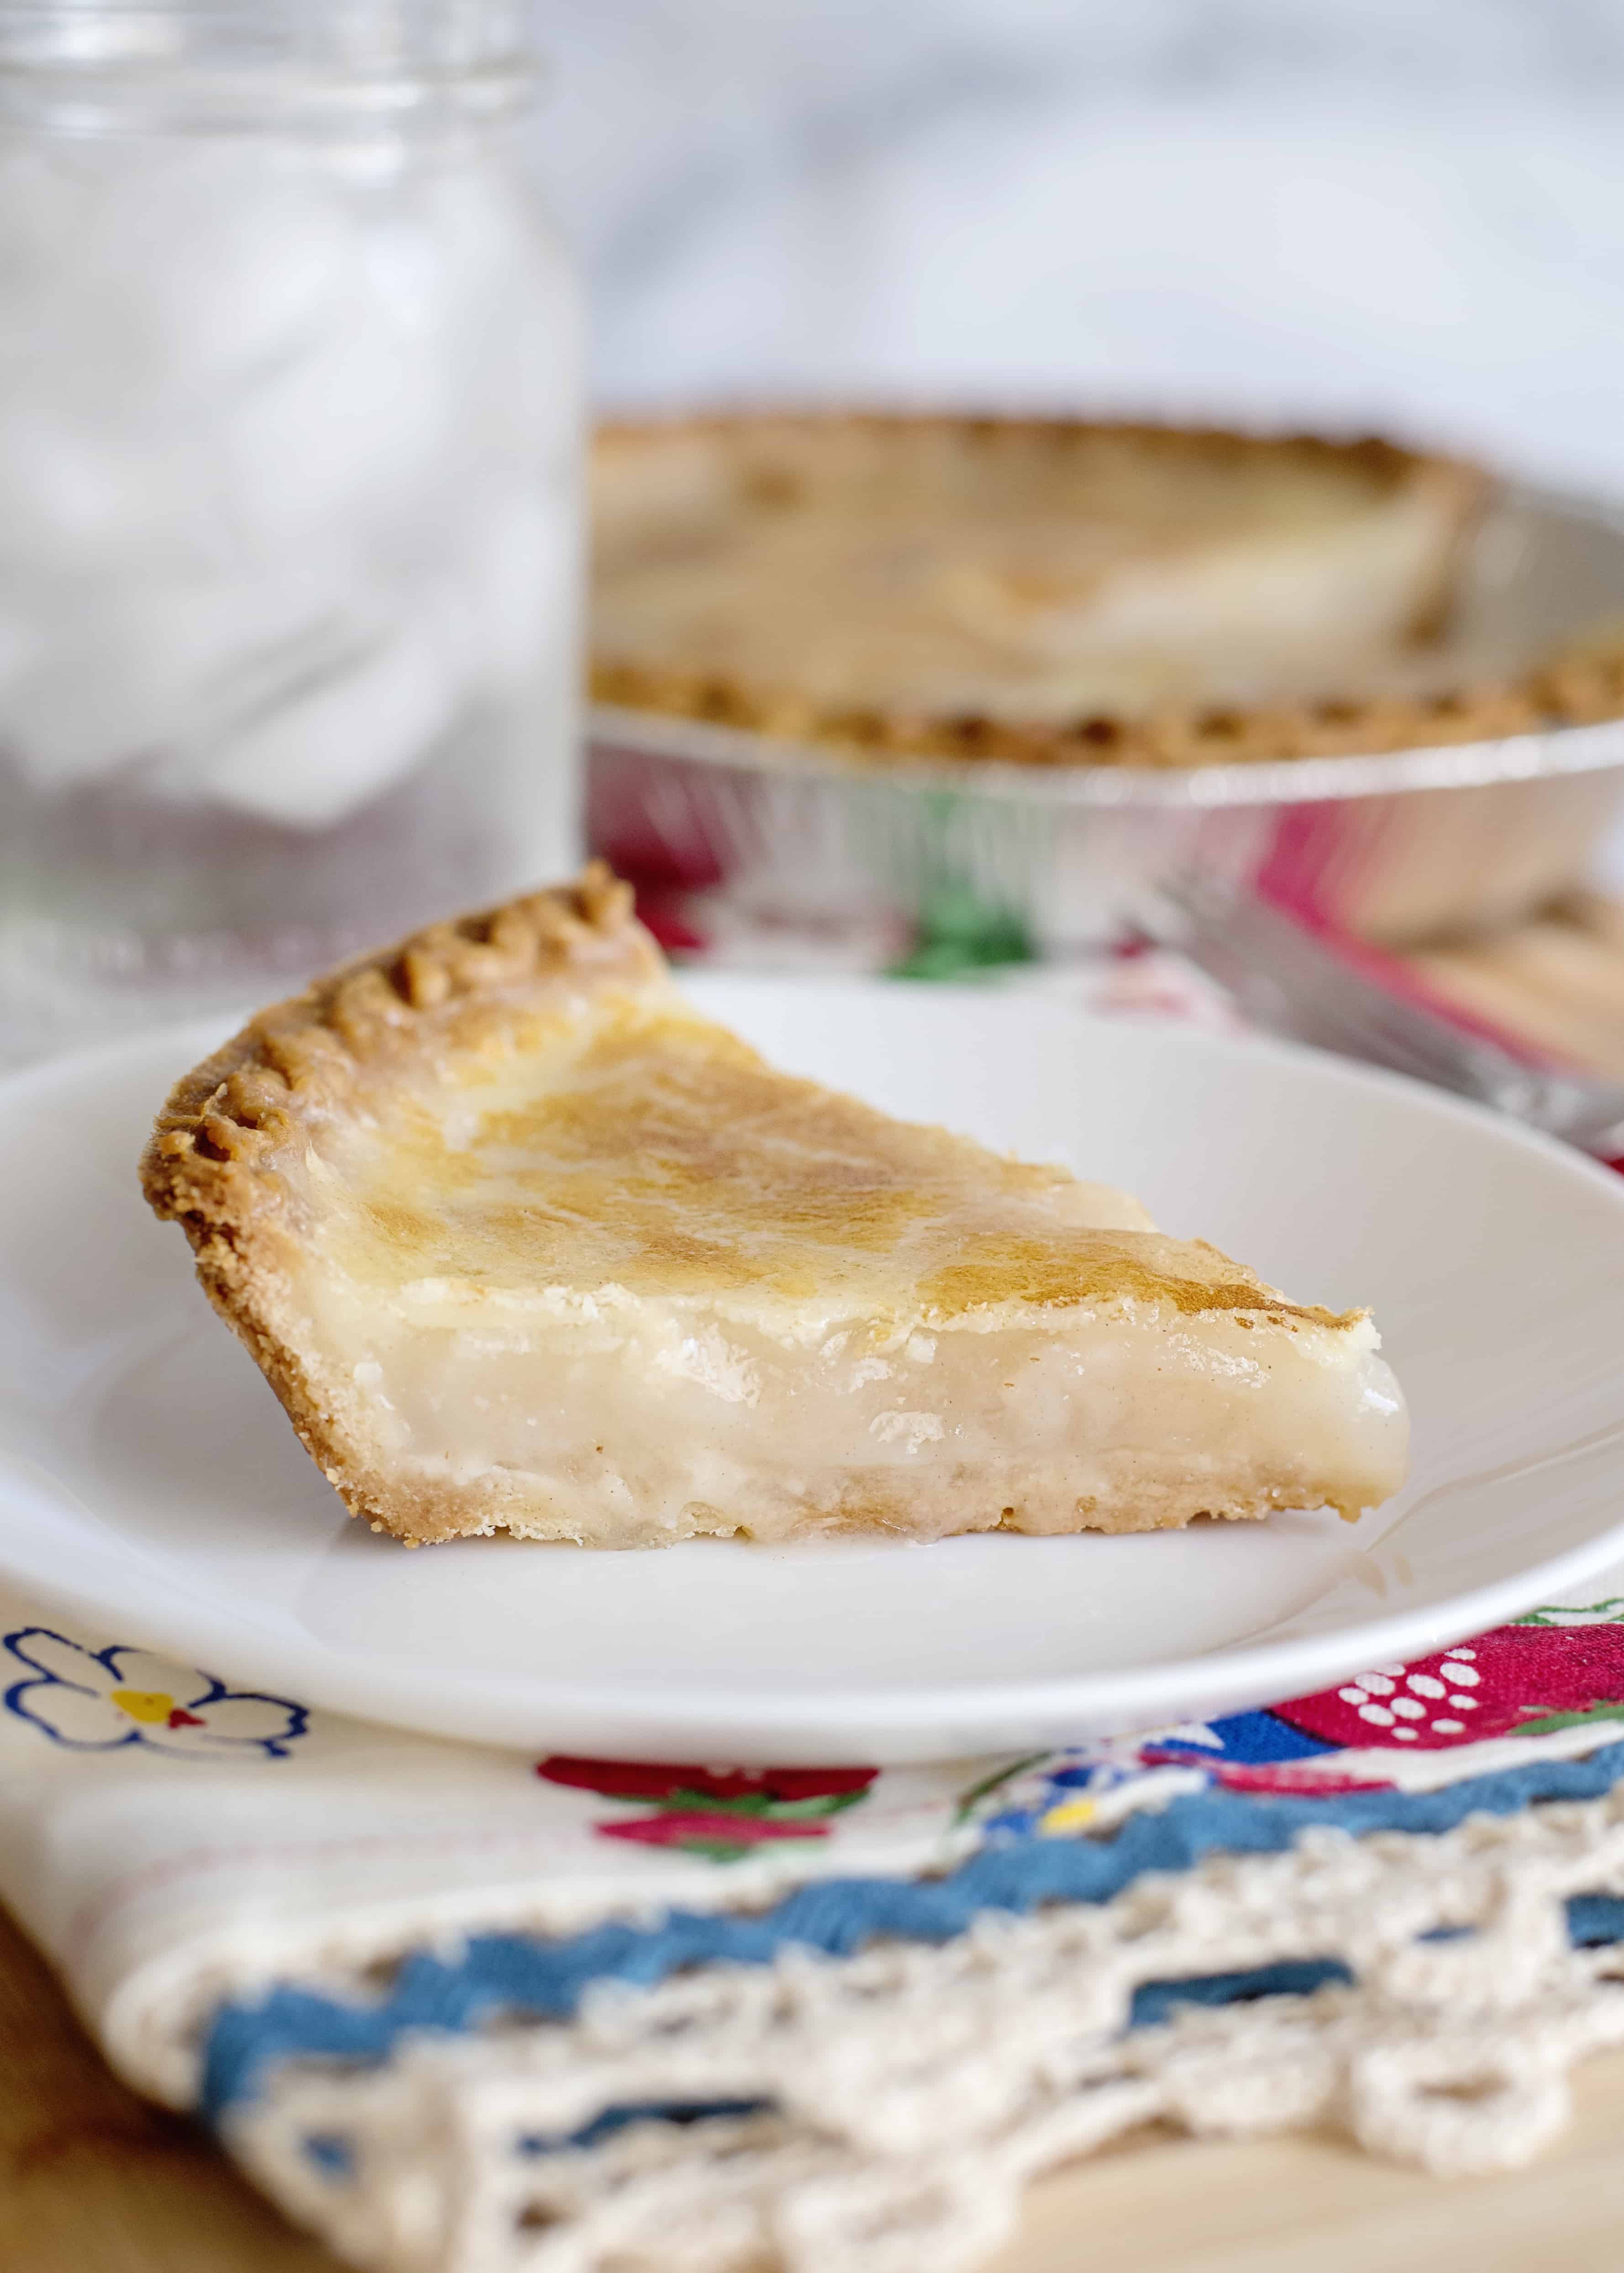
A Quick Look At The Recipe
- Recipe Name: Water Pie
- Serves: 4
- Main Ingredients: 9-inch deep-dish pie crust, unbaked, water, all-purpose flour, sugar, vanilla extract, butter, cut into 5 pieces
- Why You'll Love It: Water Pie is a depression era recipe that turns bare bones ingredients into a delicious buttery pie!
A Sweet Legacy from the Depression Era
Just like my Chocolate Depression Cake, this water pie is one of those magical recipes born in the Depression era, when cooks with little to nothing figured out how to make delicious dishes for those they love during hard times.
This particular recipe was passed on to me by Kay West, and I published it in my third cookbook, Sweetness. It originally belonged to Kay’s grandmother, a remarkable woman who cooked three meals a day from scratch for her family of ten. During harder times, she created this recipe so her family could still enjoy a little sweetness, no matter how hard their days were. These recipes are such a special treasure to us!
I think you’ll really enjoy how simple this water pie is. It has a creamy, buttery taste, similar to a buttermilk pie or old-fashioned butter cookies. Half the thrill will be telling your family the name and that the main ingredient is water!
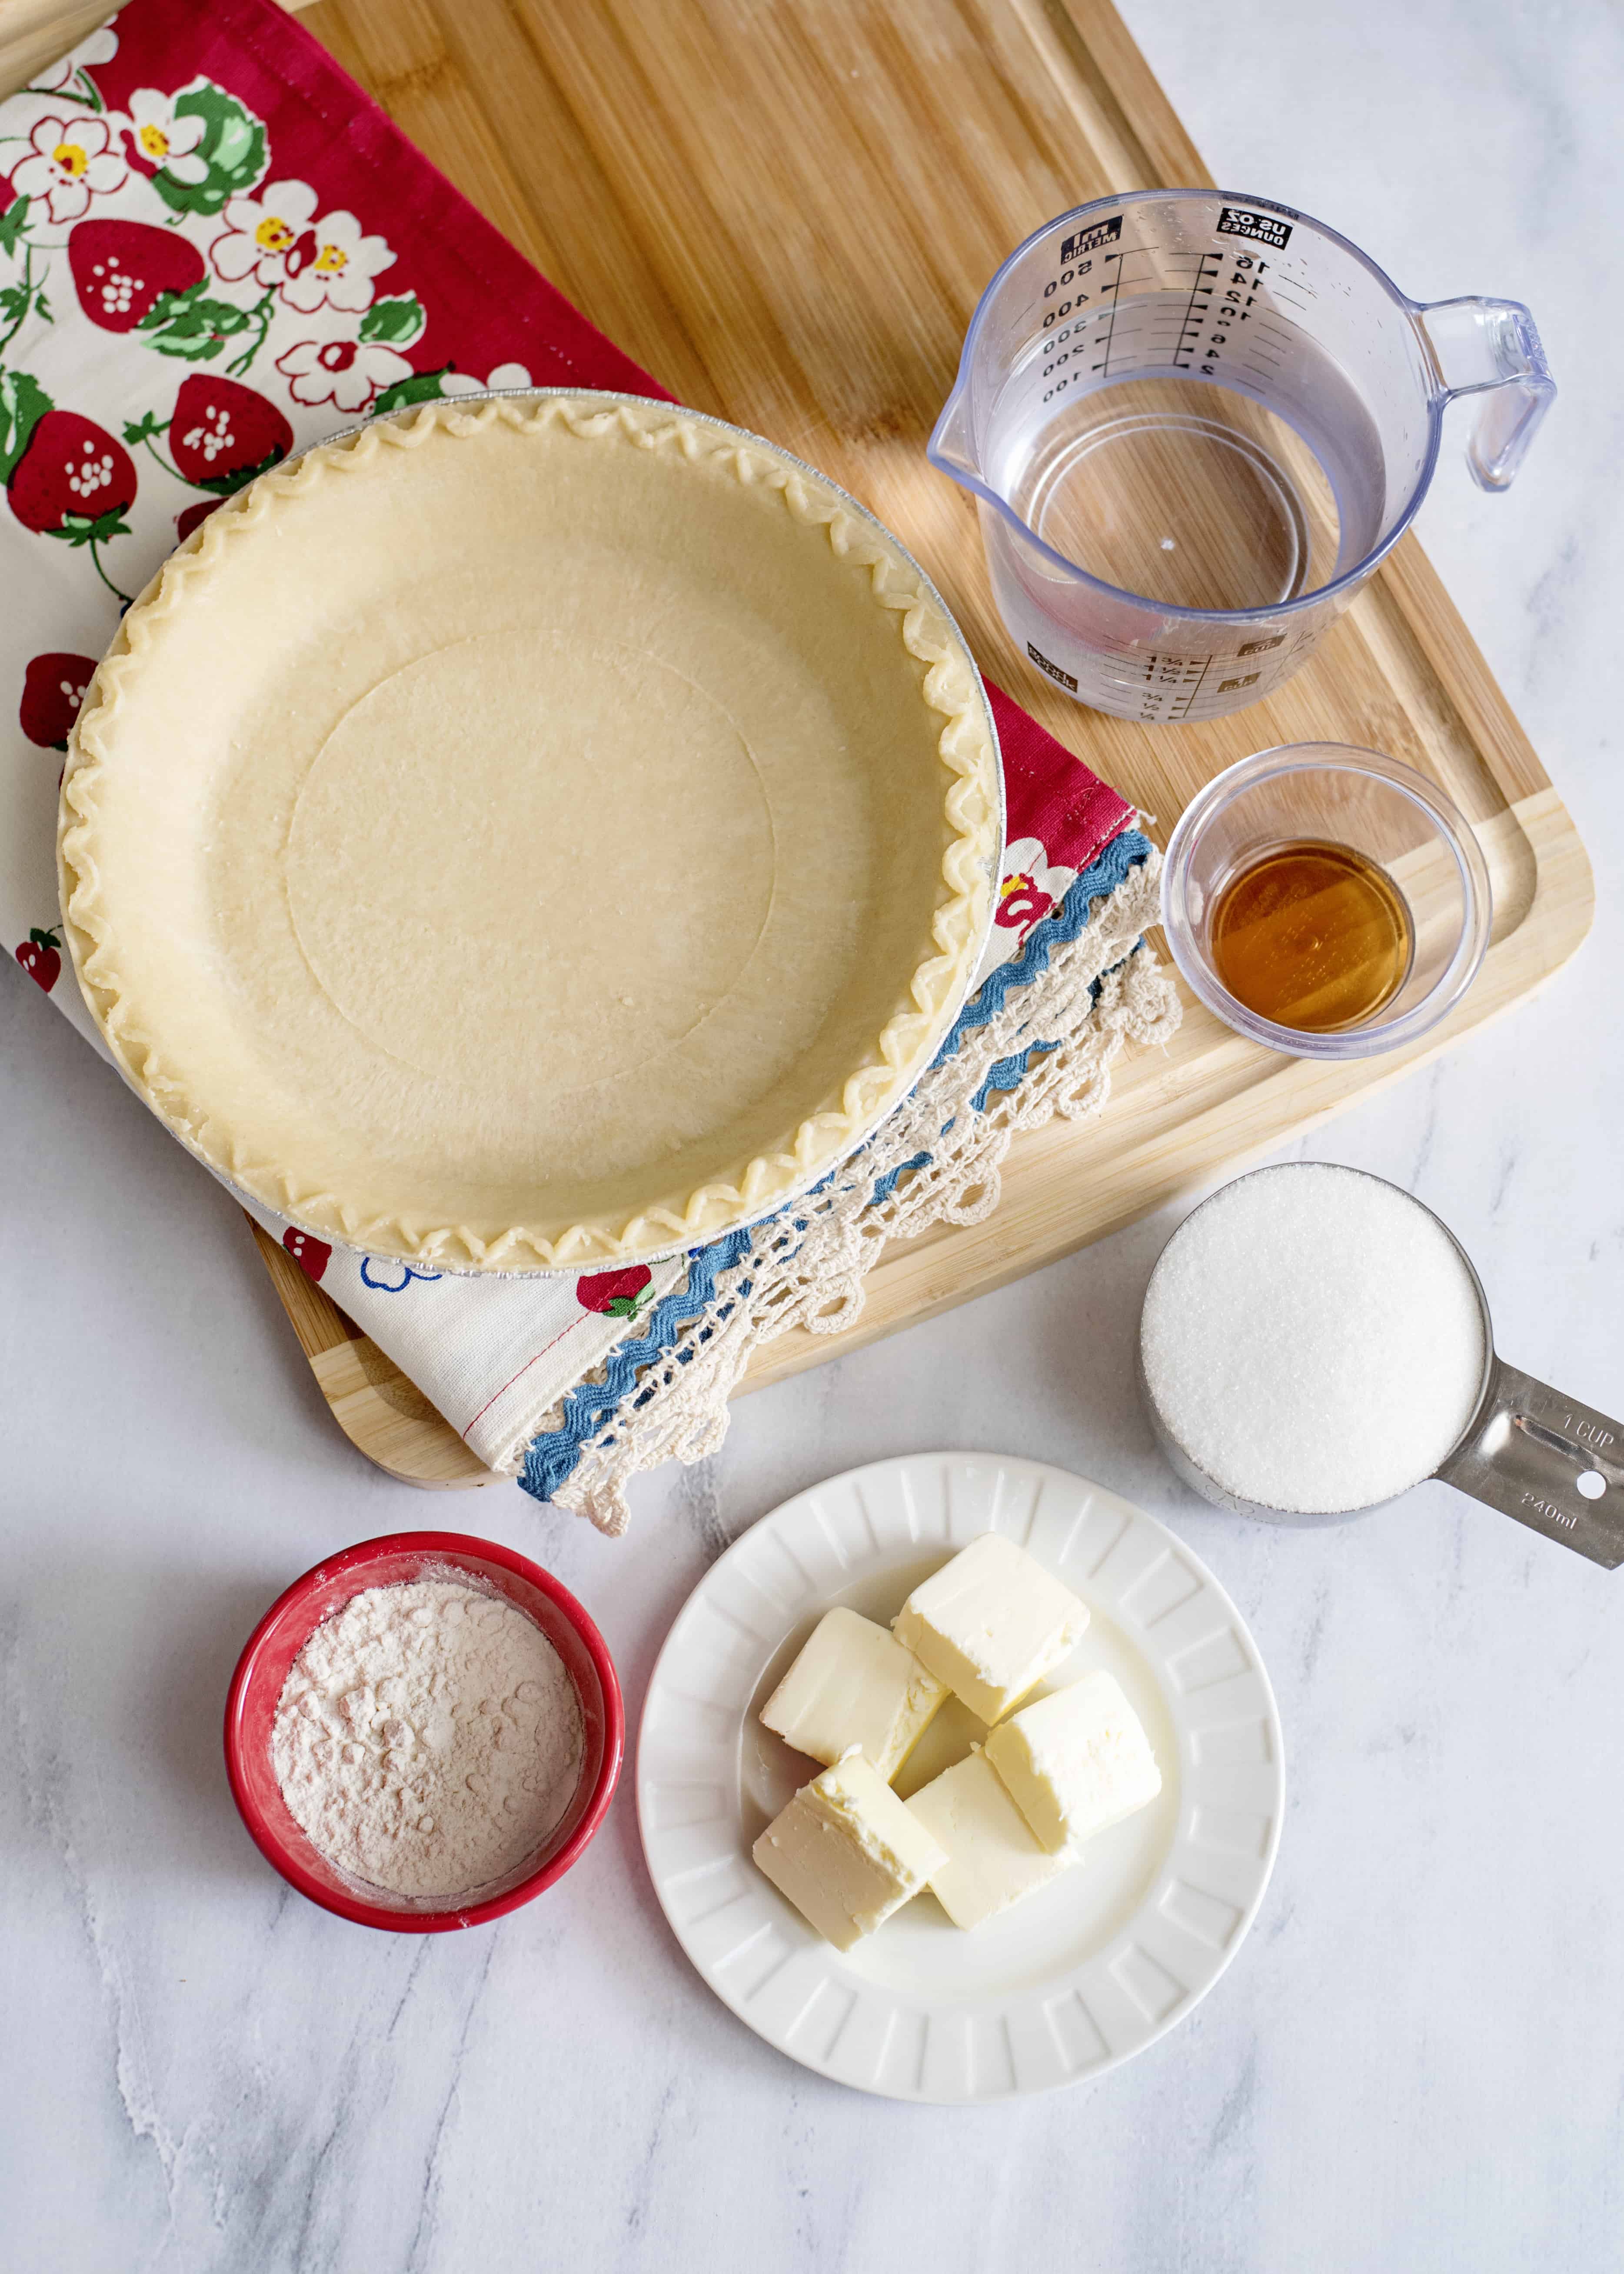
Ingredients
You know when a recipe was created to make something out of nothing, it’s going to be simple on the ingredients!
- A deep-dish pie crust (see tips for success at the bottom of this post).
- Water
- Sugar
- Flour
- Butter
- Vanilla extract
Tips for the Best Water Pie
- I use an unbaked Pillsbury all-vegetable frozen deep-dish pie crust for this recipe. I suggest a store-bought deep-dish pie crust because homemade pie crusts vary in depth and may not cook through in the prescribed time.
- Before you begin making this pie, tear off a piece of foil large enough to cover your pie dish. Cut an X in the center and peel back the X. This makes it quick and easy to cover your pie if the edges start to darken, and it helps you keep heat in during baking!
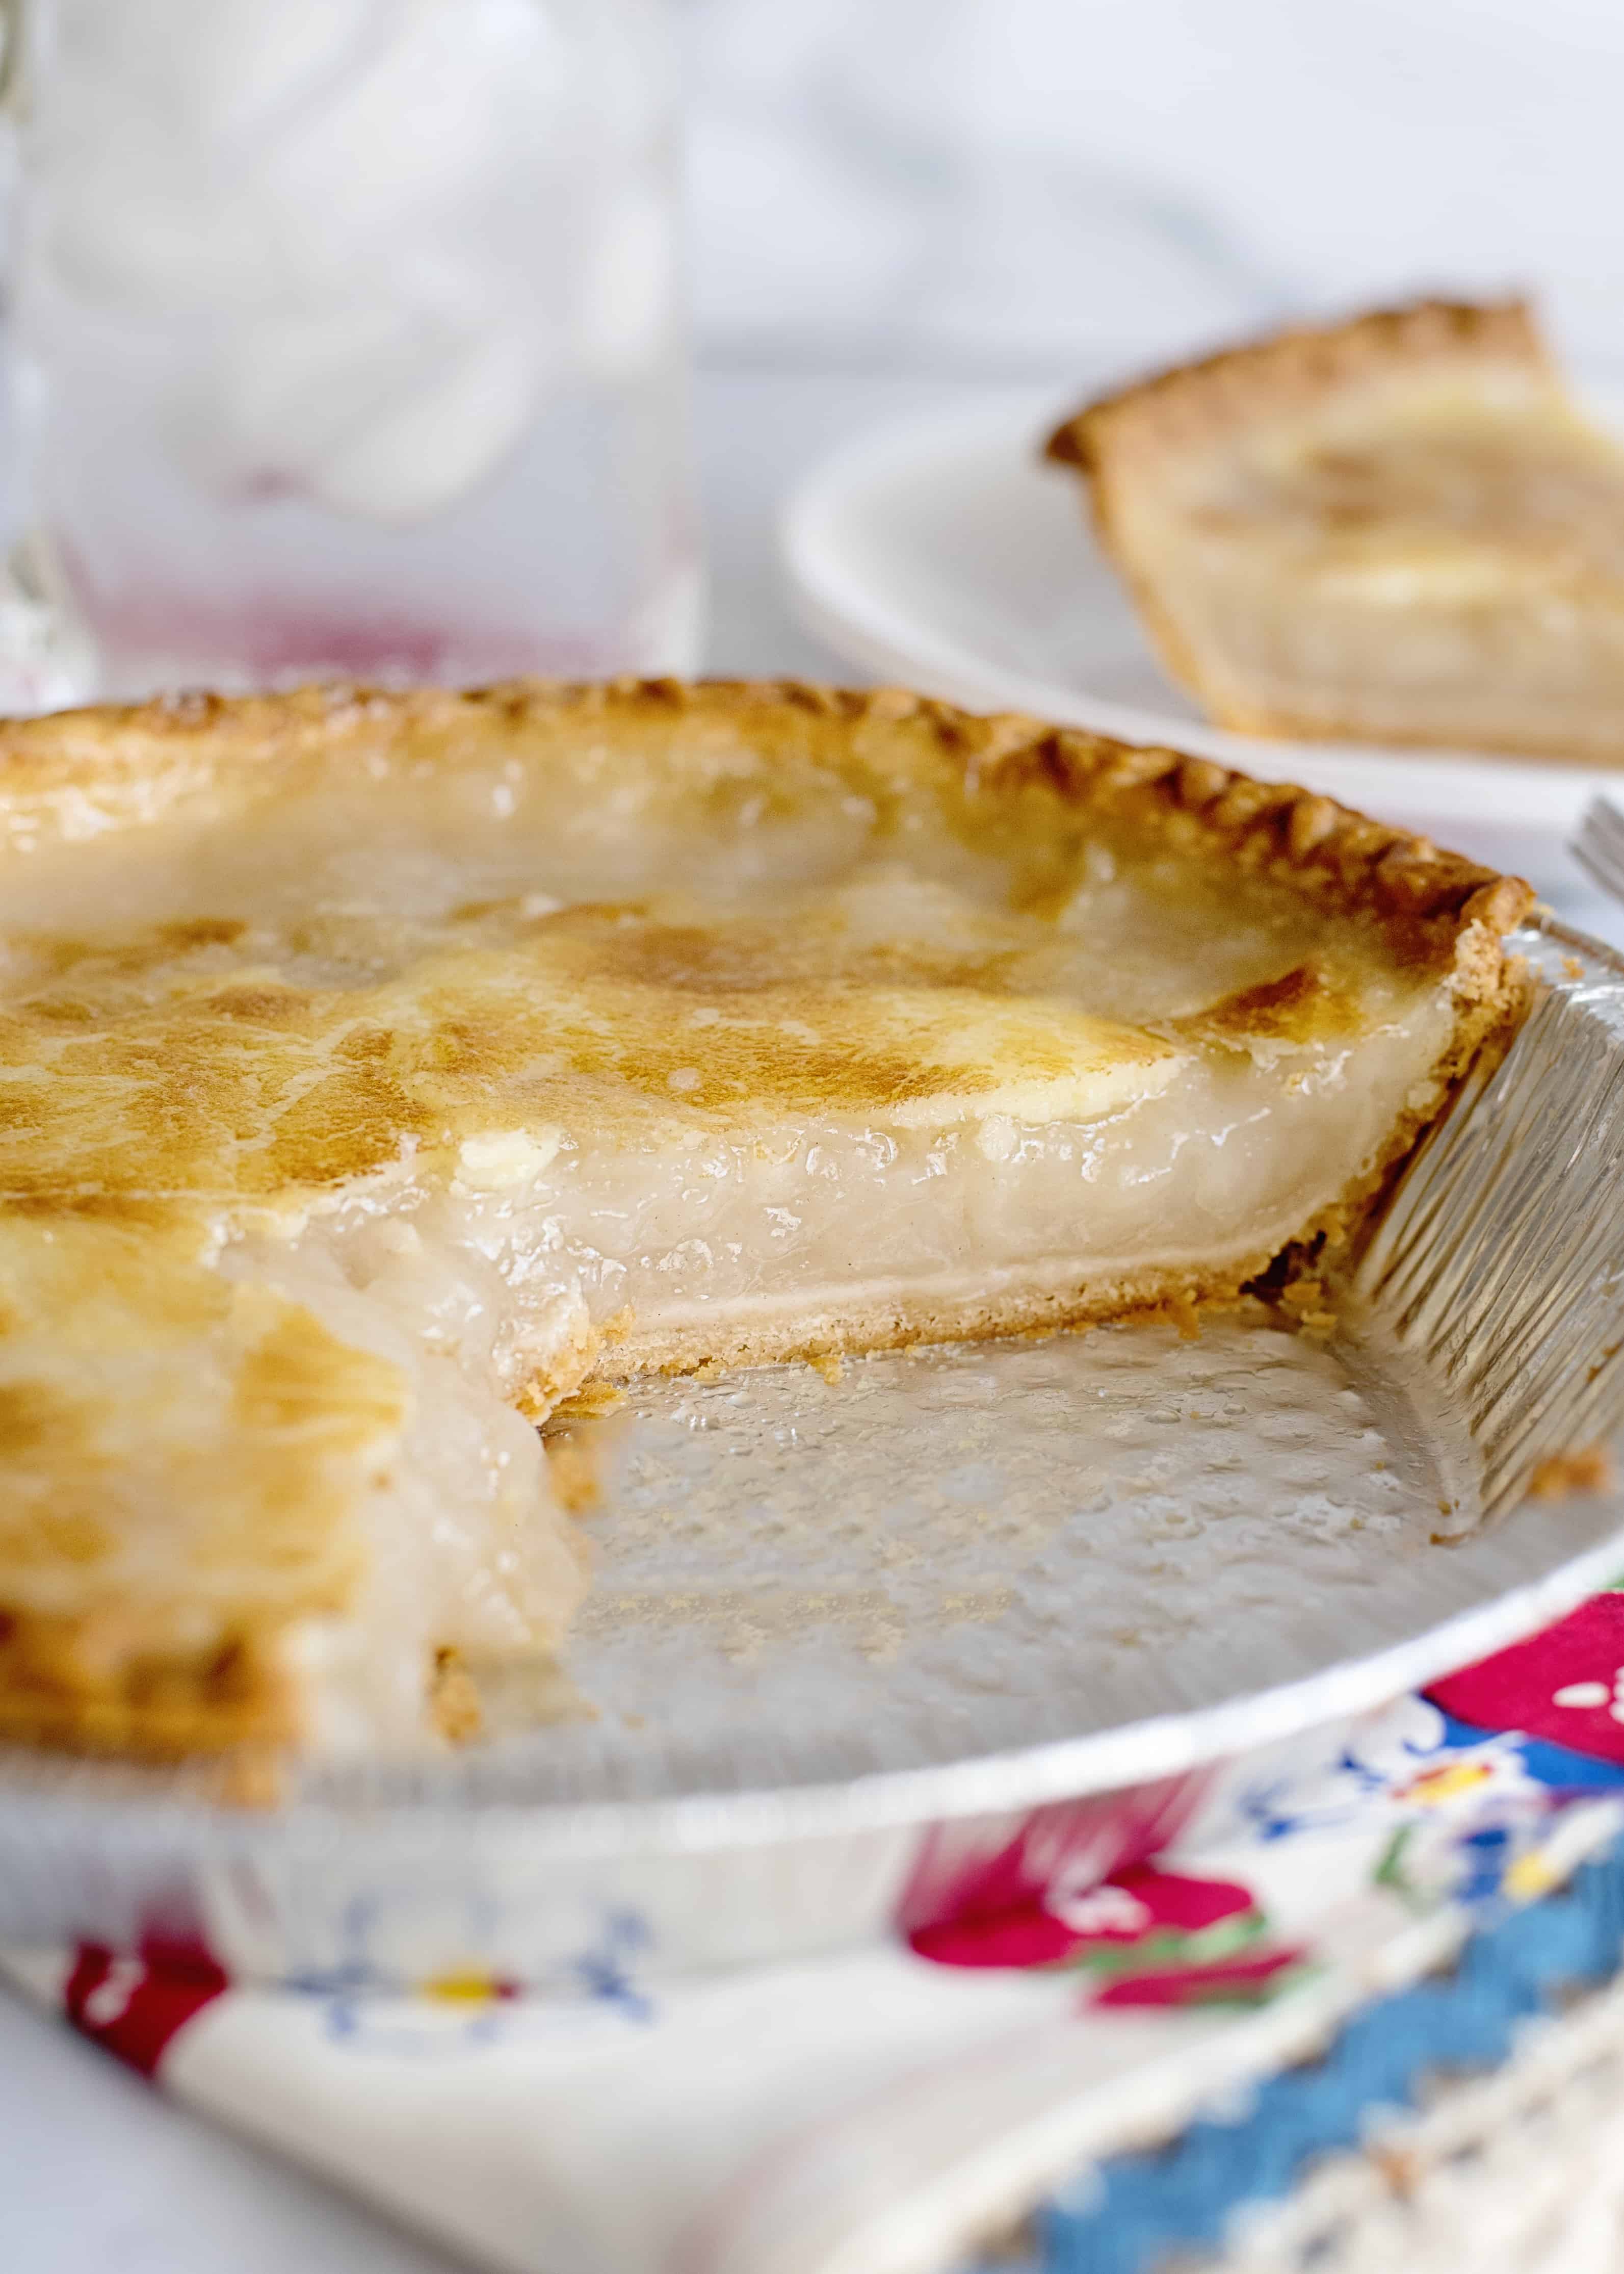
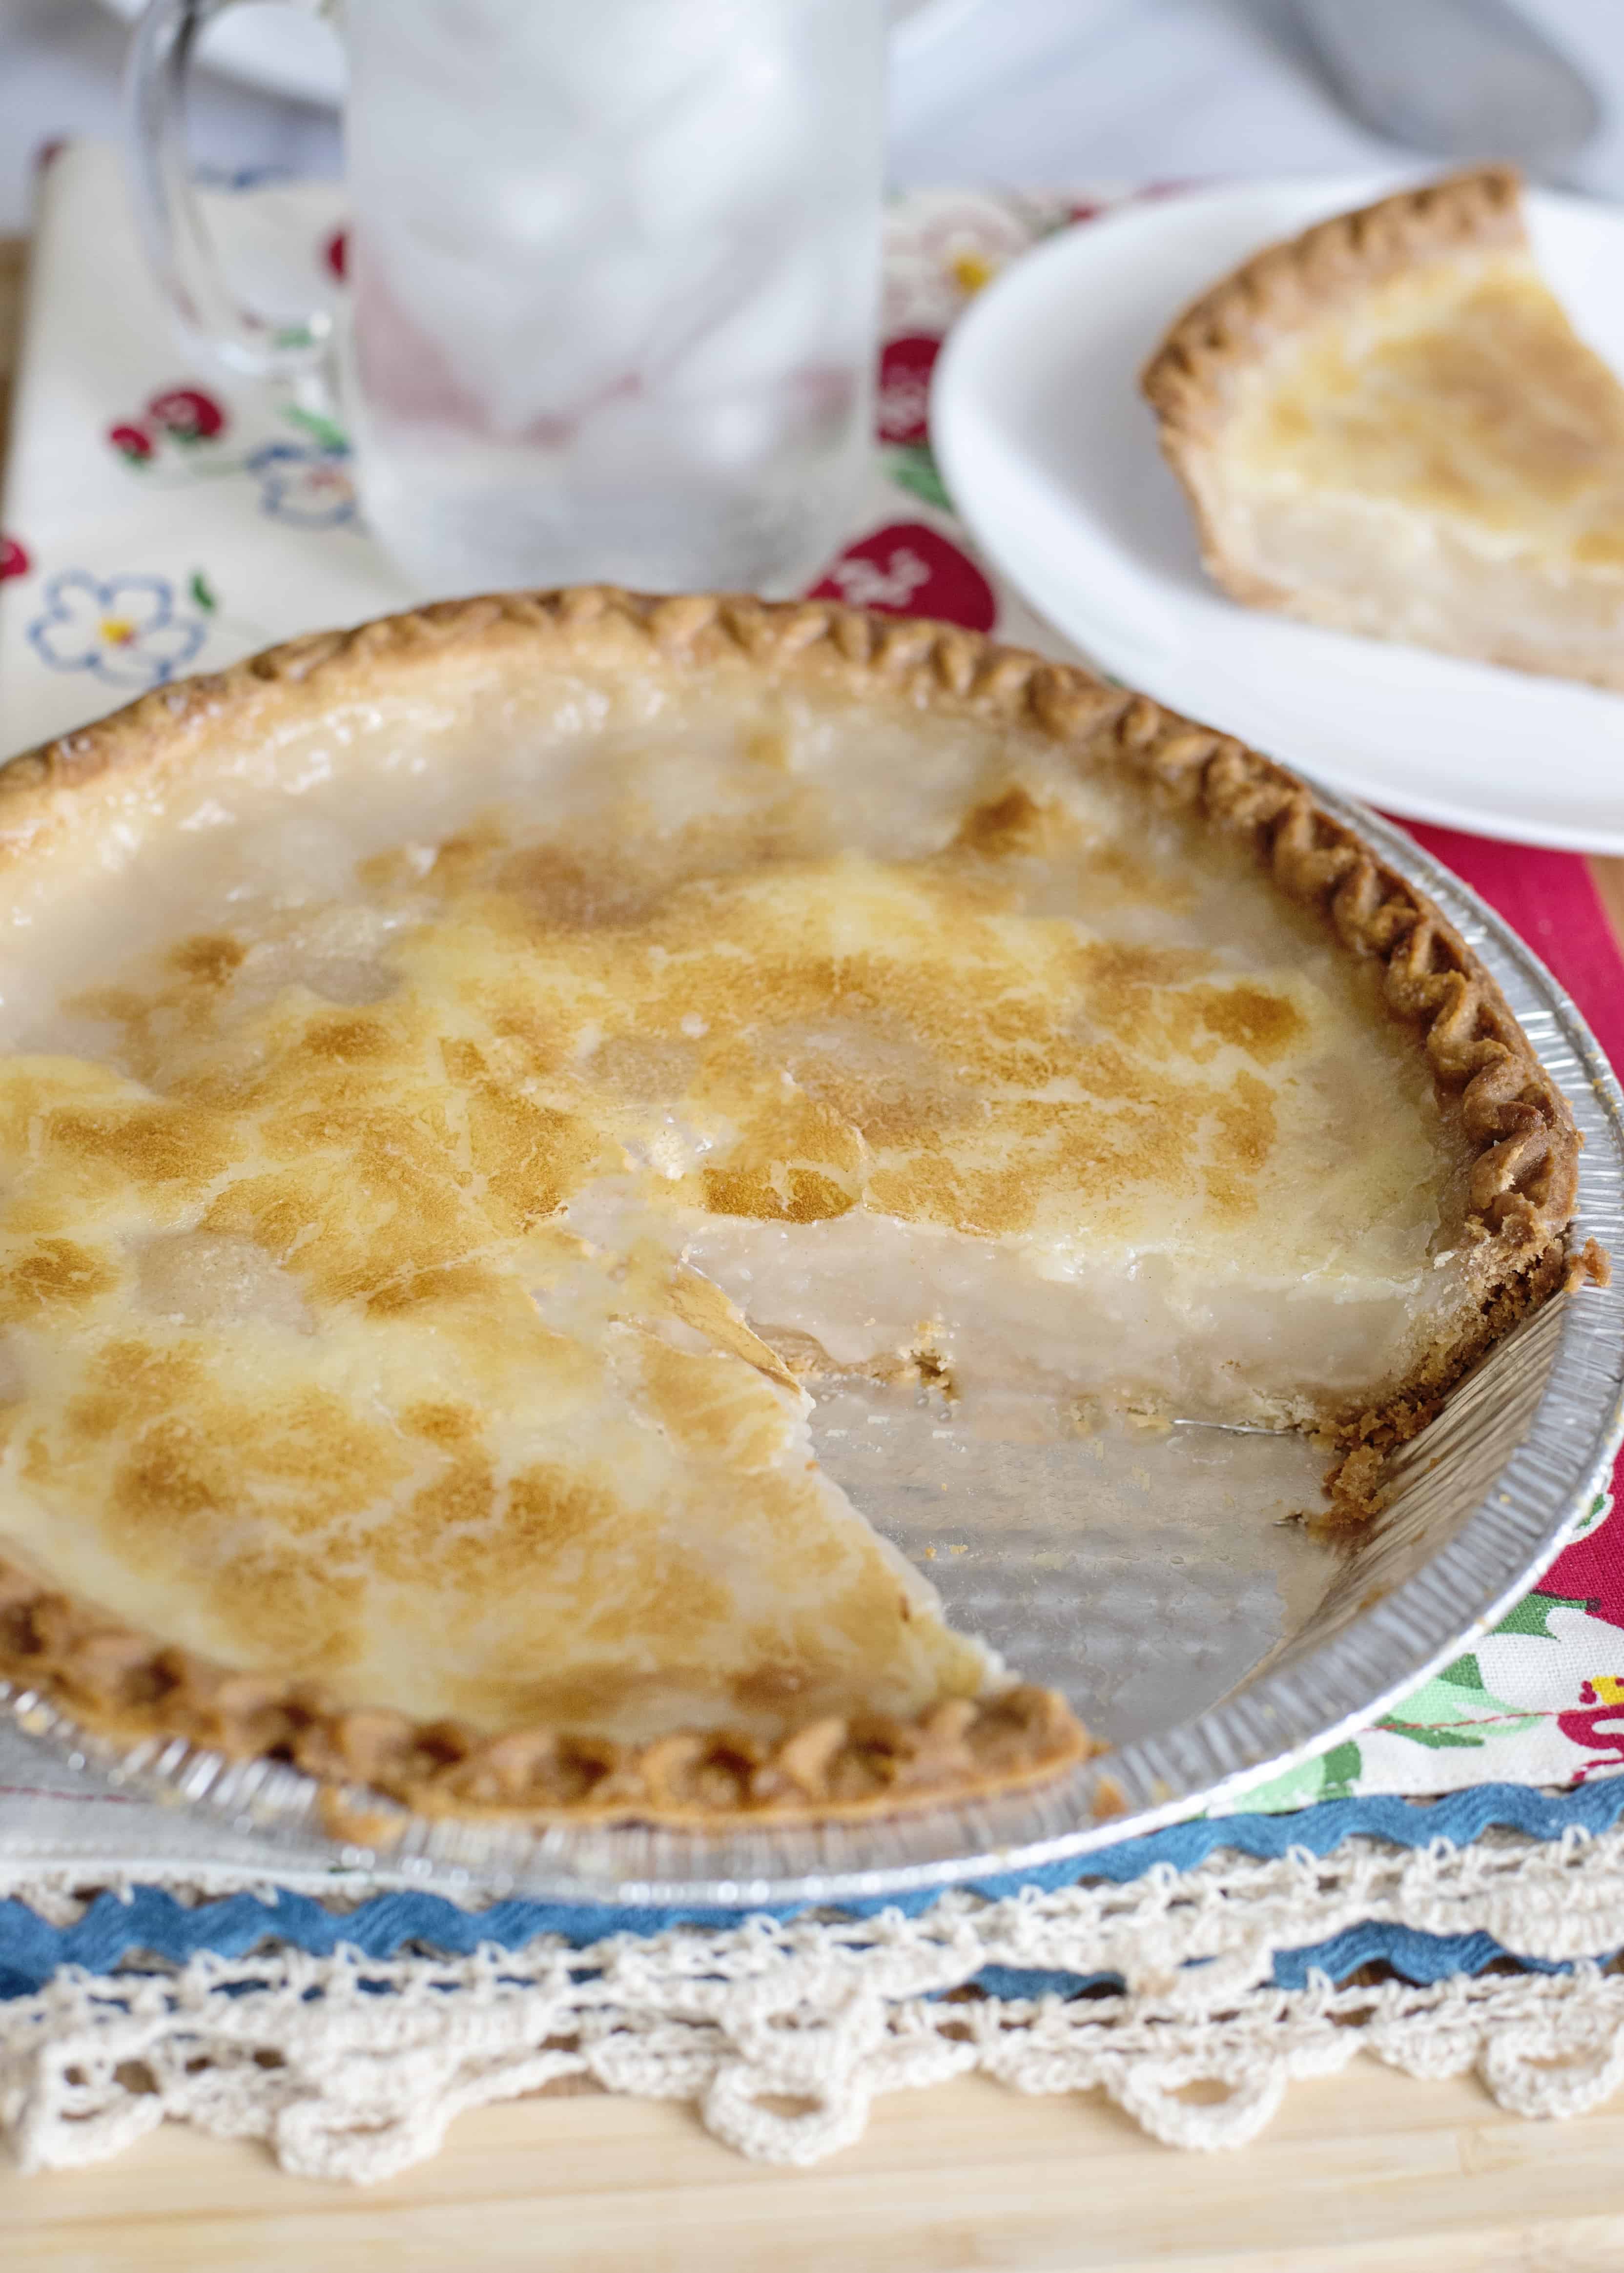
- The pie will be bubbly and could be watery in some spots when you pull it out of the oven. It will gel fully as it cools. Just let the pie cool completely, then cover and refrigerate until chilled before cutting.
How to Make Depression-Era Water Pie
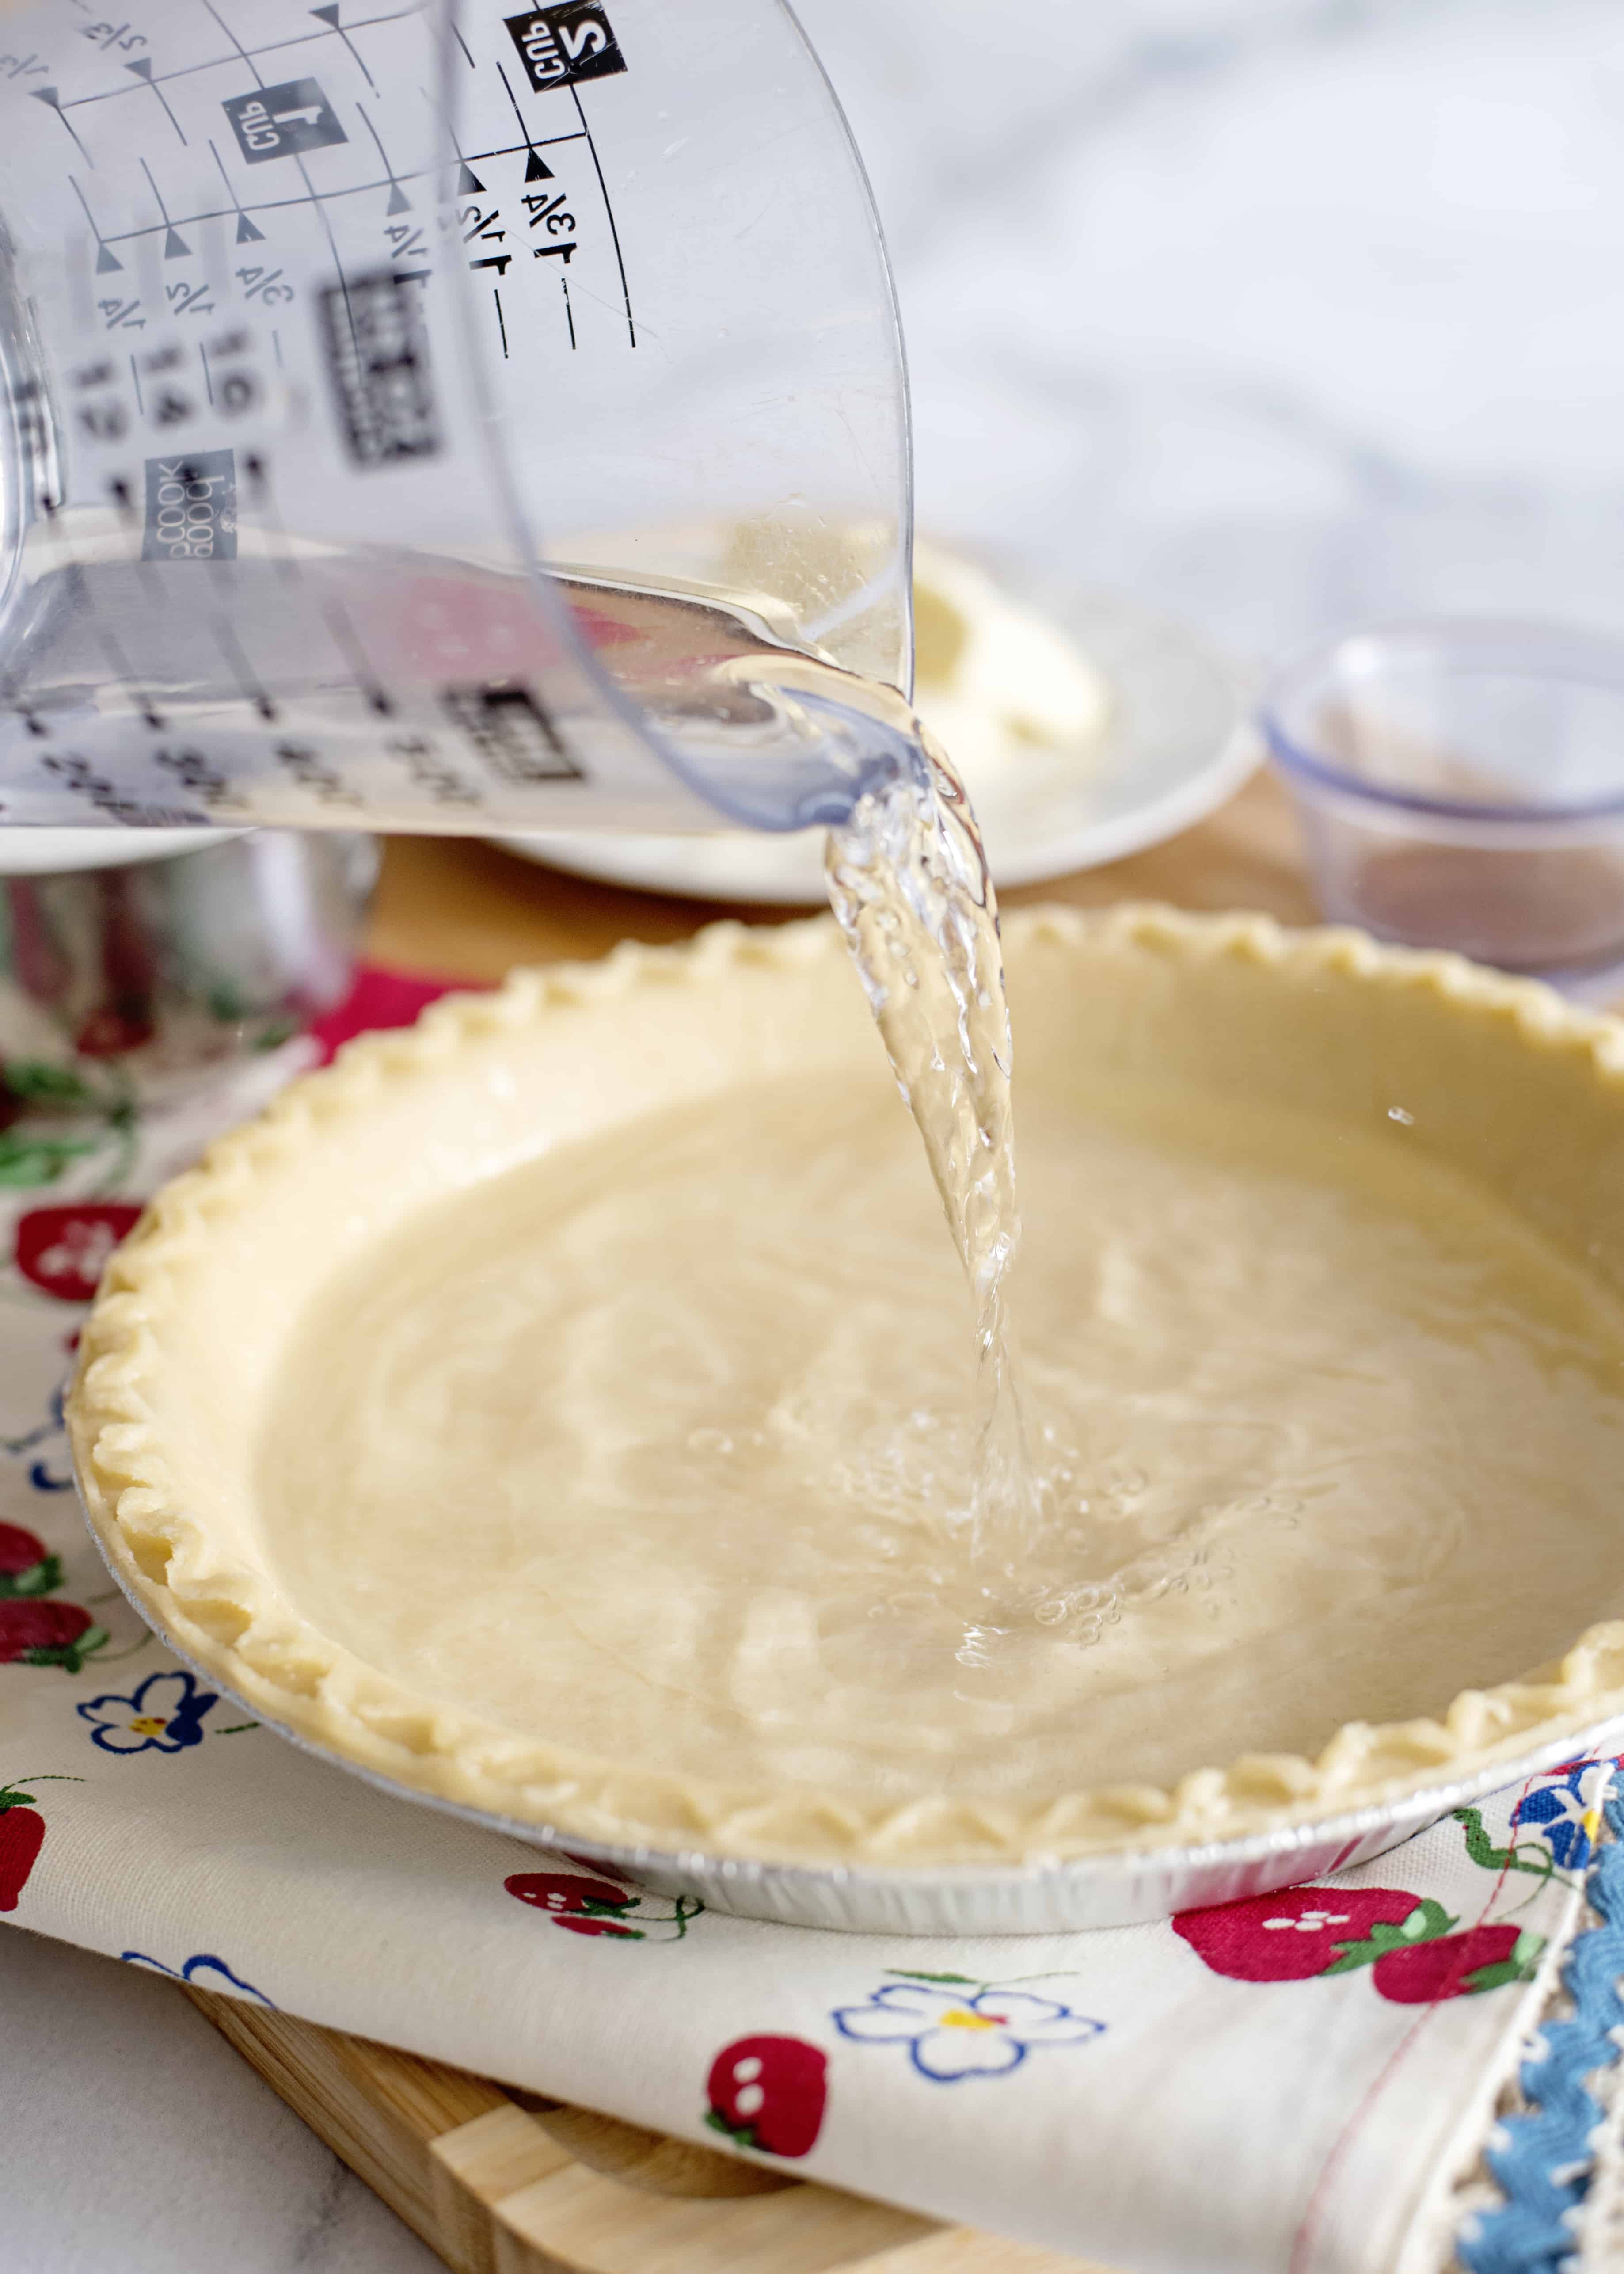
1. Pour Water Into Pie Crust Dish
Begin by pouring water into your unbaked pie crust deep-dish. Tap water is just fine!
2. Add Flour & Sugar
Next, in a small mixing bowl, stir together your flour and sugar.
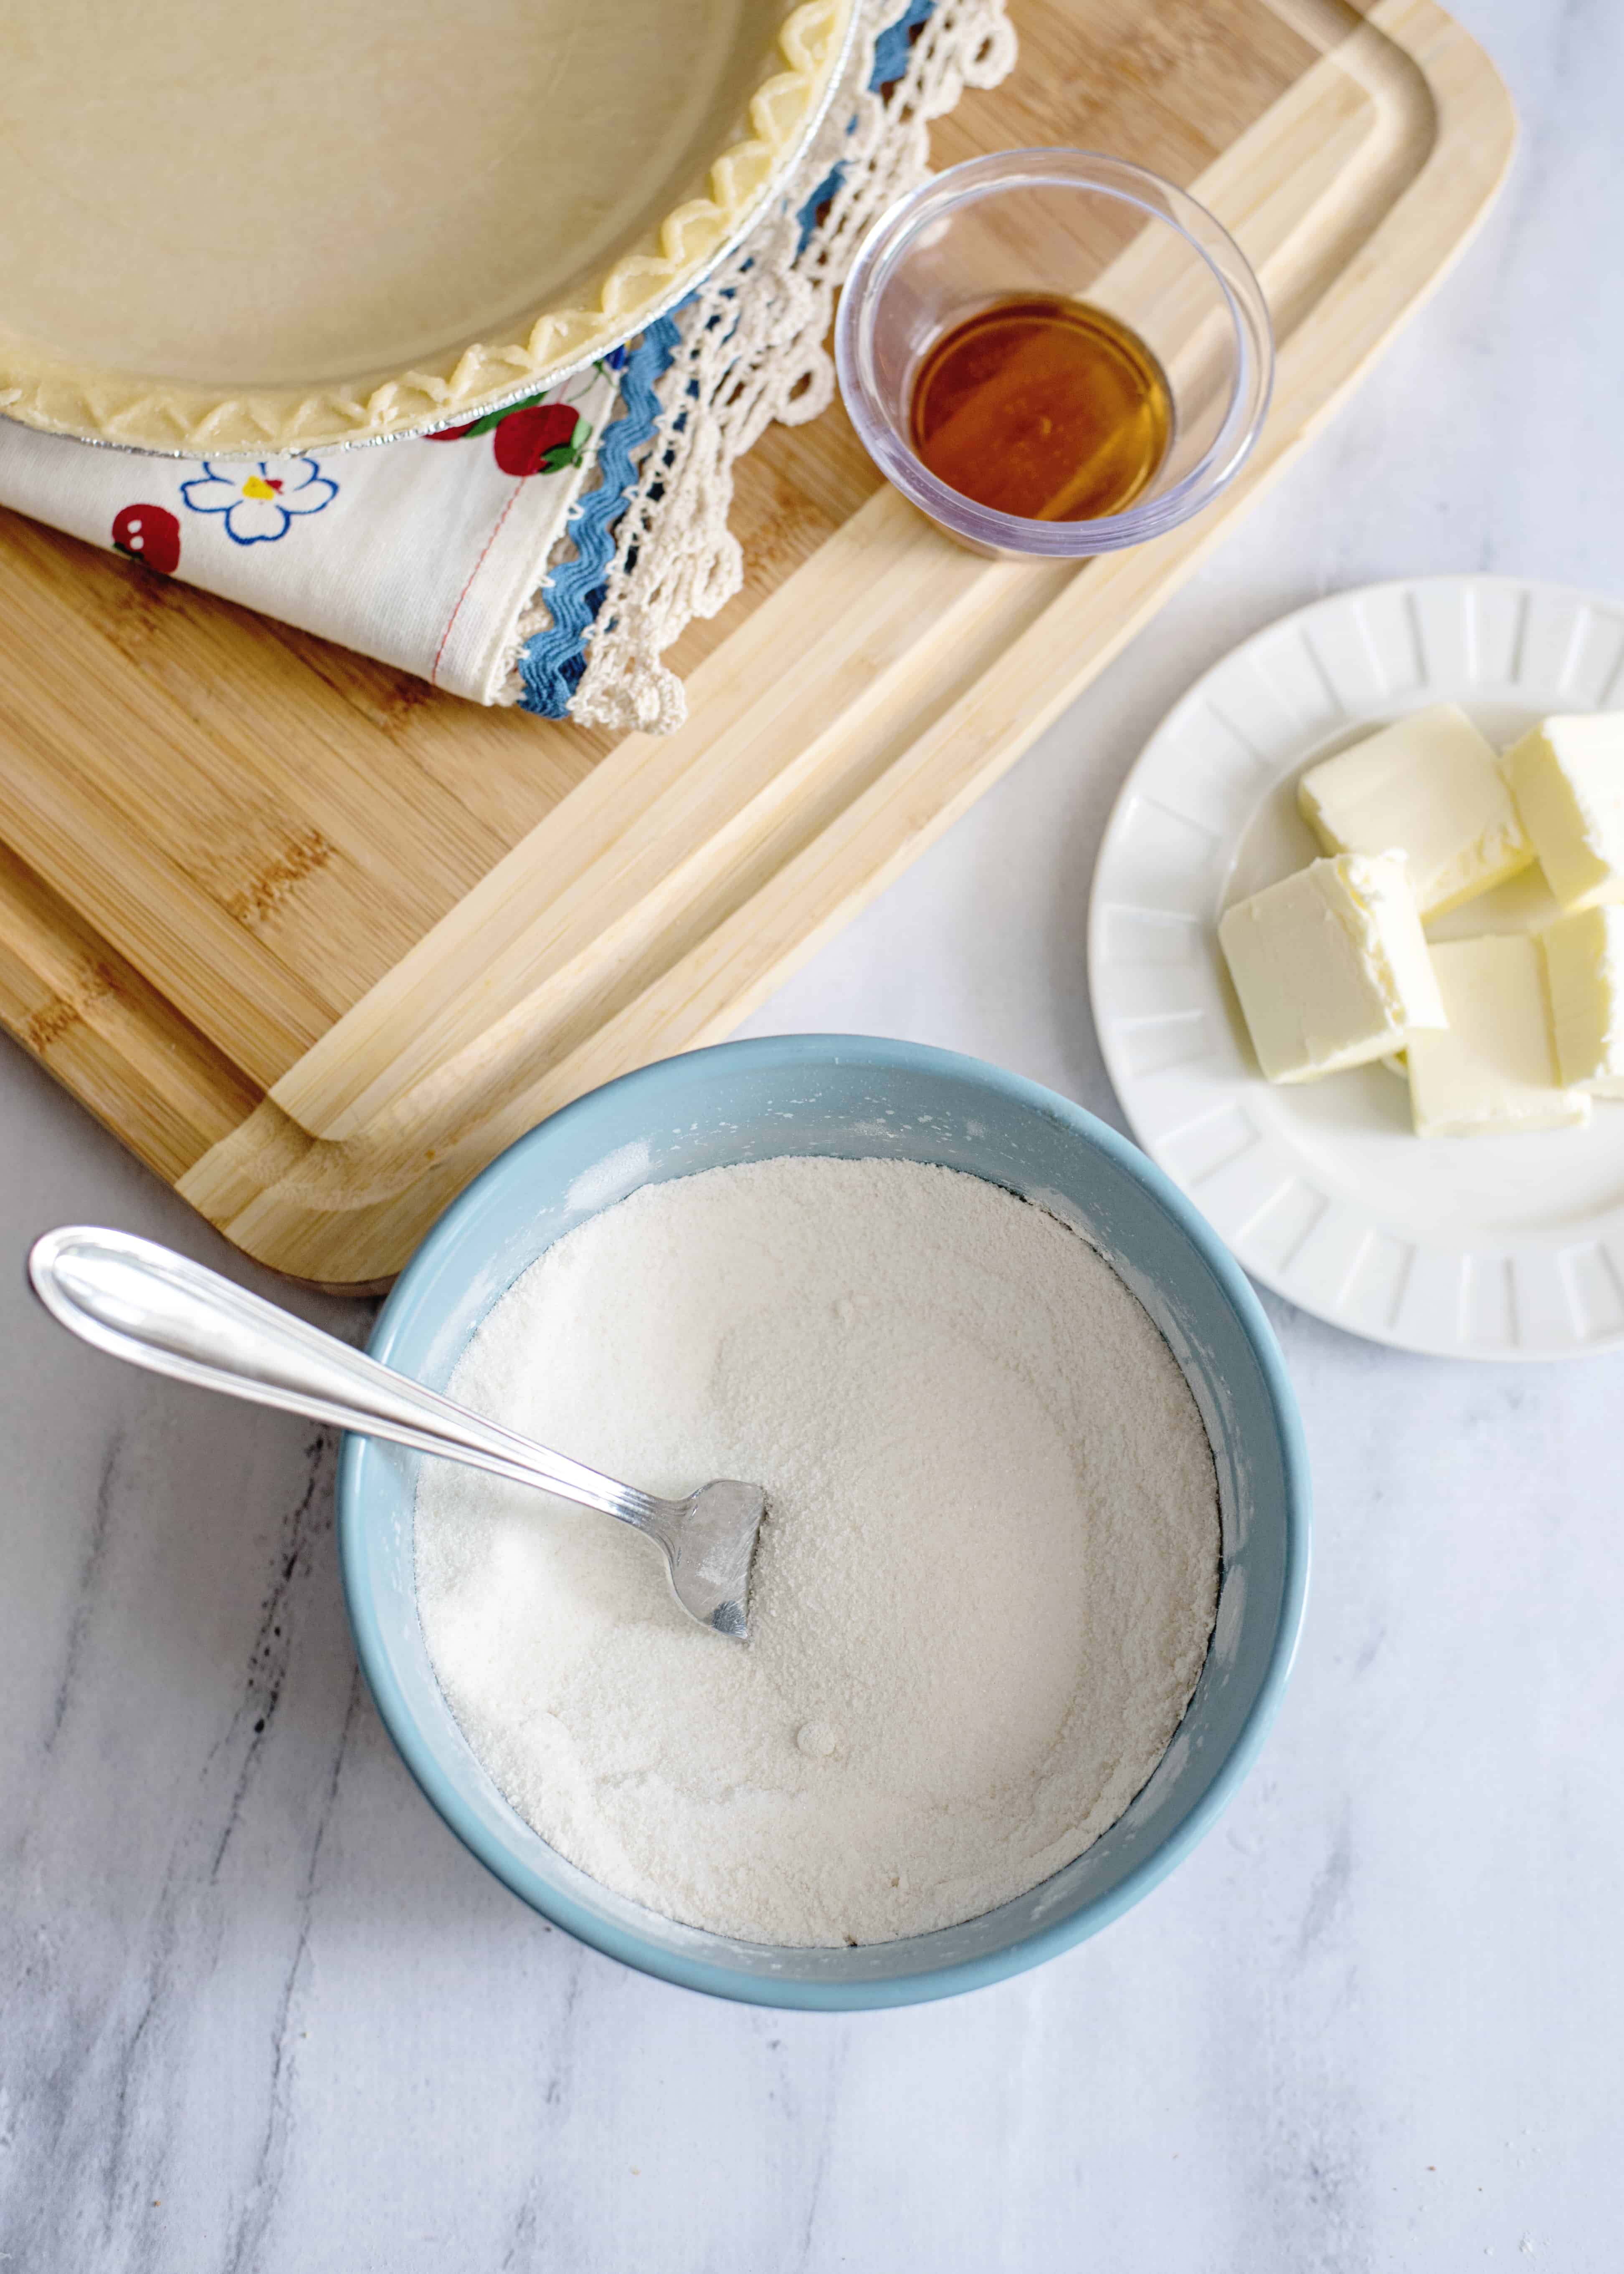
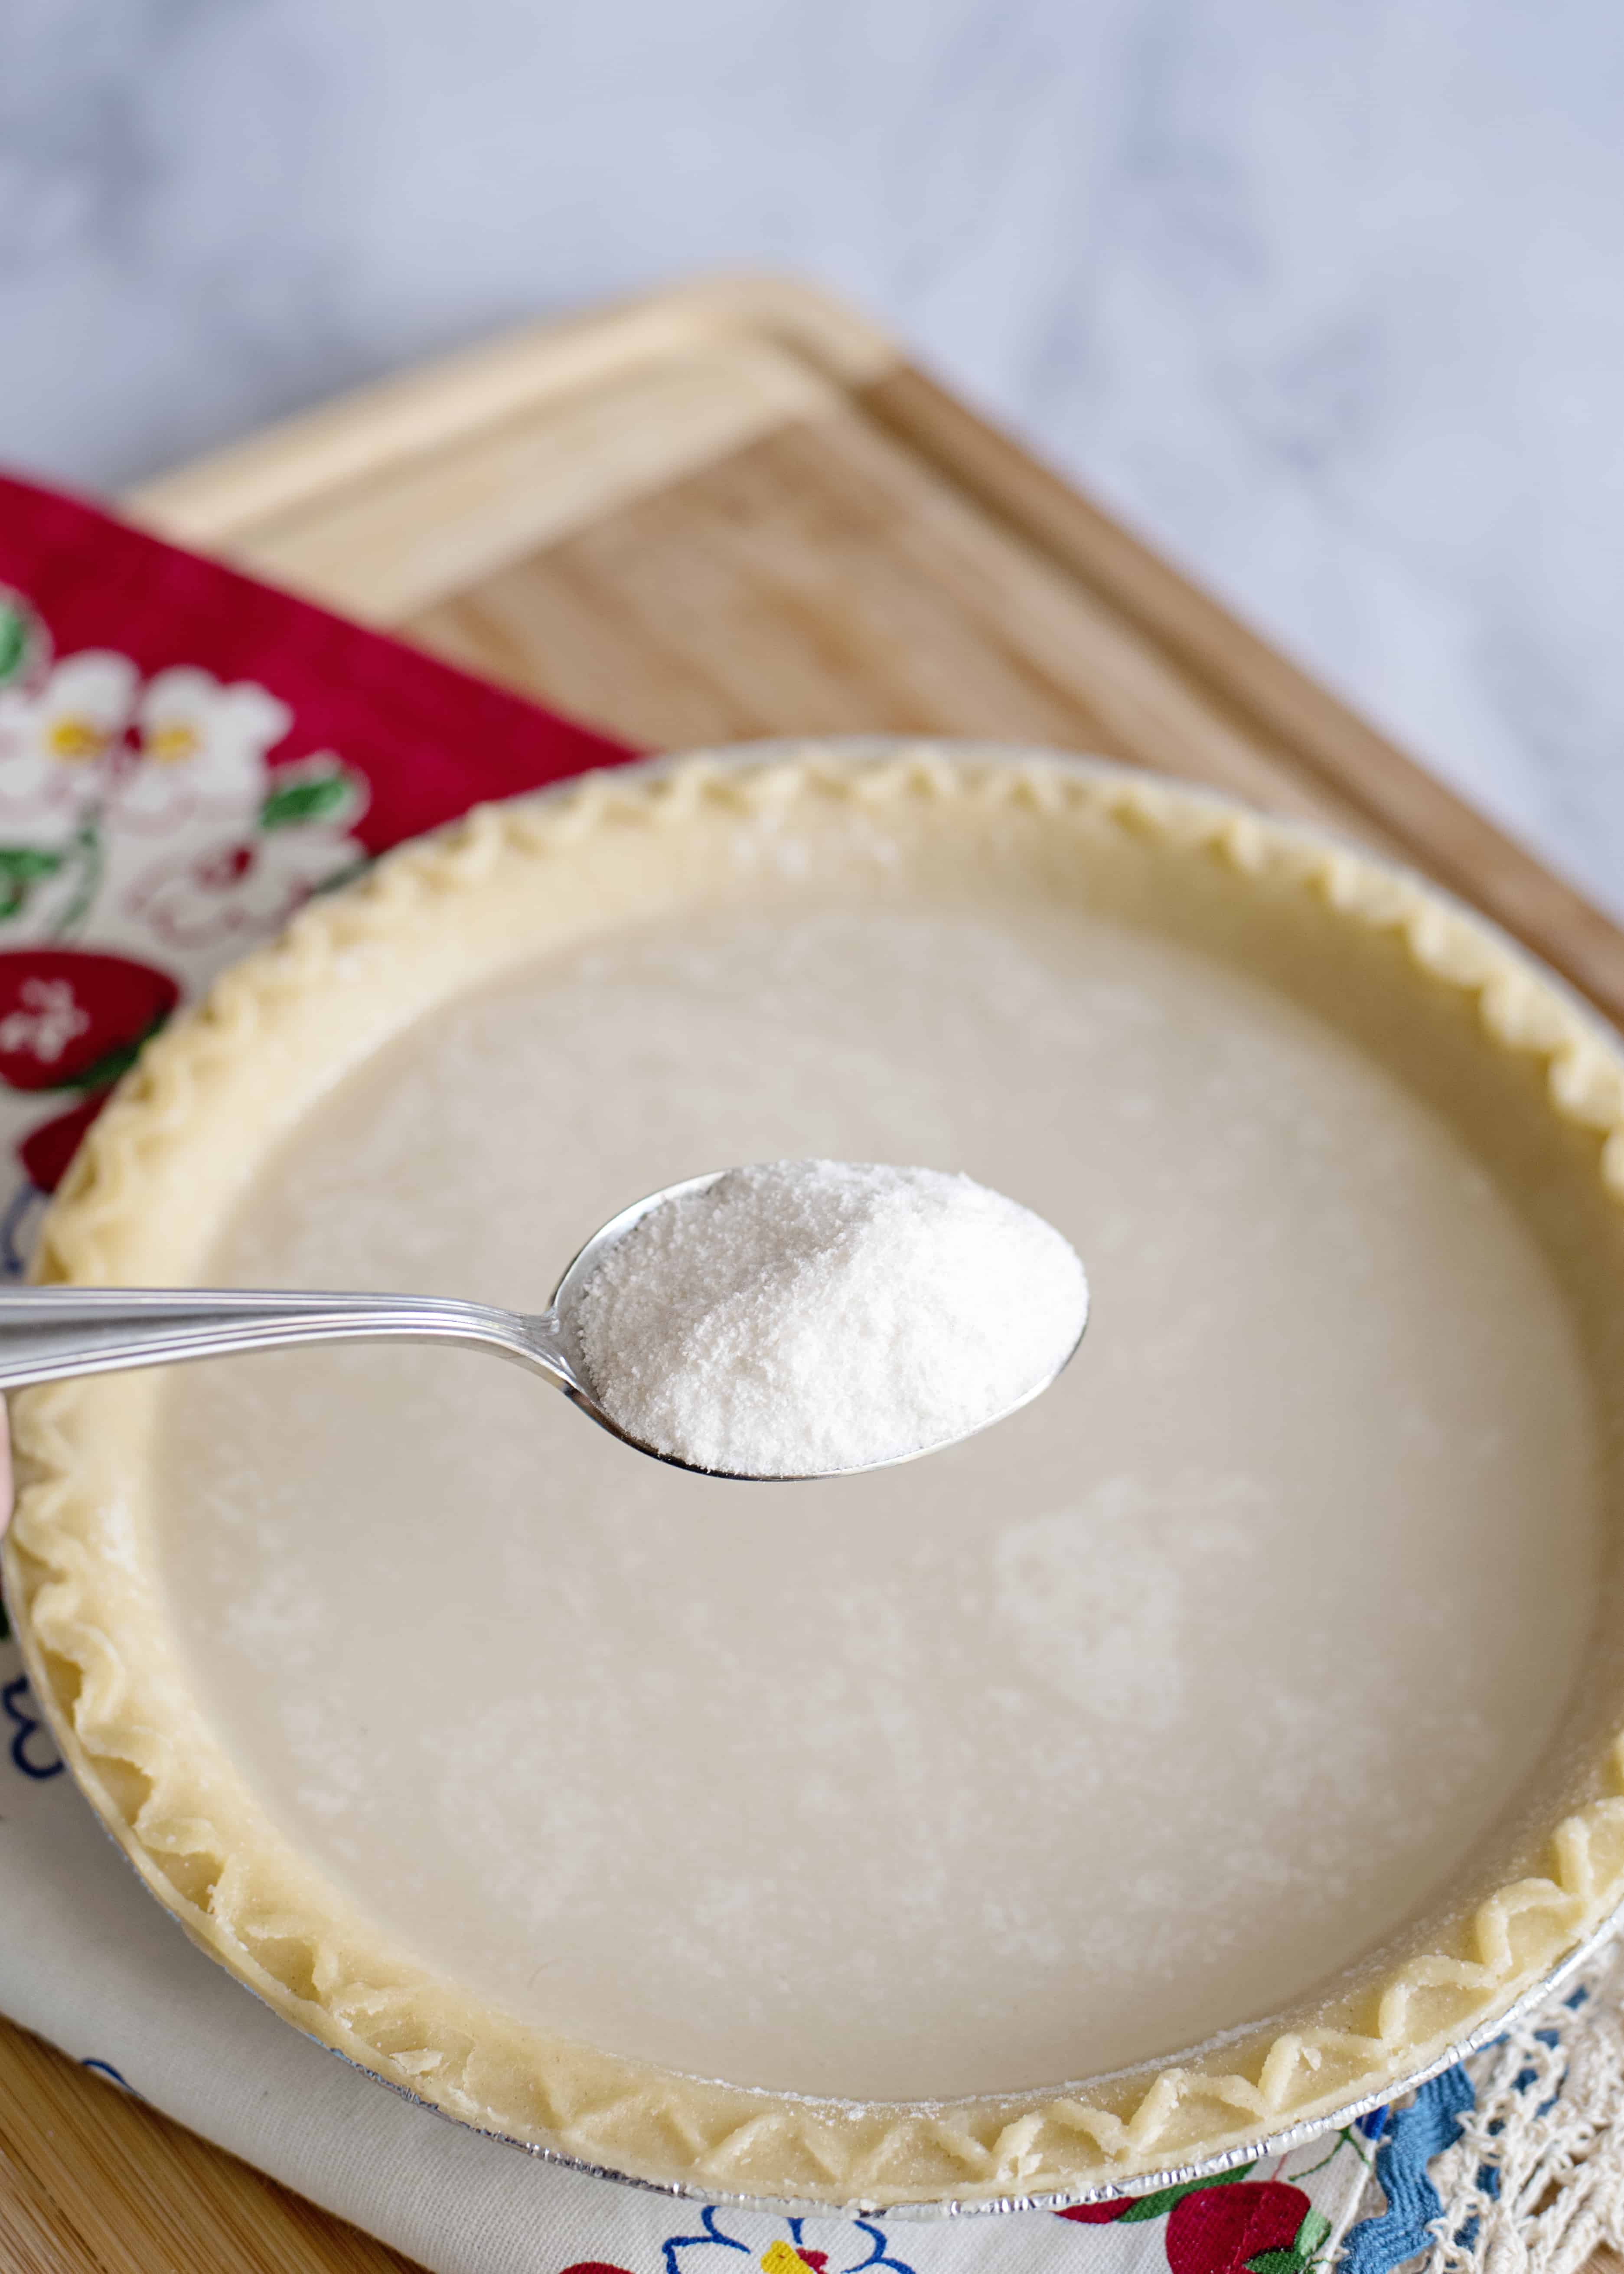
Sprinkle the flour mixture over your water in the pie shell. The original recipe called for doing this with a spoon, so I’m showing you that way, but I usually just use my hand to sprinkle it because I feel like I can get it more evenly that way.
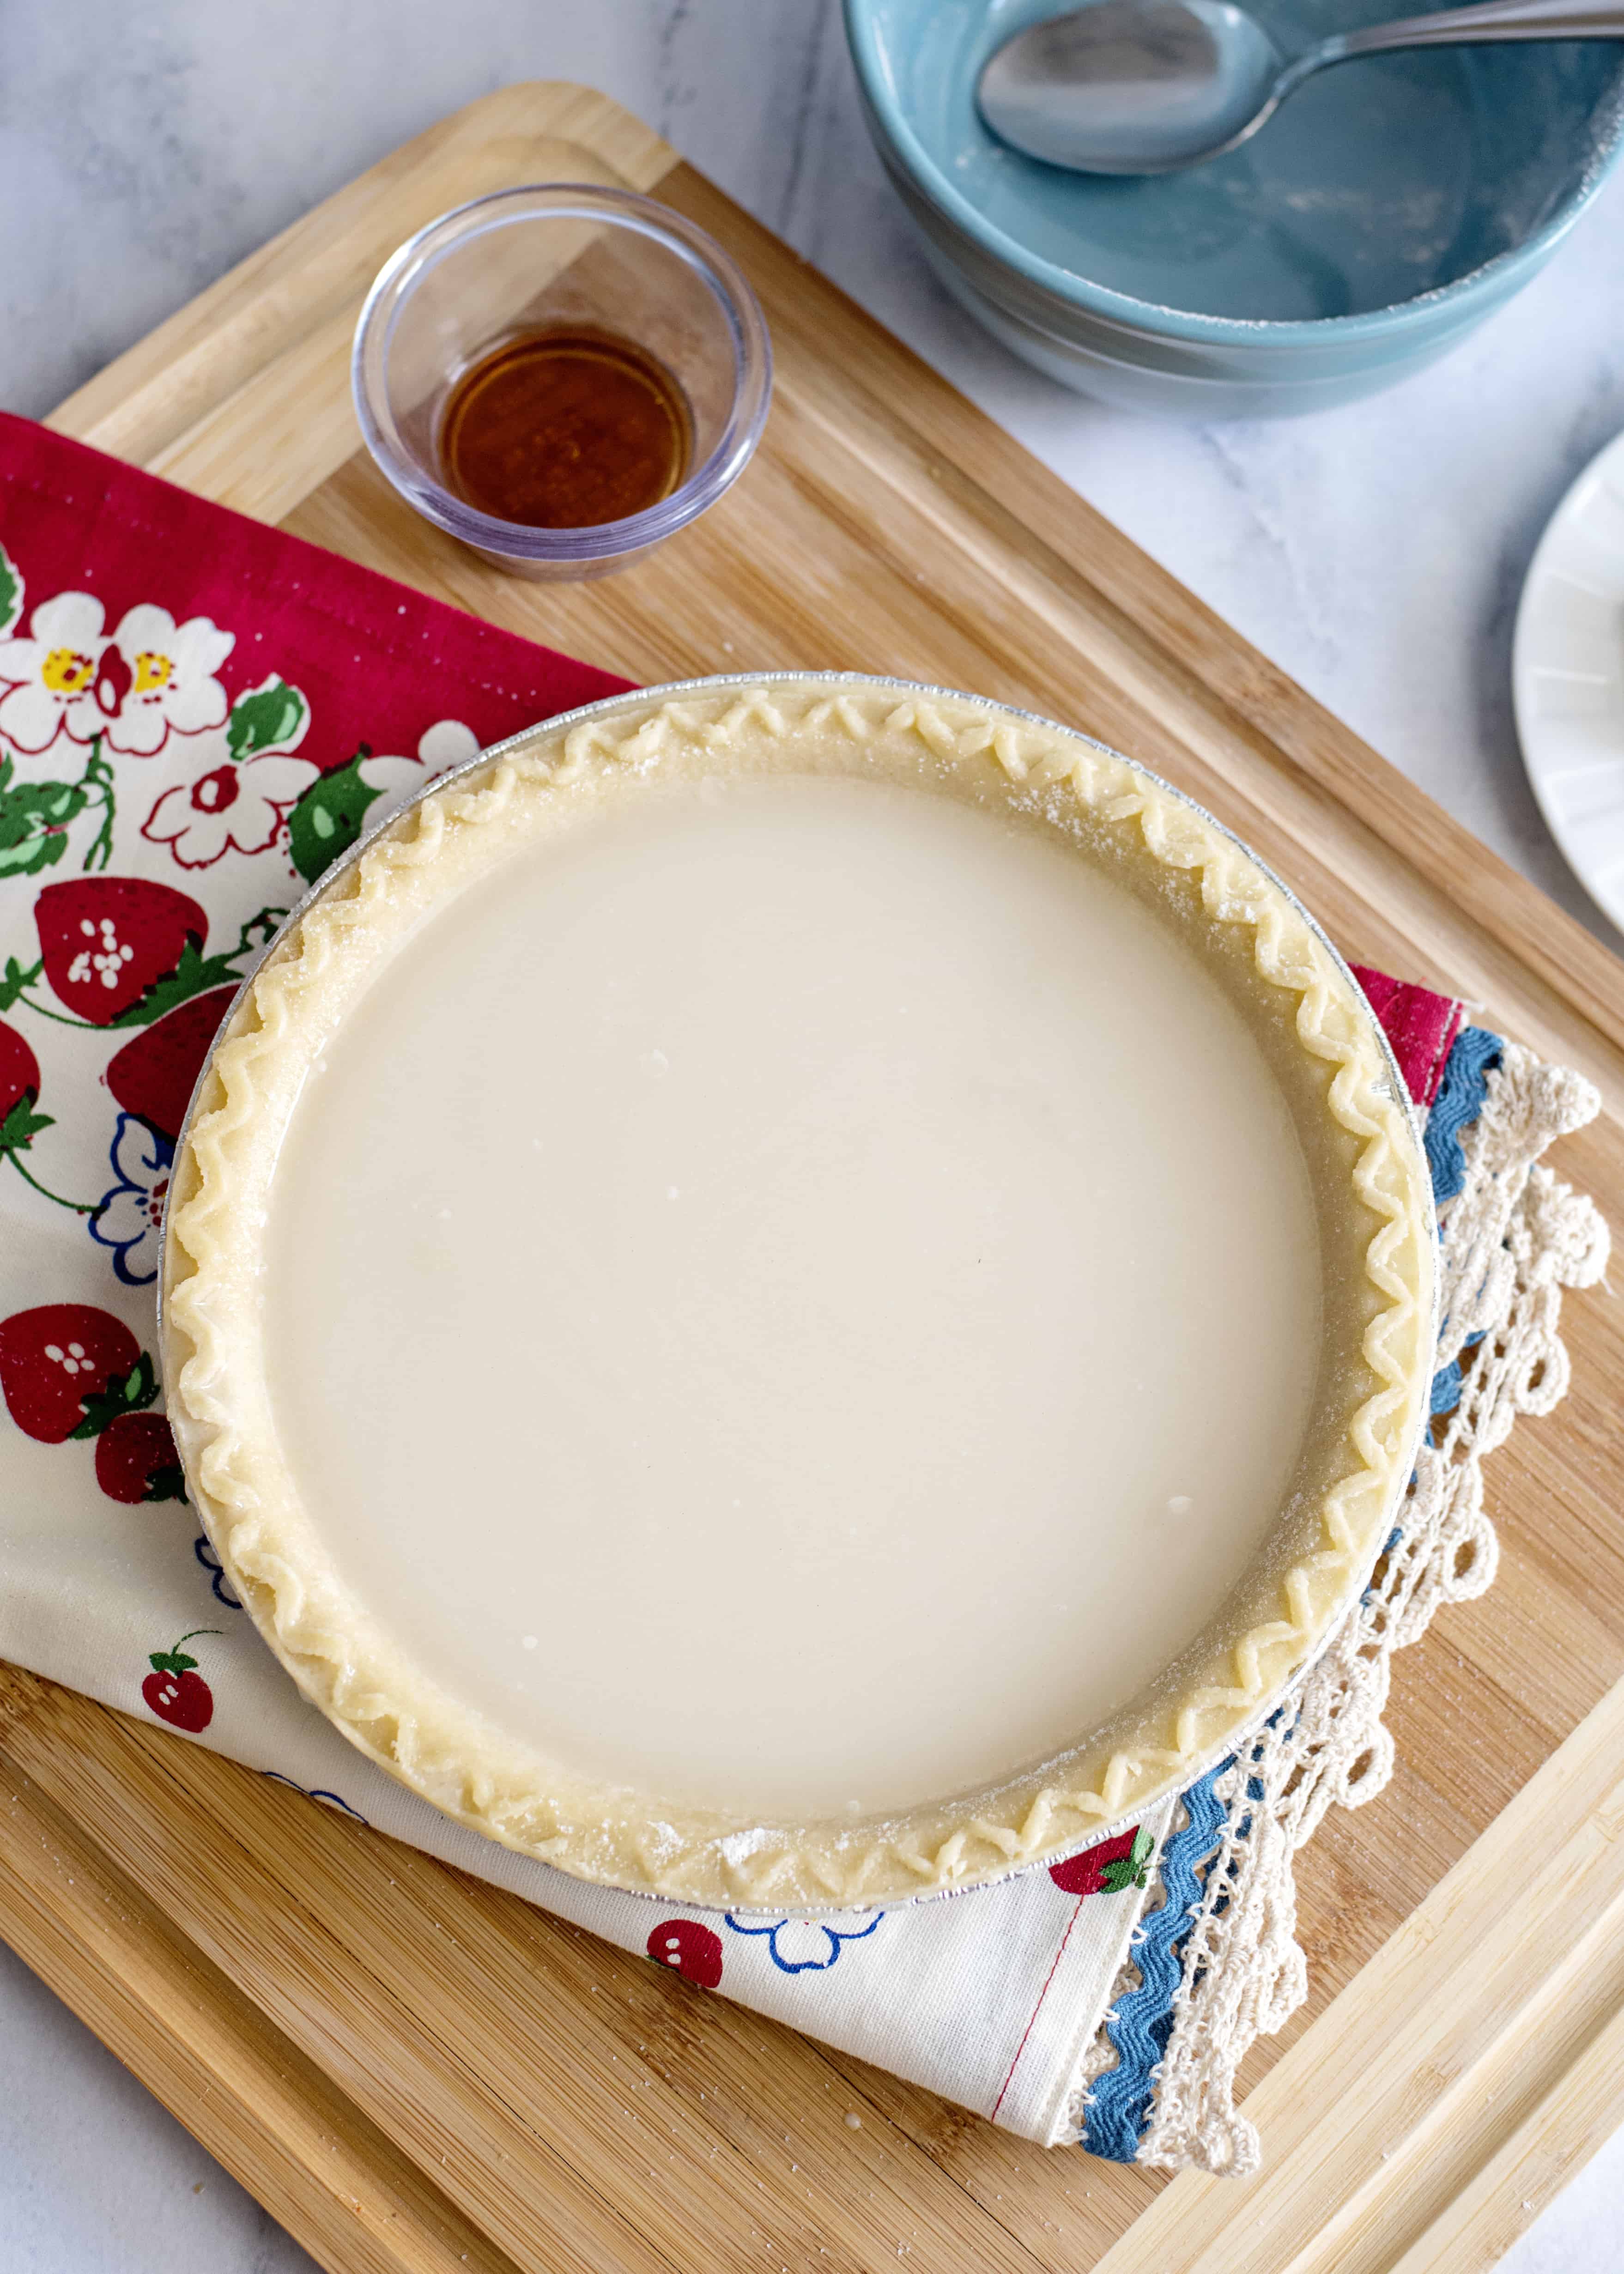
This is our water with flour/sugar sprinkled over. Don’t stir!
3. Add Vanilla & Butter
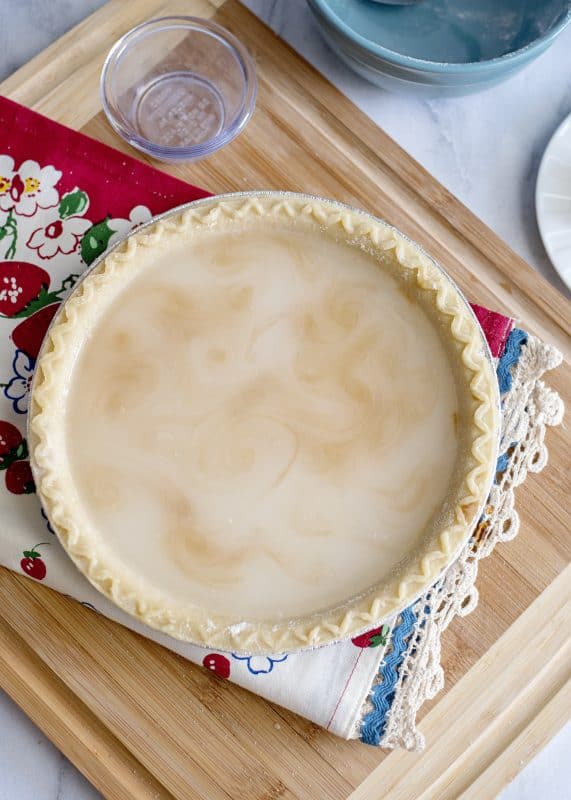
Drizzle vanilla over this (don’t stir this either!). Then place pats of butter on top.
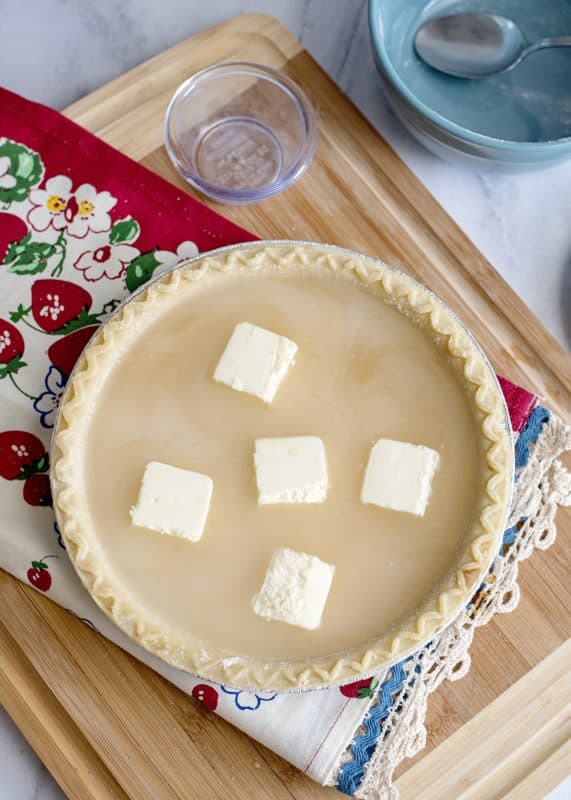
4. Bake
Place your pie in the oven at 400°F for 30 minutes.
After 30 minutes, reduce the temperature to 375°F and cover the edges of the flaky crust if needed to prevent burning. Cook for another 30 minutes after you reduce the temp.
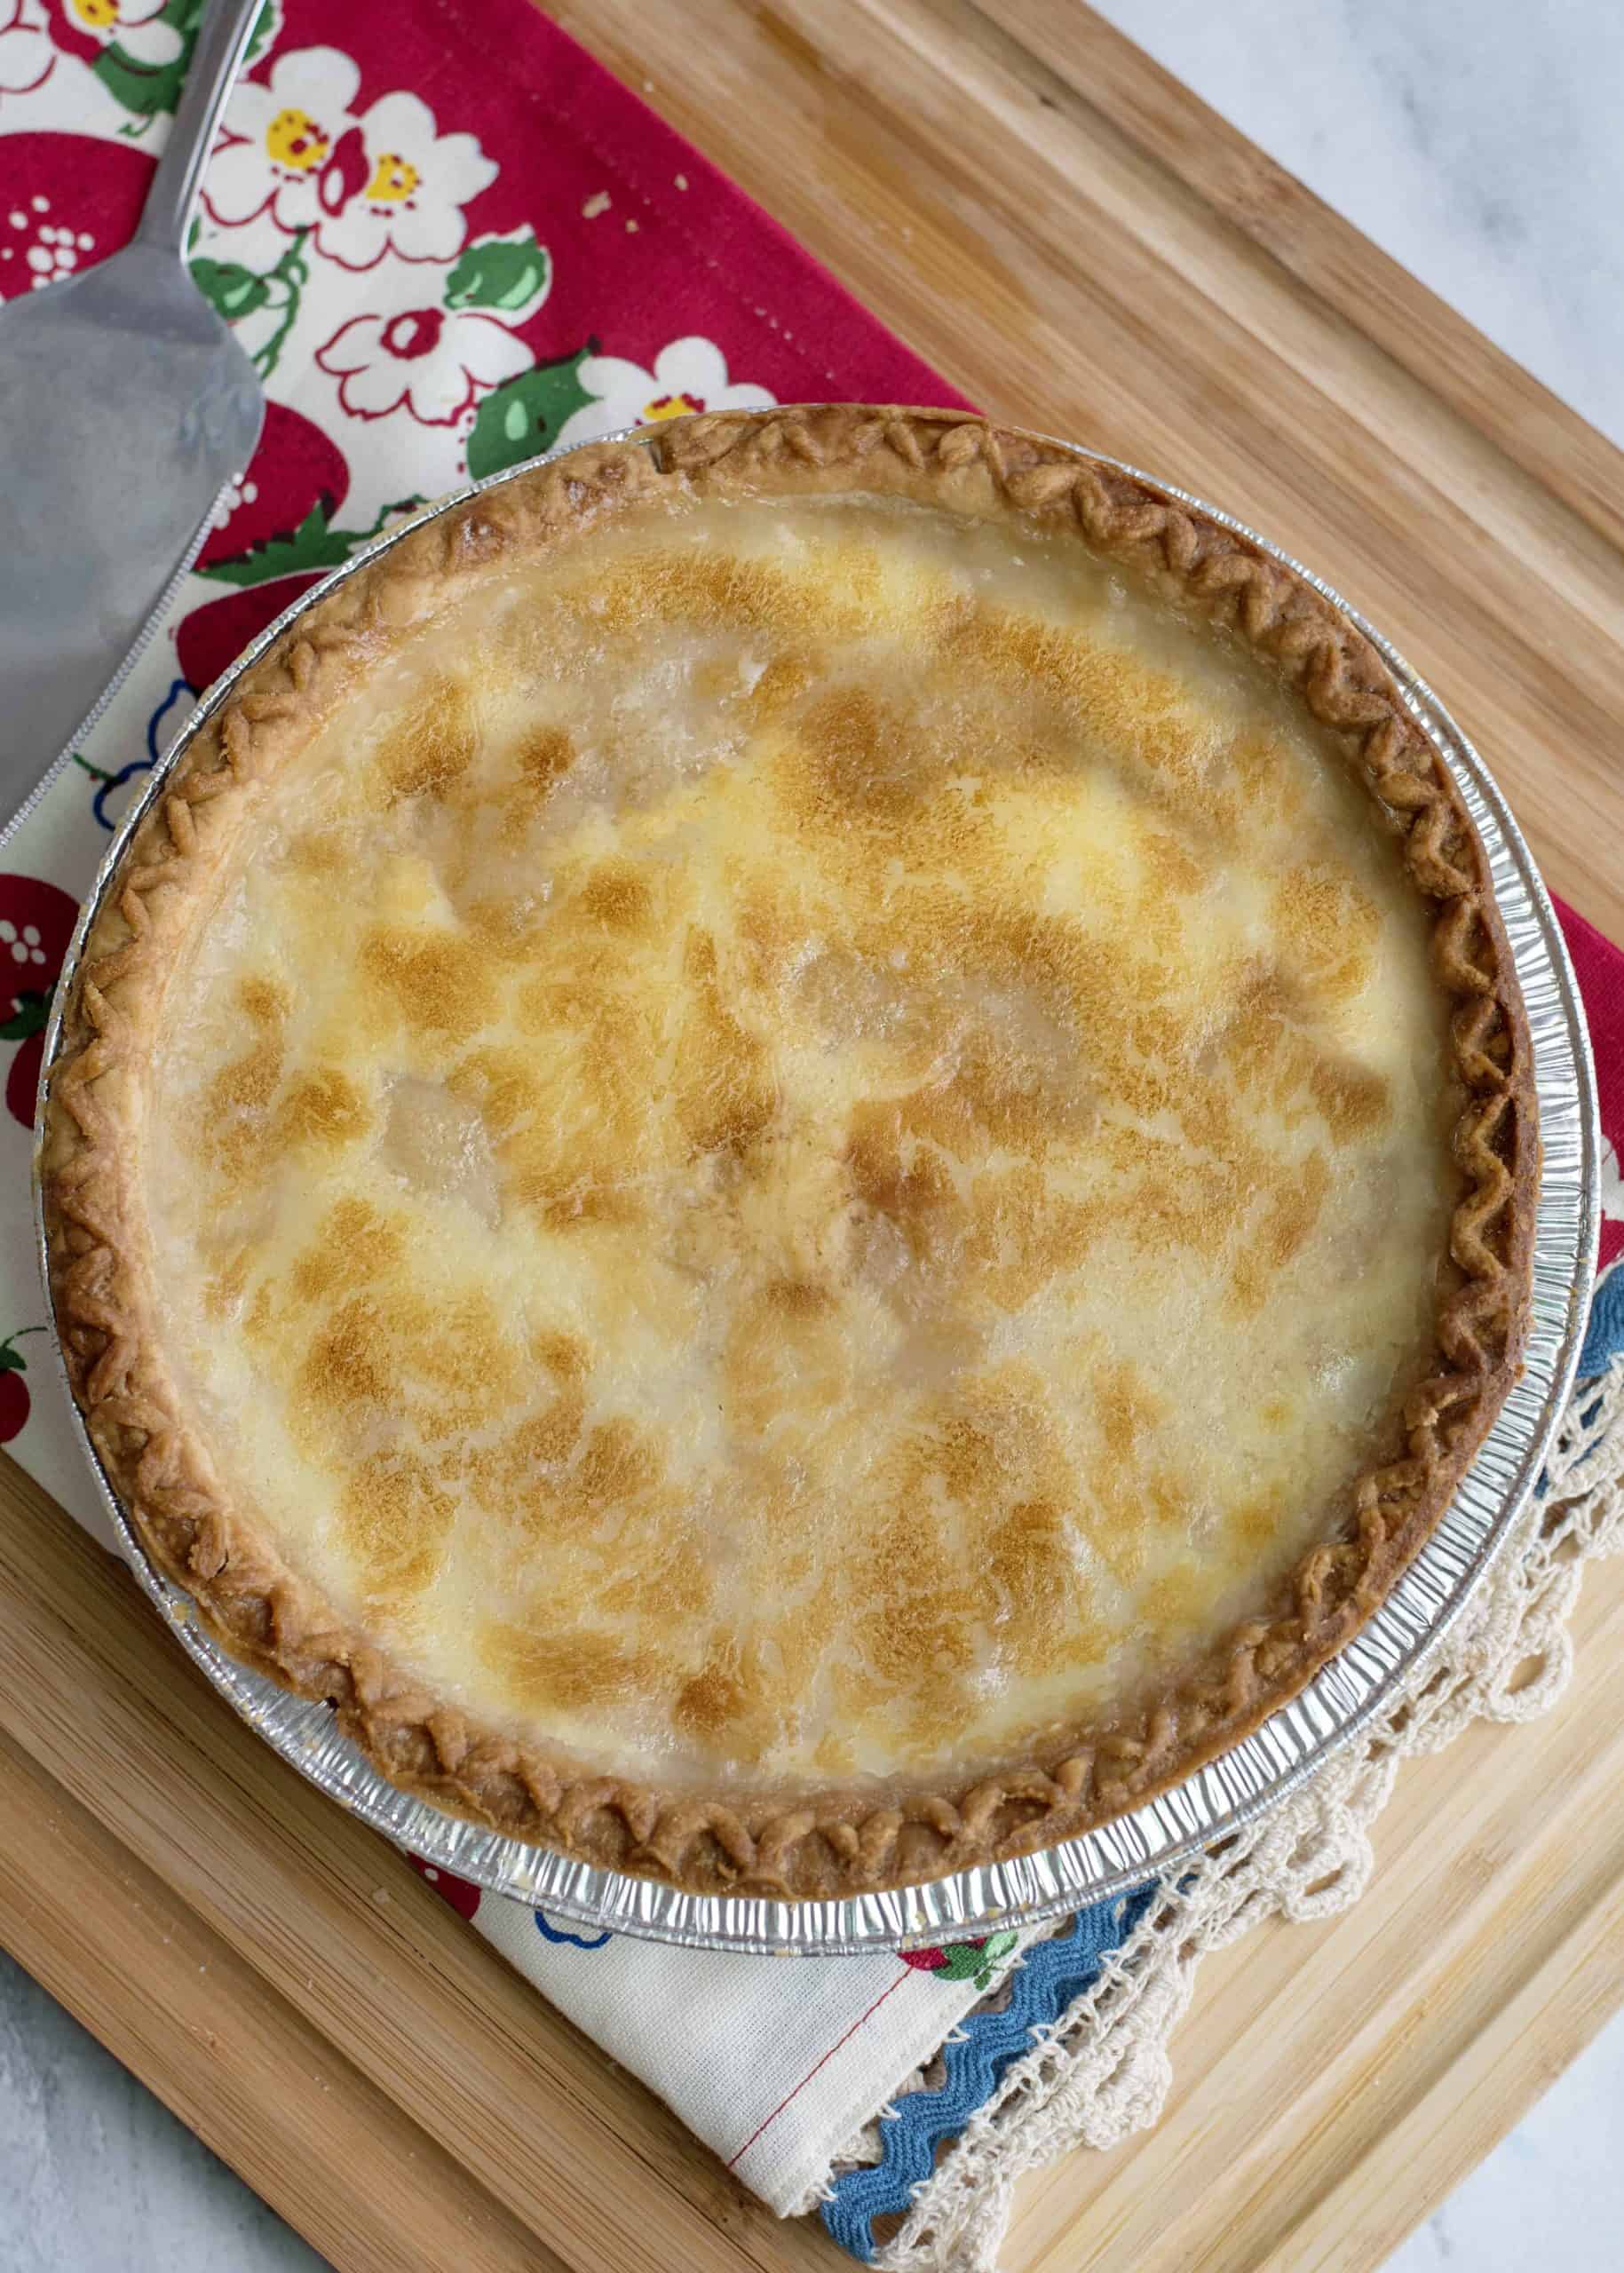
5. Cool & Chill
Remove your pie from the oven. The pie will be very watery in the center – don’t worry, that’s what we want! Let it cool completely, then refrigerate for several hours before cutting.
That’s it. Enjoy this creamy, buttery pie recipe! And if you want to try one of our all-time favorite pairings with this dessert, try this Dirty Dr. Pepper – it’s so tasty!
Storage
You can store leftovers of your water pie in an airtight container in the fridge for up to 4 days. Skip the freezer with this one! The delicate filling separates and loses its texture once thawed.
Water Pie from the Great Depression – FAQs
A Sprite pie is basically a modern-day version of the water pie. It became famous in 2020 when TikTok took the world by storm. They both taste very similar, like a delicious sugar cookie. If you’d prefer to make a Sprite pie instead of a water pie, simply substitute the water for 1 can of Sprite. Follow the same instructions and ingredients in the recipe card, and voila, you have yourself a Sprite pie!
The most common water pie mistakes are rushing the cooling process, not mixing the ingredients properly, and baking at the wrong temperature. I know it sounds simple enough, but trust me, these little slip-ups can turn your filling into a soupy mess! Make sure you give your pie enough time to cool, mix everything together thoroughly, and always double-check that your oven is set to the right temperature before popping it in.
You can’t stir a water pie because doing so messes with the chemistry that makes it work. Those unmixed layers actually create a gorgeous, gelatinous custard filling. Give it a stir, and you’ll end up with a watery disaster instead of the silky-smooth filling we’re going for.
Did you give this Water Pie a try? I’d love to hear what you thought! Drop a star rating and leave a comment below to let me know how it turned out for you.
Ingredients
- 1 9-inch deep-dish pie crust unbaked
- 1 ½ cups water
- 4 tablespoons all-purpose flour
- 1 cup sugar
- 2 teaspoons vanilla extract
- 5 tablespoons butter cut into 5 pieces
Instructions
- Preheat oven to 400°F and set empty pie crust on a baking sheet.1 9-inch deep-dish pie crust
- Pour 1 ½ cups water into the pie crust.1 ½ cups water
- In a small bowl, stir together the flour and sugar. Sprinkle this mixture evenly over the water in the crust. Don't stir.4 tablespoons all-purpose flour, 1 cup sugar
- Drizzle the vanilla over the water in the pie crust. Place pats of butter on top of this.2 teaspoons vanilla extract, 5 tablespoons butter
- Bake for 30 minutes. Reduce heat to 375°F and cover the sides of the crust if needed to prevent burning. Continue cooking for an additional 30 minutes.
- Pie will be watery when you pull it out of the oven but will gel as it cools. Allow to cool completely and then cover and place in the fridge until chilled before cutting.
Meanwhile my lizard brain is wondering if the “gel” formed from the flour acting on the water could be deep fried so as to actually deep fry water itself, and also is wondering if water could be substituted with another liquid since apparently this can be done with sprite as well? My idea would be to try vanilla coke.
Made a pie just on a whim. Was very pleasantly surprised by how good the pie is. Mine remained just a little too runny so will use slightly more flour. I highly recommend this and it’s so easy!
So happy to hear that! Thank you for sharing.
Thank you so much Sarah. You are very kind!
Really appreciate the rating 🙂
Hello Christy! Buck here.
I ran across your page on that new Parler gadget. A prepper did a blurb on ‘water pie’ and put the link to your piece here.
On the occasions when I go looking for something different it never ceases to amaze me that some of the best crafted articles on the net are on cooking pages. You certainly put a lot of work into it with your text and fine fine photos. You make it so simple that even *I* can dig it.
Anyway, the name ‘water pie’ drew me in as it makes no sense. I know that much about cooking anyway. So I took it as a challenge and drew the wife (who is smarter than me) into the thickening plot. I always had a chemistry set around when I was growing up so for me it was an experiment to do with molecular coagulation. (Just possibly invented that phrase.)
Long story short I found the link here yesterday and today we procured the pie shell and did it. I suggested using a flour sifter for the deed and it did an outstanding job. About an hour ago I fetched that pie….it had jelled JUST LIKE YOU SAID. That was a relief. The whole thing went like you said it would. Piece of aluminum foil on top and the works.
But…but…the taste. It was crazy good Christy. Impossible, really. No eggs, separated not broken. No yak cream. No arugula or hard to come by Indonesian root powder…. Just the goofy flour, sugar, and butter sifted into water of all things.
It’s my new favorite thing. Imagine all the variations that can be made with lemon flavoring, heavy peach syrup…sorghum syrup, you name it. (I think I’m sticking with vanilla, however!)
Had all the fun with the chemistry experiment today. Thanks 50 times. You did GOOD! Beautiful article and a dirt simple tasty no fail recipe! Wow!!!
Buck you are my new favorite person on all of the internet! Thank you for taking the time to leave such a detailed, helpful, and encouraging comment. You also took the time to encourage and help others here, wow!!! It is a joy to “meet” you and an even greater joy to start my day off getting to chat with you here. Thank you for being a true gem of a person!
Thanks so much for your comments Buck! Glad you had fun 🙂
Hi there! When using the frozen pie crust do you allow it to thaw completely before adding in the filling or is thawing not required?
Thaw it enough to be able to poke some holes in the bottom with a fork. Yeah…I didn’t get it either. This way water can’t seep under and make it shoot up like the Saturn 5, so I’m told. You’re gonna be soooo surprised when you taste what you just made!
Hi Buck! Thanks for the advice! When you poked the pie shell with the fork, did you poke all the way through the shell or just part-way?
Regarding the aluminum, could you just use a regular pie-shield if you have one availalble?
I used the pie protector on mine before I ever put in the oven and it worked great!
I really enjoyed making this recipe with much skepticism in my head but it tastes really good. I didn’t expect to like it as much as I do. I do wonder if I made a mistake somewhere. I made the pie last night and this morning, it’s semi-set. Set enough to cut but then it kinda splooshes out on the plate. Also, the butter kind of formed a sort of crust to break thru on top. It doesn’t taste of pure butter but is sort of congealed (not sure that’s the word I want but hopefully conveys what I mean). Any ideas?
Hey Lee! I’m so glad you like the taste of it. It is a surprisingly delicious pie! I also appreciate your dedication to trying it again, sounds like you and I have a similar stubborn ethic and it has served me well! I would reduce the temp by 25 degrees and give it an extra ten minutes or so. I think that might solve the issue.
Not meaning to butt in. Ours turned out perfect. The diff mebbe is that we have a convection oven which effectively cooks 25 degrees higher than a standard oven. That being the case with a standard, doing just the opposite of what Christy told you, why not increase the temp by 25 degrees and follow the recipe to the letter?
I’m betting that if you try it my way and it still flops then your thermostat is to blame. Ha!
I never thought I’d agree with someone who suggested to do the opposite of what I said but I like your rebel attitude and I think your advice is sound!
This water pie recipe does not work. I tried it and followed directions exactly. The flavor was good but it would not solidify/congeal. Very disappointed.
I made this, placing blueberries and walnuts (plus a bit of lemon zest and lemon juice) in the water before adding the other ingredients. It tastes great and I like the texture, however – excess butter was floating on top, and once refrigerated this made a thin layer of chilled solid fat atop, which isn’t so appetizing. I have some ideas to contend with this – such as warming to soften the butter, then poking holes in the pie (perhaps poking the holes first, then warming it?) to incorporate the butter, or perhaps softening it then sopping up the excess with paper towels. However, I’d like to know if others have had this occur and how to deal with it in your experiences. Thanks!
I had the same experience yesterday. After it was baked there was a puddle of butter left on top. I ended up sopping up most of the butter using a paper towel. I covered it in foil when cool then refrigerated it overnight. Looking at it today…..it looks perfect. We all enjoyed it (I did the recipe as written). I was thankful that you could still taste a buttery flavor despite the fact that I sopped up butter before chilling. I wrote a comment yesterday asking the same question about the butter. No one seems to have mentioned the butter on top. So I “winged it” and it turned out great.