
Thick & Chewy Chocolate Chip Cookie Bars
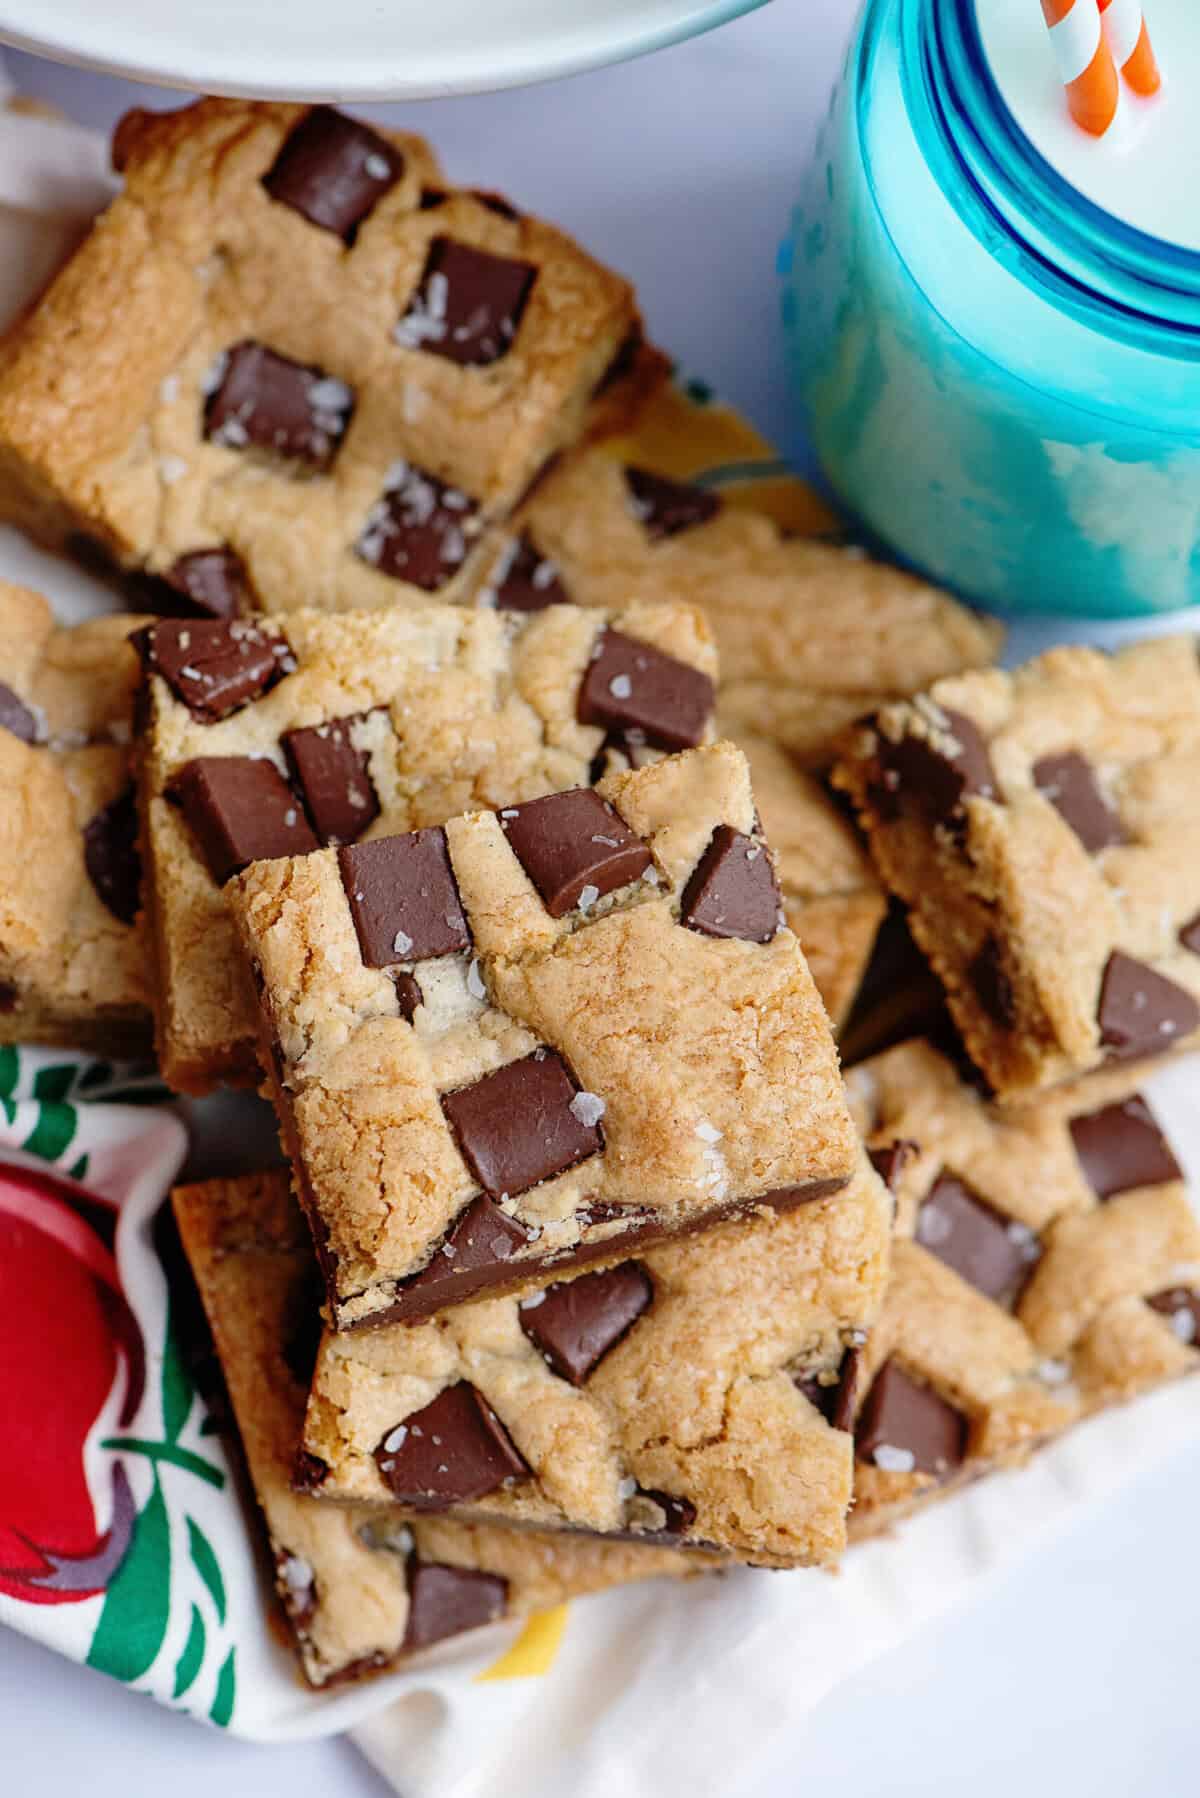
These Chocolate Chip Cookie Bars are the perfect cross of a brownie and a cookie. They’re chewy, rich, and loaded with big ol’ chunks of chocolate chips. Basically, everything you could hope for as a cookie lover! I like to make these a little fancy too with some flaky sea salt. Easy to make and hard to resist.
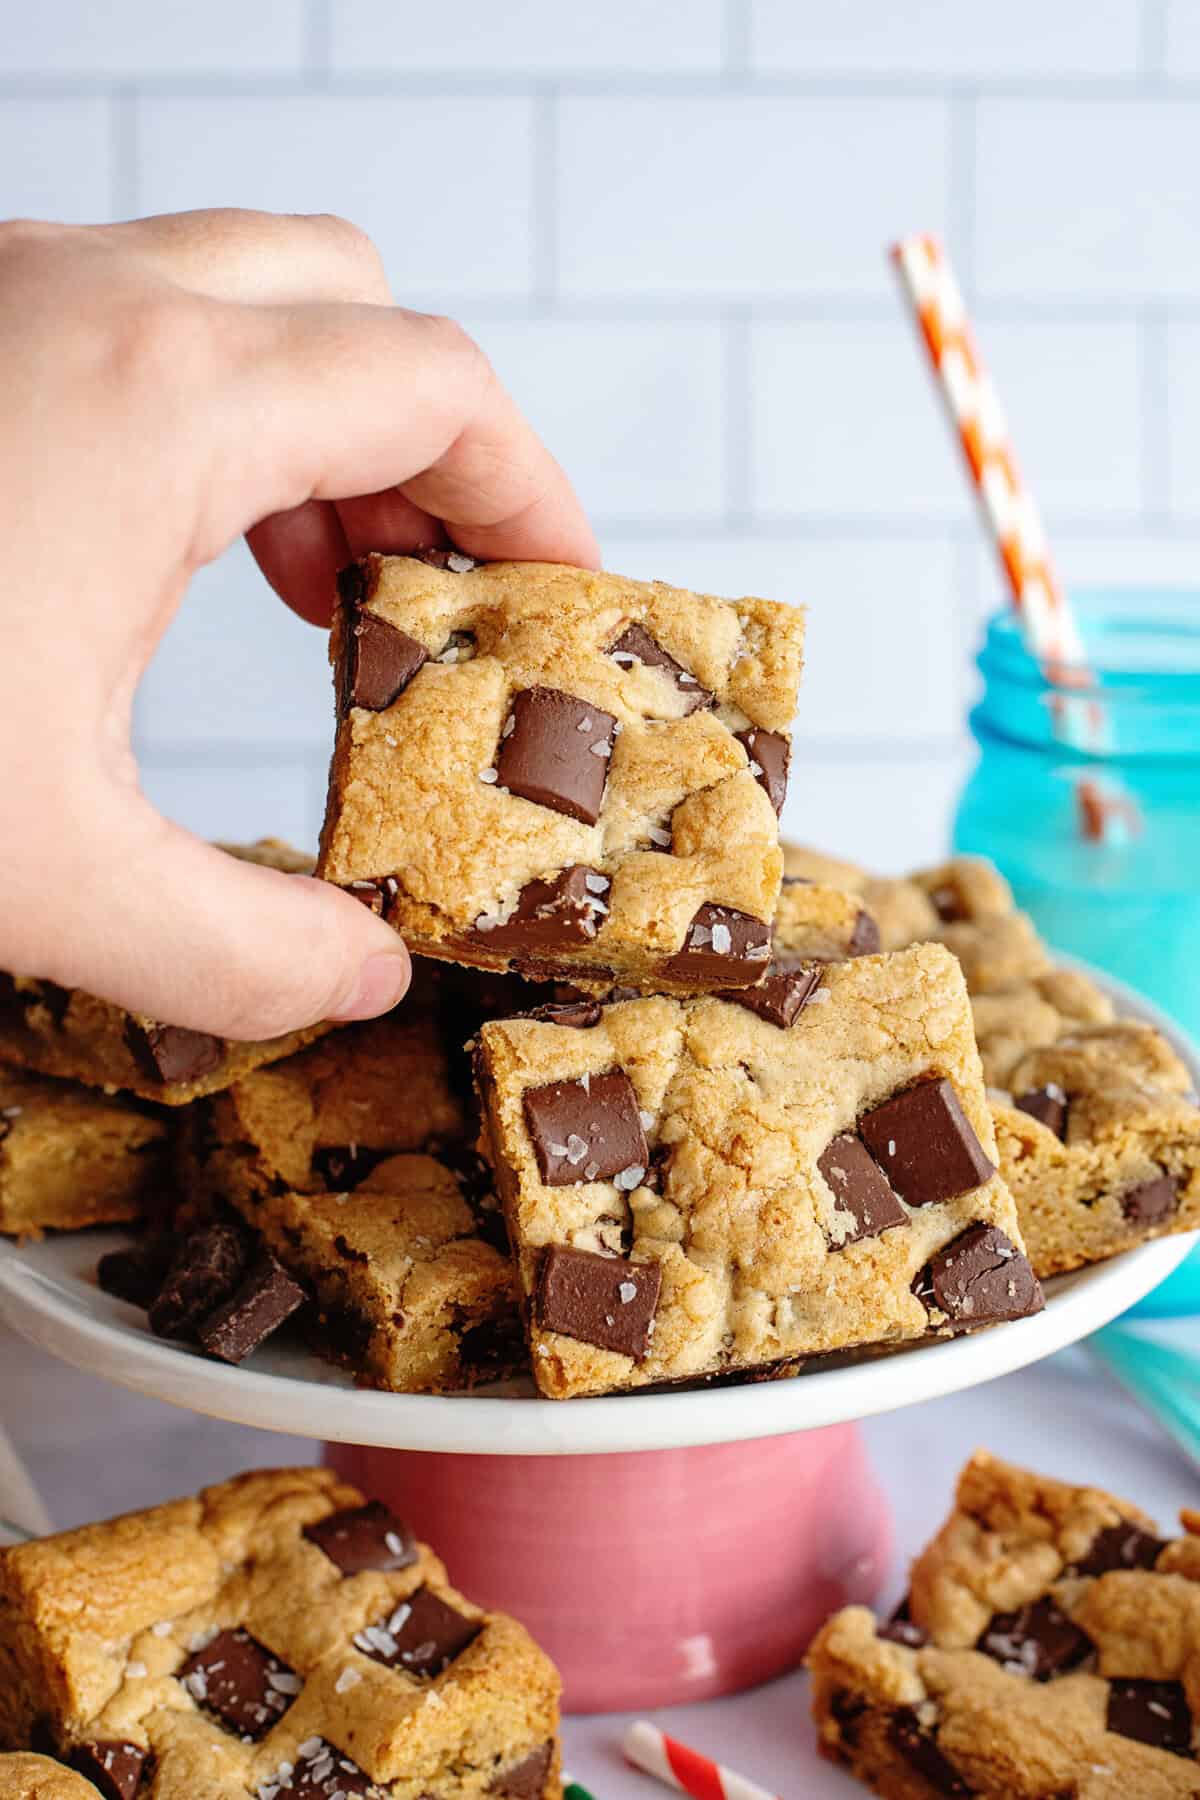
A Quick Look At The Recipe
- Recipe Name: Thick Chewy Chocolate Chip Cookie Bars
- Serves: 24 bars
- Main Ingredients: unsalted butter, 1¼ cups light brown sugar, granulated sugar, eggs, vanilla extract, 2¾ cups all-purpose flour, cornstarch, baking soda
- Why You'll Love It: These thick and chewy Chocolate Chip Cookie Bars are the ultimate mashup of a brownie and a cookie, loaded with chocolate chunks and a sprinkle of flaky sea salt.
When Brownie Meets Cookie
Ever wondered what magic unfolds when the worlds of fudgy brownies and classic chocolate chip cookies collide? Well, this right here is my best shot at satisfying that sweet curiosity.
Now, I gotta say, nothing can replace my Grandma Jenny’s chocolate chip cookies, but you know I like to get creative in the kitchen! These chocolate chip cookie bars are thick, chewy, and loaded with chocolate chunks – the perfect balance of cookie and brownie in every bite.
My favorite thing about this is that you can really add some pizzazz to these if you want. A little flaky sea salt and some big chunky chocolate chips really kick things up a notch. And of course, you can customize these very easily to whatever tasty indulgences you’re craving – I’ve mentioned some ideas down below!
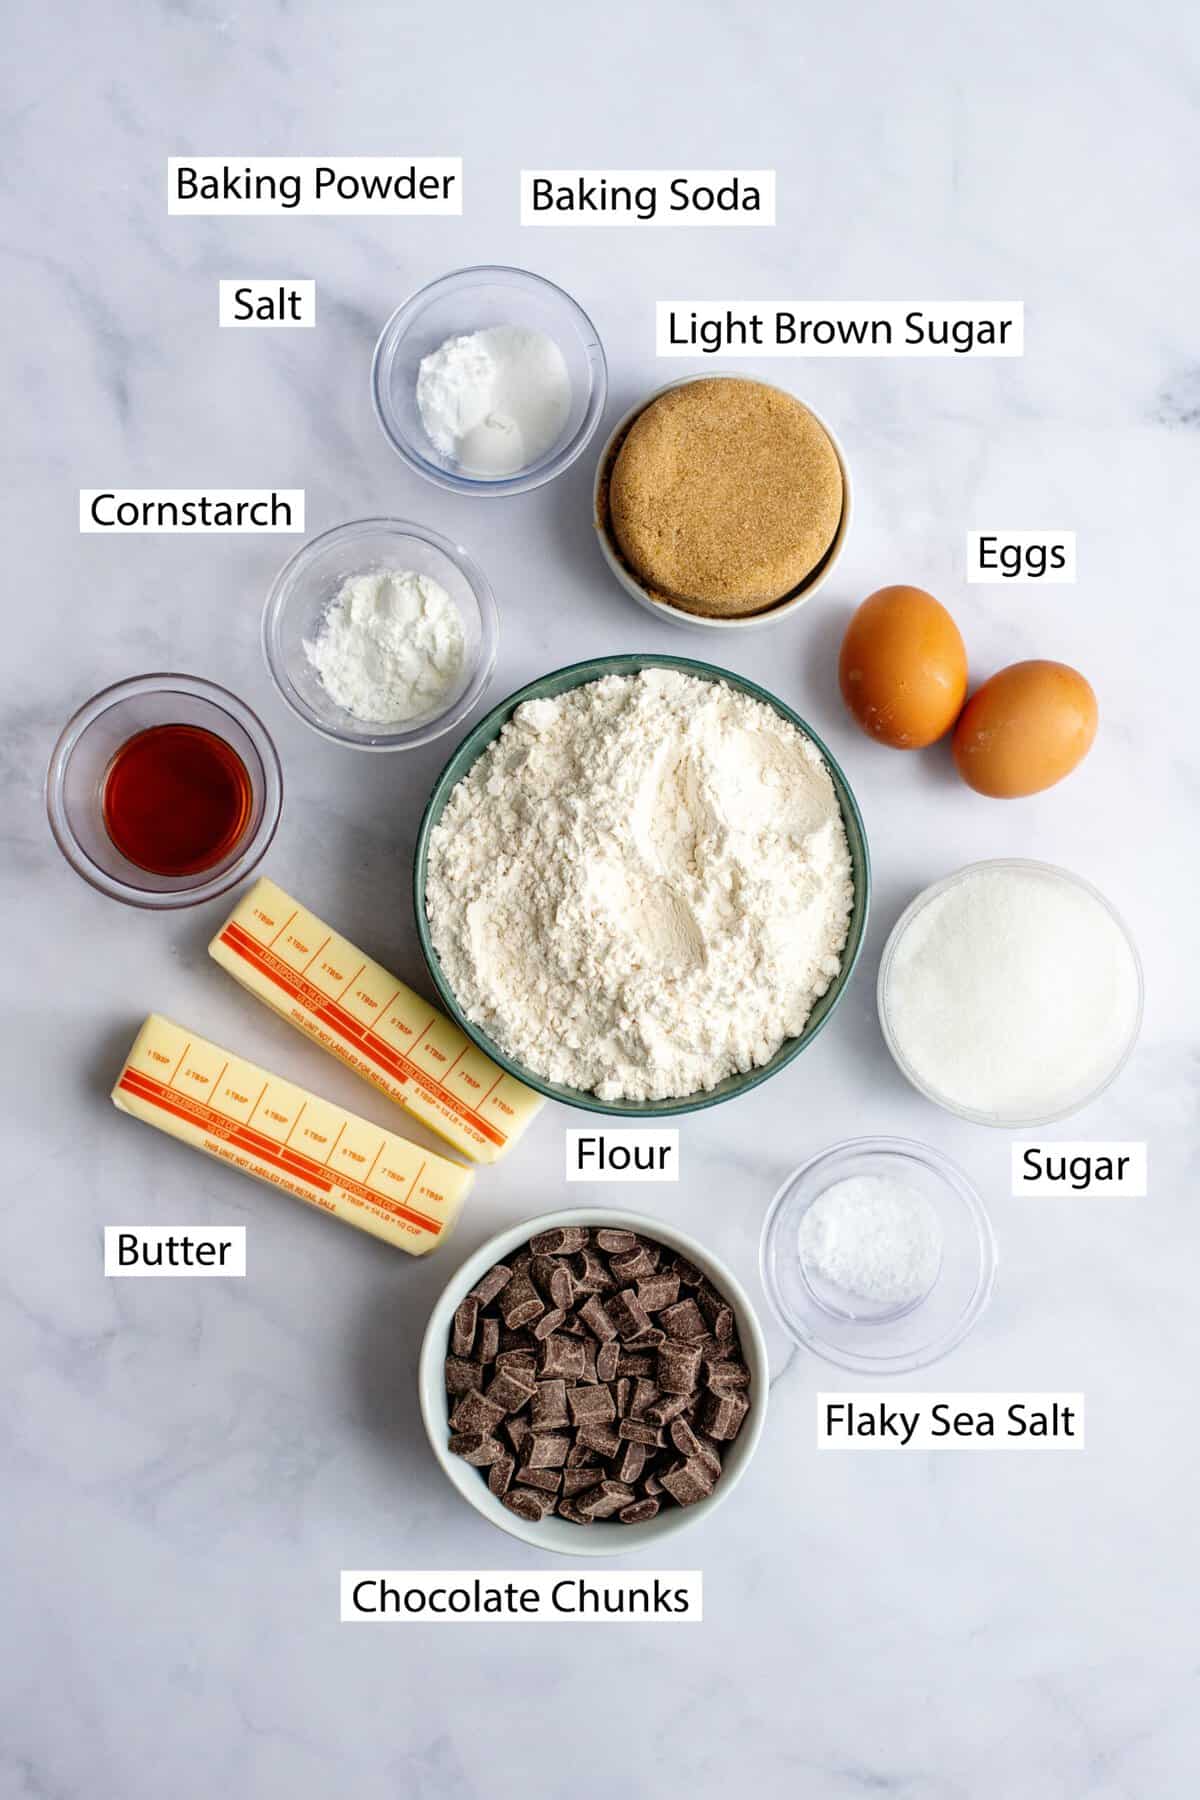
Ingredients
- Unsalted butter
- Light brown sugar, packed
- Granulated sugar
- Eggs
- Vanilla extract
- All-purpose flour
- Cornstarch
- Baking soda
- Baking powder
- Salt (fine salt for the batter and a pinch of flaky sea salt sprinkled on top)
- Semi-sweet chocolate chips (or chocolate chunks)
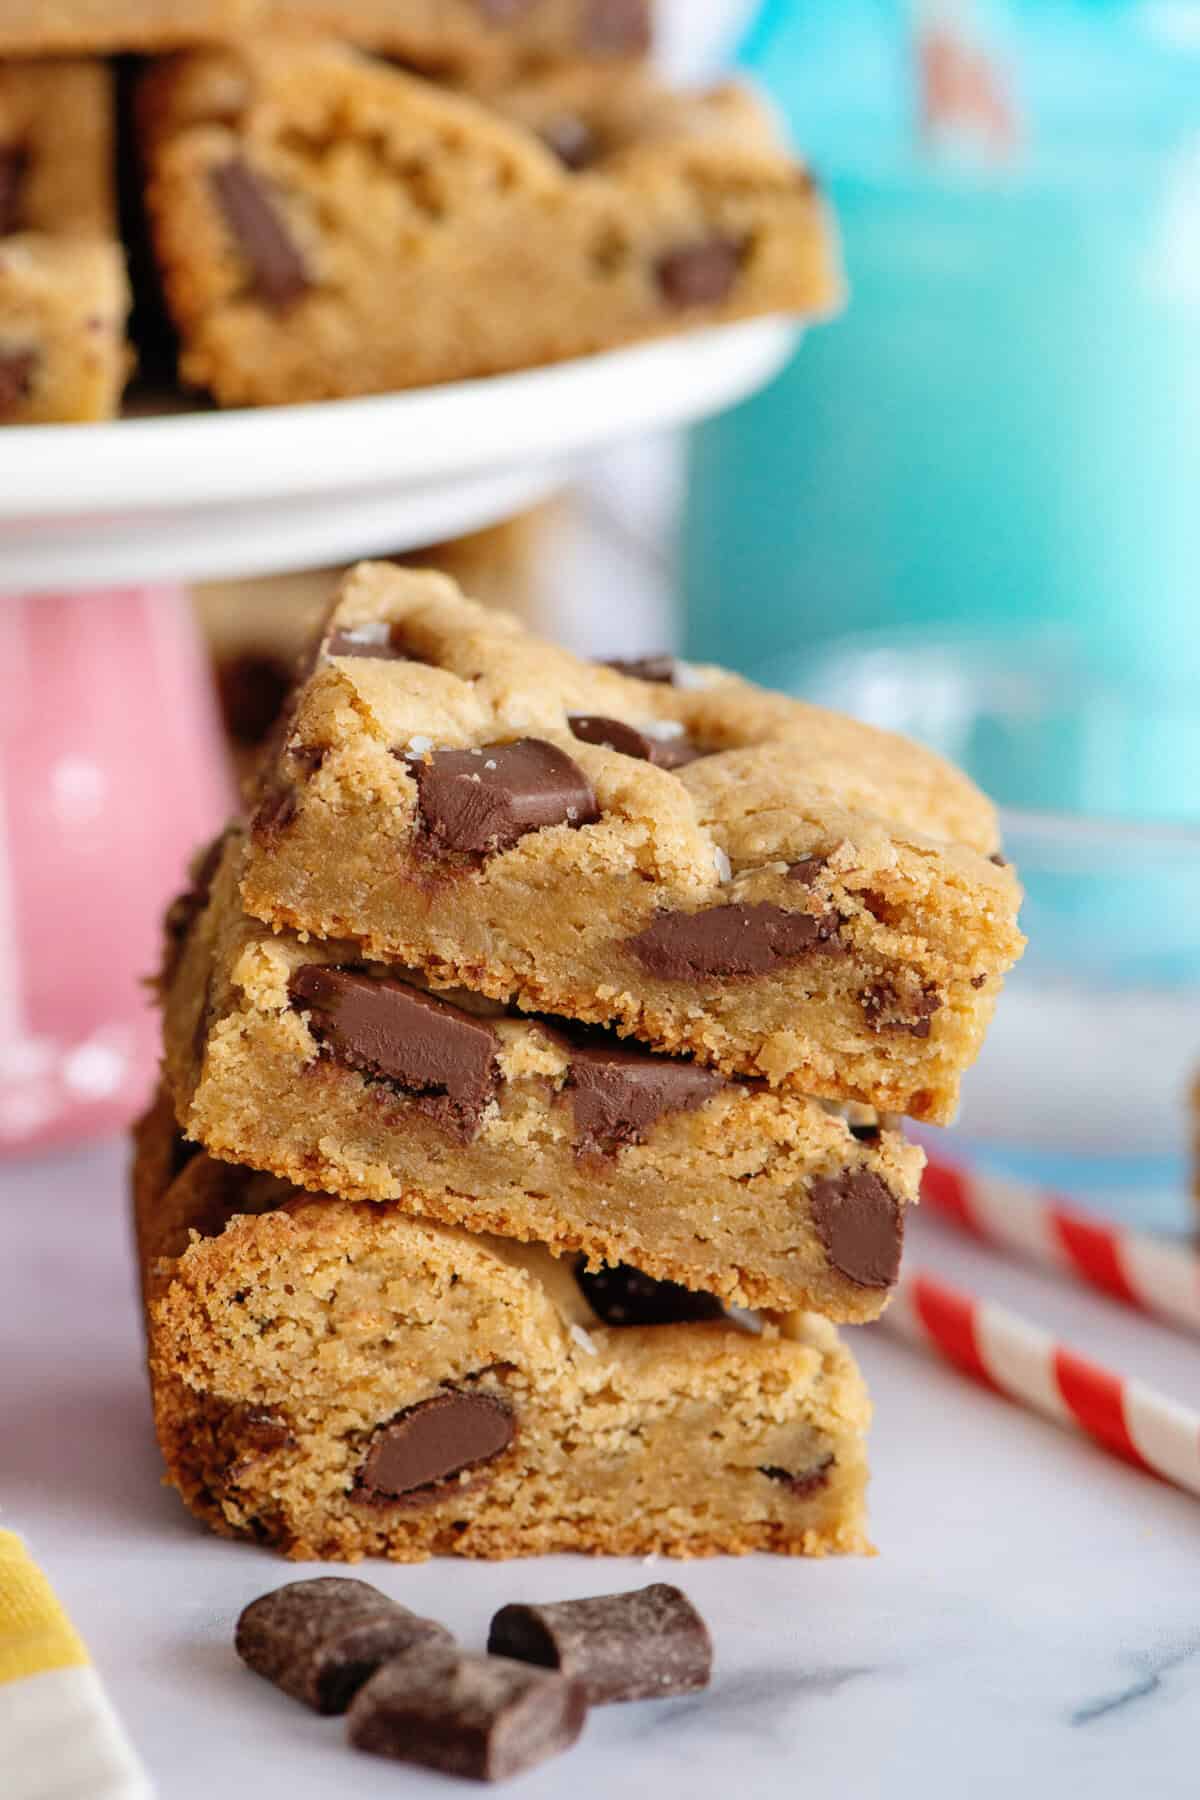
Ways to Customize Your Cookie Bars
Sometimes I like to swap out the chocolate chips for white chocolate chips, butterscotch chips, or even peanut butter chips. You could also mix in some chopped nuts like pecans or walnuts for a little crunch, or toss in some dried cranberries or raisins.
To really take things to the next level, add a swirl of peanut butter or Nutella into the batter before baking. SO good. You can even throw in some crushed pretzels or graham crackers for a sweet and salty twist.
Or, you can always go ahead and make my Peanut Butter Cup S’mores Cookie Bars or Peanut Butter Cheesecake Cookie Bars instead!
Don’t Skip These Tips!
- I always make sure my eggs are at room temperature before I start, as it makes mixing the batter way easier.
- I like to pull these cookie bars out of the oven a little early for that extra chewy texture. It’s soooo good.
- I’ve found that a metal baking pan gives you a much better browning than glass. It makes a bigger difference than you’d think!
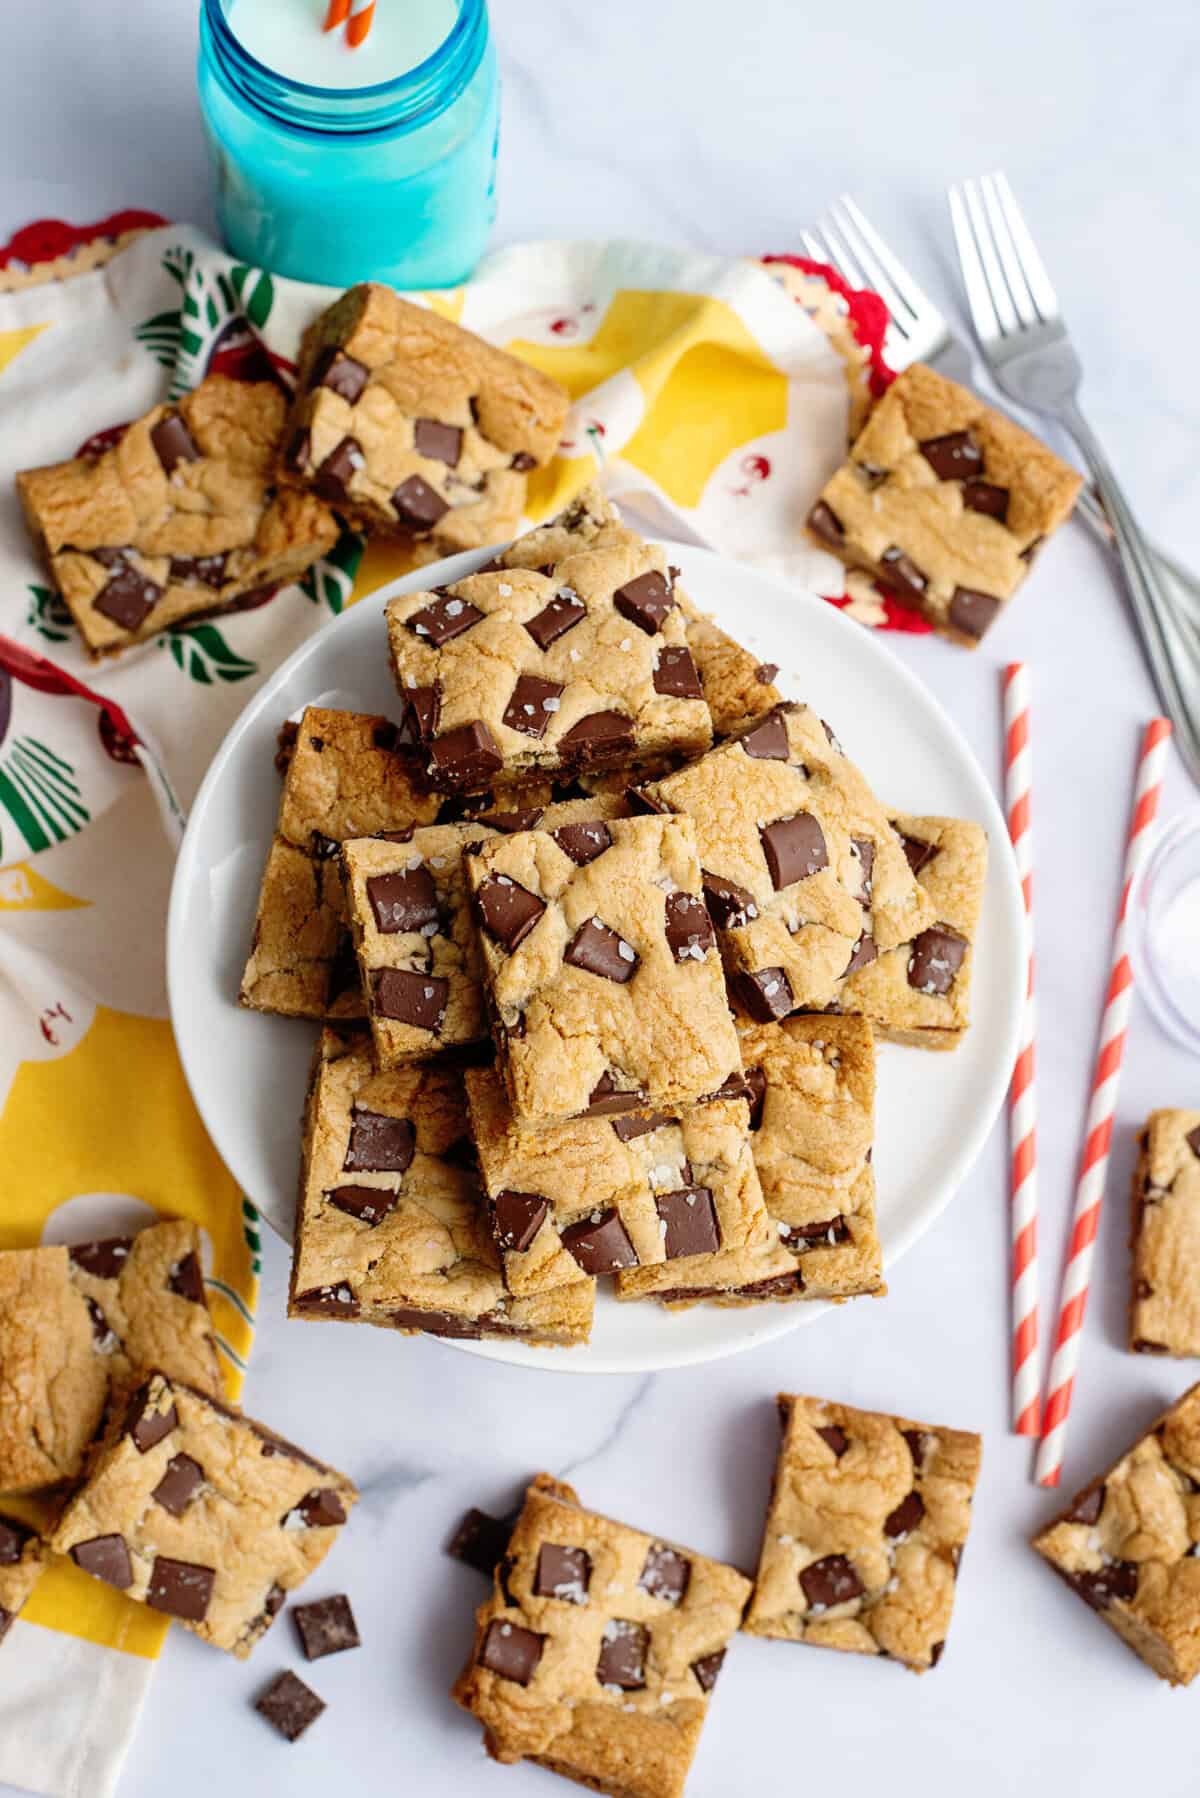
How to Make Chocolate Chip Cookie Bars
1. Preheat the Oven
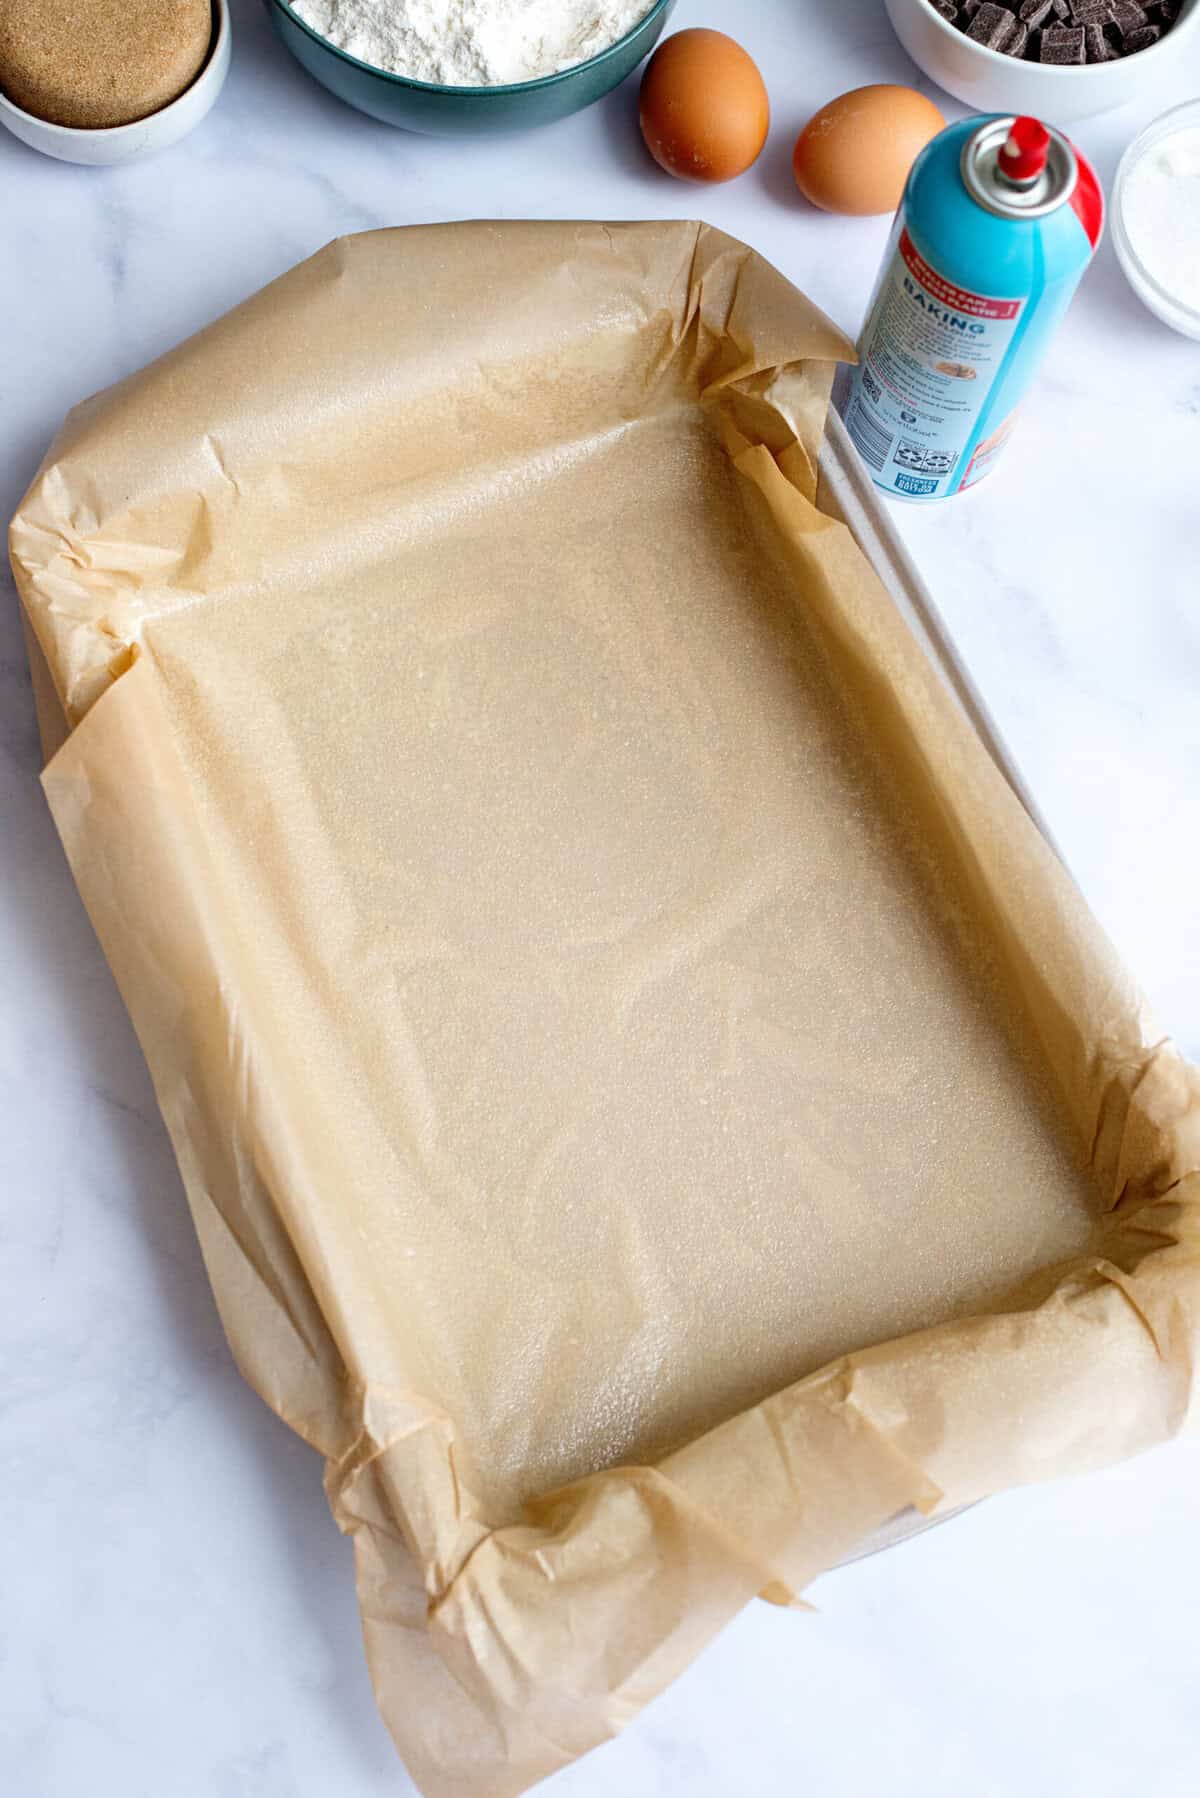
Preheat oven to 350°F. While it’s warming up, grease your 9×13-inch metal baking pan and line it with parchment paper.
2. Make the Dough
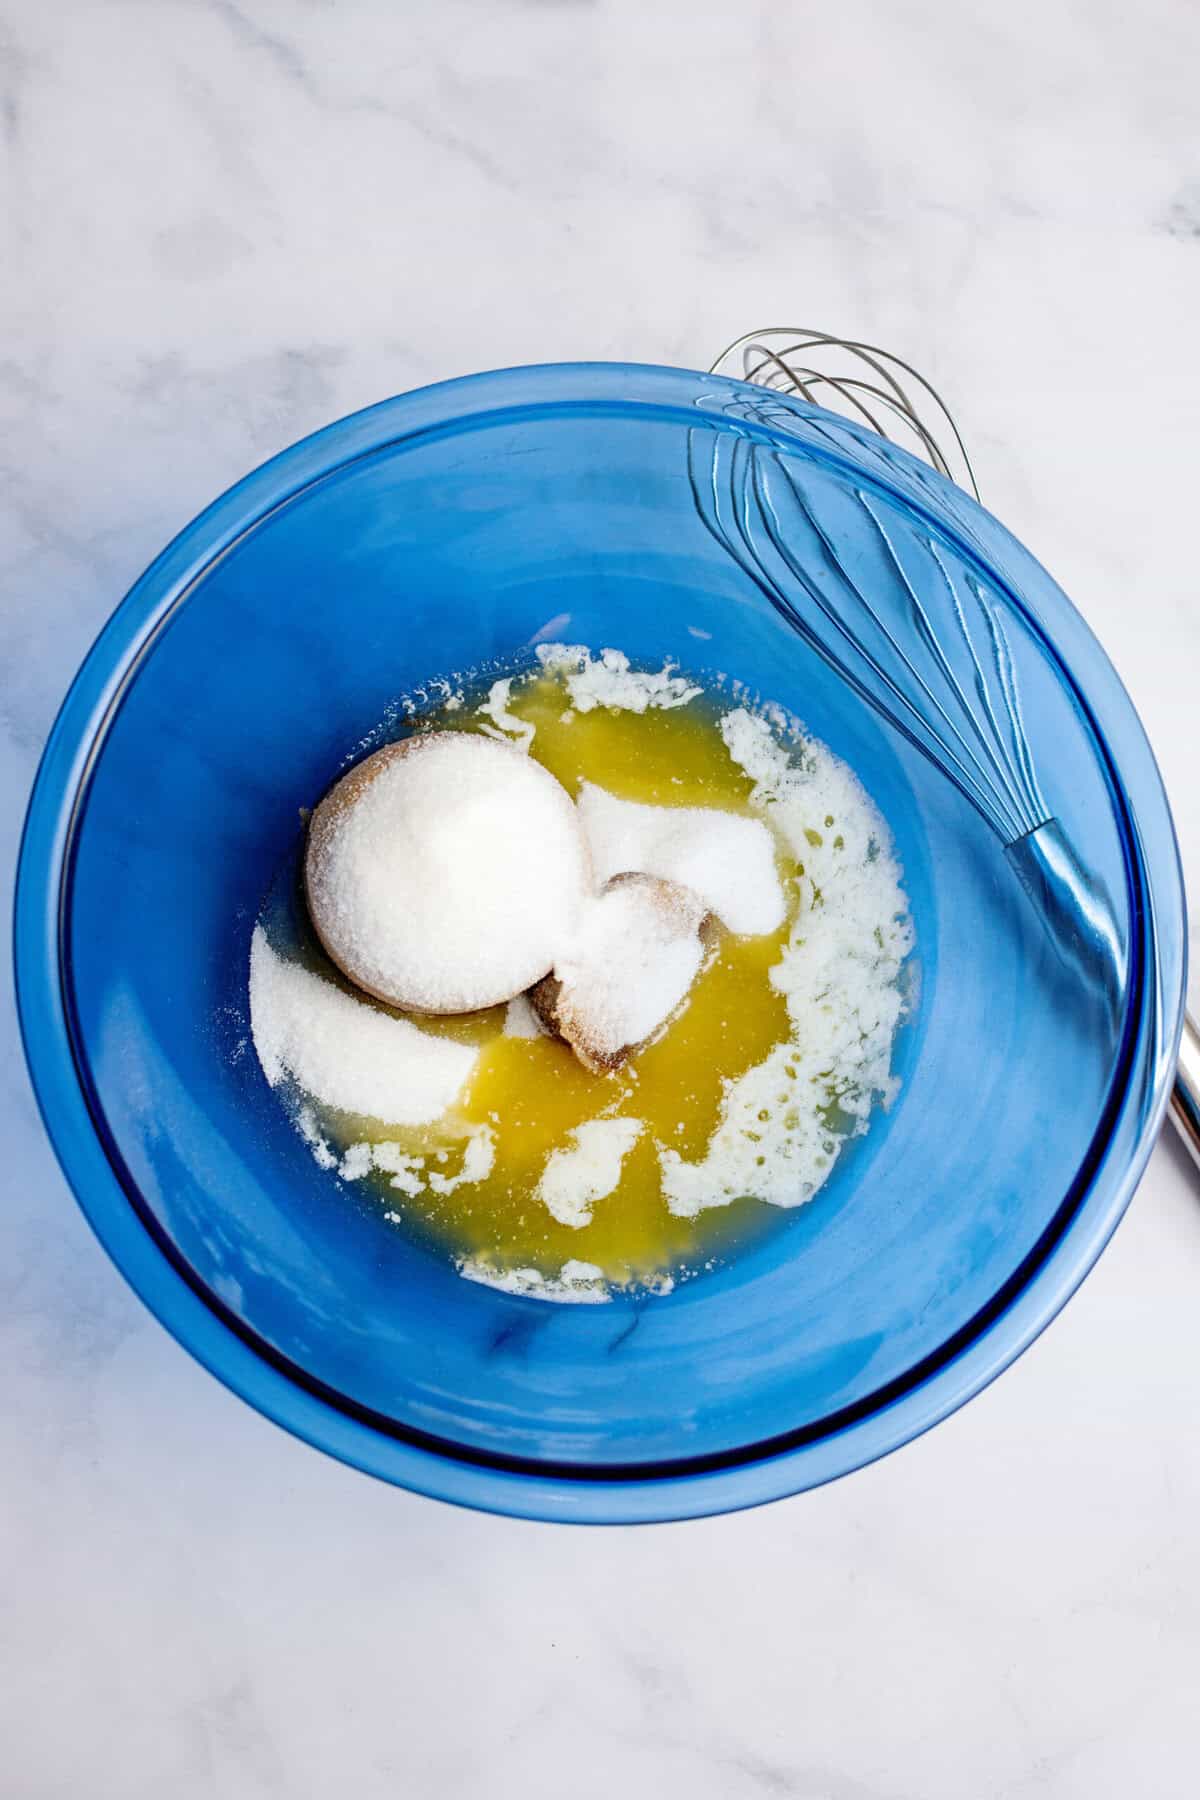
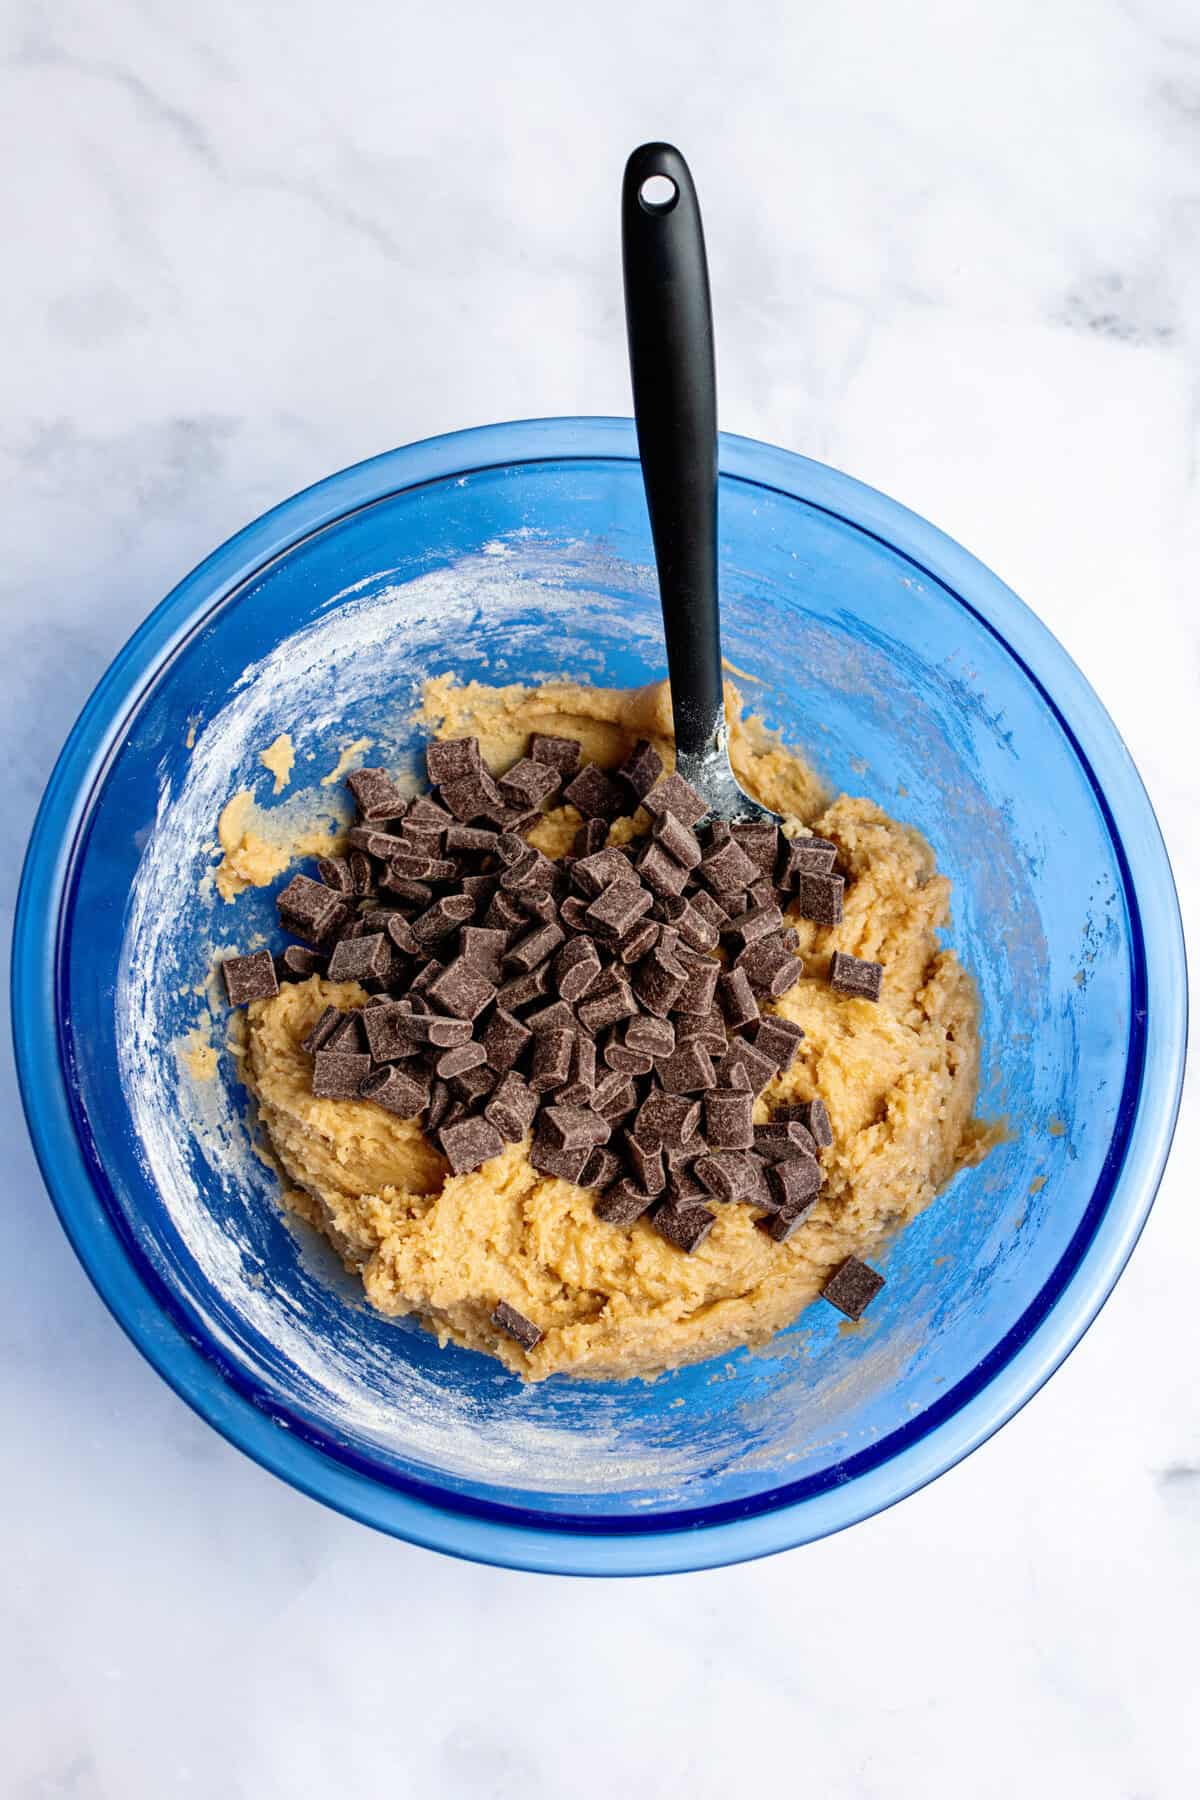
In a large bowl, whisk together the melted butter, brown sugar, and granulated sugar until smooth.
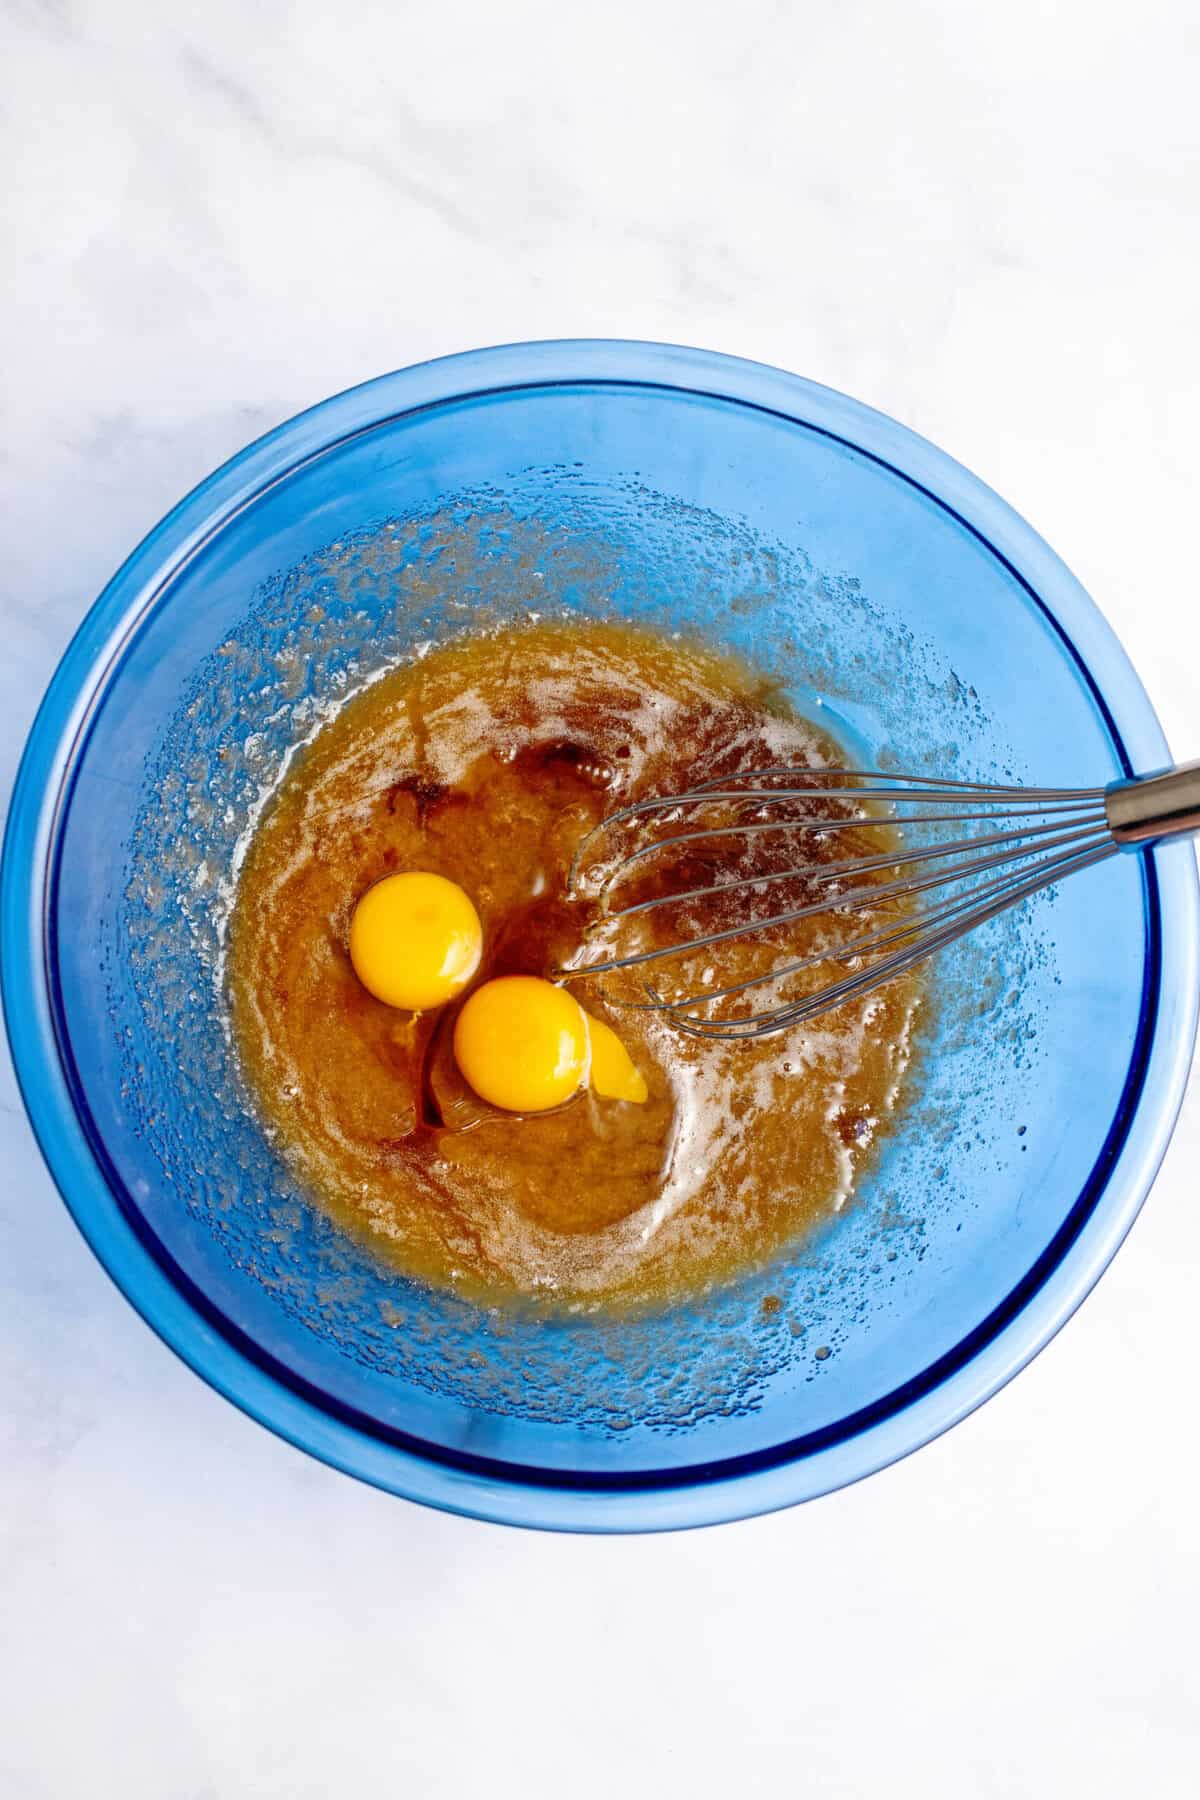
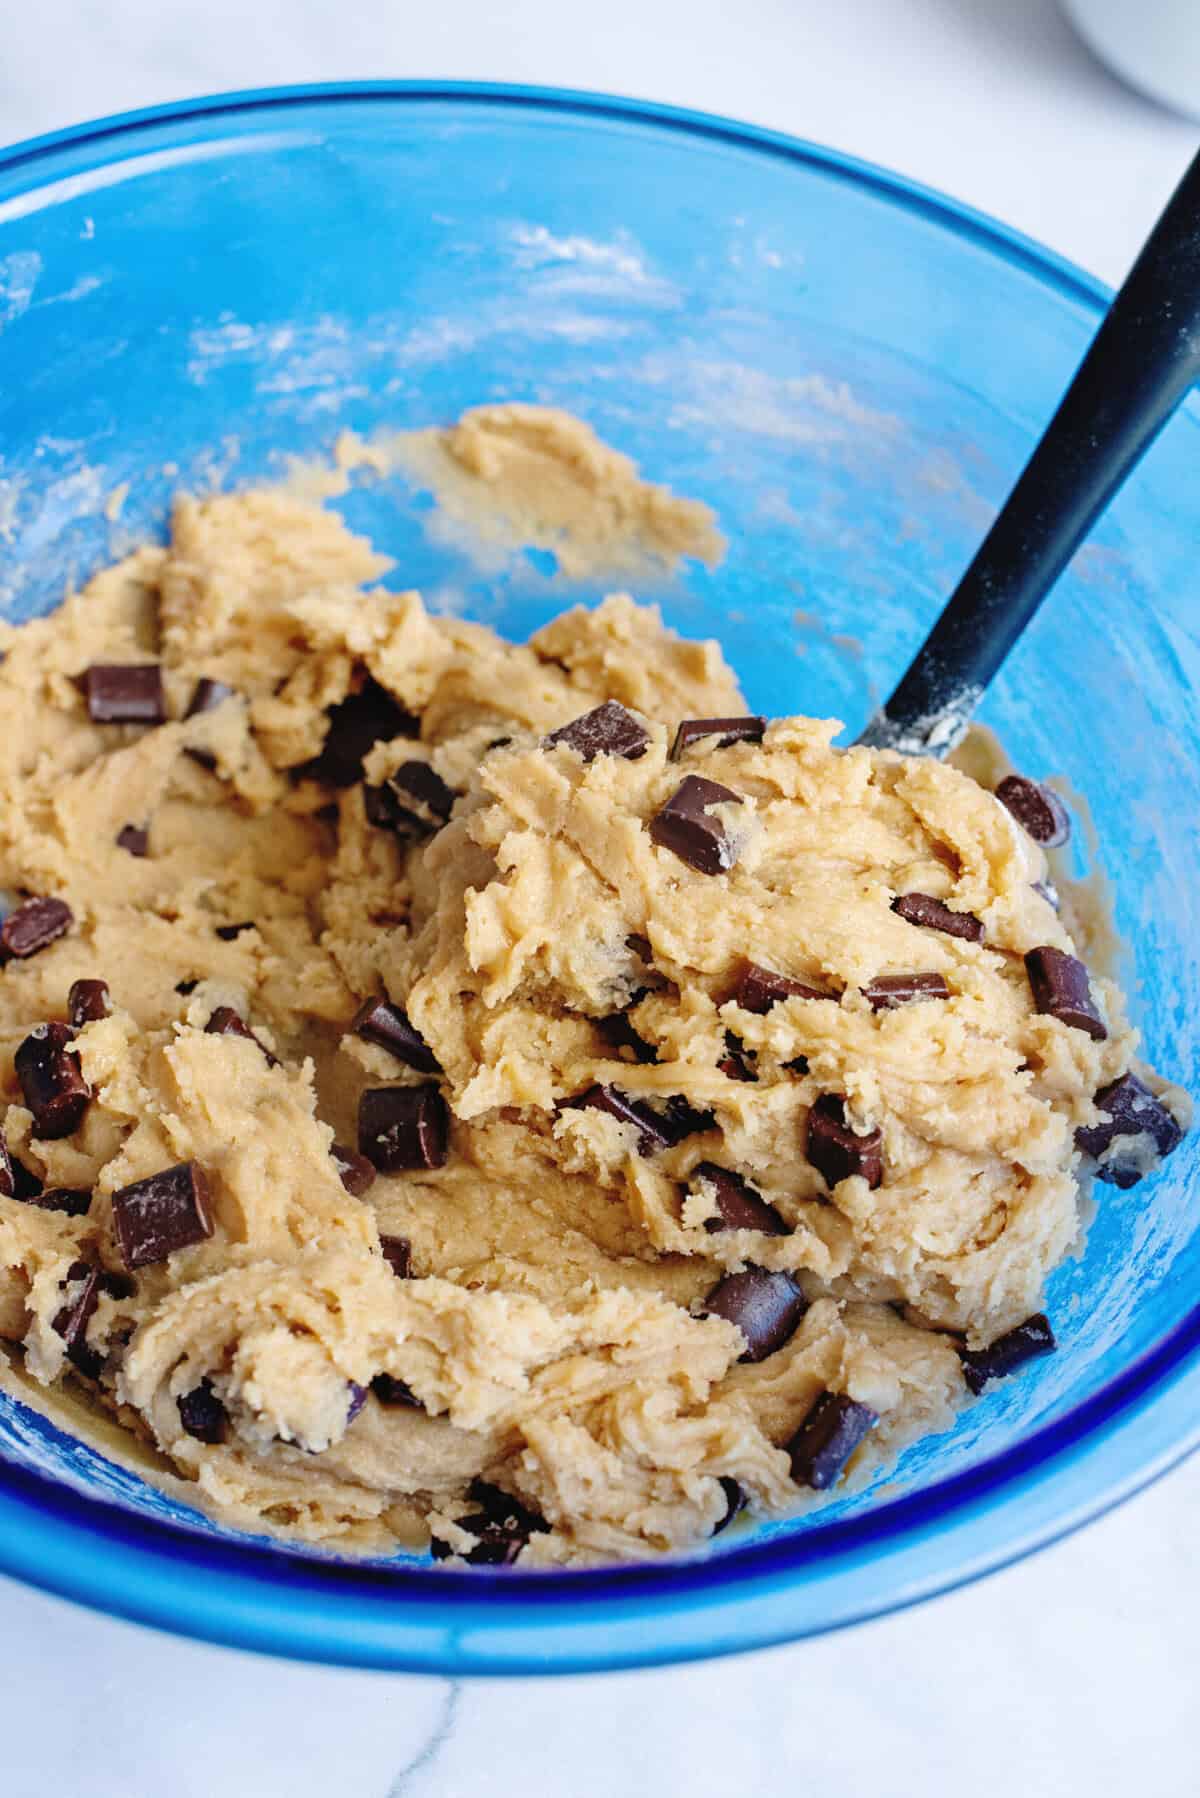
Next, whisk in your eggs and vanilla. Then add the flour, cornstarch, baking soda, baking powder, and salt.
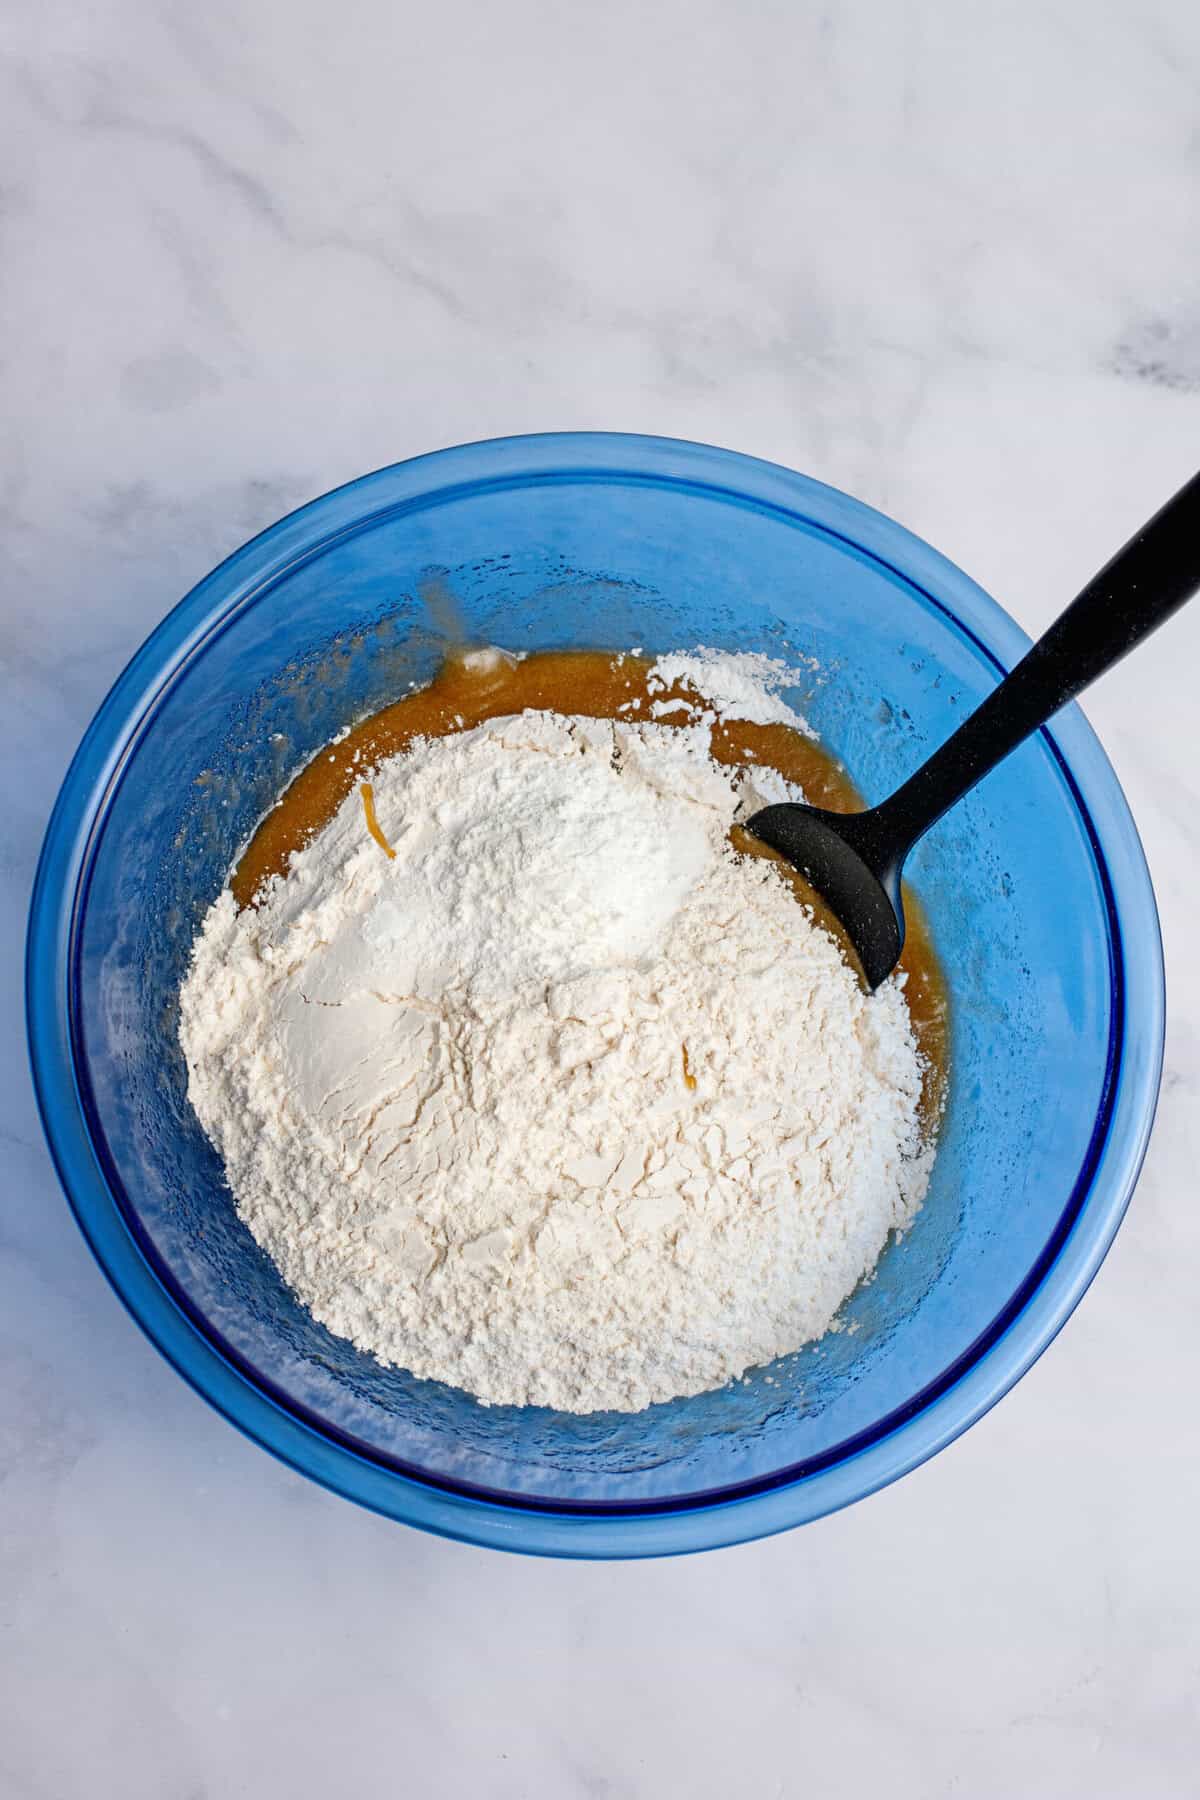
Stir just until everything comes together (don’t overmix!). Then fold in 1½ cups of the chocolate chips.
3. Bake
Now go ahead and spread the dough evenly into the prepared pan and sprinkle the remaining chocolate chips over the top.
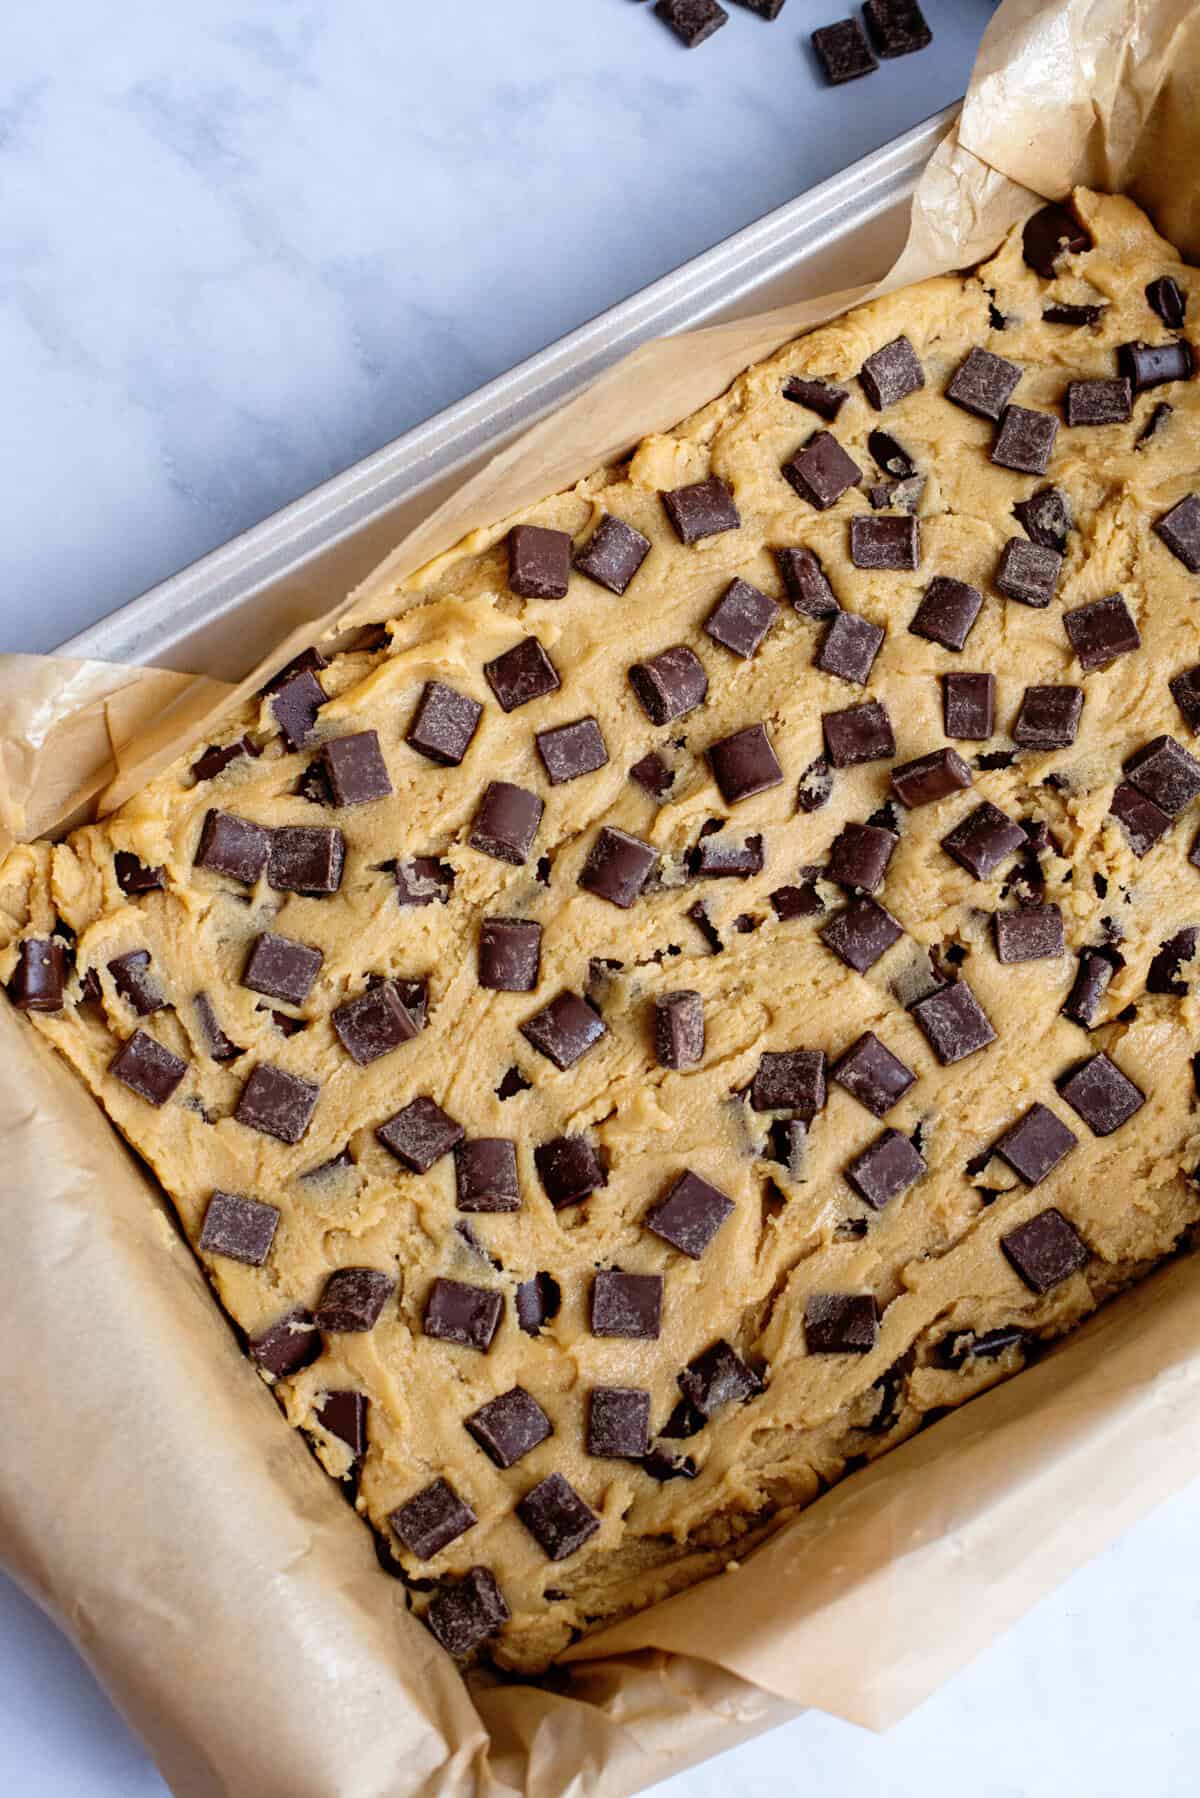
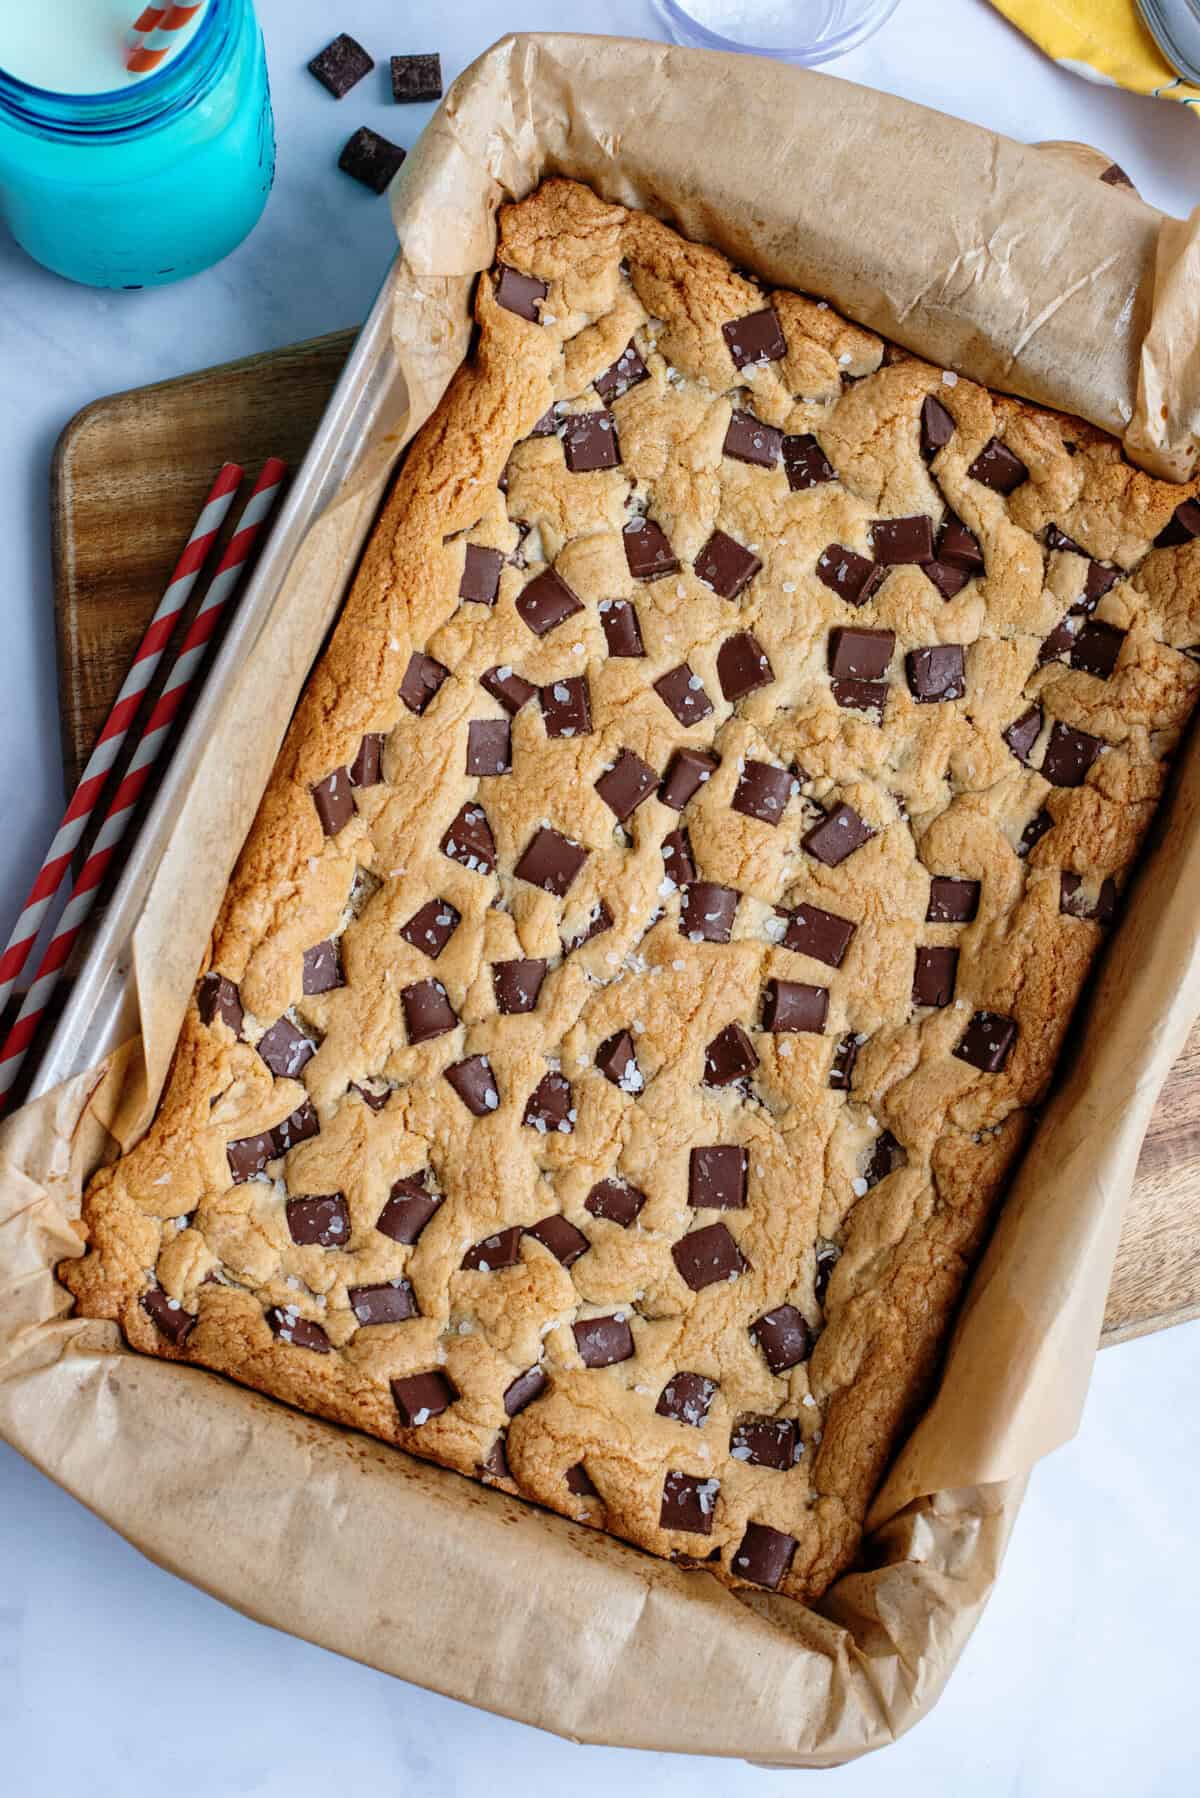
Bake for 22–28 minutes. You’re looking for lightly golden edges and a center that’s just set. Don’t worry if it looks a little underdone – it’ll firm up as it cools!
4. Let Cool & Serve
Once it’s out of the oven, let it cool completely in the pan before slicing into squares.
Enjoy!
Storage
Store your delicious cookie bars in an airtight container for up to 5 days, or freeze for up to 3 months. To reheat, warm individual squares in the microwave for 10–15 seconds before serving to get that fresh-from-the-oven taste.
Chocolate Chip Cookie Bars FAQs
Overbaking is the biggest one! I’ve made this mistake more times than I’d like to admit. You get distracted, leave them in just a little too long, and suddenly your bars are dry and crumbly instead of soft and chewy. My biggest tip? Pull them out of the oven when the center still looks slightly underdone. They’ll continue to firm up as they cool, and you’ll be left with perfectly gooey bars every time.
I’d stick with metal if you can. Glass pans heat up more slowly and retain heat longer, which can make your bars overbake or cook unevenly. Metal pans give you that perfect golden edge without overdoing the center.
Technically yes, but I wouldn’t recommend it. Butter gives these bars that rich, classic flavor that’s hard to replicate. Coconut oil can also change the texture, making them a little greasier and less chewy.
I hope these hit the spot! Let me know by leaving a star rating and a comment below.
Thick & Chewy Chocolate Chip Cookie Bars
Ingredients
- 1 cup unsalted butter melted and cooled slightly
- 1¼ cups light brown sugar packed
- ½ cup granulated sugar
- 2 large eggs
- 2 teaspoons vanilla extract
- 2¾ cups all-purpose flour
- 2 teaspoons cornstarch
- 1 teaspoon baking soda
- ½ teaspoon baking powder
- 1 teaspoon fine salt
- 2 cups semi-sweet chocolate chips (or chocolate chunks), divided into 1½ cups and ½ cup
- Flaky sea salt for finishing
Instructions
- Preheat oven to 350°F. Grease and line a 9×13-inch metal baking pan with parchment paper.
- In a large bowl, whisk together the melted butter, brown sugar, and granulated sugar until smooth.1 cup unsalted butter, 1¼ cups light brown sugar, ½ cup granulated sugar
- Whisk in the eggs and vanilla.2 large eggs, 2 teaspoons vanilla extract
- Add the flour, cornstarch, baking soda, baking powder, and salt. Stir just until combined.2¾ cups all-purpose flour, 2 teaspoons cornstarch, 1 teaspoon baking soda, ½ teaspoon baking powder, 1 teaspoon fine salt
- Fold in 1½ cups of the chocolate chips.2 cups semi-sweet chocolate chips
- Spread the dough evenly into the prepared pan and sprinkle the remaining chocolate chips over the top.2 cups semi-sweet chocolate chips
- Bake for 22–28 minutes, until the edges are lightly golden and the center is just set. (Cookies will continue to cook as they cool)
- Cool completely in the pan and add optional flaky sea before slicing into squares.Flaky sea salt
Notes
- Use room-temperature eggs so the batter mixes together smoothly.
- Slightly underbake for the chewiest texture.
- A metal baking pan produces better browning than glass.
- Store in an airtight container for up to 5 days, or freeze for up to 3 months. Warm individual squares in the microwave for 10–15 seconds before serving for a fresh-from-the-oven taste.
Excellent post! You’ve shared some truly valuable tips. I completely agree—it’s essential for any blogger to focus on helping their audience. When visitors find genuine value in your content, they’re much more likely to return and even recommend it to others. Thanks again for sharing such helpful insights. Wishing you a great day ahead!
thank you!