
How To Season A Cast Iron Skillet
Today I am thrilled to bring you a guest blogger who will be speaking on a topic we all need to know about – how to season a cast iron skillet the right way. As a Mechanical Design Engineer, Richard Hall may seem an unlikely choice for a food blogger, but his heritage, common-sense know-how, and generosity in sharing his knowledge with us make him the perfect choice for a topic of the utmost importance to any Southern cook! Thank you, Rich!
Hey all,
Since Southern Plate has all these great Southern recipes, I thought it might be useful to share how to season a cast iron skillet or other types of cast iron cookware. You may ask, what is seasoning and why do I need to season my cast iron skillet? The answer is very simple. Seasoning makes it non-stick like all the new miracle cookware. And the why is you can buy and maintain a non-stick skillet with nothing more than vegetable oil and shortening and common sense and it will never wear out. The cast iron skillet can be used to cook on the stovetop, the oven, or the grill. A good iron skillet can be passed down as an heirloom if taken care of properly.
What You Need to Season a Cast Iron Skillet
It is very simple to do albeit a little messy. What you will need is:
- The cast iron skillet
- A box of vegetable shortening, which can be purchased in your favorite supermarket for less than $2.
- A roll of heavy paper towels
- Your oven
Just a quick note, the seasoning of a new skillet and the re-seasoning of an are the same except for the first step. So let’s get started.
How to Season a Cast Iron Skillet
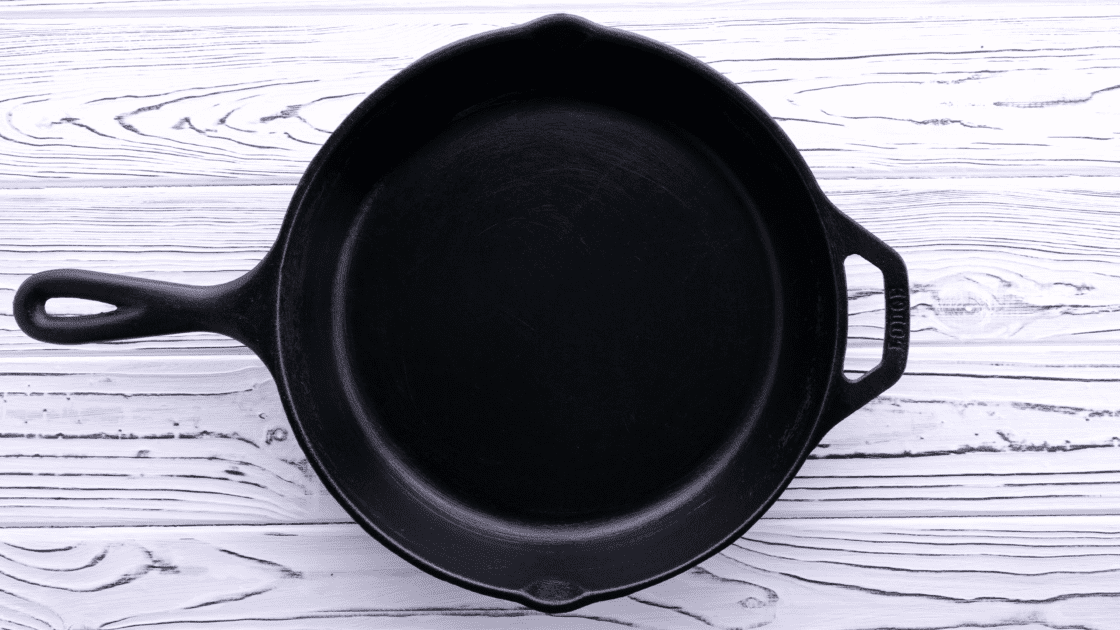
Wash new skillets before seasoning
Make sure your new has been washed in hot water and mild dish soap. This will remove the factory anti-rust coating. For re-seasoning an existing skillet, just make sure to wipe the entire surface with hot water and a clean washcloth or a paper towel (sponges need not apply). Dry the skillet by heating it on the cooktop then let it rest and cool. Preheat your oven to 200 degrees.
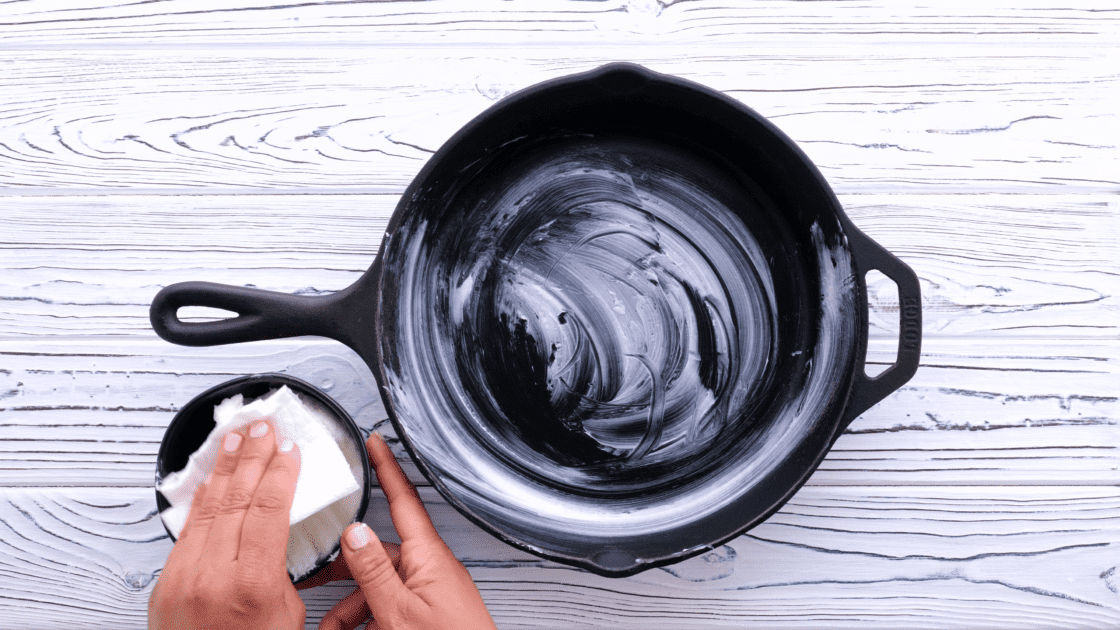
Season with vegetable shortening or oil
Fold the paper towel into a fourth and place a dollop of vegetable shortening in the skillet. The size is not important, but for a 10” skillet, use about 1/4 of a cup. More can be added as required to cover.
Instead of lard or vegetable shortening, use any kind of vegetable oil. I recommend refined coconut oil as it has a higher smoke point.
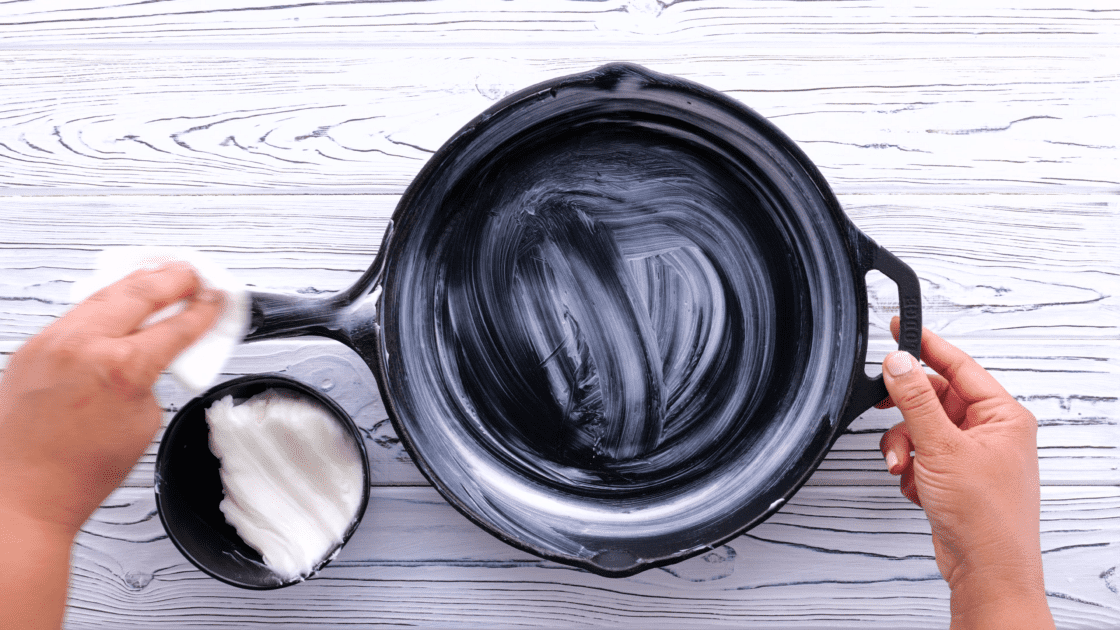
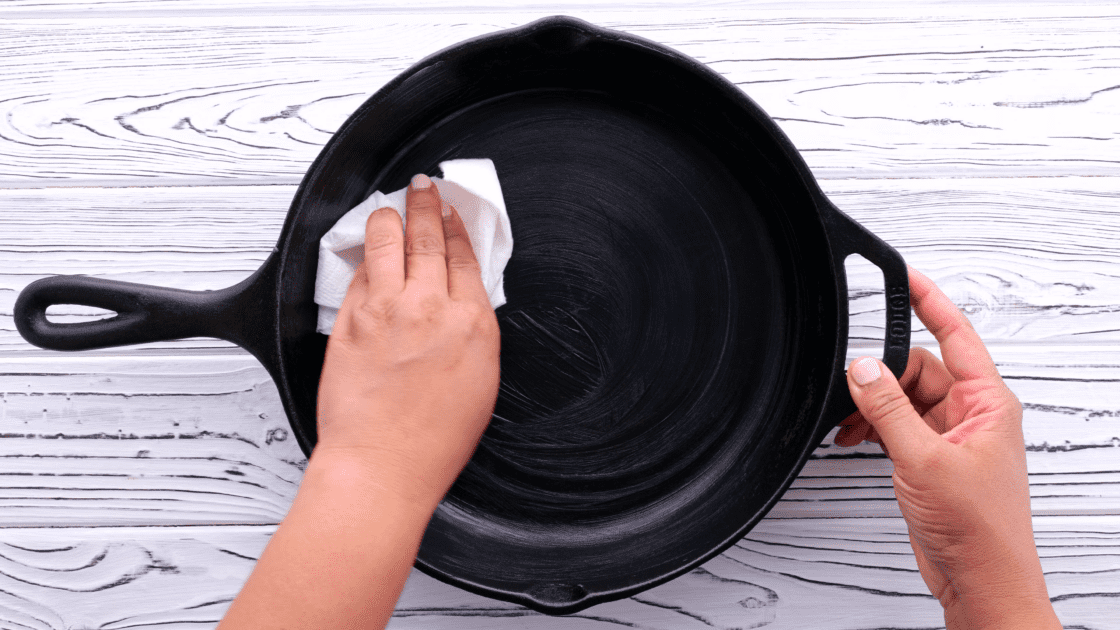
Take the paper towel and coat the interior, the exterior down to the bottom edge, and the handle liberally.
I don’t coat the very bottom of the skillet, as any cooking surface that it touches will make smoke and just burn off the shortening or oil.
Place the skillet in the oven
Once you have the skillet coated, place it in the oven (at 200 degrees) and set a timer for 3 hours. This low temp will open the cast iron pores up and allow the vegetable shortening to penetrate as it liquefies.

Remove from the oven
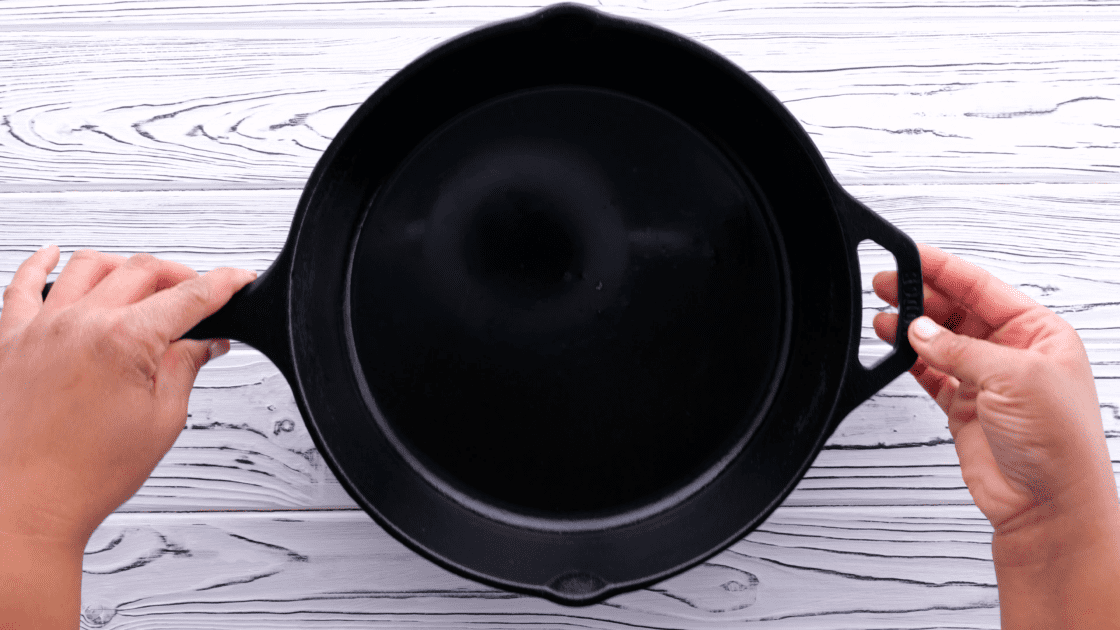
After the time is up, cut off the oven and let the skillet cool. Once it is cool enough to touch, wipe it down with another paper towel to remove any or vegetable shortening and just leave a on the surfaces.
In another hour or so, wipe it down again.
After this final wipe, the skillet will continue to cool and in about an hour will look like the last picture.
Using Your Cast Iron Skillet
Now you are ready to use the skillet. For the first couple of uses, cook something greasy like bacon or sausage. This will help heat cycle and re-coat the interior surface which will make the non-stick coating better. Also, be aware that it is going to smoke for the first couple of uses as it heat cycles and burns off the water trapped in the pores and the excess vegetable shortening.
To maintain the skillet you will need to wipe the interior every couple of months with bacon grease during a heat cycle or cook something greasy and re-season about every 2 years following the process above.
Also, don’t let food sit in the skillet as this will remove the seasoning.
After each use, wash the skillet out using a very mild soap solution and warm water. NEVER wash in the dishwasher. The reason for using mild soap solution is to keep from removing the seasoning layer.
One other note that I personally do is the drying step after a wash. I will turn the cooktop on to high heat and place the wet skillet on it for about a minute. This will heat the skillet up enough to dry the water and heat cycle the pores. This keeps everything as it should be.
—
If you choose, you can render your own lard from bacon drippings. If you own a microwave bacon-cooking tray it is very easy. Just cook some bacon and let the drippings cool either in the tray or pour them into a bowl or shallow dish while still hot. Once it has cooled and congealed, you can use it just like the vegetable shortening as described above. This is perfect for the occasional re-seasoning of your skillet.
I hope this has been helpful and if you have any questions just direct them to Southernplate.com and I’m sure Christy can find me to get the answers.
See you ’round,
Rich
Before you go, check out these great cast iron recipes:
Southern Cubed Steak and Milk Gravy
Skillet Carrot Cake from Southern Cast Iron
I might add one thing. Don’t forget the bottom. I inherited some cast iron skillets from my mother. The inside was fine, but there were patches of rust on the bottom. I’m following the same steps as above for the outside and hope that’s OK.
Pineapple Upside Down Cake in a Cast Iron skillet…made it for the first time a week ago! I had forgotten what a difference a it makes in the flavor to mak a cake from scratch! I used this recipe from Ree Drummond, it’s perfect and
Pineapple Upside-Down Cake (In an Iron Skillet)
I love making this traditional, no-frills upside-down cake in an iron skillet. It makes me feel like a rebel. Makes one 10- to 12-inch cake
2½ cups all-purpose flour
3 teaspoons baking powder
1 teaspoon salt
2 cups granulated sugar
¼ pound (1 stick) butter
¼ cup shortening
1½ cups milk
2 large eggs
2 teaspoons pure vanilla extract
one 20-ounce can sliced pineapple,
2 tablespoons juice reserved (drink the rest)
11/3 cups packed brown sugar
maraschino cherries (optional)
1.Preheat the oven to 350ºF.
2. To make the cake batter, in a large mixing bowl place the flour, baking powder, salt, sugar, ½ stick of the butter, the shortening, milk, eggs, vanilla, and reserved pineapple juice.
3. Mix until well combined. Set aside.
4. Melt the remaining ½ stick butter in a 10- or 12-inch iron skillet over medium heat. Swirl to thoroughly coat the skillet.
5. Sprinkle the brown sugar over the butter, making sure it’s evenly distributed.
6. You want the entire surface of the butter to be covered in brown sugar. Do not stir.
7. As soon as the sugar dissolves, place a layer of pineapple slices over the top.
8. If desired, place maraschino cherries in the center of the pineapple slices. I love using cherries in pineapple upside-down cake. I think they’re kitschy.
9. Pour the batter evenly over the pineapple slices.
10. Evenly distribute it over the surface of the pineapple. Gently spread to even out the
surface.
11. Bake the cake for 30 to 40 minutes, until a toothpick inserted in the center comes out
clean. The cake will be slightly uneven on top, but don’t worry . . .the top will soon be upside down. Get it?
12. Immediately run a knife around the edge of the cake . . .
13. Then place a cake plate upside down on top of the skillet.
14. Very carefully invert the skillet so that the cake is turned upside down onto the cake plate.
15. Because of the butter, it should come out pretty easily; if a little bit of the cake sticks to the pan, just use a small knife to patch it back together. The cake is on the rustic/imperfect side anyway, so it’ll look just fine.
Allow it to cool slightly before cutting into wedges with a serrated knife.
Best when served warm.
easy!
When I was first married and living far away from my Mama, I wanted a black cast iron skillet like hers. Looked and looked and looked but could only find shiny gray ones!!! When I told her about my search, she just smiled and said that her skillet had belonged to her mother before her and taken a lifetime to reach the black stage that hers was in. Then I learned how to season cast iron!!!!
Hi! I just got a double burner cast iron griddle. It’s double sided (flat on one side to make pancakes and grill on other for hamburgers and steaks.) After reading this how to, it seems that if I cook, let’s say pancakes, then the seasoning on the grill side will burn off? Is that correct? What do you guys recommend for care for this type of pan? Any advice would be great! Thanks!
Never use any soap on seasoned iron! Just rinse with water and wipe it out. Before you use it again, just heat it up before adding the food…….the heat will kill the germs without ruining the seasoning.
I have a 4 inch deep 10.5 inch diameter cast iron chicken fryer I use to fry pork steaks and chicken wings. I leave the grease in the skillet and store it in the oven. Before the next use, I just scoop the old flour crisps off the bottom of the skillet with a slotted spatula, then it’s ready to use again…….I’ve done this for years. I have never had to reseason my fryer because it stores the lard all the time. 🙂
I also have a more shallow cast iron skillet that I use just to fry fish about twice a month. I store the fish grease in that one.
My cast iron griddle is great for eggs. I also store that in my oven and just wipe clean before the next use. It’s great for grilled cheese sandwiches as well.
Yes, I have to remove 3 cast iron skillets before I can use my oven, but that is so much easier than draining the grease out of each one after every use and trying to find cabinet space to store them all.
Thanks for all the tips. I would agree with John that to place the pan upside down is an excellent tip. I think I read that on the Lodge website at one time.
And I hadn’t thought of seasoning the outside as well. I’m re-doing my 2 fry pans as they have gotten rusty and unusable.
A relative got me a very small cast iron pan; one large enough to hold a fried egg and that one does have a very good patina on it.
I do find it interesting that various fats are mentioned and that we can return to the lard once used for years. That was before processing. 🙂
I found some old and unique skillets in the woods at an 1835 house I bought, and seasoned them. My favorite is an old 8″ Wagner with high thin sides and a small standoff rim around the bottom. I found that chicken fat (that you get rid of when making stock) makes for excellent seasoning.
One time a friend took one of my skillets to a church supper and decided to run it through the church dishwasher. The seasoning was shot and the skillet had a nice patina of rust over the whole thing. Start over!