Homemade Peanut Butter Cups
As an Amazon Associate I earn from qualifying purchases.
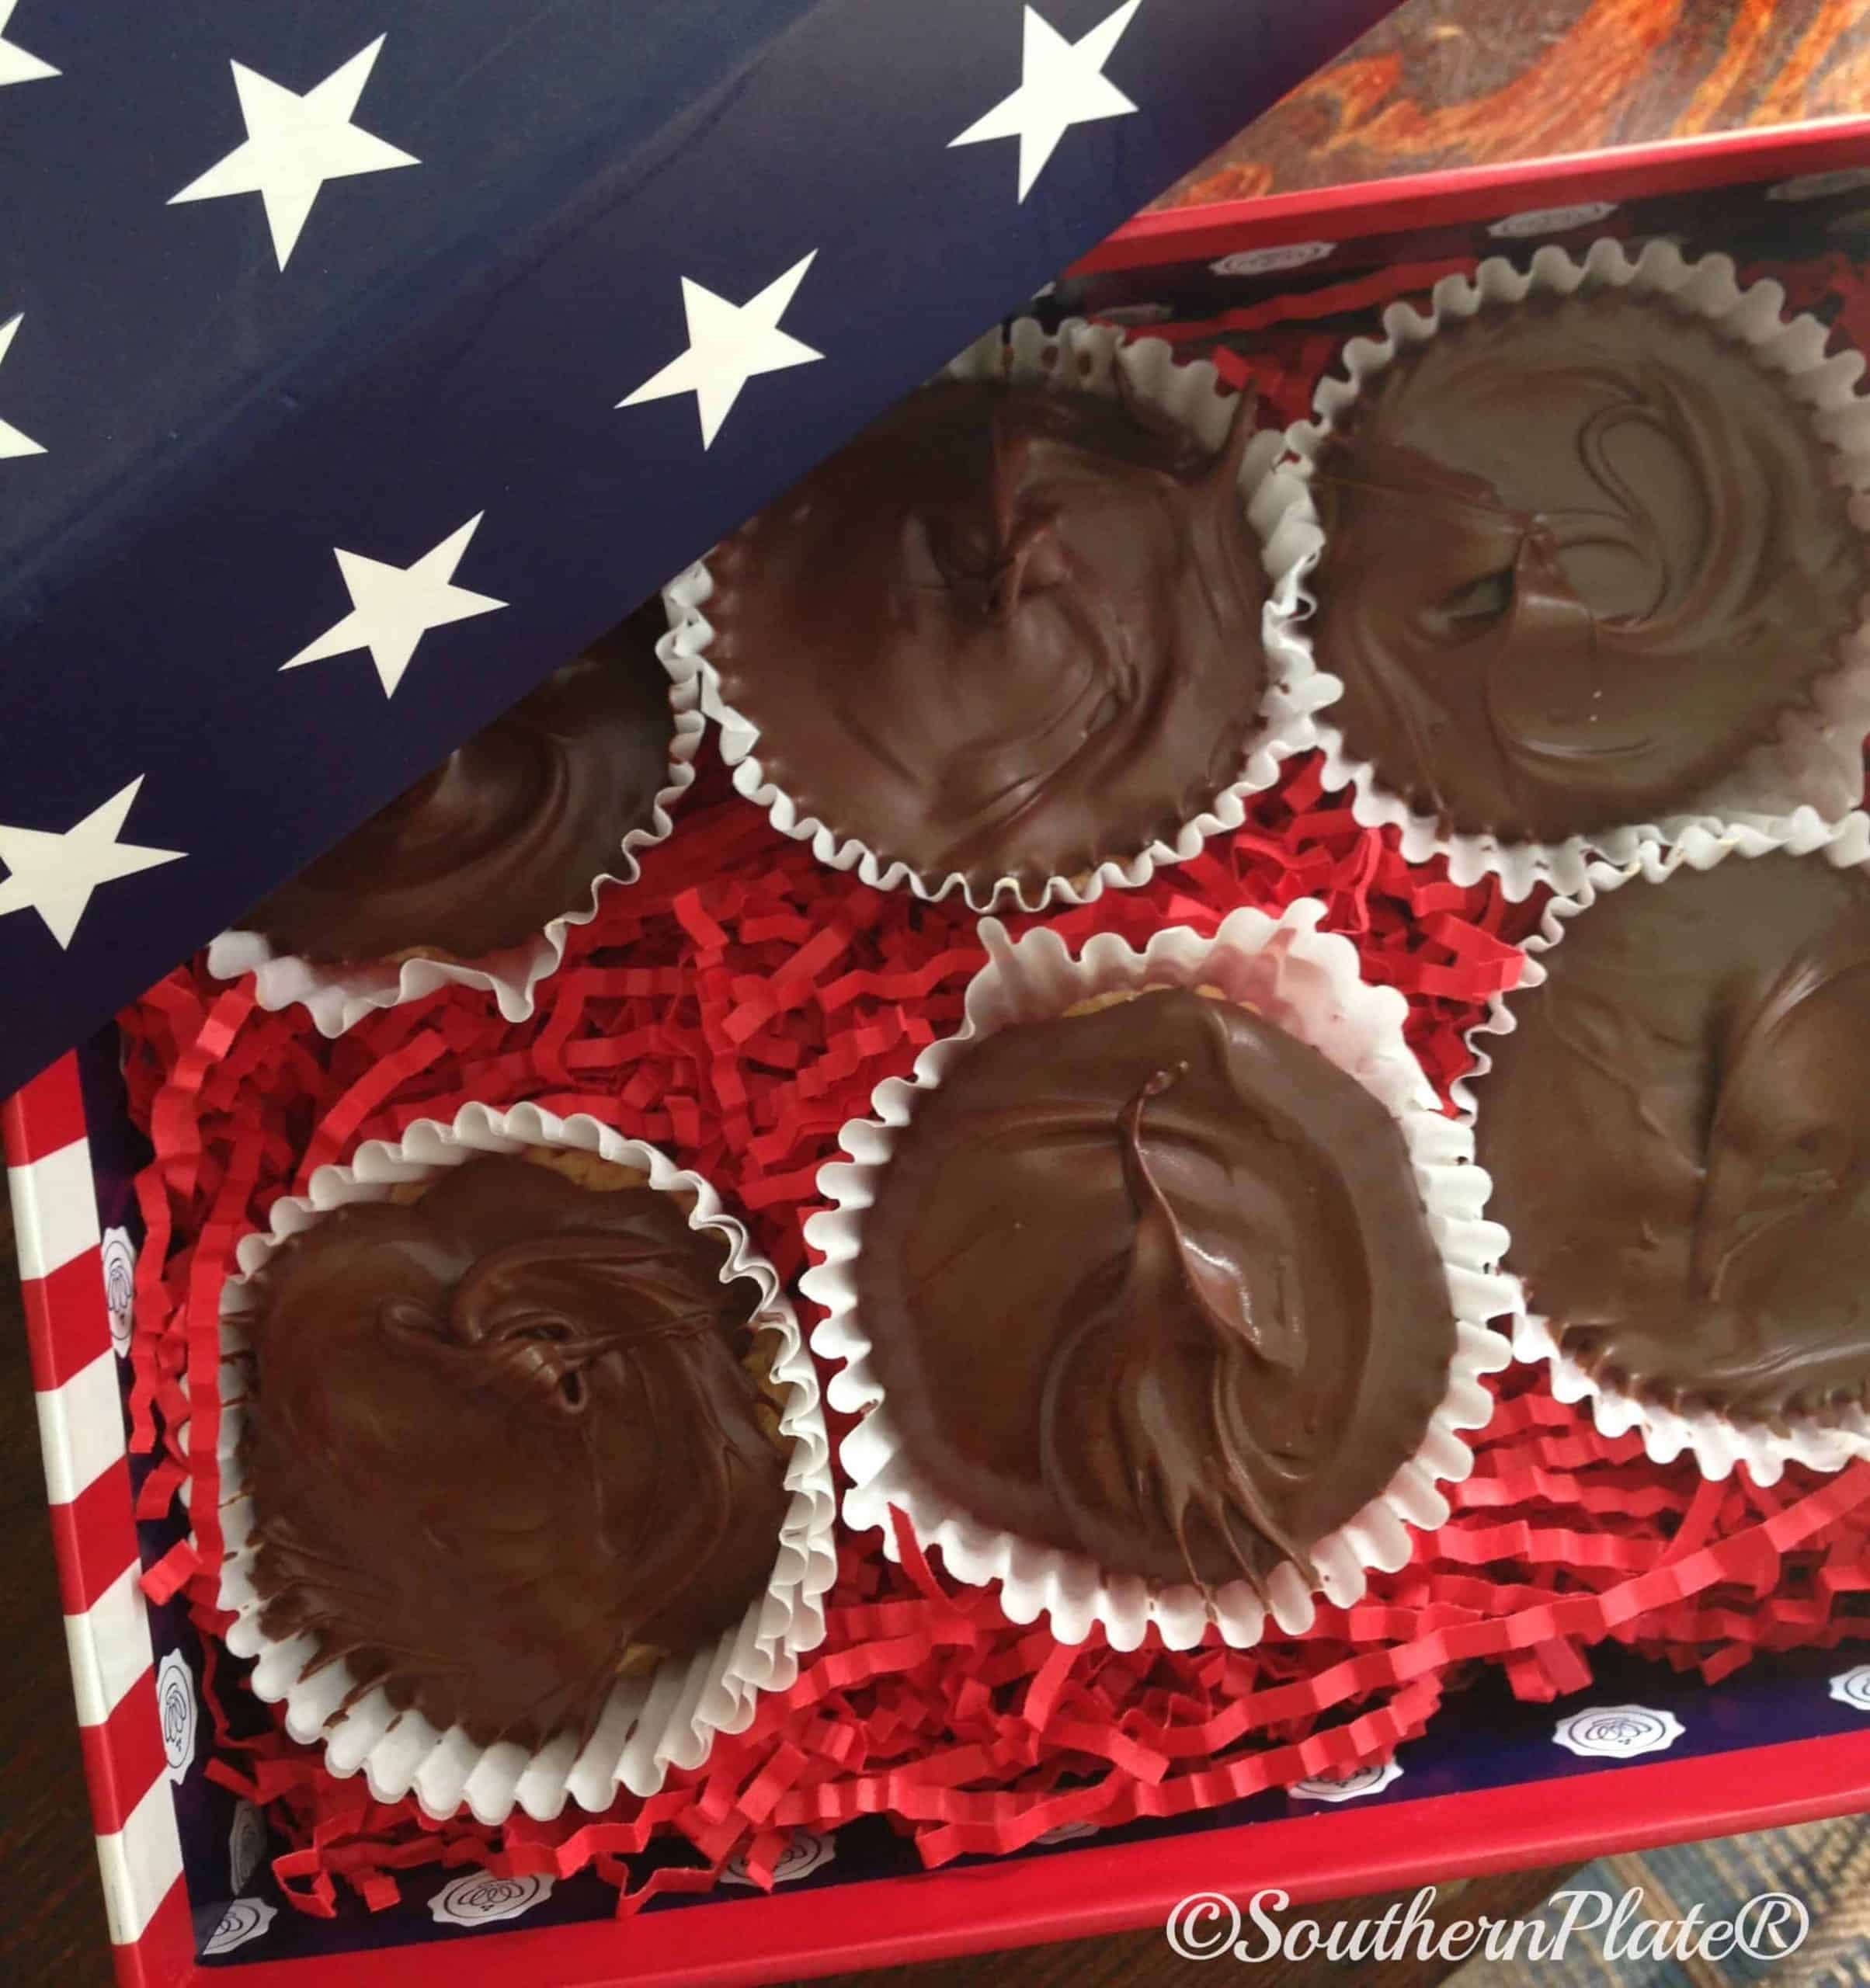
This homemade peanut butter cups recipe is super easy and delivers sweet peanut butter dough cups with a hard chocolate topping.
I happened upon this homemade peanut butter cup recipe by accident (or desperation) this summer when my son was going to a pool party and needed to bring a snack to share. My first thought was brownies, then cake, then cookies, and then I went on down the list until I came up with something that would be really good but not make a lot of mess in the kitchen. So I took a standard peanut butter bar recipe and flipped it into peanut butter cups.
I was not prepared for the reaction. Every speck was snatched up and I received text messages and even emails telling me how wonderful the homemade peanut butter cups were. I’ll be darned if it didn’t put a spring in my step! So I decided to bring them to you today in case you might need a little spring in your step, too. Because no matter what, I think you’re pretty wonderful!
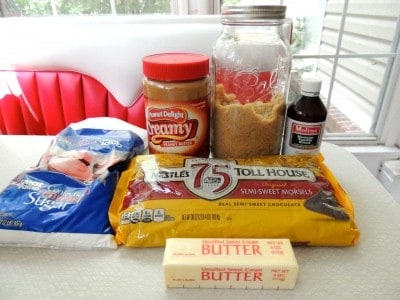
So, what do you need to make my easy homemade peanut butter cups? Confectioner’s sugar, creamy peanut butter, brown sugar, vanilla, butter, and chocolate chips. First, we create our peanut butter cup by melting the butter, peanut butter, and brown sugar together. Then we mix in the powdered sugar and vanilla to make a dough. We place this into muffin papers to create our “cups” and then, of course, we need to add melted chocolate on top.
Once they’re set, it’s time to dig into your homemade Reese’s peanut butter cups. I tell ya, you’ll never buy them from the store again!
If you are a chocolate peanut butter lover like me make sure you try these other delicious recipes Peanut Butter Candy, Chocolate Peanut Butter Balls (No Baking Necessary), No Bake Peanut Butter Bars, Frosted Chocolate Peanut Butter Treats, and Peanut Butter Cheesecake Cookie Bars.
Recipe Ingredients
- Confectioner’s sugar
- Creamy peanut butter
- Brown sugar (dark or light)
- Vanilla extract
- Butter (or margarine)
- Semi-sweet chocolate chips
Helpful Kitchen Tools
How to Make Homemade Peanut Butter Cups
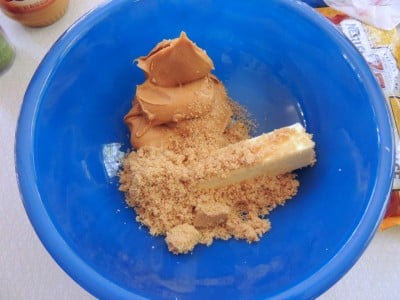
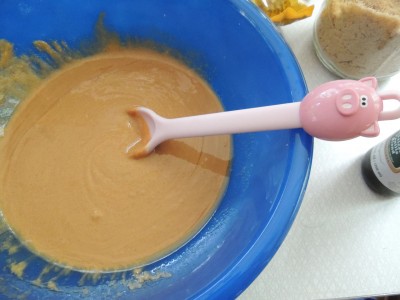
Place butter, peanut butter, and brown sugar in a large microwave-safe bowl,
Microwave this for 1 to 2 minutes until everything melts.
You can do this on the stovetop if you prefer.
Stir it until smooth and creamy, preferably with a little piggy spoon.
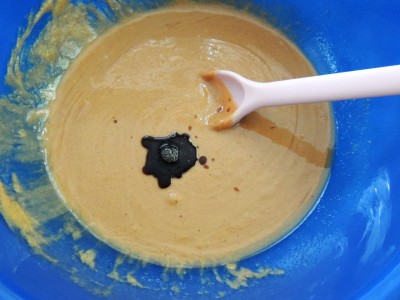
Add in your vanilla and stir that well.
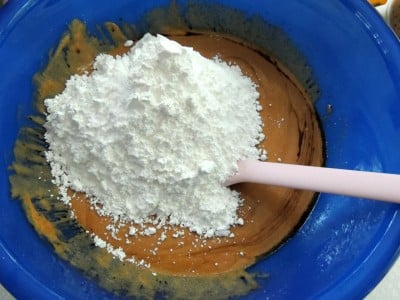
Add in powdered sugar and stir that up really well, too.
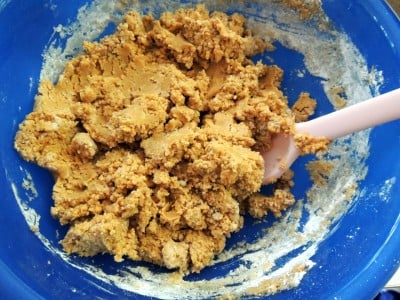
At first, it will seem like it is going to be too dry but keep stirring and it will come together into a dough.
If you find after stirring it that they are still a little dry, you can melt 1/4 cup more peanut butter and add to it. But this is the exact recipe I use and I’ve never had to add more.
All ya need is a little faith, trust, and pixie dust!
Here is our dough.
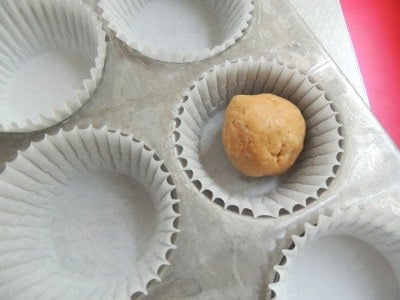
Now take off pinches and roll them into balls.
Mine are about 1/1.5-inch balls. You can use a cookie dough scoop for even cups.
You can also make smaller ones and make mini peanut butter cups if you like.
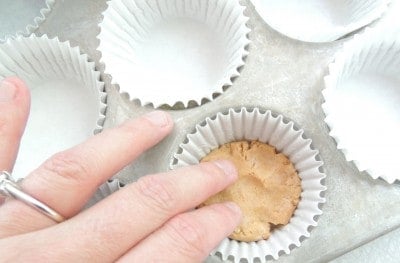
Press the ball into the cupcake liner with your fingers like this.
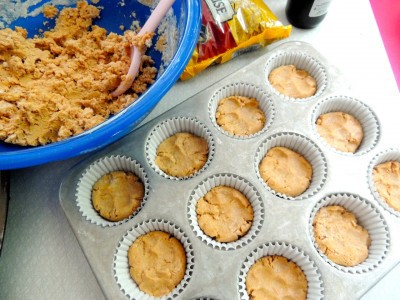
Repeat until all of the peanut butter mixture is used up.
This will make about 24 full-sized peanut butter cups and a gazillion mini-sized ones. I’m estimating the quantity of the minis 😉.
Make the Chocolate Topping
Now, I don’t put chocolate on the bottom, only on the top. It is easier and you get more of that yummy peanut butter taste that way. A lot of folks will try to put chocolate on the bottom and spread it up the sides to make these look store-bought, but we don’t do that in this recipe.
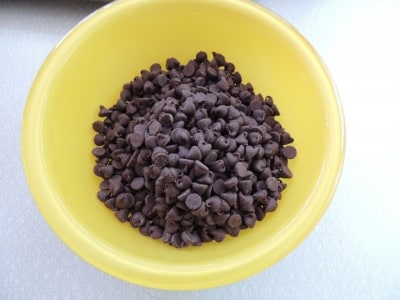
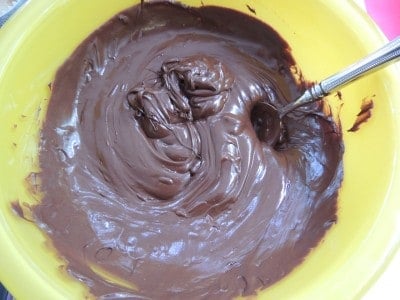
Anyway… pour about 2 cups of chocolate chips into a microwave-safe bowl and nuke that for about a minute.
Stir. Nuke one minute more (or until it all melts), and stir again.
Note: Make sure no water gets into your chocolate. Not even one little drop because it will cause it to clot something terrible.
Stir it up really well and you’re ready to top your peanut butter cups.
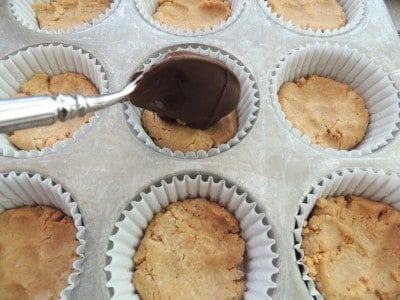
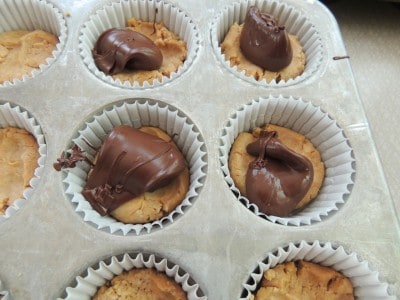
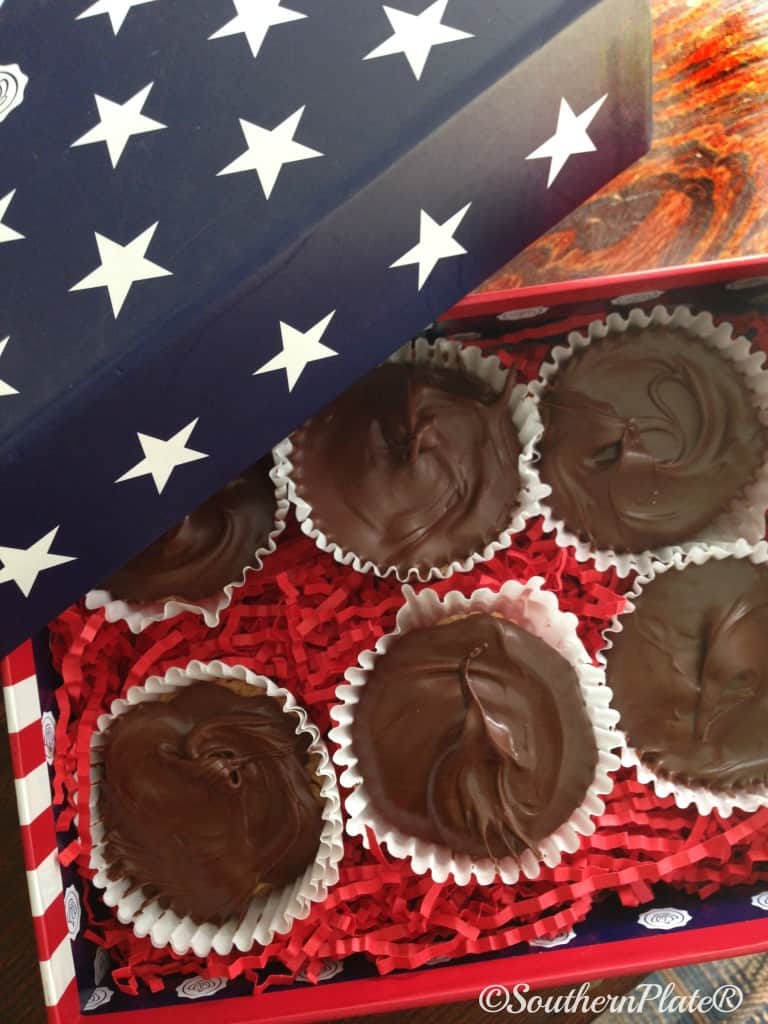
Top the peanut butter filling with a good spoonful of chocolate.
Once you have a few topped, go ahead and spread it around.
I start by banging my muffin tin on the table a few times.
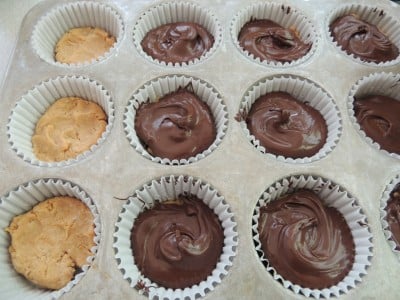
Then I use the back of my spoon to spread it the rest of the way.
If you make a circular motion with your spoon it makes the tops pretty.
Place these in the refrigerator when complete, until the chocolate hardens.
This should only take about an hour.
Then you can pop each peanut butter cup out of its cupcake liner for that Reese’s look or serve them as is.
Enjoy your peanut butter cups!
This photo is from my friend Conni at A Good Life Farm.
Storage
- Store them in an airtight container at room temperature or in the fridge and try and eat them within a week. Ya know this has never been a problem in my household!
- You can also store chocolate peanut butter cups in the freezer for up to 3 months. Thaw them in the fridge overnight or at room temperature before serving.
Recipe Notes
- Because we want a smooth texture, I recommend using creamy or smooth peanut butter, not crunchy peanut butter. I also don’t recommend natural peanut butter for this recipe. However, you can substitute for different nut butter, like creamy almond butter or cashew butter, for a different taste.
- If you want to make authentic peanut butter cups completely covered in chocolate, check out this recipe for helpful directions.
- I’m using semi-sweet chocolate chips, but you can use whatever you prefer. This might be dark chocolate chips, milk chocolate chips, or even chocolate chunks. You can even use chocolate almond bark.
- If your peanut butter isn’t salted, I recommend adding a pinch of sea salt or kosher salt to the peanut butter mixture. Alternatively, sprinkle some on top of the melted chocolate.
Check out these other peanut butter treats:
Chocolate Peanut Butter Balls (No Baking Necessary)
Frosted Chocolate Peanut Butter Treats
Peanut Butter Cheesecake Cookie Bars
Ingredients
- 1/2 cup butter or margarine
- 1/2 cup packed light or dark brown sugar
- 1 teaspoon vanilla extract
- 2 cups peanut butter
- 2.5 cups confectioner's sugar
- 2 cups semi-sweet chocolate chips
Instructions
- Line two muffin pans with muffin papers (24 total).
- Place peanut butter, butter, and brown sugar in a large microwave-safe bowl. Microwave until butter and peanut butter are melted (one to two minutes). Time will vary by microwave.1/2 cup butter or margarine, 1/2 cup packed light or dark brown sugar, 2 cups peanut butter
- Remove the bowl from the microwave and use a large spoon to stir all of the ingredients together (except chocolate chips) until they form a ball of dough that leaves the side of the bowl.1 teaspoon vanilla extract, 2.5 cups confectioner's sugar
- Pinch off pieces of dough and roll them into 1.5-inch-sized balls. Place one ball into each muffin paper then pat them into a 9x13 baking dish or muffin tin. Press the peanut butter filling flat into the papers with your fingers.
- Pour chocolate chips into another microwave-safe bowl and microwave at 30-second intervals, stirring after each, until completely melted. Spoon over the top of the peanut butter layer and spread evenly.2 cups semi-sweet chocolate chips
- Allow them to cool completely at room temperature until the chocolate hardens again or place them in the refrigerator for faster hardening.
Nutrition
“Never let a bad day make you feel like you have a bad life.”
~Unknown


Great recipe! This is our favorite dessert / candy recipe.
I use Hershey milk or dark chocolate candy bars instead of semisweet chocolate chips along with adding 1 Tbsp. peanut butter.
There is a step missing after #2 in the printed recipe.
Thanks for sharing.
Hey Nana! Thank you so much for taking the time to leave a comment. I’m afraid I can’t find a missing step. Can you tell me a little more?
Thanks!
Made over the weekend. My granddaughter asked why she had never had any of these before as her eyes rolled back (13 yrs. old). I read all the comments and halved the recipe, put a dollop of chocolate in bottom as well as on top, used a melon baller to make the little pieces in mini cupcake papers bought at Black Friday. It really does make a lot, had 56 mini cups. Going to make some more with white, caramel, and peanut butter chips, Will make great gifts!
That is the best compliment ever! Love it when the teens enjoy a recipe!!
Christy…
Wondering if these can be frozen? (re: chocolate visual quality–hazing?)… I need to make them about 2 weeks in advance due to time constraints/work schedule.
I have made them twice…. Are a giant hit & have been requested for my Relay for Life dessert raffle & a private party (another fundraiser) raffle. Used treat boxes ( available in the cake supply section of craft stores) & peeps were asking what confectionary they were from!!
On the consistency concern of some posters… I did modify the recipe since I am type II diabetic & have gone modified- paleo. I completely omitted the confectioners sugar… I added approx. 1/4 cup each almond flour & coconut flour, the 2nd has its own mild sweetness. A couple teaspoons of a baking stevia product will add the needed sweetness, but I like the natural nutty contrast to the chocolate. Both absorb excess liquids as they are coarse, mealy flours. I have used almond butter once & peanut butter the 2nd time–ground fresh at the market. Both were well- accepted.
Next time, I am using some premium chocolate bars (Lindt) for the toppings as well as dark, milk & white chips…
Thanks for this awesome recipe!!!
I made these for my husband to take on his annual guys trip, that he and his cousins take. I made these in the mini version, with milk chocolate since that was what I happened to have on hand. It made over 50, closer to 60, I think. Ther were gone in two days, he told me. The first of the treats I made. I also made your caramel puffed corn, which has become a staple…that was gone right after…only because he was hoarding it….LOL! Only one problem with these, now me husband doesn’t want regular store bought Reese’s cups anymore…now he only wants me to make these…just great! Serve’s me right for preaching to him about being more careful about what he puts into his body. I have been making his bread for sandwich etc…so I know what goes into etc, because there is too much other stuff in things nowadays, that doesn’t need to be in things, and if I make it, I know what’s in it….well, that has now back fired…because now his candy tastes better if I make it for him! LOL! Now, if I can get him to make it! Not! He said..it tastes better….if I do it…it’s made with love…what a con-artist!
Thanks so much for sharing this recipe for these magnificent Peanut butter cups—you’re right, I will never buy store bought again!!! Everyone I shared them with loved them. First batch eaten – second batch in fridge . I haven’t ever had much luck making candy, but this was EASY!! Thanks again.
I am so glad they were a hit Sandi!!!