
How To Make Homemade Banana Pudding From Scratch
If you ask most Southerners about their favorite comfort dessert, Banana Pudding is going to come up pretty quick. Not the kind from a box of instant mix. That’s a whole different thing, and we don’t talk about it here. This is the recipe y’all have been asking for. It takes patience at the stovetop, but once you’ve made it this way, you’ll never go back. And if you love this custard base, you’ll also want to try our Banana Pudding with Meringue Topping and our Frozen Banana Pudding Cups for two more ways to enjoy it all summer long!
A Quick Look At The Recipe
- Recipe Name: Homemade Banana Pudding
- Serves: 4
- Main Ingredients: sugar, flour, egg yolks, milk, box Nilla wafers, bananas, vanilla, dash salt
- Why You'll Love It: This homemade banana pudding recipe includes making the creamy vanilla pudding from scratch and serving it over Nilla wafers and fresh-cut bananas for the most delicious Southern treat.
If you have ever wanted to know how to make banana pudding from scratch, y’all, you are in exactly the right place. This is the real deal. Homemade vanilla custard poured warm over fresh banana slices and Nilla wafers, just the way Southern grandmothers have been making it for as long as anyone can remember.
The magic is in the custard. Egg yolks, milk, sugar, and flour come together into a rich, silky vanilla pudding that soaks right into those Nilla wafers and turns the whole bowl into something truly special. It takes about 15 minutes of gentle stirring, and I want you to know every single minute is worth it.
☝️ Before You Get Started
Use Nilla brand wafers. I am not usually a brand stickler (well, except for White Lily flour), but if you are going to make banana pudding, you might as well do it right. Generic wafers just are not the same.
No meringue here. I like meringue just fine, but I know plenty of folks who don’t. So this recipe keeps it simple and skips that step. If you do want to add a meringue topping, head over to our Lemon Meringue Pie for step-by-step instructions and photos that will walk you right through it.
Want to serve it cold? Many folks refrigerate their banana pudding and serve it topped with Cool Whip or fresh whipped cream. Both are delicious. Totally your call.
Making it as a trifle? Double the recipe and layer everything into a glass trifle bowl. More layers, more wow factor, more banana pudding for everybody. Our Creamy Dreamy Fruit Trifle shows you just how beautiful a layered dessert in a trifle bowl can look.
No vanilla wafers on hand? Graham crackers make a wonderful substitute and give this a slightly different but equally delicious flavor.
Ingredients you’ll need for the best classic banana pudding:
- 1/2 cup sugar (or swerve)
- 1/3 cup flour
- 3 egg yolks
- 2 cups milk
- 1 box Nilla wafers
- 5 ripe bananas
- 1/2 tsp vanilla extract
- Dash of salt
How to Make Homemade Banana Pudding From Scratch
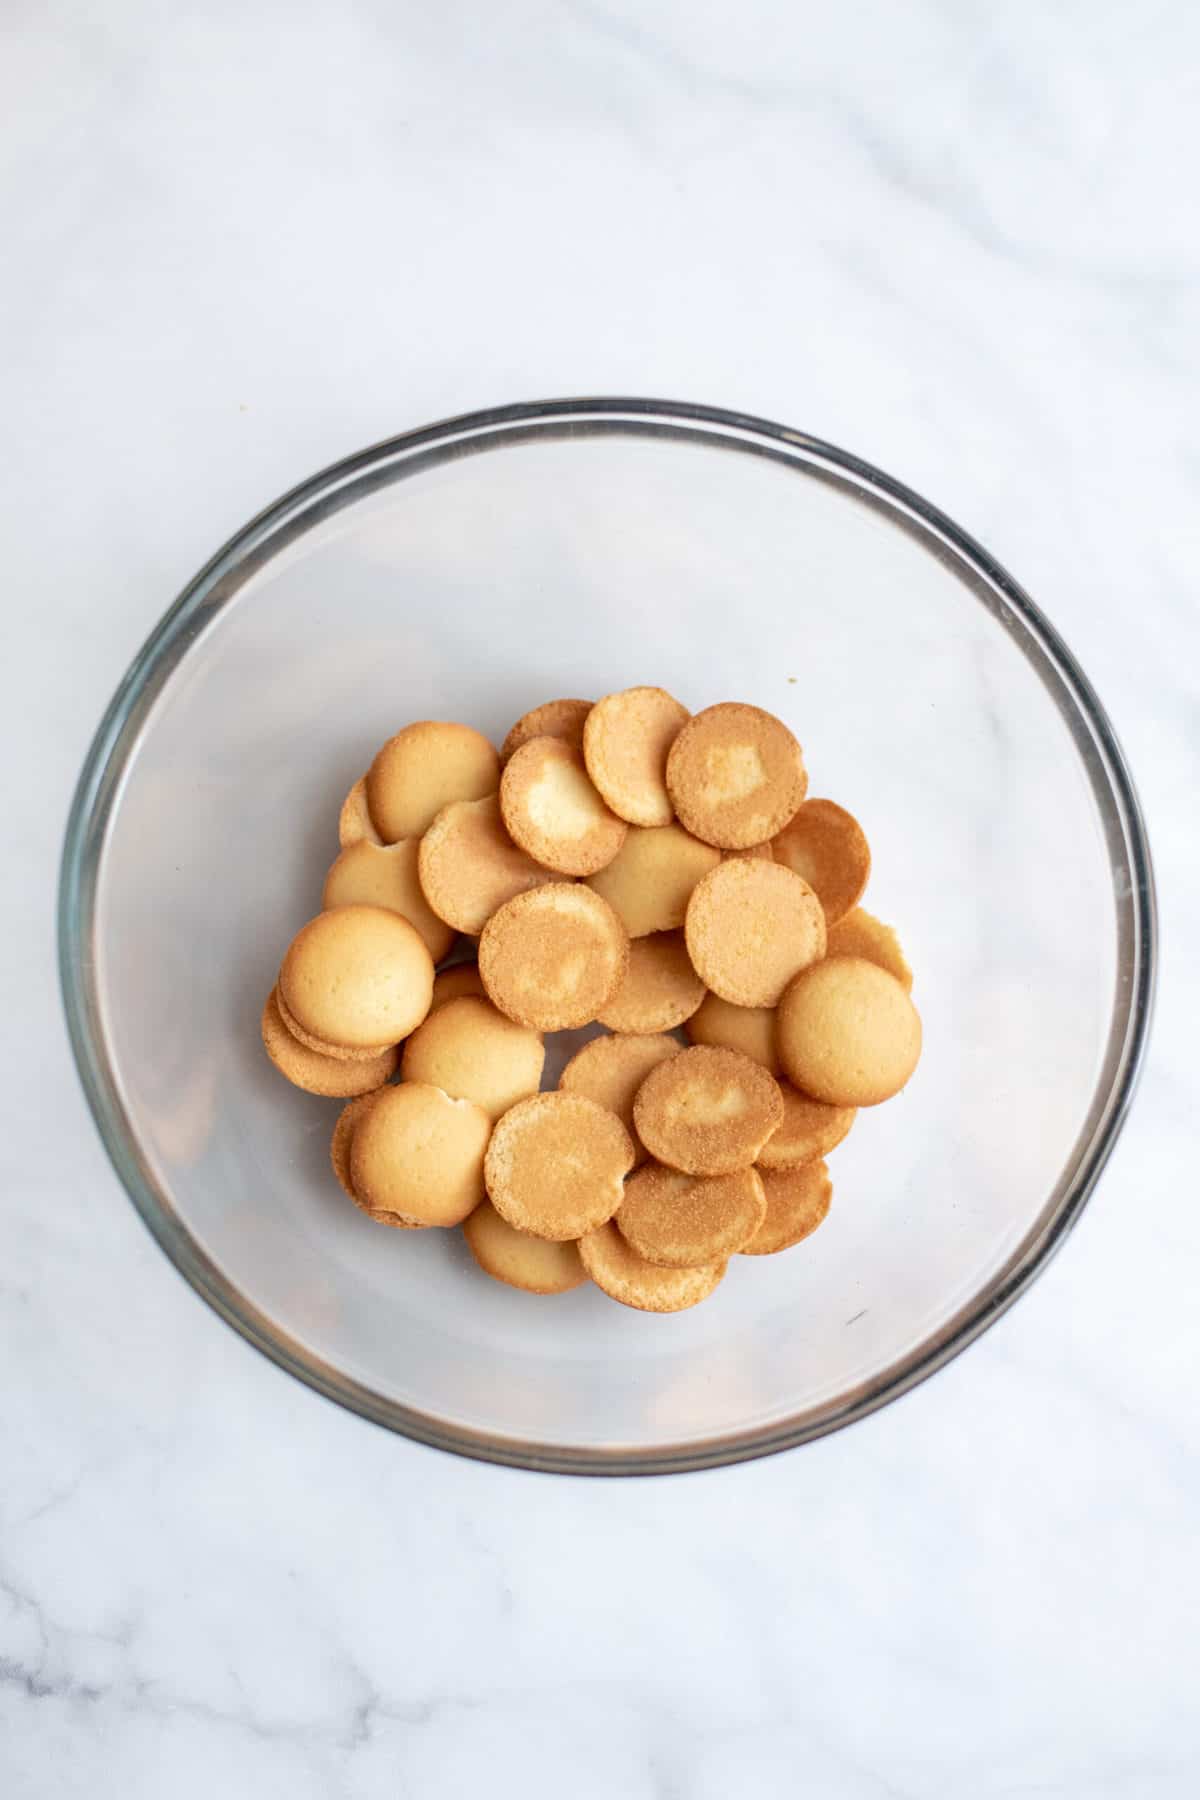
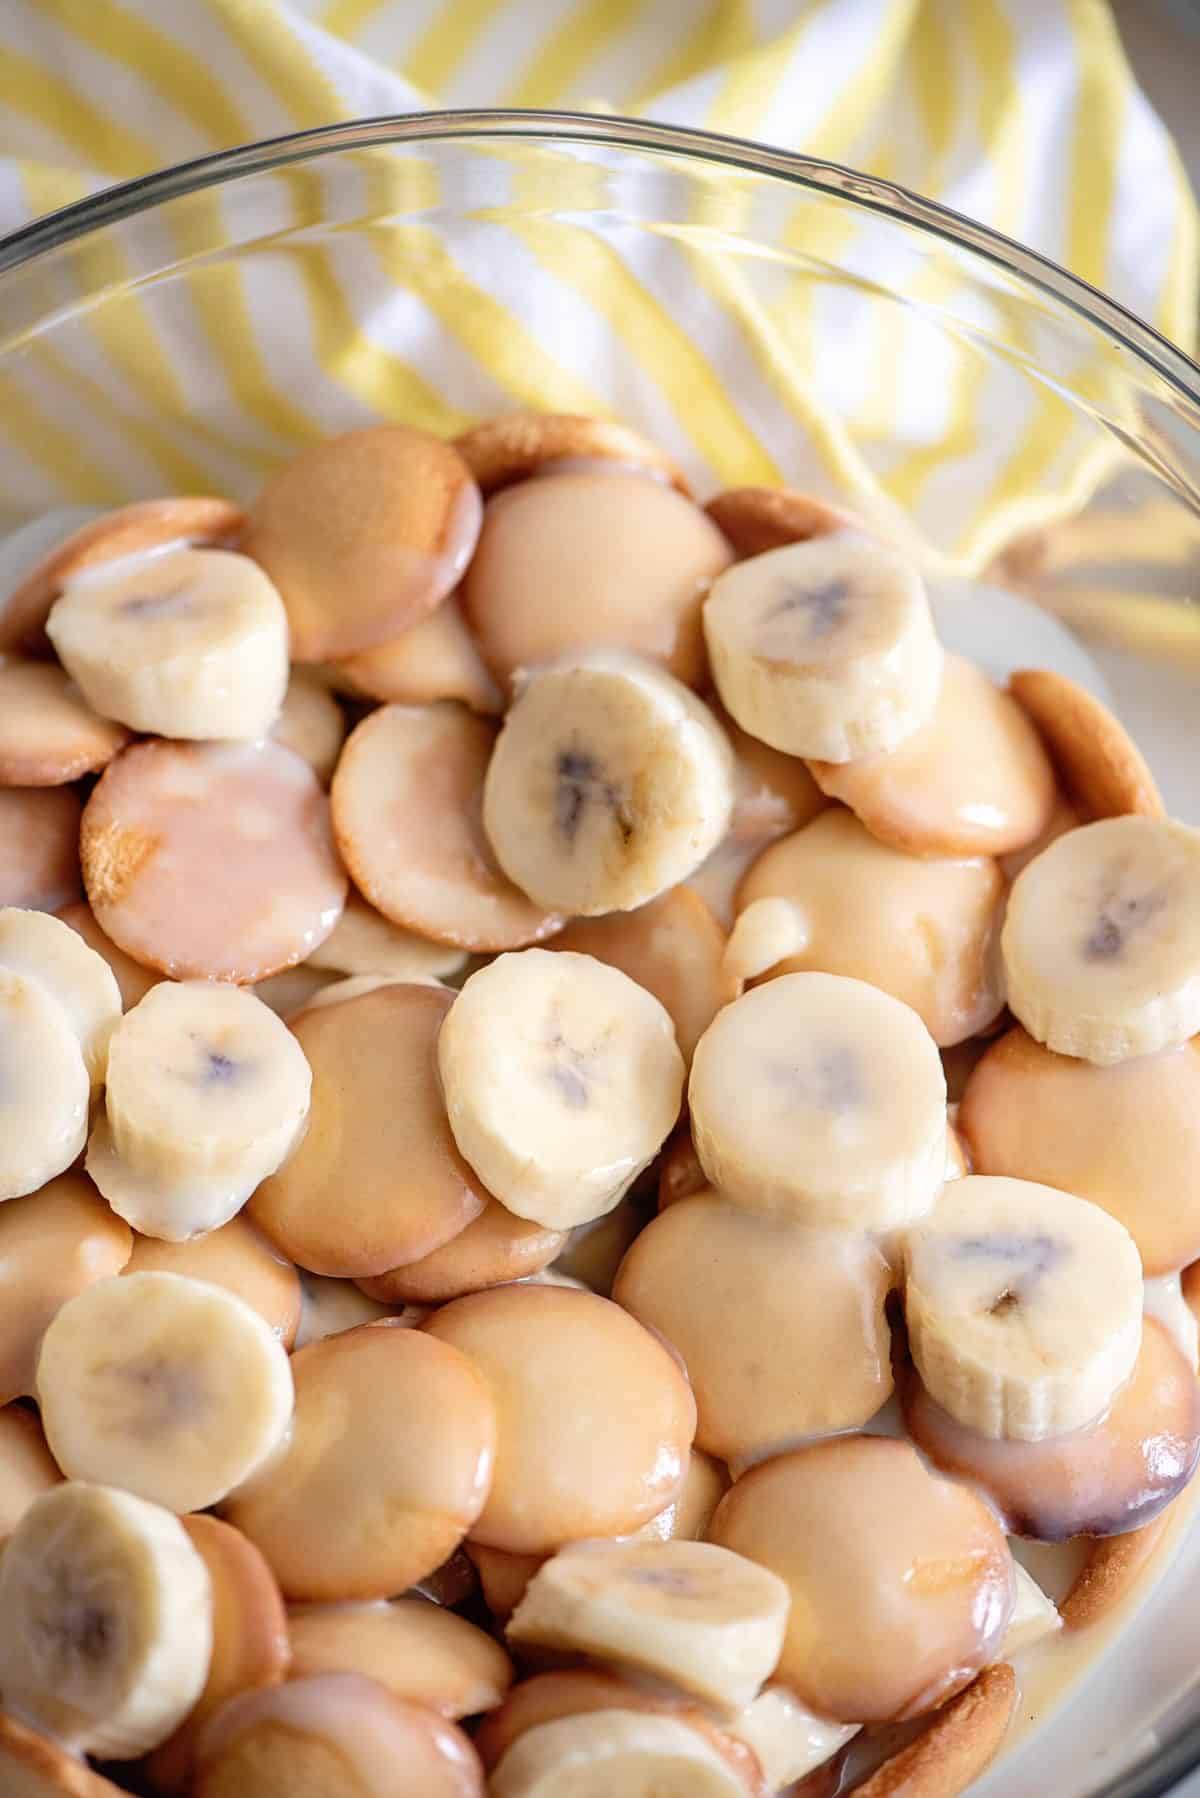
Put a layer of Nilla wafers in the bottom of a medium-sized mixing bowls.
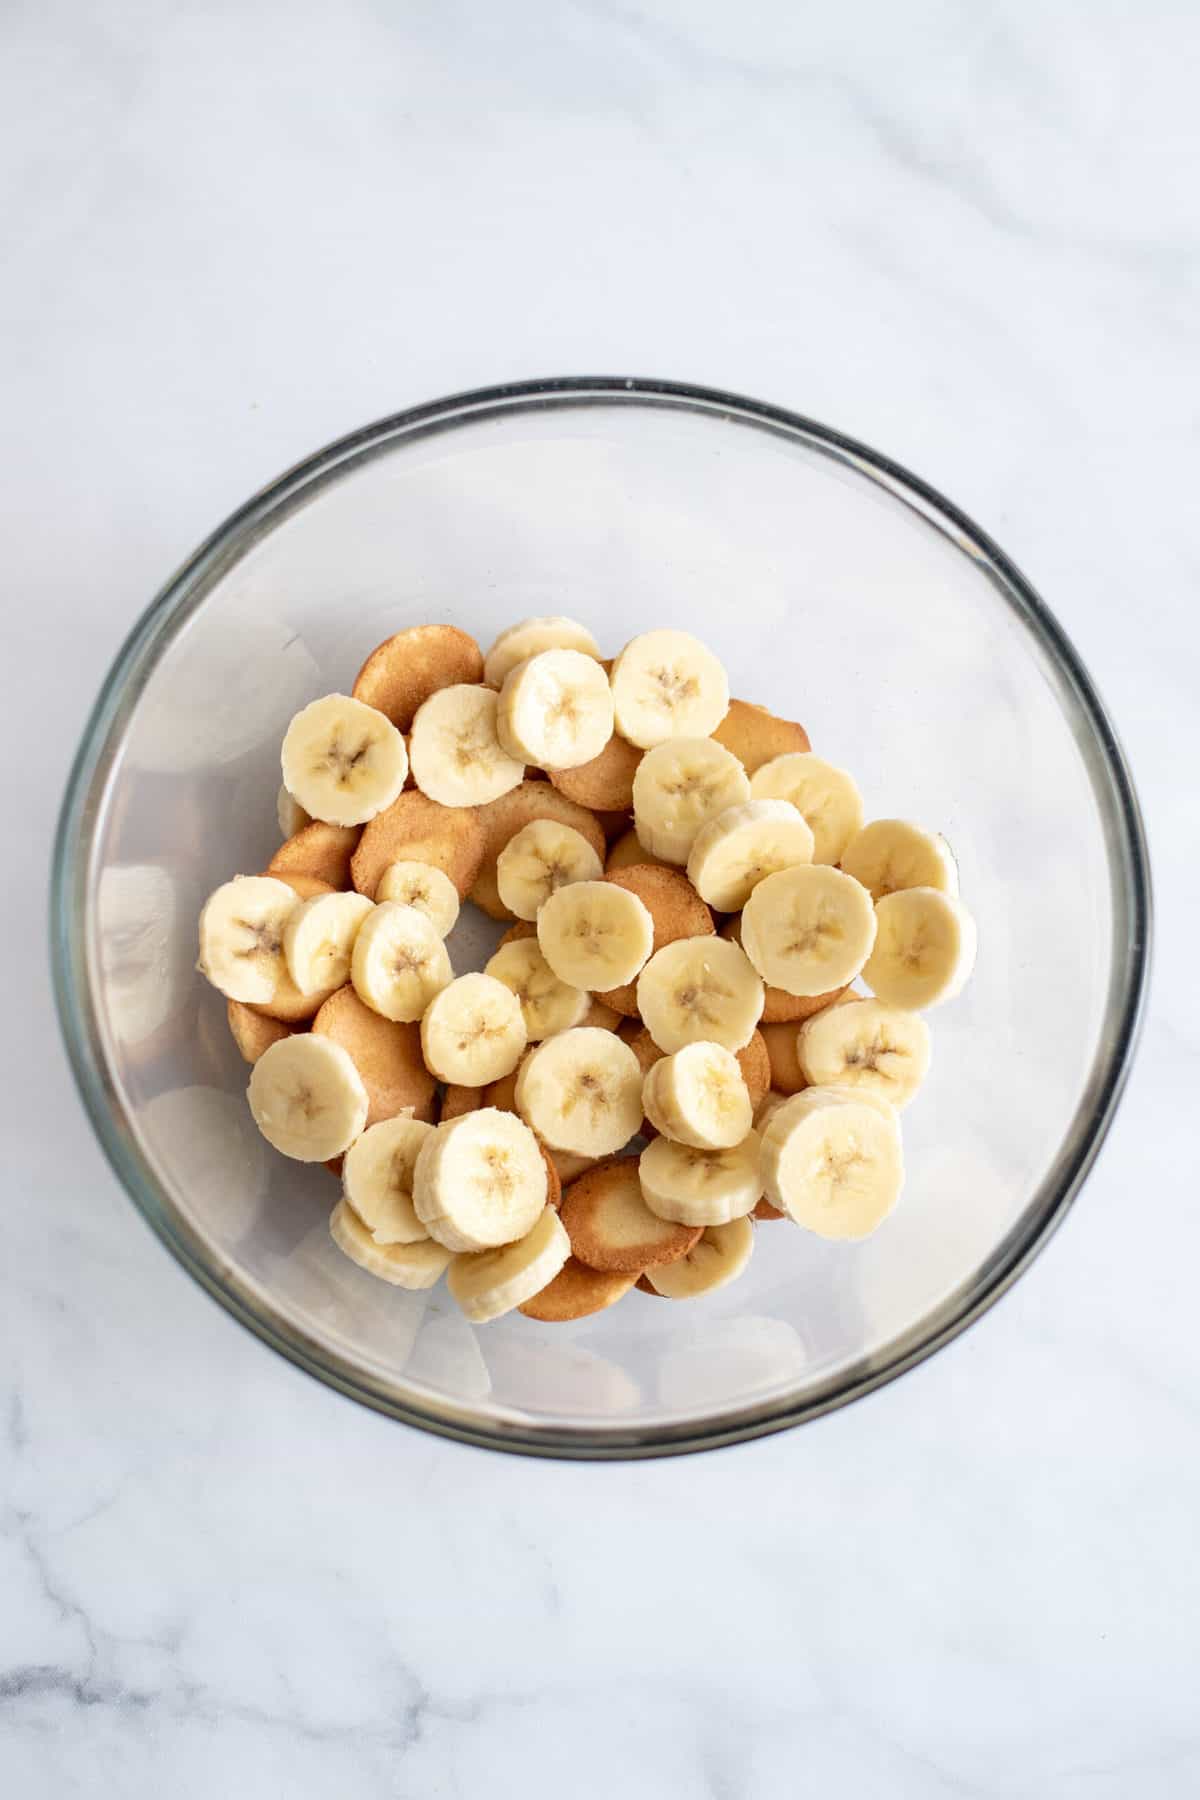
Slice a banana over the top.
Repeat these layers until you’ve used up all your vanilla wafers and bananas. It really is important that you put Nilla wafers first, by the way. These are going to soak up all the yummy pudding that settles at the bottom of your bowl.

Repeat these layers until you’ve used up all your vanilla wafers and bananas. It really is important that you put Nilla wafers first, by the way. These are going to soak up all the yummy pudding that settles at the bottom of your bowl.
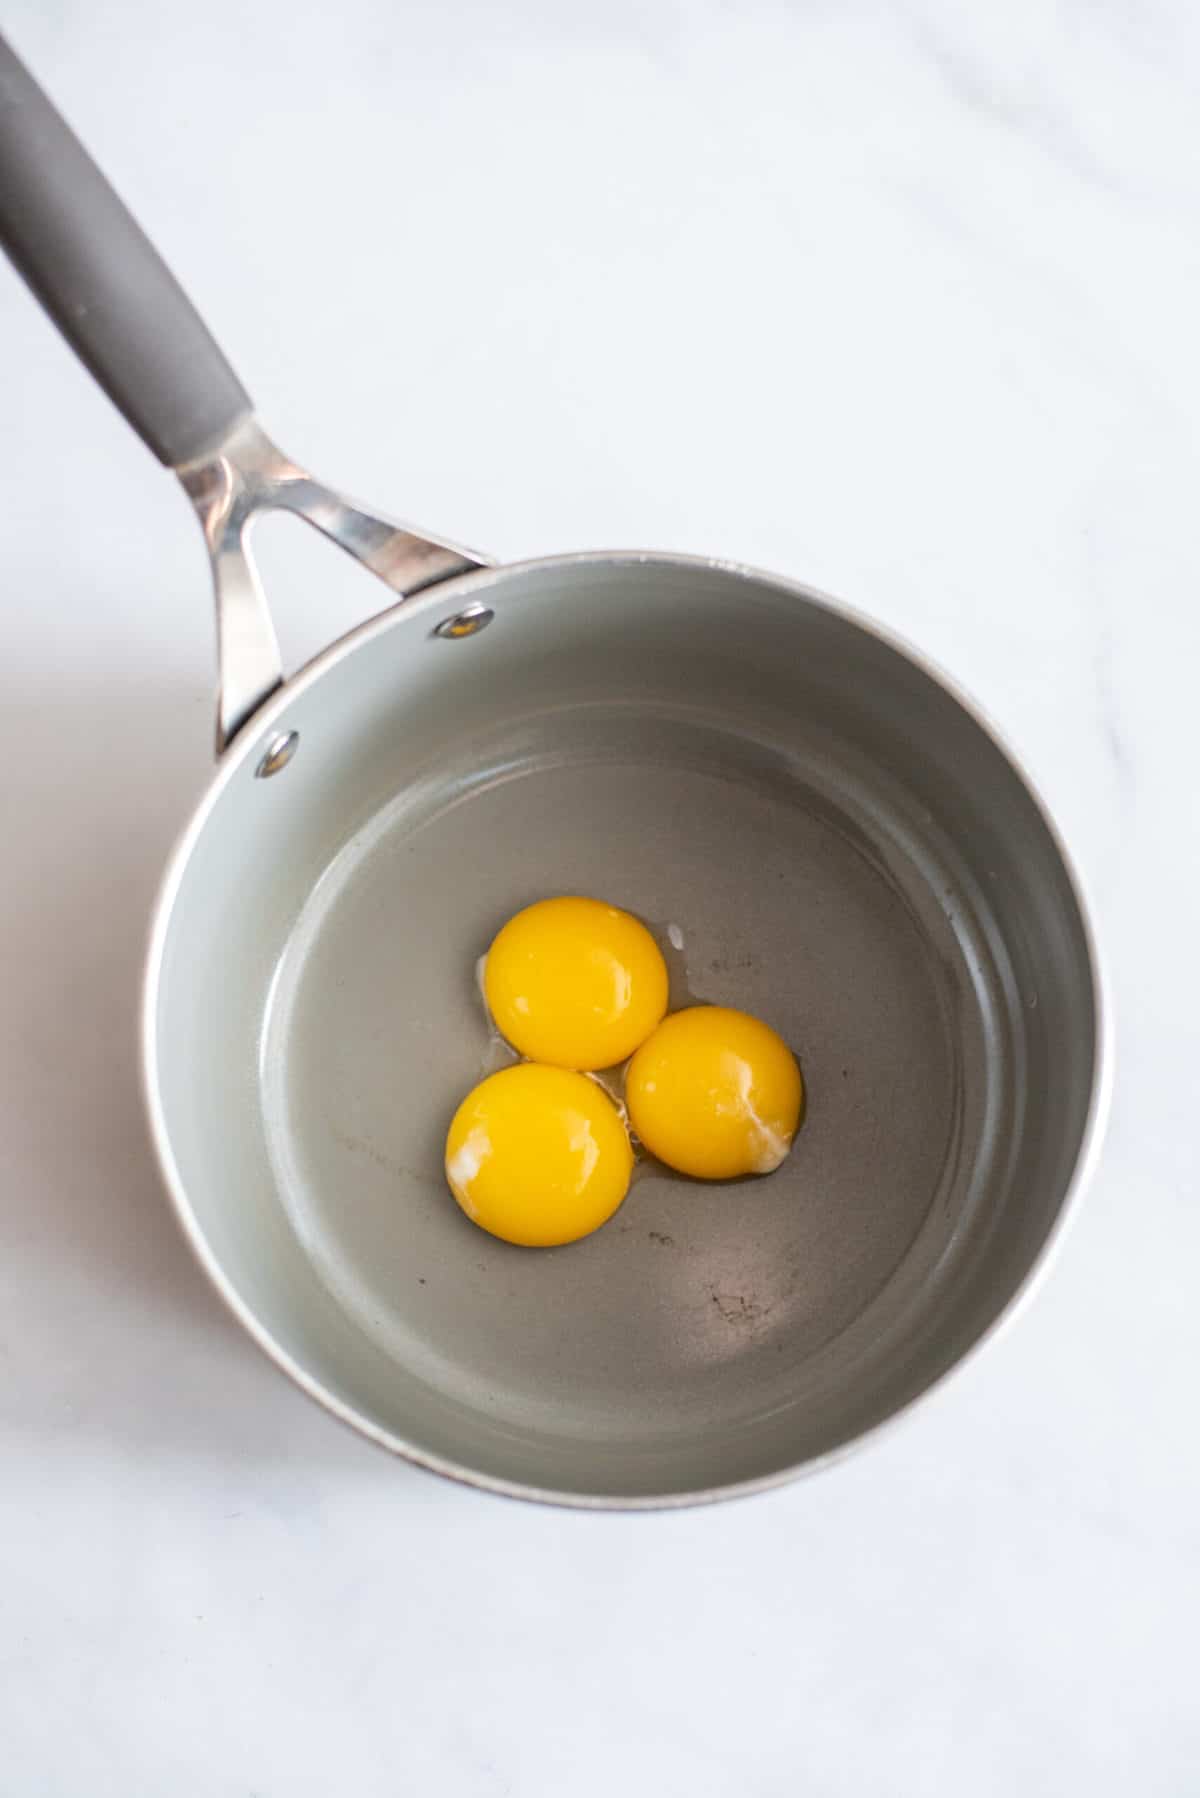
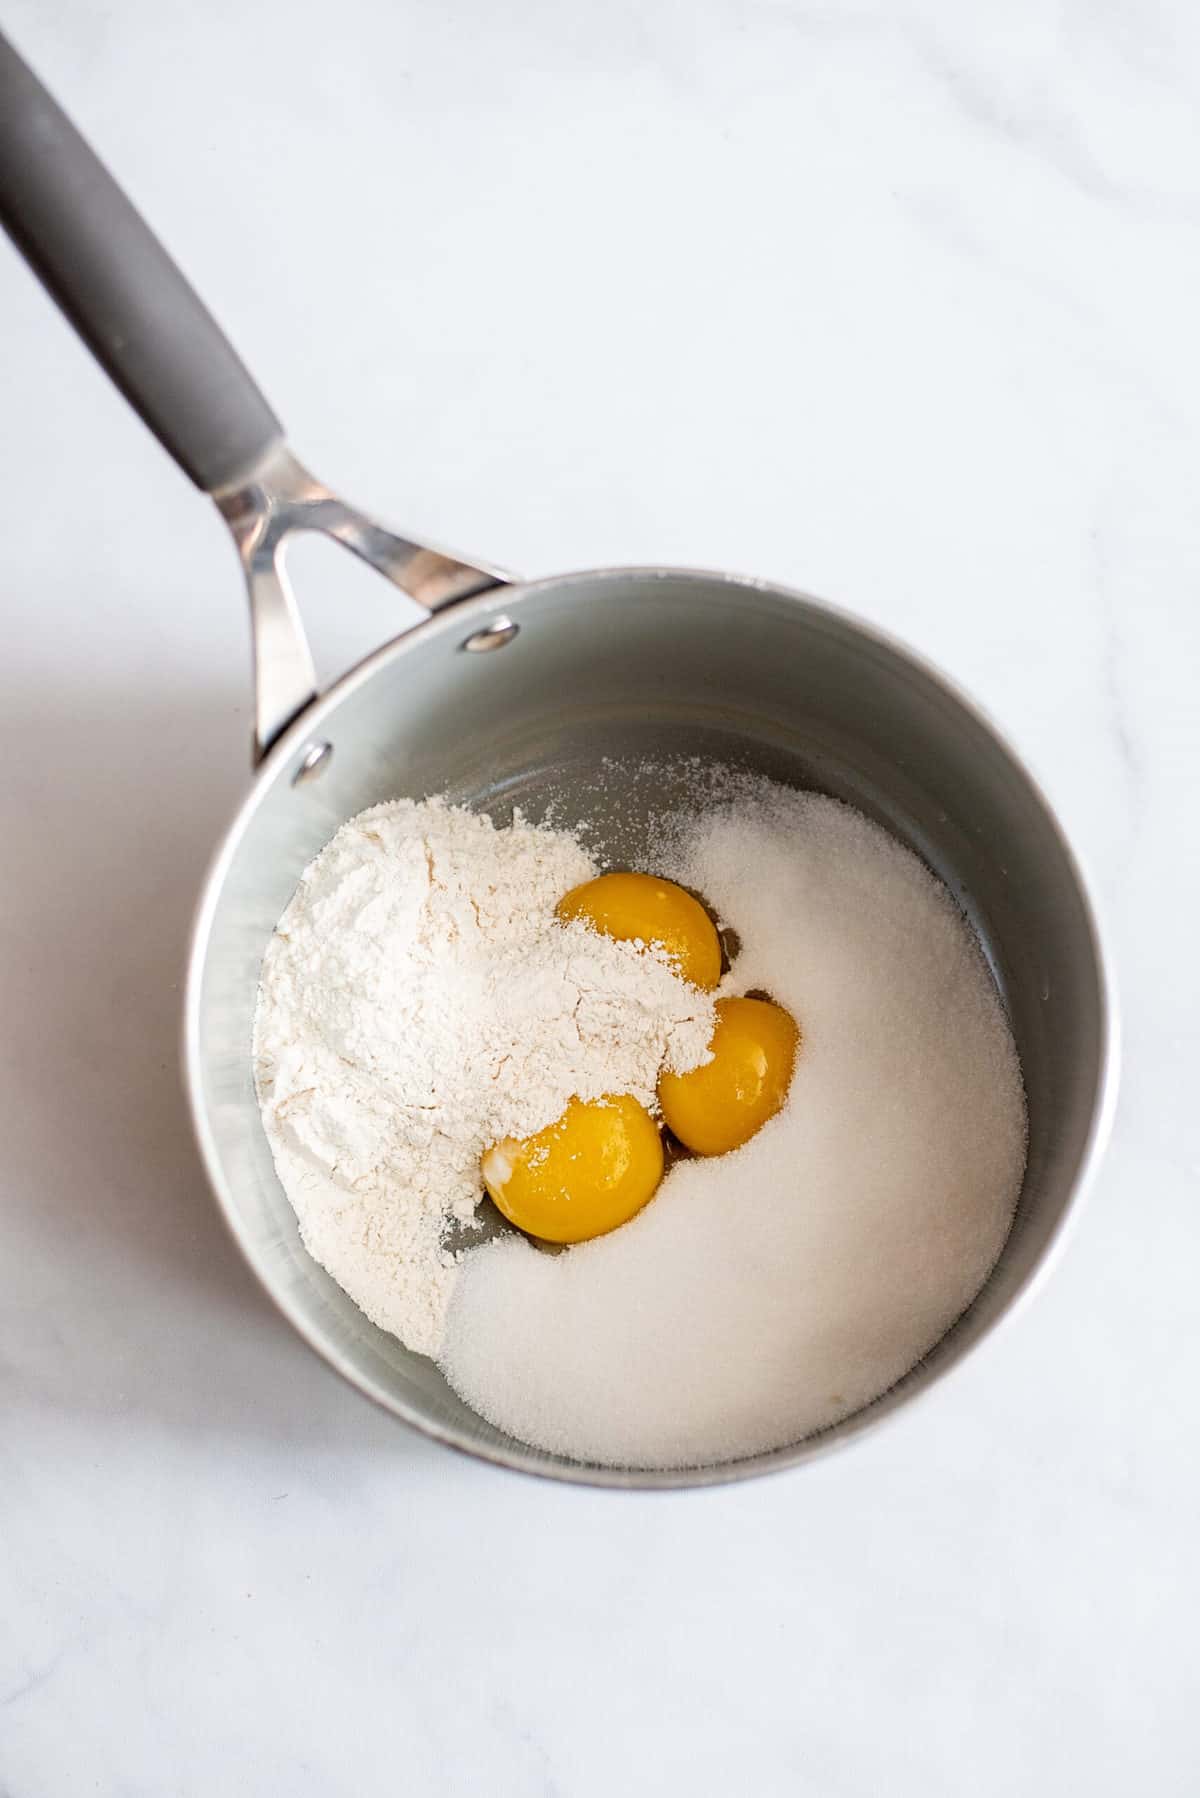
Crack your three eggs and separate the egg whites from the yolks, and place flour, sugar (or your favorite sweetener), and a dash of salt in a saucepan.
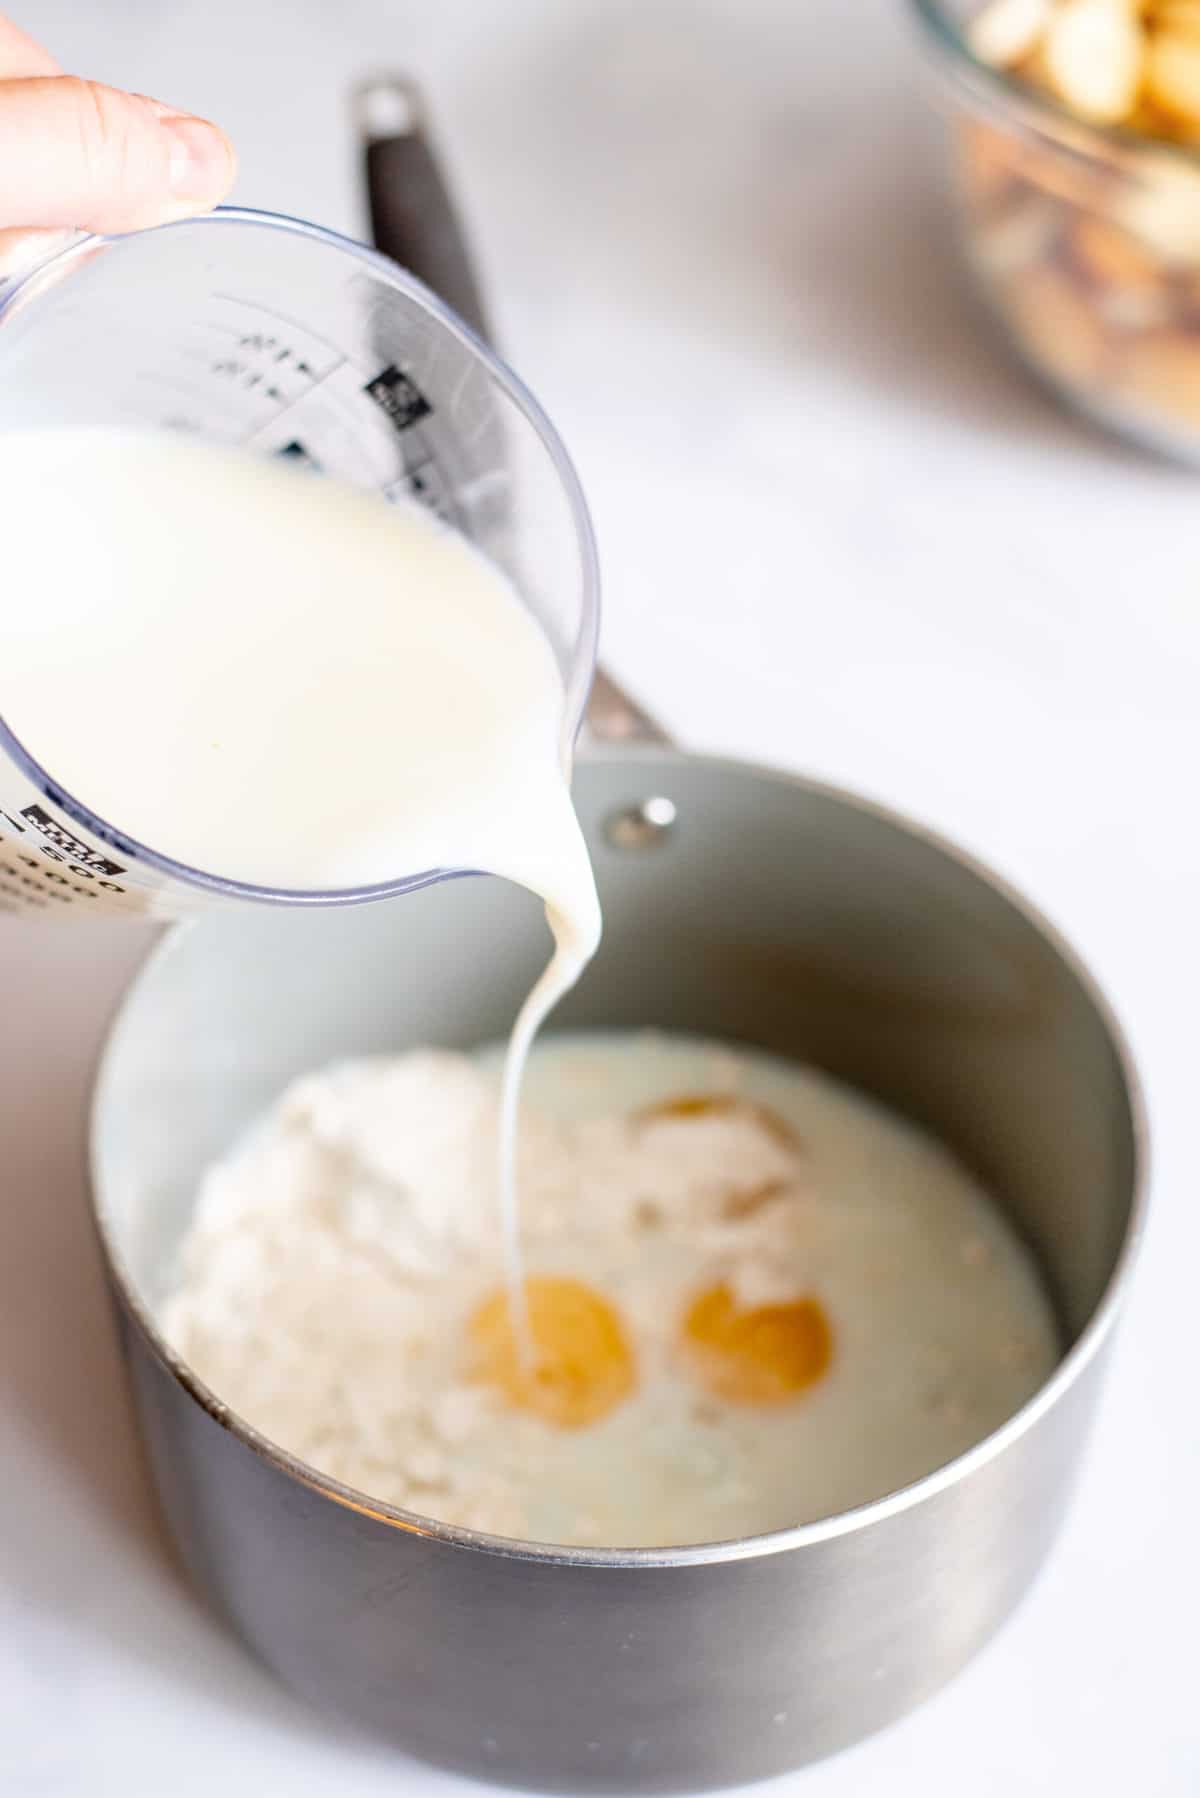
Add milk to the saucepan.
Put this milk mixture on the stovetop on medium-low heat and stir it really well with a whisk or a spoon.
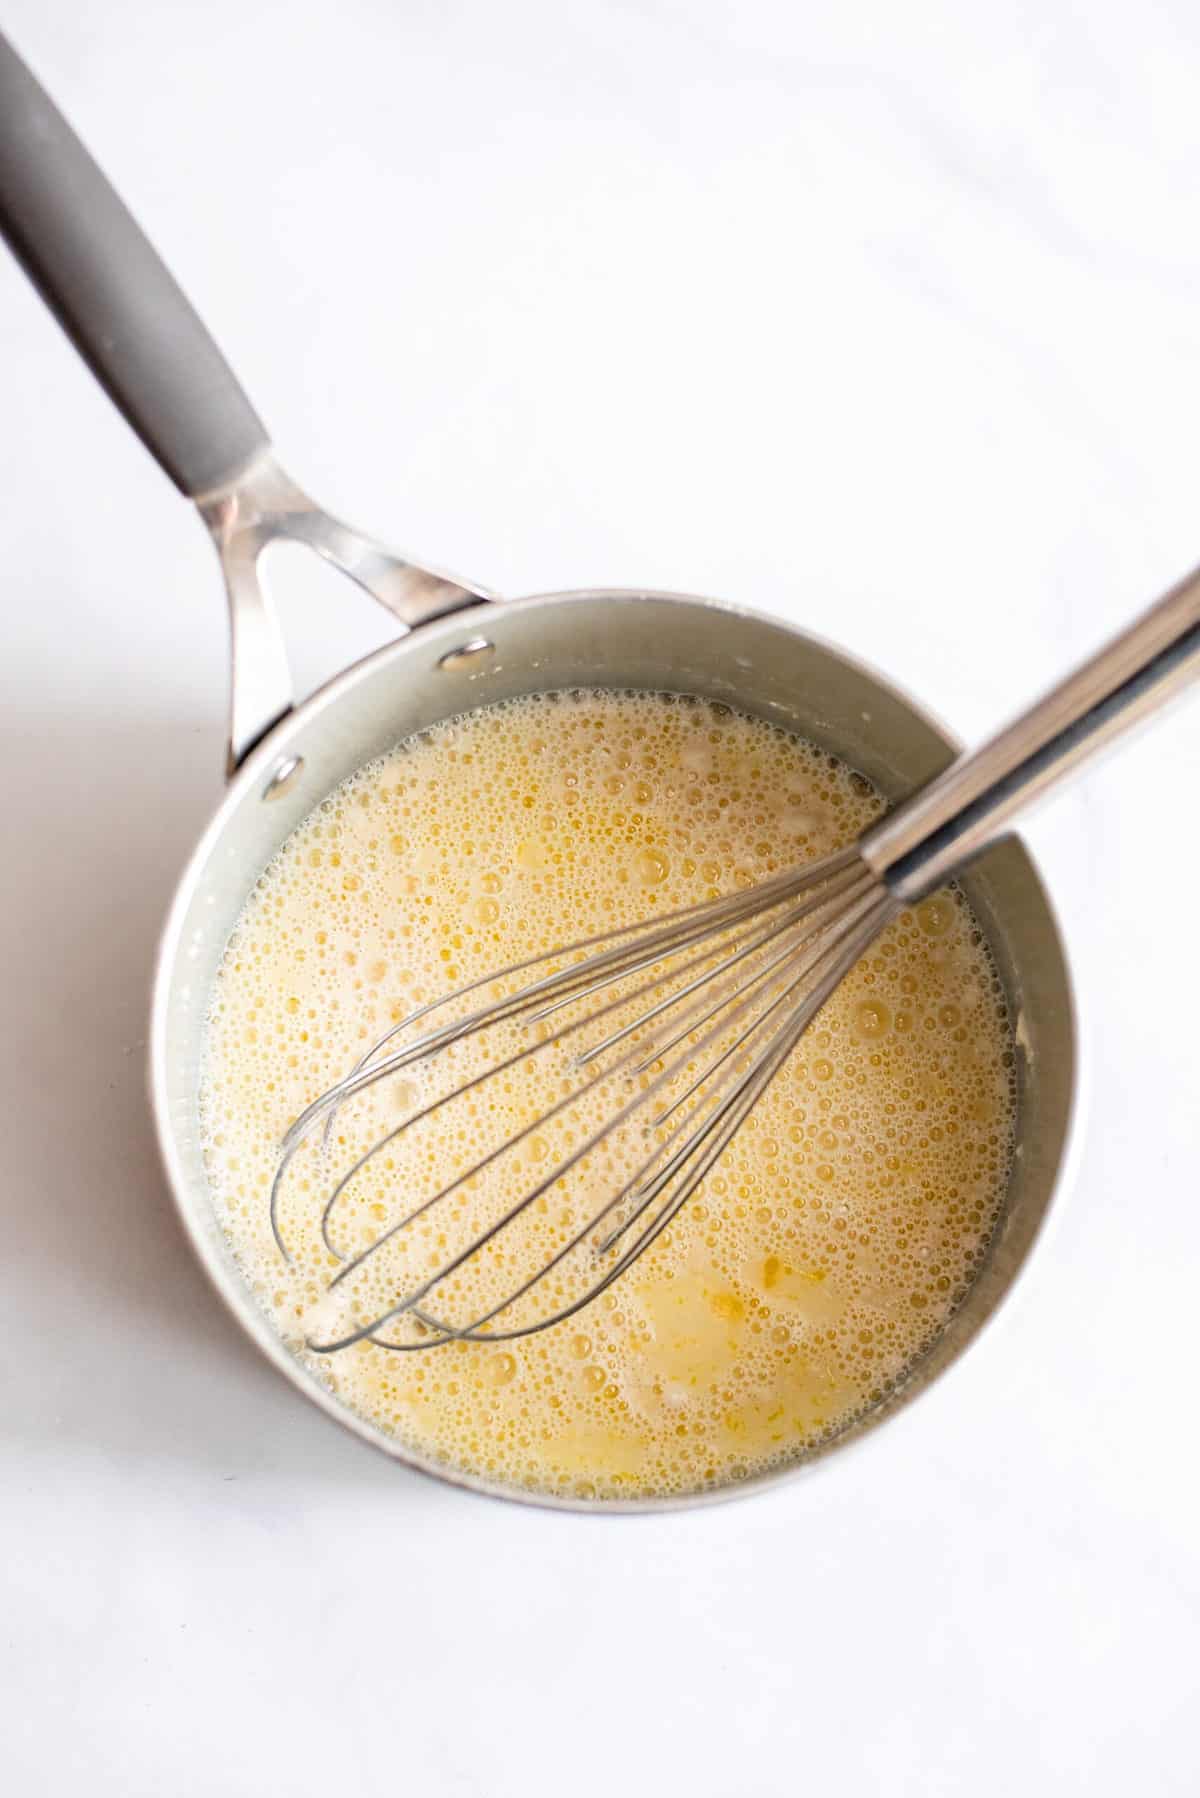
Now settle in and BE PATIENT. You need to stir the pot constantly, scraping the bottom so none of it gets a chance to stick and scorch. This will take about 15 minutes, so I usually get something to read while I stand there and stir because I don’t think I’ve ever “just” done one thing for 15 minutes straight.
Seriously, be patient, keep stirring, don’t turn the heat up past four. Now, your pudding isn’t going to get super thick, but after about 15 minutes of stirring, it will suddenly get thicker. The consistency will be about what that boxed pudding is right after you mix it before it sets well. TAKE IT OFF THE EYE! Quick! We don’t want it to scorch or keep getting thicker.
If you end up with a scorched pudding or lumpy pudding mixture, you can still use it (and go a little slower next time!).
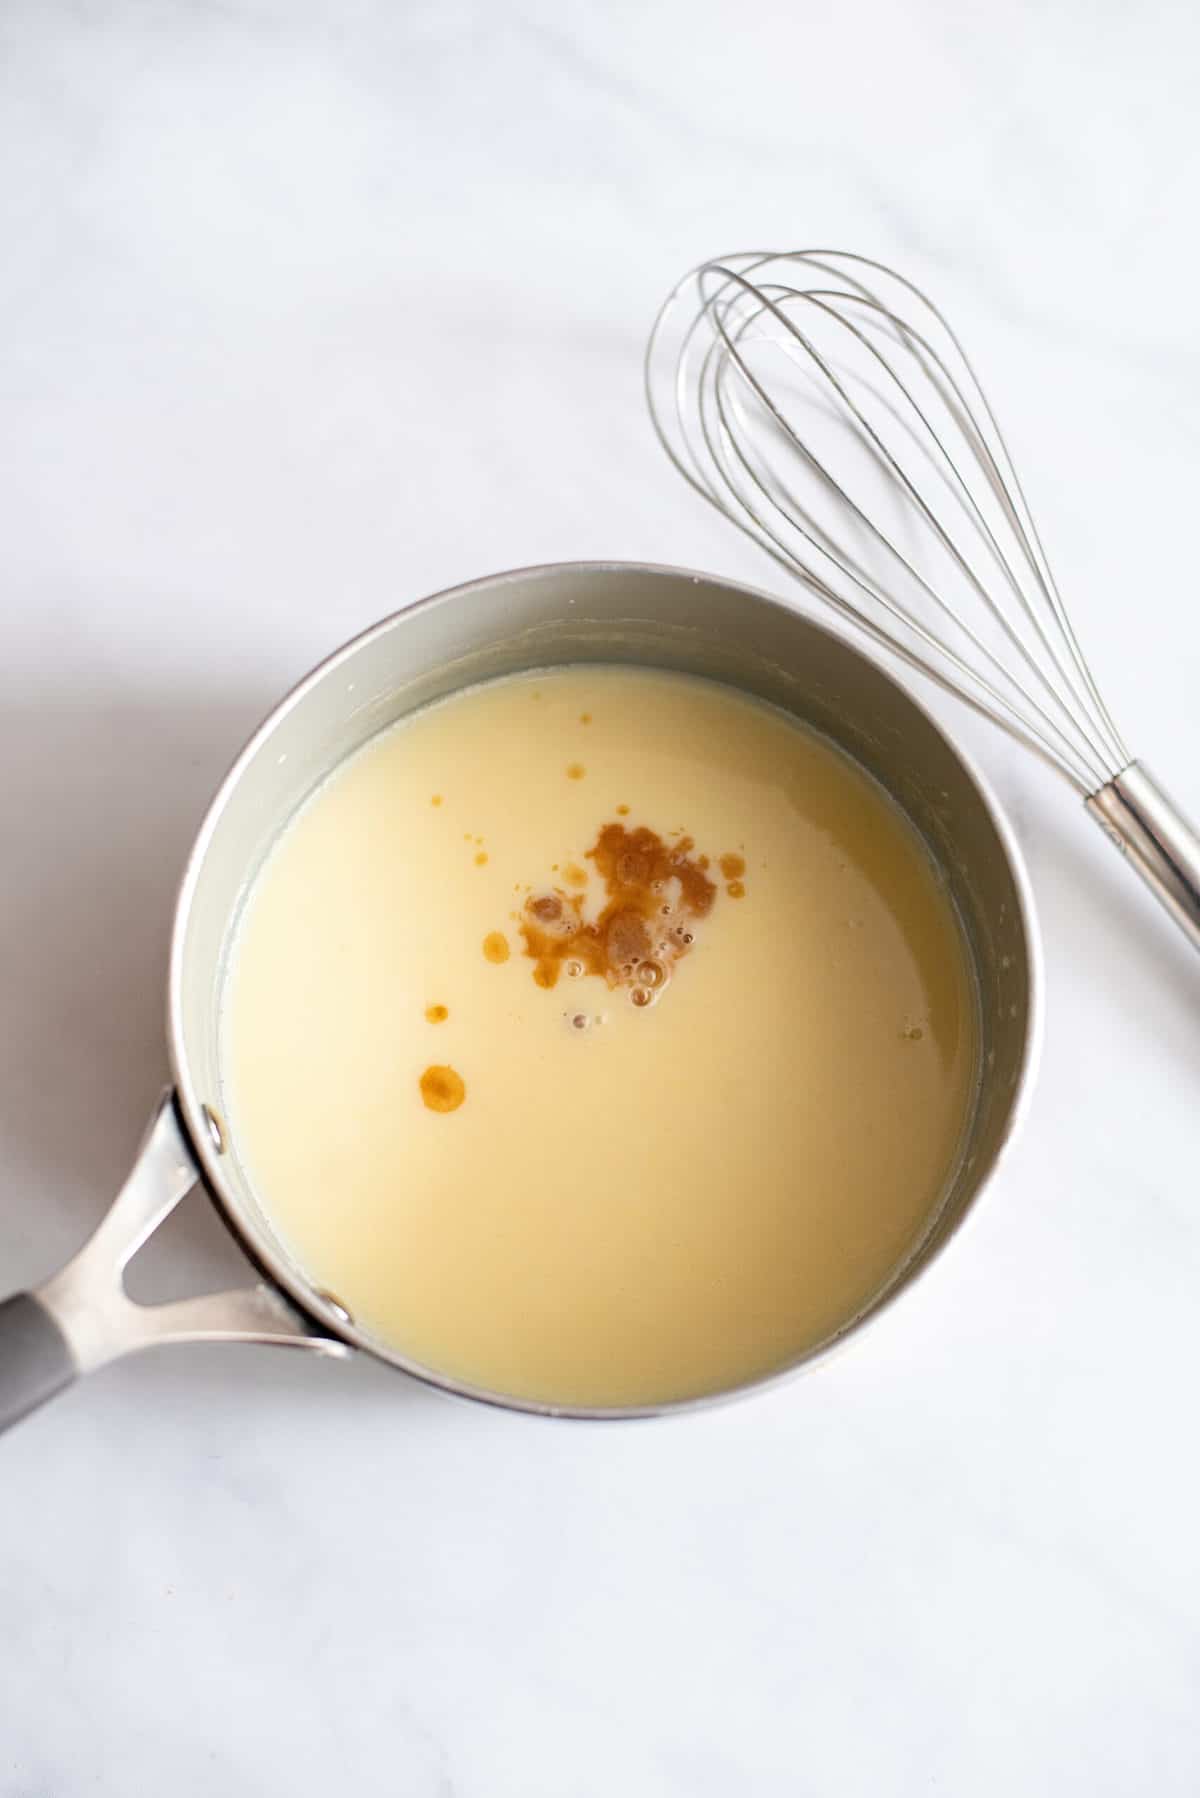

Add the vanilla and immediately pour vanilla pudding over your sliced banana and wafers.
💡 Cookin’ Tip:
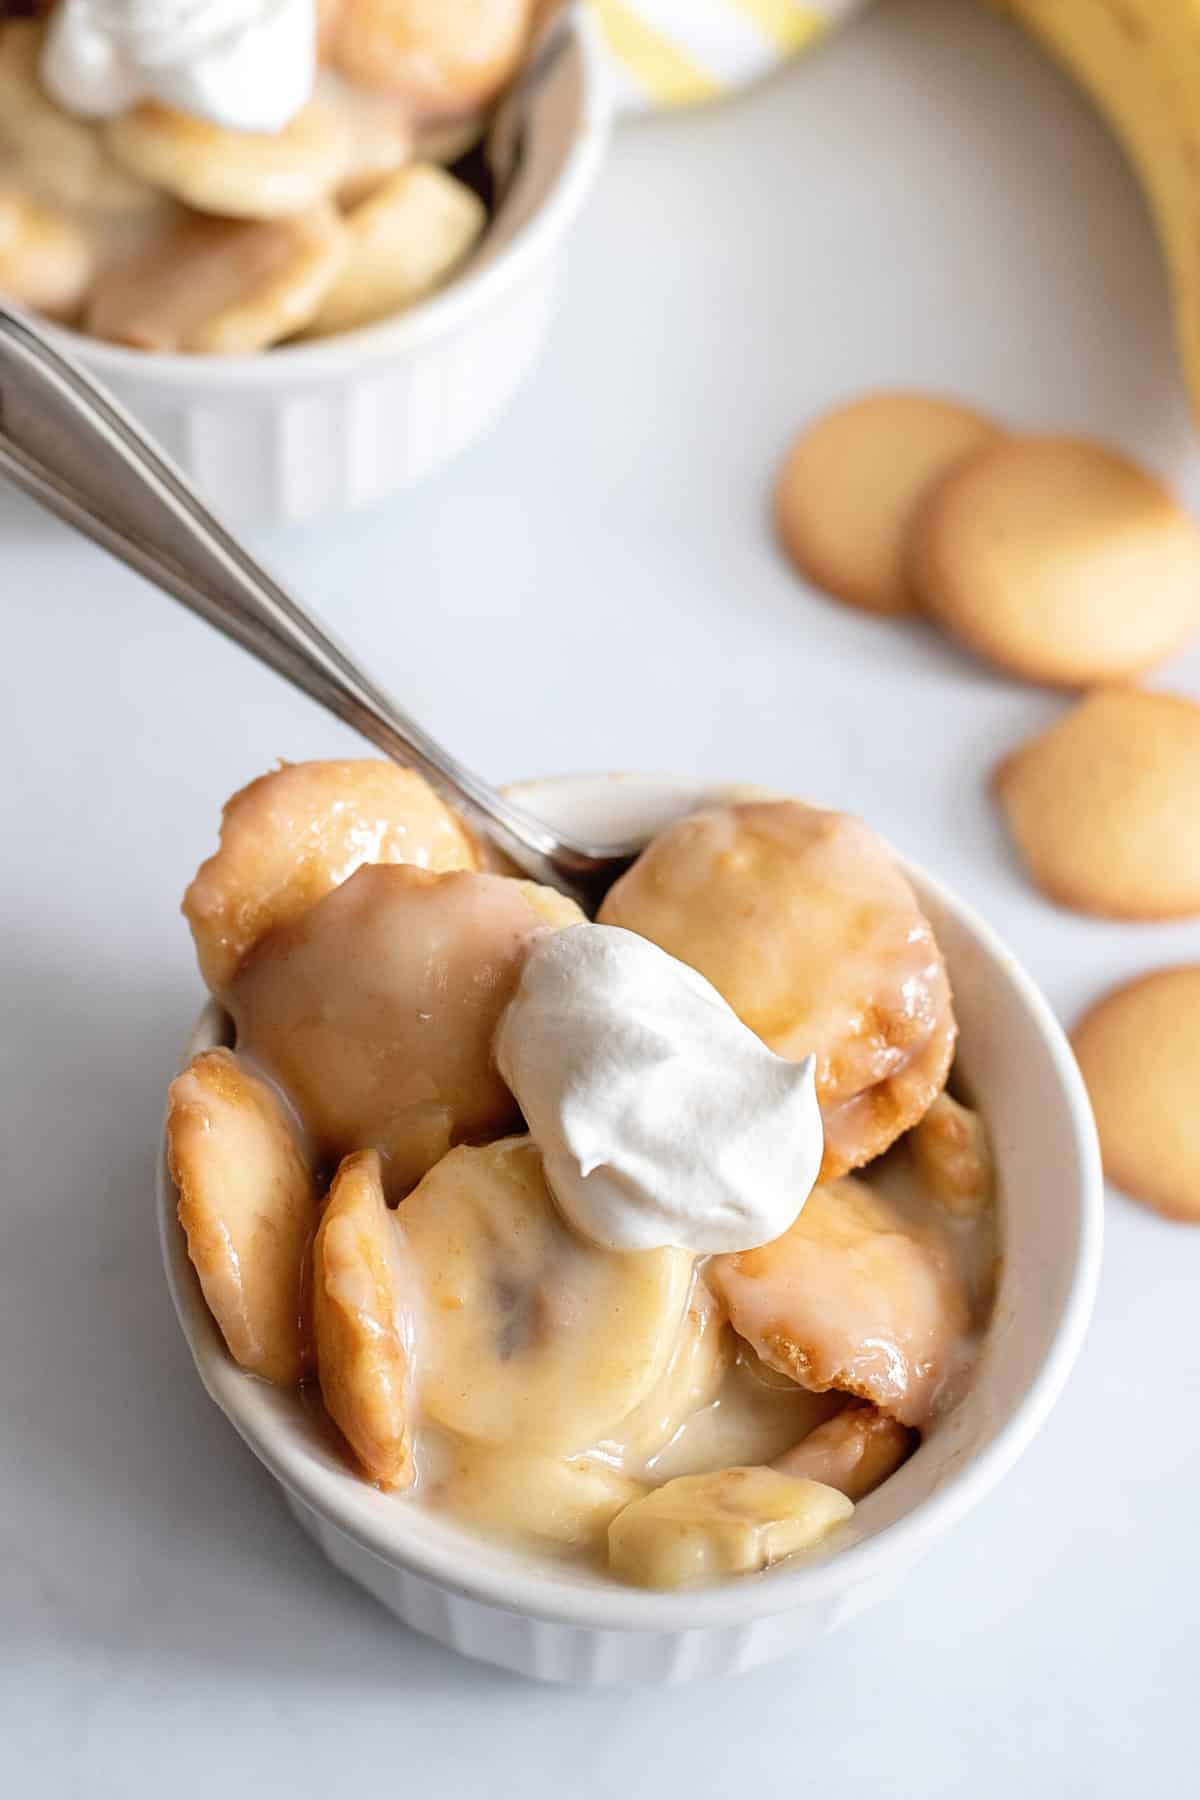
Let this sit for about five minutes so the pudding has time to soak into the wafers.
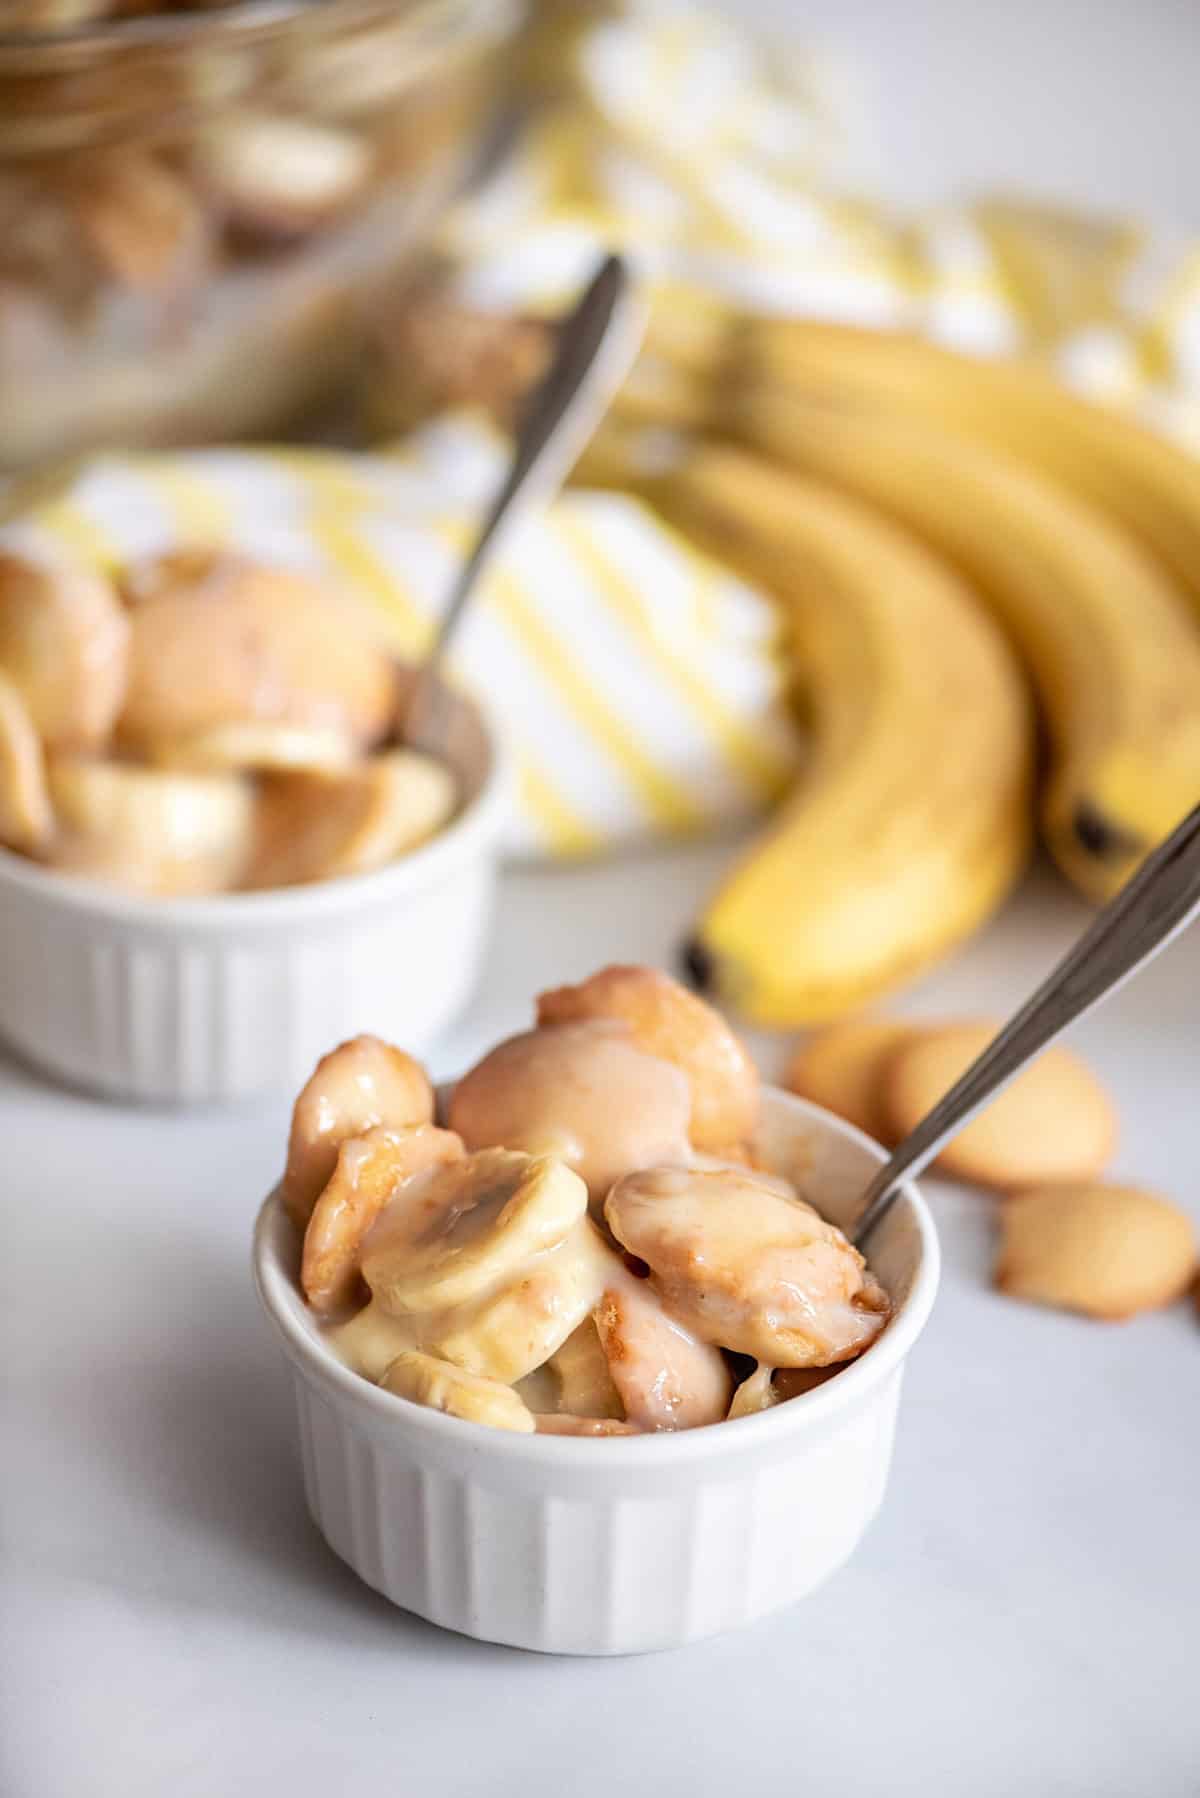
IT IS SO GOOD! Eat it warm, then refrigerate leftovers. I prefer to eat the leftovers cold. YUM!
How to Store Banana Pudding
Store your leftovers in an airtight container in the fridge for up to four days. I don’t recommend freezing this homemade pudding, as the wafers will be too soggy.
Recipe FAQs
How do you keep bananas from turning brown in a banana pudding?
To keep bananas from turning brown, I recommend brushing the banana slices with lemon juice, which slows down any fruit browning process.
How do you serve pudding?
If you are going more casual you can serve this in a ceramic ramekin. If you are serving a crowd and don’t want to worry about dishes I love using disposable cups. If you want to fancy it up a bit it looks really pretty in a glass parfait dish as a trifle.
Can I make this pudding ahead of time?
Absolutely! This banana pudding recipe lasts four days covered in the fridge and it tastes great cold, so you could definitely make it the night before and let the pudding soak into the wafers overnight.
Is one banana dessert not enough? Check out these other delicious banana recipes:
Caramel Banana Pie AKA Easy Banoffee Pie
Banana French Toast with Pecans
Recipe for Banana Brownies (with Quick Peanut Butter Honey Icing)
If you make this homemade banana pudding, I would love to hear how it turned out! Leave a star rating and a comment below. It truly means the world to me and helps other folks find this recipe too!
Ingredients
- 1/2 cup sugar or swerve
- 1/3 cup flour
- 3 egg yolks
- 2 cups milk
- 1 box Nilla wafers
- 5 bananas
- 1/2 tsp vanilla
- dash salt
Instructions
- Place a layer of Nilla Wafers in the bottom of a medium-sized mixing bowl. Slice a banana over the top. Repeat two more times with another layer of wafers and the remaining bananas.1 box Nilla wafers, 5 bananas
- In a saucepot (or double boiler) on medium-low heat, add all ingredients except for the vanilla. Stir well with a wire whisk. Allow to cook, stirring constantly to prevent scorching, until thickened – about 15 minutes.1/2 cup sugar, 1/3 cup flour, 3 egg yolks, 2 cups milk, dash salt
- Add in vanilla and stir. Immediately pour over wafers and bananas. Let sit for about five minutes or so before serving, to allow wafers time to absorb pudding. Top with meringue, if desired.1/2 tsp vanilla
Nutrition
I will try and make this gluten free! I will let you know how it turns out! Wish me luck!!!
Love your stories and recipes.
We will be trying this out for a family dinner on Saturday — the in-laws are in town as well as my parents will be here too! Very excited to share this with everyone!
I hope everyone likes it and you all have a wonderful visit!!
Real nanner puddin! For company or dinner on the ground after Sunday meetin’, it was always made in a clear bowl with the Nilla waffers and nanner slices placed just so. The waffers had to be evenly spaced with a nanner slice on top of each one, and up the side of the bowl as the puddin was poured in. It was made in at least two layers, ending with puddin and topped with meringue, then browned in the oven. What memories! I was under ten years old when my Mama and her Mama taught me to layer the waffers and nanners.
I almost forgot! For all of ya’ll who like coconut, try the puddin with flaked coconut spread over the Nilla waffers (instead of nanners) and a little sprinkled on top of the meringue. About a cup of coconut should do. So good!
What a great idea Cathy, I will have to try it sometime!!
I’ll have to try this, but I’ll be replacing my Nilla wafers with Nutter Butter cookies. If you haven’t tried it with Nutter Butter’s, you should. SIMPLY AMAZING 🙂
I make my custard (using same recipe) in the microwave. Use a large pyrex bowl; cook for about two minutes to get the temp up, then stir with whisk; continue cooking for 30 -60 seconds stirring. As custard starts to thicken, cook for 15 second intervals. No scorched pudding!
That is a great tip, Sandra! I’ve never thought of it. I’m like Christy, TOO impatient to stand stirring a pot for 15 minutes. Thanks for the tip! I LOVE homemade banana pudding. My Mom made it just like this, except she always put the meringue on it and browned it in the oven. I absolutely love it like that. Like Christy says, the way your mama made it is always the right way. I got some bananas at the store just now, and guess what is for dessert tonight. I’m even going to make it sugar free for my MIL.
Oh I will try that!
Yummy! We love Nutter Butters. Hmmm. I wonder what it would taste like if we made it with Chocolate pudding, and nutter butters??? Wouldn’t that be good! And bananas, of course! Thanks for the tip on the nutter butters, Destiny!
thank you for this simple but easy and very good recipie .. i am norwegian , but my man is from usa …. he has longing for a banana pudding for a long time .. something we dont use here in our country .. never even heard of this before .. but ty for helping me making my man happy =) ps if u use a bigger pot to cook it in it takes less time .. the smaller the pot the longer the time before it thickens up
You are right, Cathrine, but the bigger the pot, the more likely you are to scorch the milk. Slow, sure, and less surface area is the way to make any pudding, especially from scratch.
So, I just made this banana pudding recipe and the results are in . . . .The best, hands down! It was so simple to make with your detailed instructions. It feels really good to make homemade meals and desserts for my family. Thank you Christy!
I can’t wait to make it again for Memorial Day! (wish I could post a picture of it)