
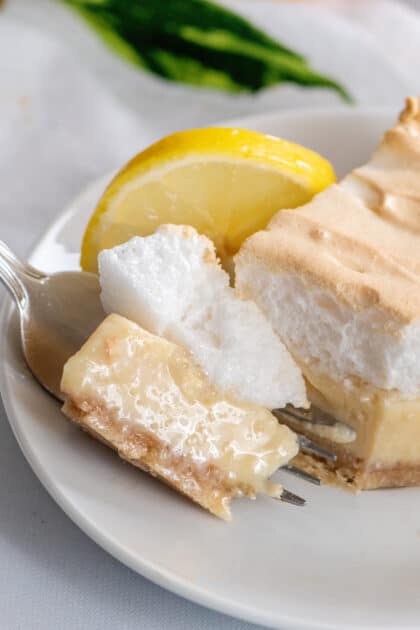
Lemon Meringue Pie With Condensed Milk and Wafers
This Southern lemon meringue pie with condensed milk recipe is perfection in every bite. I mean, who can resist soft vanilla wafers as the cookie crumb crust, a meringue topping, and a sweet and zesty lemon filling?
A Quick Look At The Recipe
- Recipe Name: Lemon Meringue Pie
- Ready In: 45 minutes
- Serves: 6
- Main Ingredients: Crust, box vanilla wafers, margarine, sugar, Filling, sweetened condensed milk, lemon juice, egg yolks
- Why You'll Love It: This Southern lemon meringue pie with condensed milk, meringue topping, lemon filling, and a vanilla wafer crust is perfection in every bite.
Lemon pie is a staple in the south, especially in the hotter months. Often referred to as “lemon icebox pie”, it is commonly kept in the fridge and served cold as a refreshing ending to any meal. Of course, you can purchase a lemon meringue pie at any grocery store and most fast-food chains. But once you’ve had it made from scratch, all store-bought versions will pale in comparison.
As a girl, this was always my favorite (aside from my Grandmother’s cherry cream cheese pie). I just love the taste of lemon – it’s like a little bit of sunshine to your taste buds!
This Southern lemon meringue pie with condensed milk is a surprisingly simple pie to make, so I’m also going to show you how to make a cookie crumb crust with our trusty vanilla wafers and a homemade meringue. I’ve gotten endless requests for a meringue recipe and tutorial so here ya go! Sorry, it took me so long to get one up for you!
Feel free to use a store-bought crust for this to streamline the process. Those who don’t care for meringue can leave the pie “topless” or add whipped topping in its place once your pie has been baked and cooled.
And if you’re in the mood to try out another lemon pie recipe, I may have one or two on the blog. Check out Impossible Lemon Pie and my lemon chess pie.
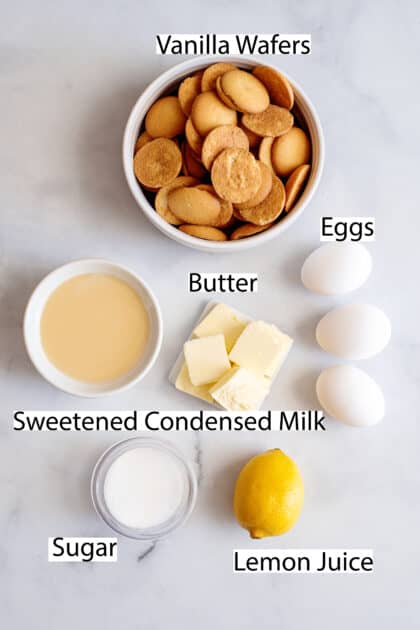
Recipe Ingredients
Lemon pie filling
- Eggs
- Sweetened condensed milk
- Bottled or emon juice
Pie Crust
- Vanilla wafers
- Sugar
- Margarine
Meringue
- Sugar
- Egg whites
How to Make Lemon Meringue Pie With Condensed Milk and Wafers
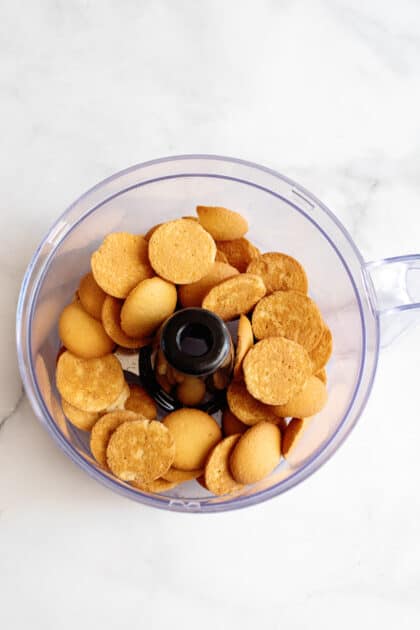
1. Make the Pie Crust
Crush half of the box of wafers (about 40 of them) in a . I use my food processor for this, but you can put them in a plastic bag and use a rolling pin or whatever method you choose.
Running over them with the car might be fun, depending on the type of day you’re having. If you decide on that method, I’d double bag ’em first ~winks and grins~.
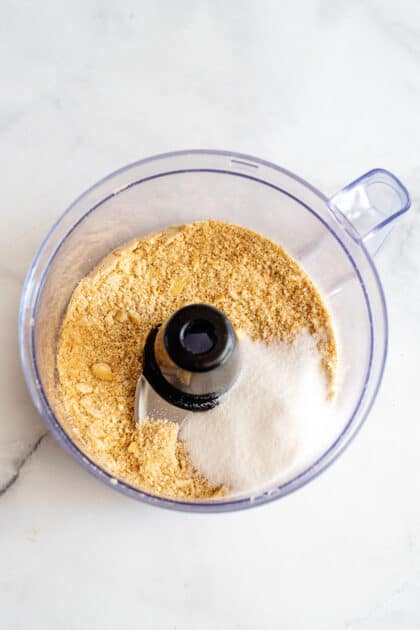
Add sugar and stir well.
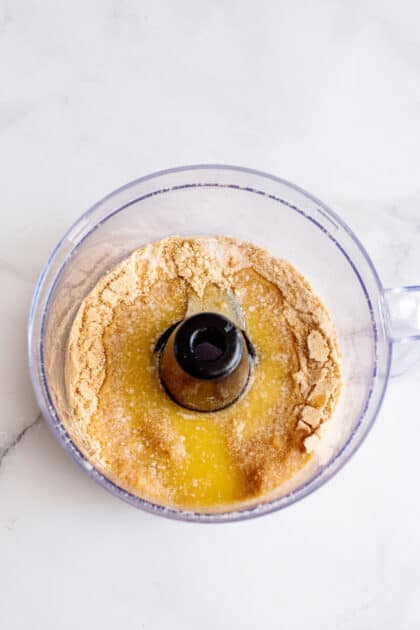
Melt margarine and add to crumbs.
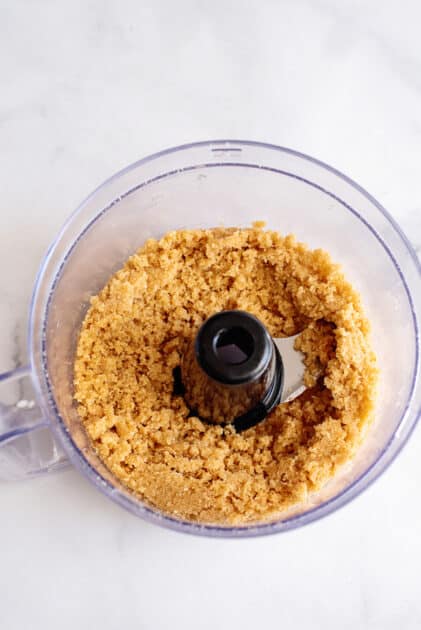
Mix that up well until it looks like this.
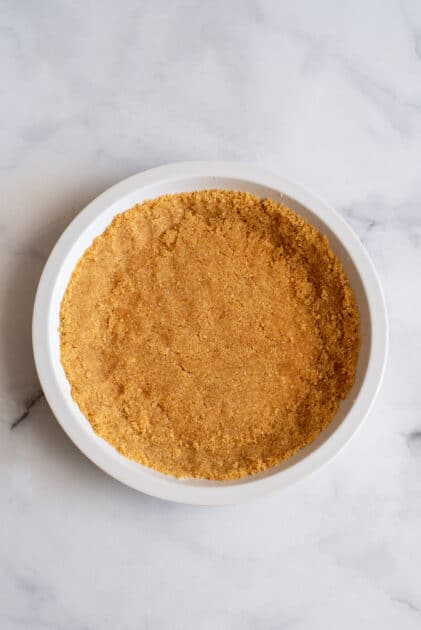
Press the crumb into your pan.
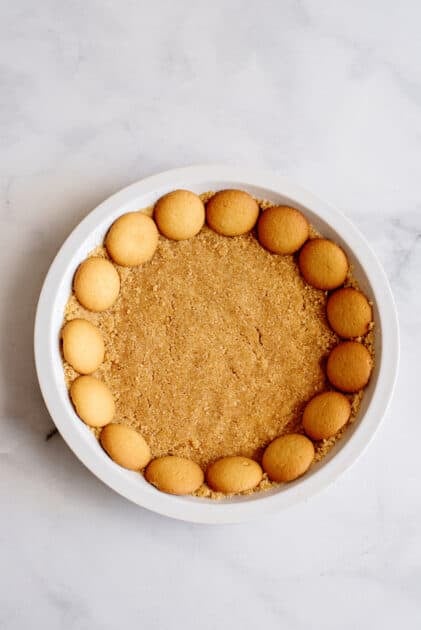
Take the remainder of your cookies and press them into the crust along the top of the sides like this.
2. Make the Lemon Pie Filling
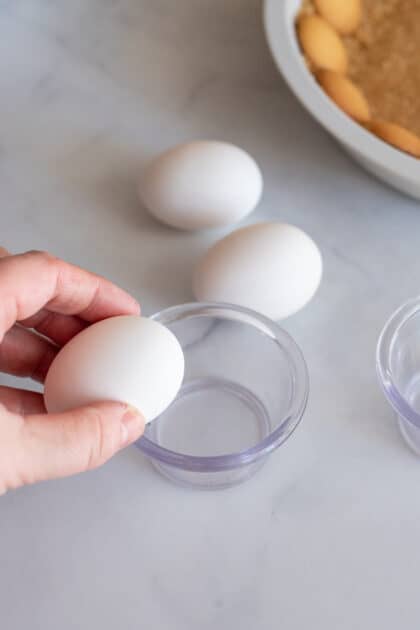
First, we need to separate our whites from our yolks. They sell all manner of contraptions for doing this, but I’m going to show you how to do it the old-fashioned way, which means you’ll have one less one-use utensil in your drawer.
Tap the egg gently on the side of the bowl to crack it.
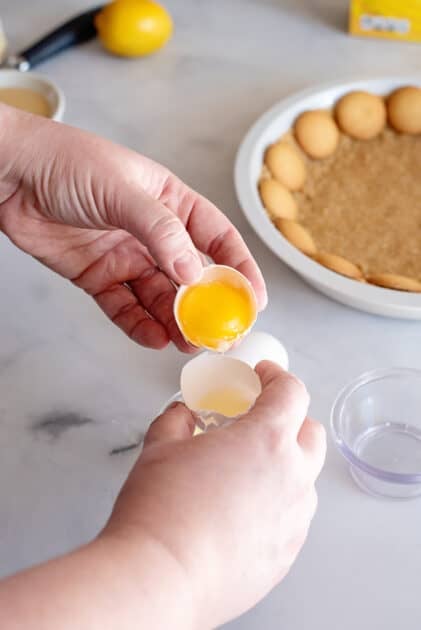
Separate halves slowly.
Hold the halves so that the yolk (dark yellow part) is in one, letting the white drip off into the bowl.
You don’t have to have every single smidgen of white off, there will still be a bit attached to your yolk and that’s fine, too.
Gently pour the yolks back into the other half and the rest of the white will drip off. You may need to tilt it slightly. Be careful not to break the yolk as we are going to use these whites to make our meringue.
If you get any of the yolk mixed in with the white your meringue won’t work.
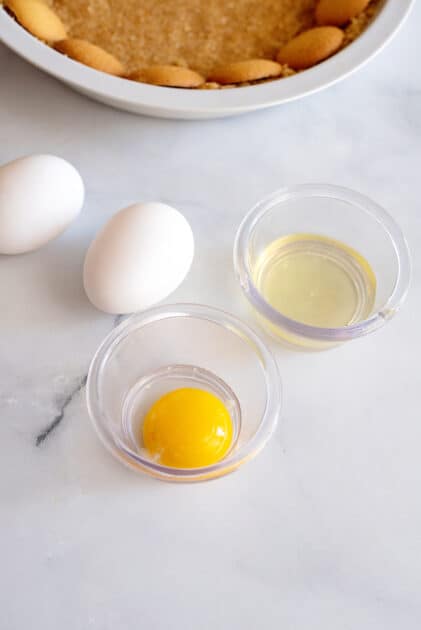
Place your yolks in a separate bowl from your whites.
We’ll use the yolks for our filling and the whites for the meringue.
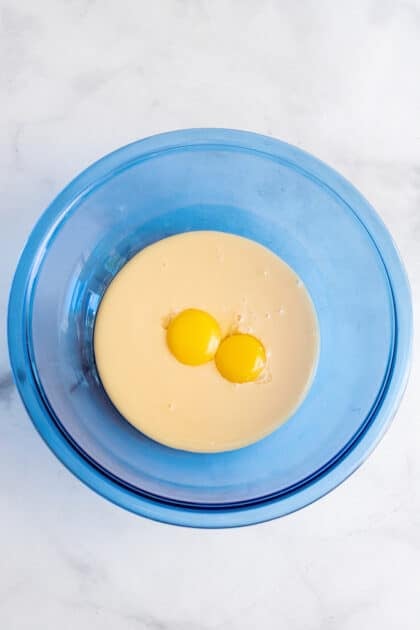
Place two egg yolks in a bowl and add the entire can of sweetened condensed milk.
I am using three whites in my meringue but only two yolks in my filling, so you can save the other for another use or throw it away.
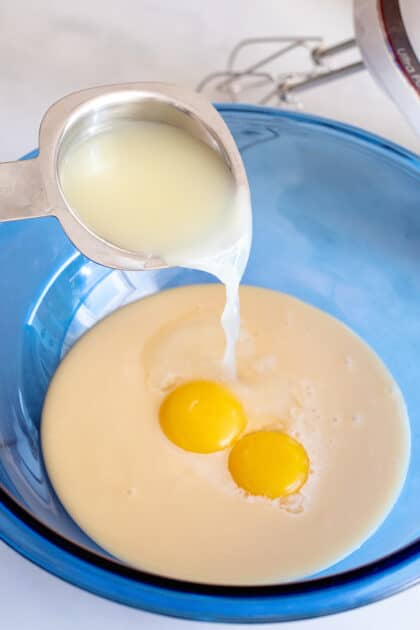
Add lemon juice and mix well with an electric mixer.

Pour the lemon pie filling into the prepared crust.
3. Making the Meringue
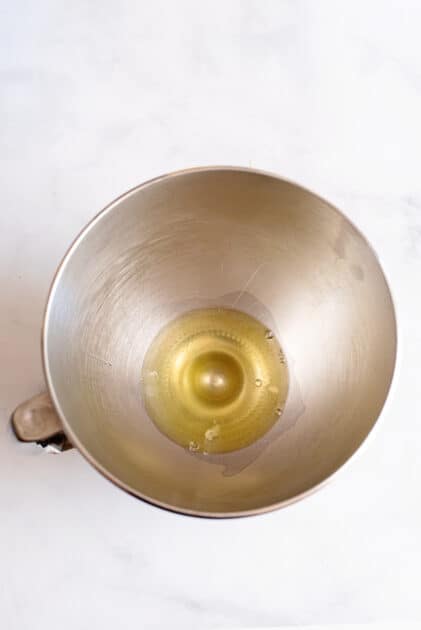
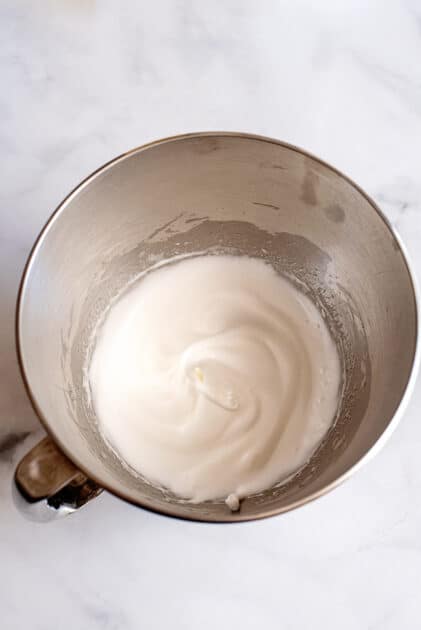
Place the egg whites in a mixing bowl.
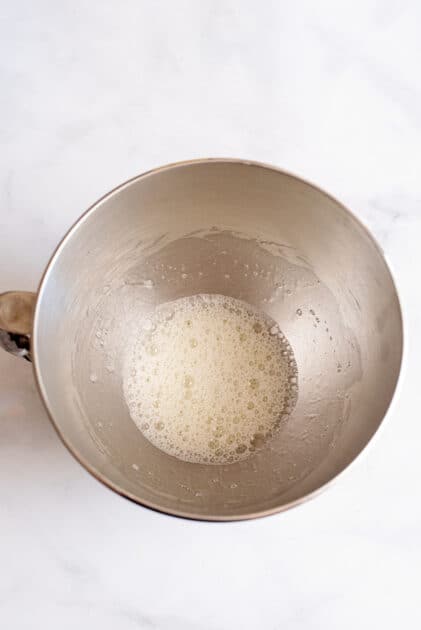
with an electric mixer on high. It will begin to look sudsy very shortly.
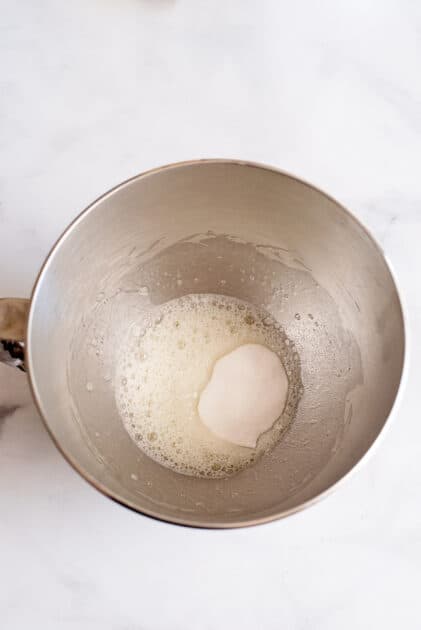
When it looks spongey and foamy, I add my sugar.
Pour in the sugar and beat on high again.
We are going to go for soft peaks and I’ll show you what I mean by that.
Your whites will stop looking foamy and begin to be smooth and shiny like this.
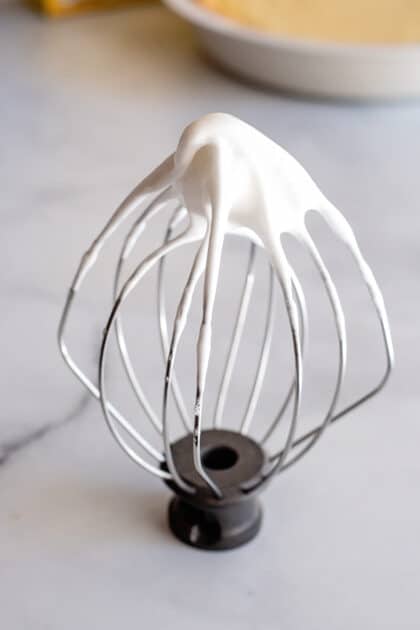
See that peak in the meringue right around six o’clock? When you lift up your beater and it forms a peak that the tip just barely falls down on, that’s a soft peak. A stiff peak could be when your point remains standing straight up. Some meringue recipes say to beat until stiff peaks form but I find that your meringue spreads prettier if you place it atop your dessert at the soft peak stage. This is just my personal preference. If stiff peaks make you happy, party on!
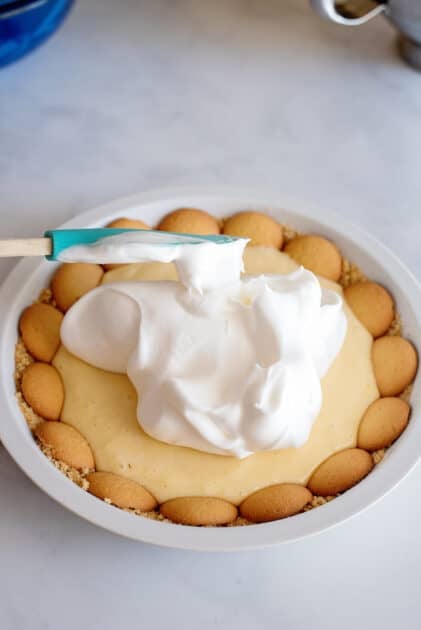
Place on top of your pie.
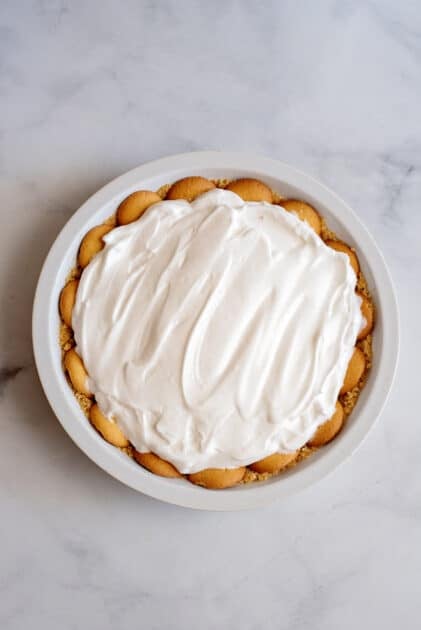
Spread it out a bit. Make sure your meringue touches the sides in all places.
You might want to pretty it up a bit by running the back of a spoon over it.

Bake in a 325-degree oven for 15 minutes or until the top is golden brown.
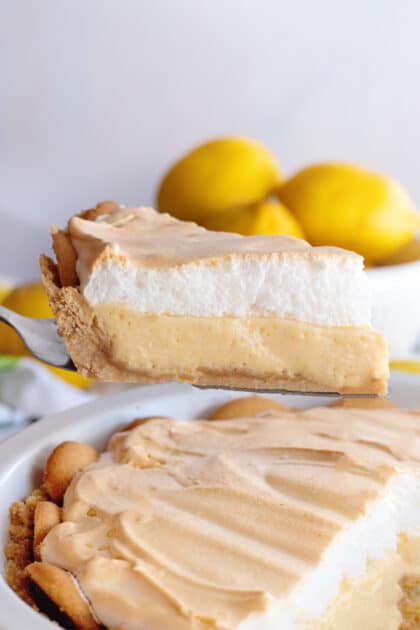
Look at those layers!
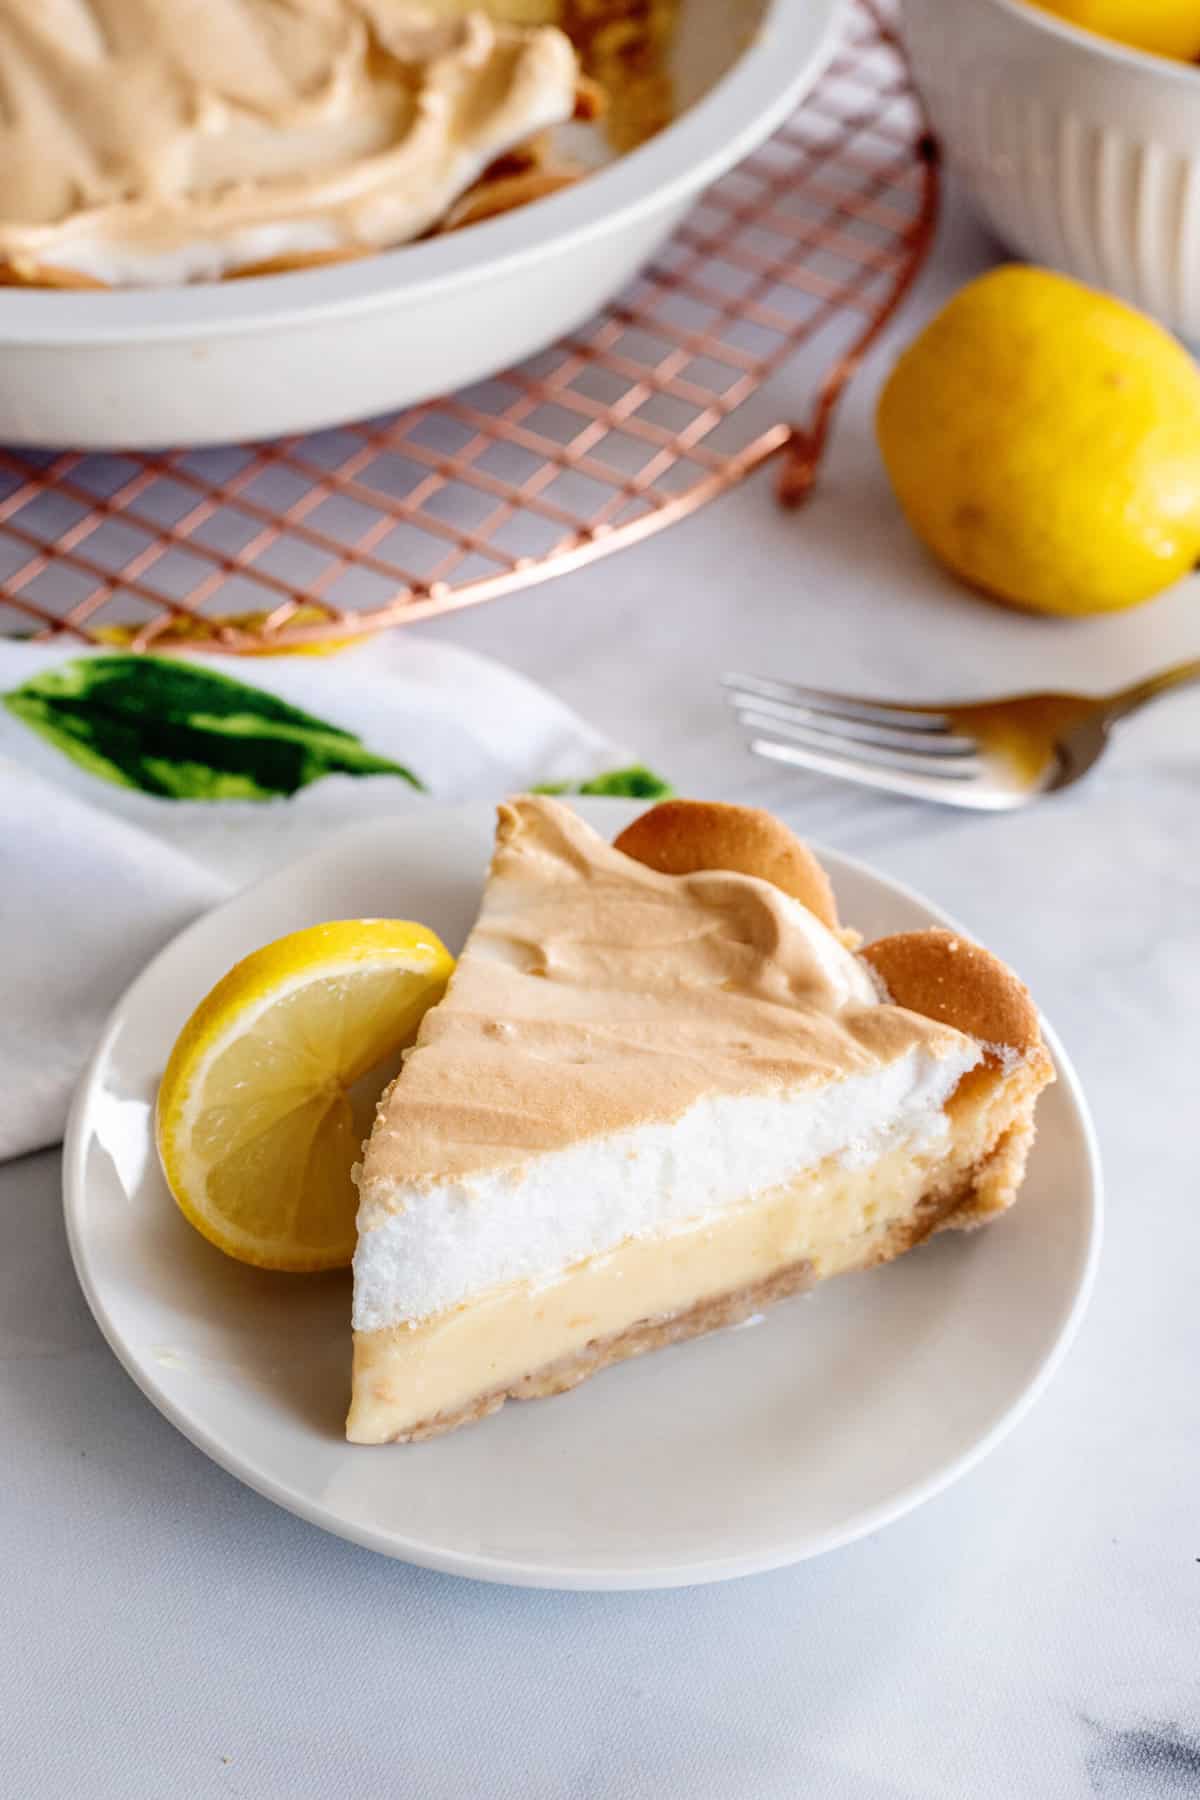
Allow it to cool completely before cutting.
I like to refrigerate mine and serve it cold.
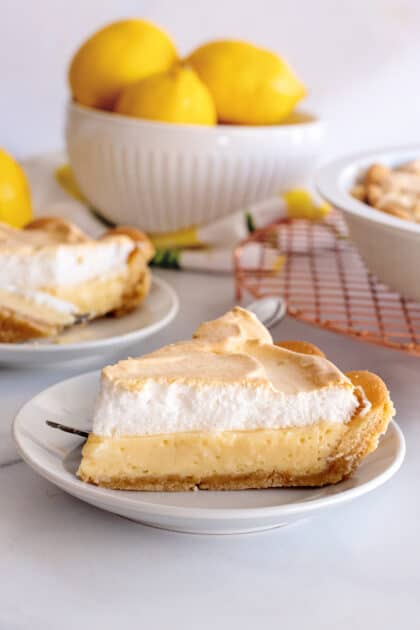
Voila! Enjoy my homemade creamy lemon meringue pie recipe.
Storage
Store leftover lemon meringue pie loosely covered with aluminum foil in the fridge for up to 2 days. Do not freeze.
Recipe Notes
- For added lemon flavor, add 1 teaspoon of finely grated lemon zest to the lemon filling.
- This is a basic cookie crumb crust that is really suited to just about any pie. You can substitute graham cracker crumbs for the wafers to make a , or even crush up stale cookies as a substitute as well. Depending on the pie, you may even want to experiment with adding a teaspoon of cinnamon for more flavor. Have fun with it, there is no right or wrong way!
Meringue tips
- All utensils and bowls used in making meringue should be clean and free of any oily residue. Washing them in a dishwasher or very hot water with a good rinse will ensure this.
- Eggs separate easily when cold but meringue rises higher when at room temperature. Therefore, you may want to separate your eggs and then allow them to sit for half an hour or so before making your meringue.
- It is important, when spreading meringue on top of your dessert, that it touches all sides of the dish. This is often referred to as “sealing” your dessert and will prevent the meringue from shrinking up and leaving the sides as the dish bakes.
- If you get any yolk at all in your meringue, it will not work. If separating eggs is something you’re not quite proficient at yet, you might want to crack eggs one at a time into a coffee cup and then pour it into your bowl once you are certain there is no yolk in the white. However, if you do get yolk into the white, use part of the eggshell to scoop it all out rather than your fingers. Your fingers will add oil to the whites and hinder their whipping as well as break the egg yolk up further, making it almost impossible to completely remove.
You may also like these delicious dessert ideas:
Homemade Banana Pudding with Meringue Topping
Chocolate Chip Meringue Cookies AKA Cloud Cookies
Coconut Meringue Pie (My Favorite)
Ingredients
Crust
- 1 box vanilla wafers
- 6 tbsp margarine
- 3 tbsp sugar
Filling
- 1 can sweetened condensed milk
- 1/2 cup lemon juice fresh or bottled
- 2 egg yolks
Meringue
- 3 egg whites
- 1/4 cup sugar
Instructions
- For the crust, crush half of the wafers (about 40), stir in sugar, add the melted margarine, and stir until well blended. Pat out into a pie plate.1 box vanilla wafers, 6 tbsp margarine, 3 tbsp sugar
- For the pie filling, mix all of the ingredients with an electric mixer until well blended. Pour into the crust and top with meringue.1 can sweetened condensed milk, 1/2 cup lemon juice, 2 egg yolks
- For the meringue, whip the egg whites until foamy, and then add the sugar. Continue beating at high speed until soft peaks form. Pour onto the top of the pie and spread to the edges to seal well. Bake at 325 for 15 minutes or until the top is golden. Allow it to cool completely and refrigerate before serving if desired.3 egg whites, 1/4 cup sugar
Im curious, if you could use lime juice instead of lemon would it be like a key lime pie?
It would technically be lime unless you use key limes, but I’d call it a key lime anyway 😉 and it would be DELICIOUS!
And I just pointed out the key lime thing because eventually someone is gonna come along who starts and ends their day by hoping to find someone calling a lime pie key lime pie so I was heading off the crazies at the pass;)
I love lemon and this recipe looks delicious. I’m wondering, though, why there’s no baking of the pie? It has raw egg yolks.
It is cooked to brown the meringue. The acid in the lemon juice helps as well 🙂
Oh, Christy…. Christy, Christy, Christy….. bless your precious little heart for posting this recipe. I found it just before Christmas, & I’ve made it twice already. The first time, I followed the recipe to the letter & it was good — a hint of lemon flavor, great cookie crust, & I’m a “stiff peak-er” when it comes to the meringue but didn’t have any trouble spreading it over the pie. I made a few variations, though. I added about a tablespoon of coarse lemon zest (coarse only because I didn’t have a rasp or any other grater-type contraption at the time), & I cooked the pie for 15 minutes WITHOUT the meringue on top. I made the meringue while the pie cooled, & then I cooked it for an additional 12-15 minutes WITH the meringue. I beat my wafers to death with the back of this heavy pasta spoon that I have, but I still ended up with a few larger pieces. I didn’t care — for me, it added to the “homemade-ness” of the pie, so I did it on purpose the second time around. The pie was devoured within 24 hours, but I do agree with a previous poster — it wasn’t lemony enough for me. On the second go-round, in addition to adding the lemon zest I added the juice of the zested lemon (which probably ended up being about 1/4 of a cup or so, but I didn’t measure it). It really thinned out the “custard”, but the great part about that was that I was able to split it AND my cookie crumb crust into 2 small 8″ pies (note that I didn’t double the crust recipe — I was just lucky enough to be able to cover the bottom of each pie plate with the original crust recipe — the crust went up the side of each pie plate about a half an inch, which was just enough to embed the whole wafers into), and the lemon flavor ended up being EXACTLY what I wanted!!! I also let my store-bought lemon juice come up to room temperature before combining the ingredients, so that may have helped the flavor as well (I combined everything right out of the fridge the first time). Hon, between you & Brandie “The Country Cook”, I’ll NEVER fit into my wedding dress but my husband to be will always eat great!
BTW — I’m a Birmingham native & current resident, as well as a UAH graduate!!!
Try it with a lemon wafer cookie crust and lots of lemon zest if you want a WOW lemon flavor!
I just wanted you to know that I ordered your new book. I cant wait to see it. The main reason I decided to go ahead and order was the video that you had made when you first opened it and the genuine emotion that you showed while opening it. I could see that you have a love of what you do and how you felt about this cook book. Thanks again for the great recipes and great amount of encouragement every time you post.
This sounds like the recipe my grandmother used to make her lemon pies. This recipe will definitely go into my recipe book. Tks, Christy….
Love love this recipe. Thank you Christy.
Not able to copy recipe photos and only some content since you have a protected copyright to print or do electronically copy. Other sites I have gone to, Pinterest etc does not do that. Once it copied the whole page including the ads and wouldn’t let me delete them. I didn’t see the copyright until after going thru all of that since it was at the bottom of your page. Just not a friendly thing for your viewers since that is why they look at your site. You have some great
recipe and I appreciate the how to photos but not worth the hassle to get info for a recipe here. 🙂
Hey Judy!
All you have to do is click the “print recipe” button beneath each recipe.
It’s really very simple but easy to overlook 🙂 I’m so sorry you don’t think me very friendly or neighborly. I spend 40+ hours a week on SouthernPlate but there are a lot of websites and facebook pages that copy and paste content into their site and place themselves as the author, of the stories, recipes, and photos. This has been really hurting the traffic of food bloggers and brought us to the point that we won’t be able to afford to offer these blogs to people if we don’t try to protect our content. While the site is free to you, it costs me over three times what my mortgage is per month to keep it going,so I rely on traffic coming to my site to help cover costs and when people steal my content, they also steal my traffic. Plus, it’s simply wrong.
However, as I said, there are really simple options for printing the recipe. I promise I’m being neighborly, but as with most things, the bad guys make it harder for the good folks. If people continue to frequent the sites that steal content from food bloggers, eventually the well will run dry.
I appreciate you taking time to let me know of your disappointment and I hope I’ve explained it a little bit.
Have a blessed day!
Gratefully
Christy