
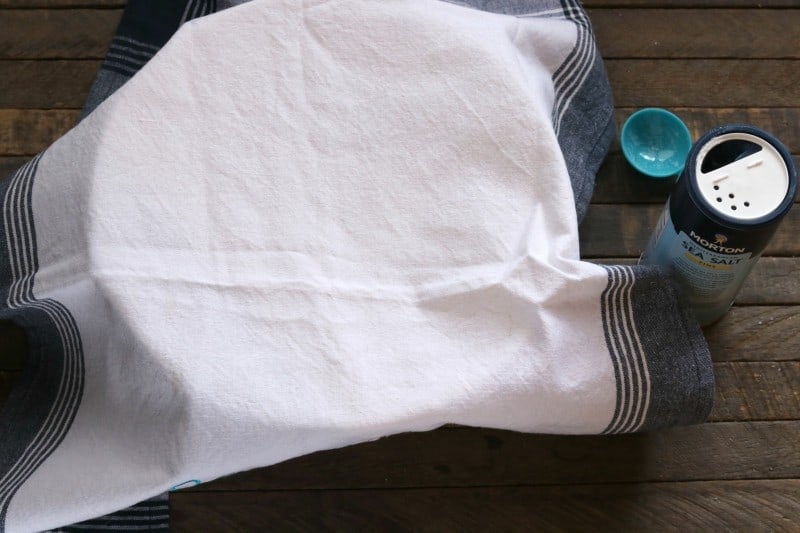
How To Make Sauerkraut
Follow my easy step-step guide to learn how to make sauerkraut at home with just 2 ingredients. I cannot get enough of this tangy cabbage condiment.
A Quick Look At The Recipe
- Recipe Name: Homemade Sauerkraut
- Ready In: 10095 minutes
- Serves: 4
- Main Ingredients: shredded cabbage, kosher salt
- Why You'll Love It: Follow my easy step-step guide to learn how to make sauerkraut at home with just 2 ingredients.
In this post you’ll learn:
- How to make sauerkraut at home with no special equipment and only two ingredients.
- The health benefits of sauerkraut.
- The best equipment to get if you want to make larger quantities.
I love sauerkraut. It is one of my favorite things in the world and the better the sauerkraut, the more I love it. I’ll eat canned kraut from a store (Aldi brand is the absolute best as far as canned goes) but the cold bagged kind in the deli (such as Boar’s Head brand) is much better than canned.
However, homemade sauerkraut absolutely wins out over any and all sauerkraut that you could ever find on a grocery store shelf. Truly. It is night and day in terms of quality and flavor. So if you love sauerkraut as much as I do, today I am going to show you one of the most simplified ways of making it, with some tips and tricks at the end in case you want to go pro.
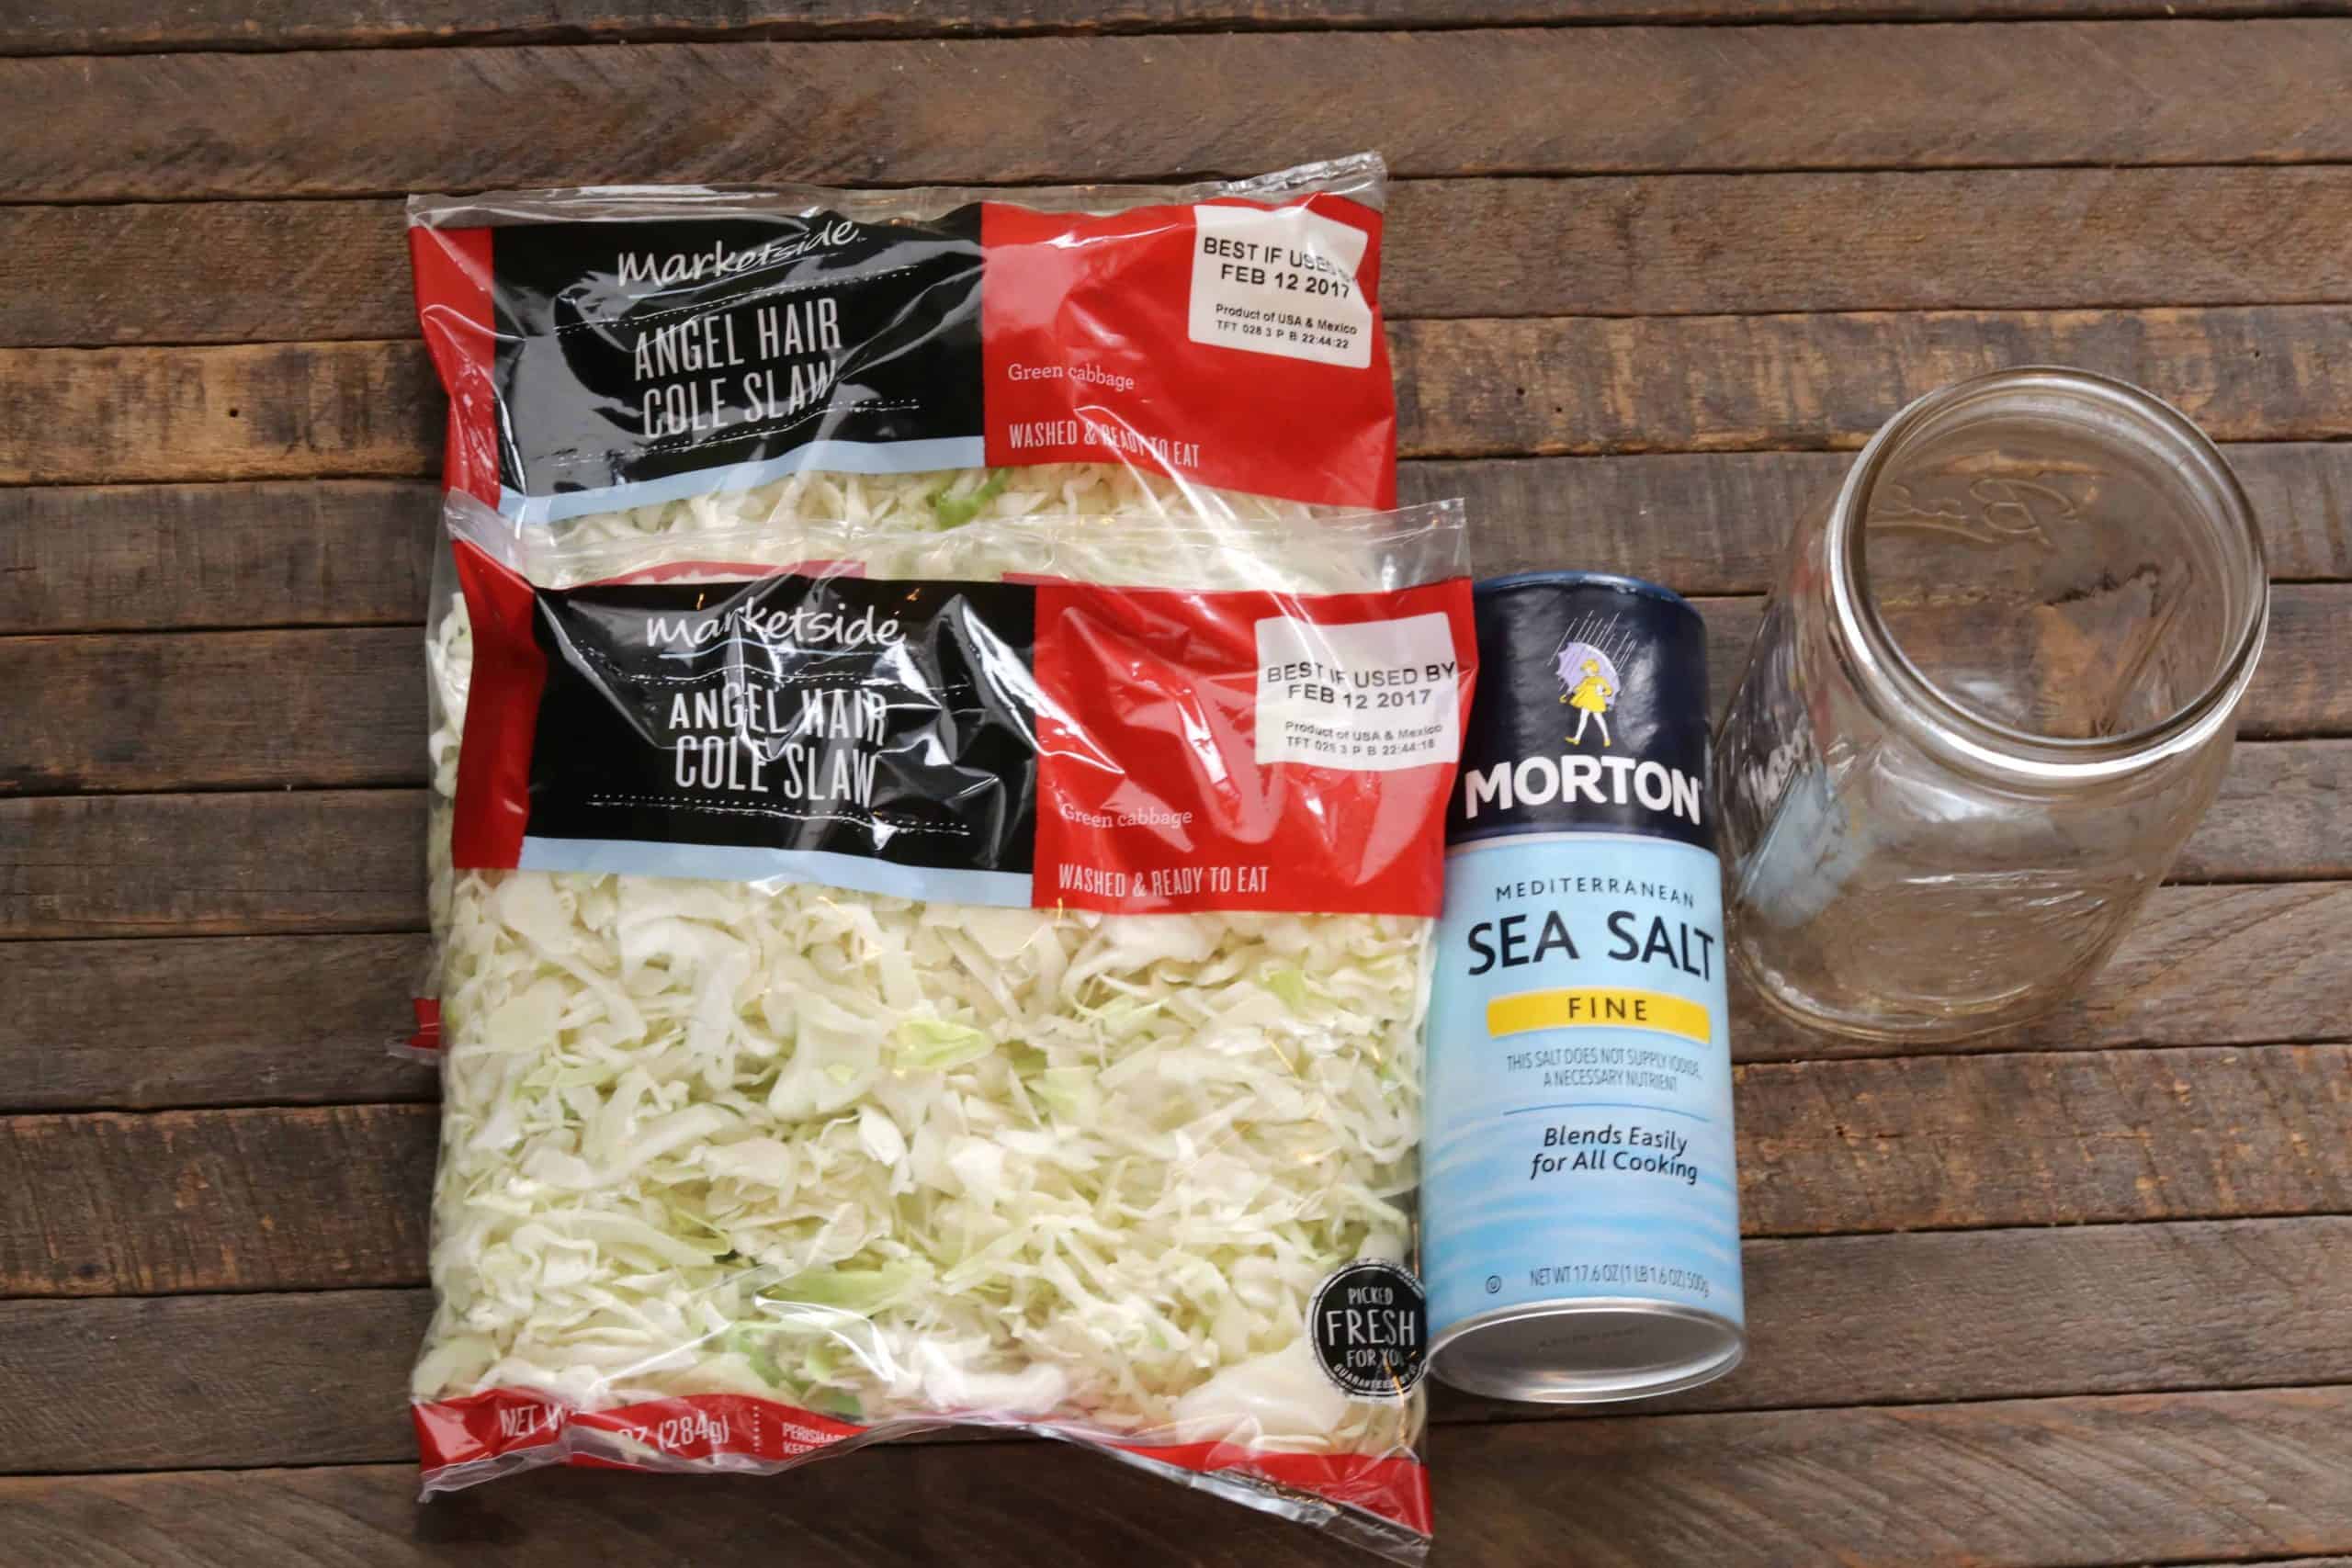
All you need is shredded cabbage, kosher salt, and a little bit of patience to make my . Let’s get into it and learn how to make sauerkraut a home!

Recipe Ingredients
- Cabbage
- Salt
How to Make Sauerkraut
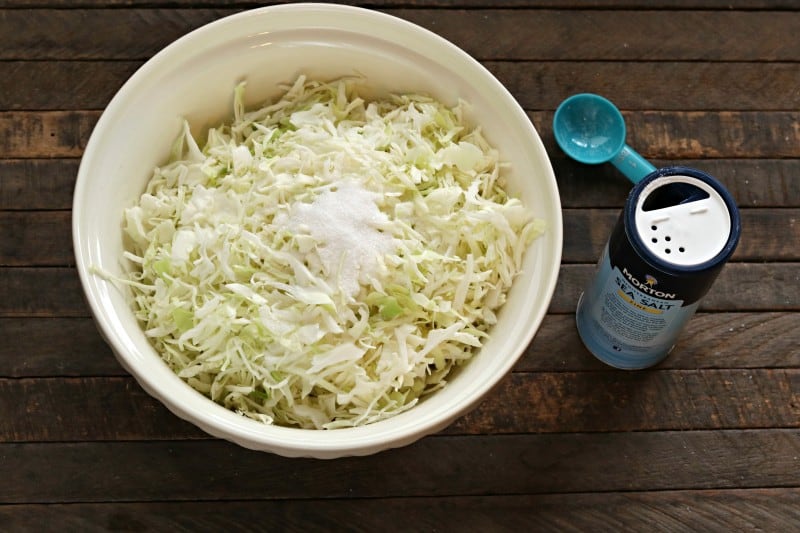
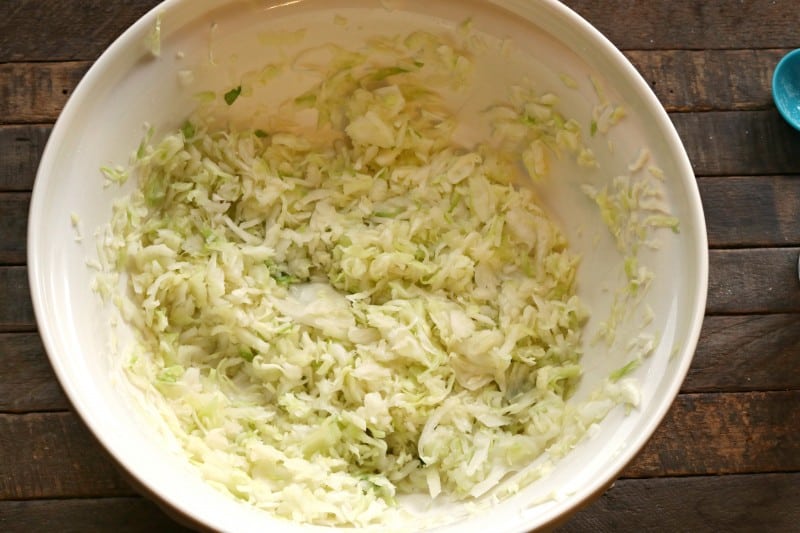
Dump your fresh cabbage and salt into a large bowl.
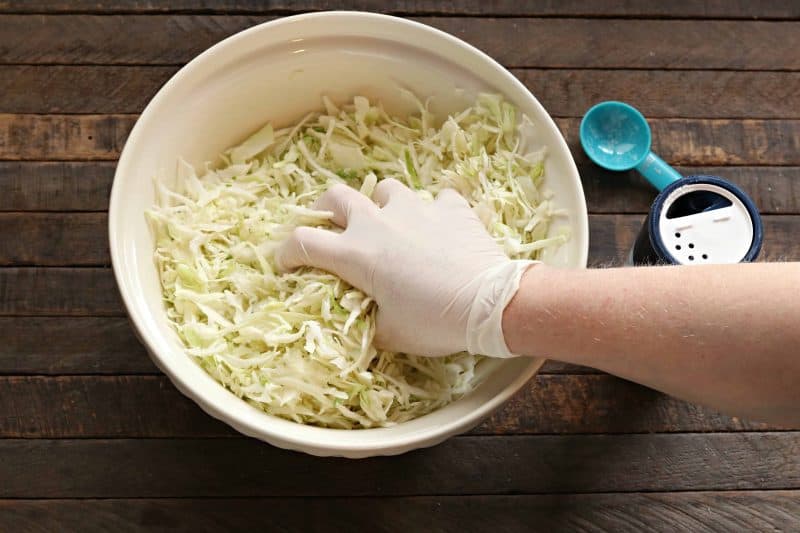
Now you want to take your hands and squeeze and mix all of this together, bruising the cabbage as much as you can to help draw out the juices.
The salt will help a lot with this as well. I am using gloves on my hands but you don’t have to, just make sure your hands are really clean.
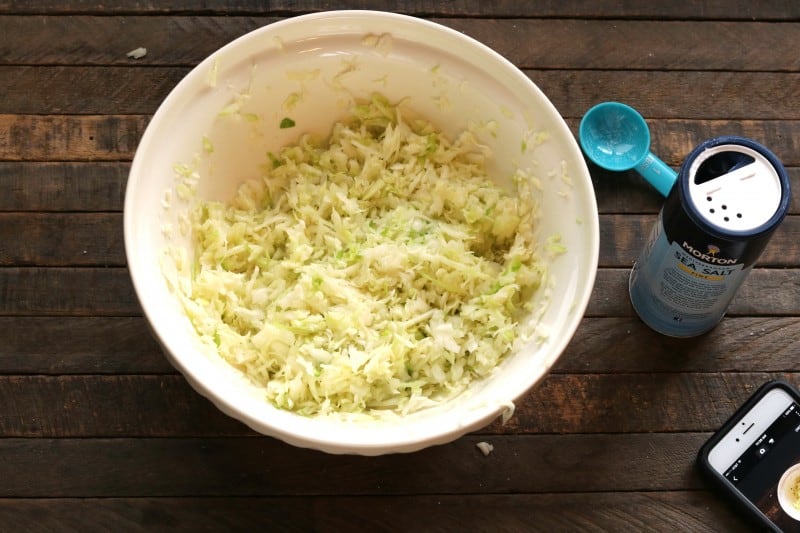
This is what it looks like after I’ve squeezed and mixed it up for a few minutes with my hands.
Now cover that and let it sit for about 10 minutes.
During that time the salt will draw a lot more liquid out of the cabbage. This is creating our brine in which the cabbage is going to ferment.
After 10 minutes you can see that it has lost even more volume.
It is always amazing how you can start with what you think is a large quantity of cabbage and be doing good to end up with a mason jar of sauerkraut.

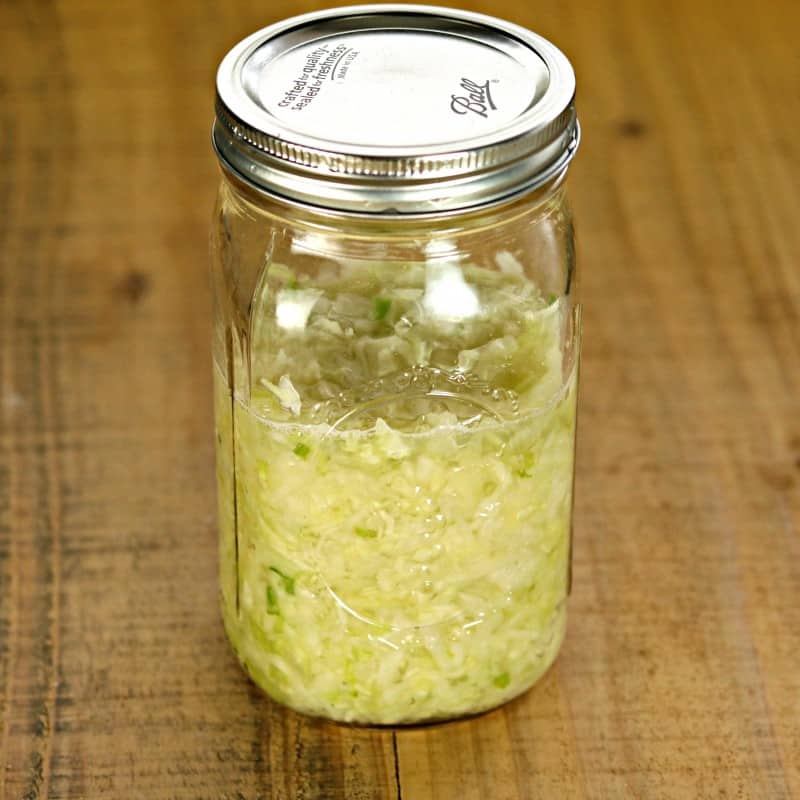
Using a jar funnel, pack the cabbage down into a mason jar (I am using a large mouth quart jar).
Pack it as tight as you can, trying to get the cabbage submerged in the salt water it has wept.
Let that sit for the rest of the day.
You should end up with enough liquid to cover your cabbage, as you can see in this photo. If by the next day you still don’t have enough, you can add a little bit of water to make up the difference.
Leave your sitting out on your countertop or in a cool place (between 65 and 72 degrees is best if possible) and let it for 1 to 3 weeks.
The importance of venting the sauerkraut
Now you need to know that a LOT of gas is going to build up during this . During the first week, I open the lid each morning and each evening and then put it back on to allow the gas to escape. After that week I do it about once a day.
Over time your sauerkraut will begin to develop its taste, which only gets better the more time goes on. I generally put mine in the fridge and start eating it after 2 weeks but you can leave it out another week if you like or put it in the fridge in as little as 3 to 4 days if you want a very mild taste, which is absolutely not my preference. I like a deeper, richer, more fermented cabbage that tends to show up around the 2-week mark.
Storage
Store your sauerkraut in the fridge for several months (we’re talking 6 months, although I doubt it will last that long).
Recipe Notes
- I like to use kosher or sea salt but you can also use Himalayan salt. Just don’t use iodized salt because the iodine has been known to inhibit fermenting.
- Try to keep your cabbage pushed down beneath the salt water level. They sell weights on Amazon for this (click here to see them) but I have never used them. You can also use a regular mouth 4-ounce jelly jar to help weigh the cabbage down or even a zipper seal bag sealed shut with water inside, but again, I’ve never had a need myself. I just push it down once a day, with a clean wooden spoon, during the . I’m perhaps overly cautious not to touch it with my bare hands as I don’t want to disturb all of the happy bacteria that are being born.
- For added flavor, you can add a couple of tablespoons of shredded fresh ginger and minced garlic cloves to the kraut. Other dried herbs and spices to add include 1 tablespoon each of caraway seed, dill seed, and/or mustard seed.
- You can also add 2 to 3 grated carrots to this fermented sauerkraut recipe.
Recipe FAQs
What are the health benefits of sauerkraut?
There are a LOT of health benefits to eating sauerkraut and other fermented food. Specifically, sauerkraut is high in fiber, vitamins C, A, K, and B. It’s also a good source of iron, copper, magnesium, calcium, and manganese.
Sauerkraut also contains a lot of great living and highly concentrated probiotics which serve countless purposes in your digestive system.
What’s the best salt to cabbage ratio for sauerkraut?
Generally, you want a heaping tablespoon of salt per 2 pounds of cabbage. If you are thinking it will taste salty, it really doesn’t. It will be the first few days but it isn’t sauerkraut yet at that point. The more it ages the less salty it becomes and a whole other flavor of wonderful develops in its place.
However, if you end up with it too salty for your taste once it is done, the preferable method of dealing with that is to add a little additional water to the brine rather than pouring the brine out because so much goodness is in that.
What happens if I forget to vent my homemade sauerkraut?
If you forget to vent for a day or two, the best thing to do is place your jar in a plastic grocery bag, close the bag up around it a bit, then open the lid. There will likely be some spewing as the gases escape but the bag will catch it all. Once the jar is open, close it again and rinse it off. No biggie.
I should let you know that they sell these little airlock things (look up on Amazon), which fit on mason jars to help vent the gases but I’ve never had the need because I only do small batches in mason jars and it is no trouble to vent the jar once or twice a day.
What is a fermenting pot?
If you want to get into fermenting larger quantities of sauerkraut and other veggies (check out my homemade kimchi recipe here), you might want to invest in a fermenting pot. You can find them on Amazon, along with the weights mentioned above.
My fermenting pot has a special well around the top that you can pour water in to seal the pot, but still allow gases to escape as they are formed so there is no need to vent the pot each day as we do with mason jars. This helps protect against spoilage as well and allows you to leave your fermenting alone for the most part until it is ready, as long as you check the water level on your seal from time to time.
What’s the main ingredient in sauerkraut?
The main ingredient is shredded green cabbage. However, for something different you can use red cabbage or napa cabbage instead.
Can I freeze sauerkraut?
You can freeze sauerkraut but I don’t recommend it, as it kills all those probiotics and beneficial bacteria you’ve worked to create. Luckily, it will last for months in the fridge, so there’s no need for freezing.
How do you serve sauerkraut?
Sauerkraut is a great topping to add to salad, burgers, wraps, hot dogs, or sandwiches. Add it to a classic Reuben sandwich, hot dog chili, meatloaf burgers (with burger slaw), or potato salad.
Check out these other pickles and relishes:
Chow Chow Recipe (Southern Relish)
Ingredients
- 1.5-2 pounds shredded cabbage
- 1 tablespoon kosher salt
Instructions
- Place shredded cabbage in a large bowl. Sprinkle salt over. With very clean hands (or using gloves) squeeze and mix cabbage and salt for several minutes, until it decreases in volume and starts producing juices.1.5-2 pounds shredded cabbage, 1 tablespoon kosher salt
- Cover and let it sit for 10 minutes.
- Pack the cabbage into a mason jar, pressing down as much as possible. Cover and let it sit for a day.
- Check to see if there is enough liquid to cover the cabbage. If so, open the lid and press down until the cabbage is submerged. If not, add a little more water so that there is enough to cover. Press cabbage down to submerge. Cover with lid once more.
- For the next week, open the lid in the morning and evening to release pressure and then immediately close it again. After the first week, once per day should be enough.
- You can begin testing the flavor of the sauerkraut after one week. Once it reaches your desired depth of flavor it is ready to place in the refrigerator and start eating. Store in the refrigerator for several months. I prefer to leave mine out for two weeks before refrigerating.
Nutrition
Thank you for this recipe. I did a search for a recipe using bagged shredded cabbage and because your image showed the bag, I clicked on it first. No need to search anymore. I don’t like sauerkraut but I need the vitamin C and health benefits. Due to your small batch recipe, I can see if I can tolerate the taste without a lot of wasted cabbage. Pinned twice and Tweeted.
oh my goodness, thank you! I hope you enjoy it. I sure do appreciate all the support!
My dad wanted to make kraut, we had a large crock, and lots if shredded cabbage, a box of salt. We moved it with the portions I thought were right. Dad thought if a little bit was good a lot would be better. We checked on it every couple days.WELL we had Snow White crispy salty cabbage after a couple weeks. Oh well, he was glad we tried. You live and learn. He was a farmer, not a cook.
These portions will give great results. Enjoy. Thanks for the reminder. Love good kraut.
At. Least some fun memories were made!!
Starting another jar tonite. This is the best kraut I have ever tasted. i used to make kraut in a 5 gallon crock with my Daddy and then we would can it. i love the small batch of fresh way better.
I am so glad you like it Barbara!!!!
Success!!! Ordered the smaller humble house fermentation crock and made my first batch of sauerkraut in it. Sampled it at 2 weeks…okay, but not stellar. Today is the 3 week mark…and oh, wow!! I am hooked! Thank you!! Just in time for a Reuben with our leftover Corned beef from St. Patrick’s day!!
Once you have completed the two -three weeks of fermenting you put it in the frig.. How long can it stay in the frig? I would love to do this as a STEM project for my Cookbook Book Club..we meet once a month. Start it one month then enjoy the finish product the next. Thanks!
It can stay for several weeks no problem so it would be fine for your project!! What a FUN idea!!