
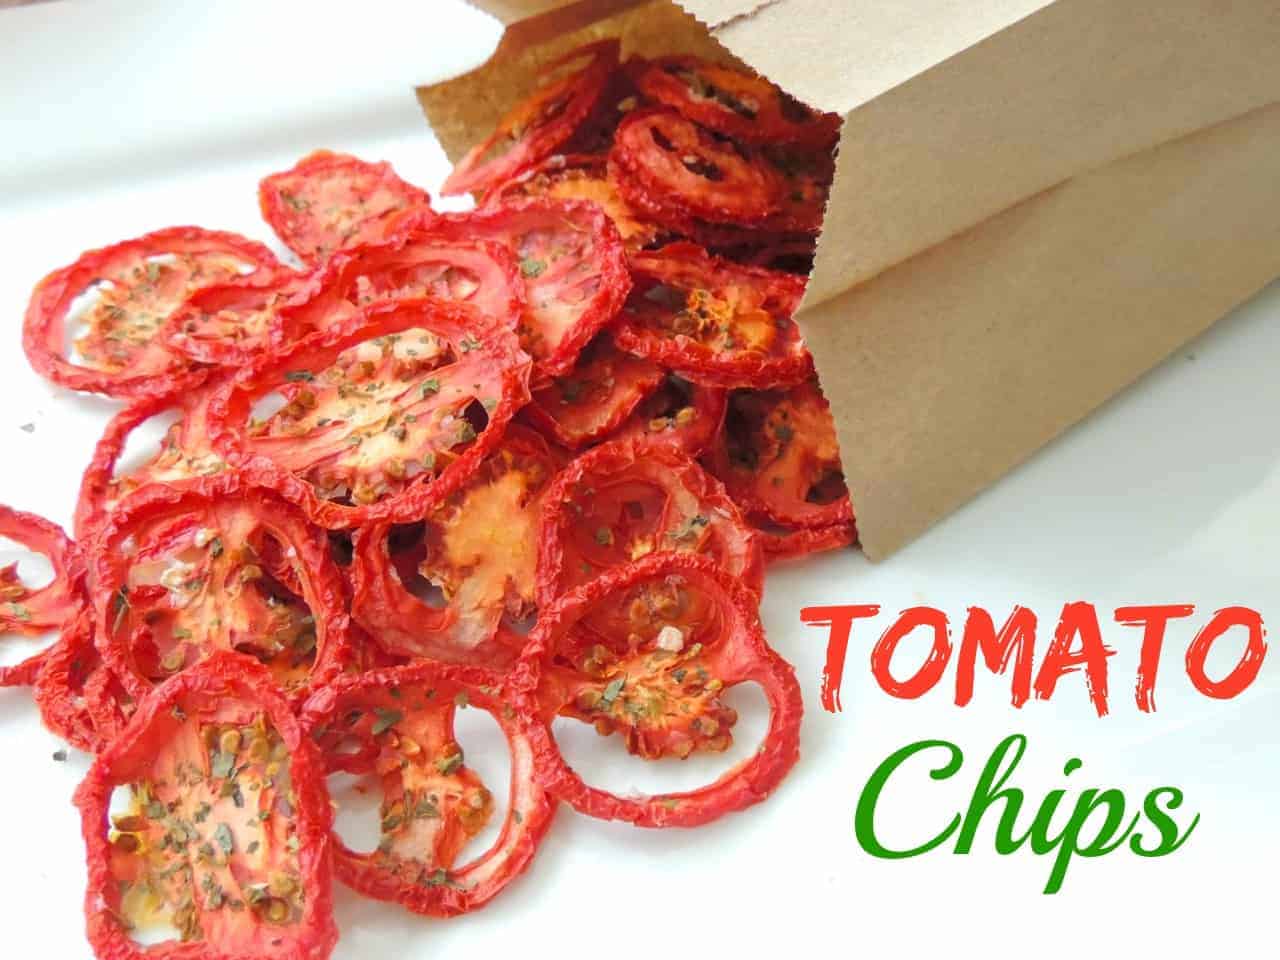
Tomato Chips
Turn garden fresh tomatoes into deliciously seasoned and crisp tomato chips in a few easy steps.

A Quick Look At The Recipe
- Recipe Name: Tomato Chips
- Ready In: 490 minutes
- Serves: 4 people
- Calories: 152 cal
- Main Ingredients: Roma tomatoes, kosher or sea salt, dried basil
- Why You'll Love It: Turn garden fresh tomatoes into deliciously seasoned and crisp tomato chips in a few easy steps.
There is nothing like fresh garden tomatoes. I love roasting them under the broiler, topping them with fresh mozzarella cheese and a bit of basil, and having nothing but that for lunch (see my recipe here). But I have found an even better way to snack on tomatoes and it’s awfully convenient, too…TOMATO CHIPS!
If you’ve never had a tomato chip, but love the taste of tomatoes, you have yet to fully live your life! They are THAT GOOD! And YES, if you don’t have a dehydrator, you really should buy one. I’m trying to encourage everyone to grow something, preserve something, and put back something when it comes to food sources this year. Dehydrating is one of the easiest ways to preserve food because it doesn’t require the time commitment of canning or the freezer space of freezing. You just pop it in, dry it, and store it.
I even heard of some folks who serve these with dips but I gotta tell ya, the sweetness of the chip combined with the slight saltiness of the sea salt and the hint of extra seasoning from dried basil is all I need. This is one of those snacks that has so much flavor it is intensely satisfying – more than potato chips ever hope to be! And think of how much healthier it is, too! (I keep a mason jar of tomato chips by my chair where they stay nice and crispy just waiting on me to eat them throughout the day).
I’ve currently planted 2 Roma tomato plants at my house and 4 at my mother’s, just to make more chips this summer. But any tomato will do, I just find the size of Roma tomatoes to be the most convenient.

Recipe Ingredients
- Dehydrator
- Roma tomatoes (others would work also, but smaller ones are better)
- Sea salt or kosher salt (something coarse)
- Dried basil
How to Make Tomato Chips

Slice your tomatoes, with the skin on, about 1/4 inch thick.
So, that looks closer to 1/2 inch… so aim for 1/4 but if you end up hitting 1/2 keep on walking and don’t look back.

Arrange tomato slices on a dehydrator tray.

Sprinkle them with sea salt or kosher salt (you want a coarser salt) and a bit of dried basil.
Go easy on the salt because whatever you add will taste like double once the chips are dried.
Set dehydrator to vegetable temperature (around 135 degrees) and dry until crispy. This will be anywhere from 8 to 12 hours.
Store in an airtight container and enjoy!
Get ready to make some more though, because these won’t last long.
Storage
Store leftovers in an airtight container in a cool, dry place for up to 12 months.
Recipe Notes
- Make parmesan tomato chips by sprinkling them with parmesan cheese and baking for an additional few minutes, until the cheese melts.
- Try these other seasonings: garlic powder, za’atar seasoning, and Italian seasoning.
Recipe FAQs
How do you make tomato chips in the oven?
Instead of dehydrating the tomato chips, brush them with olive oil and then place them on parchment paper on a cooling rack on a cookie sheet. Then bake them in a 275-degree oven for 2.5 to 3 hours. Just give them a quick check every now and again to ensure they don’t burn. You’ll want to let them cool for at least an hour before serving.
How do you serve tomato chips?
We all know I could eat them all as is, but here are some other serving suggestions:
- Add a slice of goat cheese or mozzarella between two tomato chips.
- Dip them into your favorite dip, like baked onion dip.
- Add as a garnish to pizza, quiche, tomato soup, pasta, or a salad.
- Elevate an ordinary sandwich, burger, or grilled cheese sandwich with a few tomato chips.
Check out these other posts from my dehydrating series:
Dehydrate Frozen Vegetables To Save Freezer Space and Money
Use a Dehydrator To Make Your Own Instant Rice
Dehydrating Ground Beef (makes instant beef)
Dehydrating Peaches (and recipes)
A dehydrator is an excellent investment to allow families to preserve food with little fuss and also make wonderful snacks – even “real” fruit snacks for your kids!
Ingredients
- Roma tomatoes can use others
- kosher or sea salt
- dried basil
Instructions
- Cut tomatoes into 1/4 inch slices and arrange them on the dehydrator trays.Roma tomatoes
- Sprinkle very lightly with salt and basil.kosher or sea salt, dried basil
- Dry on the vegetable setting for 8 to 12 hours or until crispy.
Nutrition
Subscribe to my Youtube channel by clicking here
“When I look back on all these worries, I remember the story of the old man who said on his deathbed that he had had a lot of trouble in his life, most of which had never happened.”
~Winston Churchill
Submitted by Carolyn Tyler. Click here to submit your own.
Sounds like heaven to me. I LOVE tomatoes and have lots of them planted in my garden for this summer. Also found a second hand dehydrator with 6 or 7 shelves for only $10 and it works great! Now, suggestions on how to dehydrate my fresh basil and I’m all set. Thanx so much for these postings.
What a great find!!
I dehydrate all sorts of herbs, and never have used a dehydrator for that! I usually bunch the herbs up like a bouquet, tie the ends, I use elastic bands because the stems shrink, and if you are sneaky you can save those little hooks that the socks and other things have when you buy them, thread the thin elastic band through the hole and then use the elastic to tie the bottoms of the stems together, hang the whole bundle upside down and let dry, if you have a lot of dust, you can take tulle or netting (finest holes in the netting) and cut a large circle about 12-18 inches across depending on your herb height. Run a pocket around the outside edge with a sewing machine and put in a drawstring, lay the herbs down with the ends of the stems sticking out over the edge a bit, pull up the drawstring carefully and tie up tight and hang the bunches to dry.
A tip for those without gardens, buy organic herbs when you see them especially if on sale (I got three bunches of lovely Italian flat leaf parsley for the price of one) dry them and crumble them for dried herbs. Unfortunately we don’t get a lot of bunch herbs here so have to grow them.
Well, YUM! A Sack Full Of Delicious Goodness! Pretty Too! 🙂
Planting Roma Tomatoes along with other favorites! 😀
😀
If I leave this recipe up, maybe my husband will buy me a dehydrator for my birthday (it’s during the summer, just at the beginning of tomato season 🙂 )… Love you, honey <3 🙂
Great way to hint!!
Looks so yummy! I’m putting roma tomatoes on my shopping list now!
I hope you enjoy Leslie!!
Lovin’ all of these dehydrating recipes!
🙂
If you don’t have a dehydrater, can you use your oven?
You can but you’ll need to look up how to convert a recipe and experiment a bit
Okay, that’s it. I’m buying a dehydrator. I keep seeing all these ideas and want to try some. My son has been wanting to make deer jerky so he’ll be happy. Any advise on brands?
Brenda, I would recommend the Excaliber series. They have 4, 5 & 9 tray models. I purchased the 4, not knowing if I would keep using it. Mine is running day and night!! Wish I’d gotten the 5 or 9 even! Seeing the tomato chips pushed me over the edge also! Finished my 3rd batch the other day. Anyway, after careful research, I chose this one 1) most reviews I read said they wished they had purchased this instead, 2) there is no pole going up thru the center which cuts down on drying area like there are in the round ones and 3) the fan and heater are on the back side of the dryer so it dryers all shelves evenly…no need to shuffle your drying trays. My next adventure will be drying salmon! Can’t wait to see how that works vs. smoking it. Good luck and have fun drying!!
I bought the Nesco Professional hydrator and it mentions blanching (steam or microwave) most vegetables before drying. Doesn’t look like you did that in your illustration? I guess it will just take longer to dry, but the blanching is more prep time so think I will try w/o. Also I didn’t have dried basil, only fresh, so I used dried oregano.
I do not blanch any of mine Kathy.