
BBQ Chicken Breast in Oven
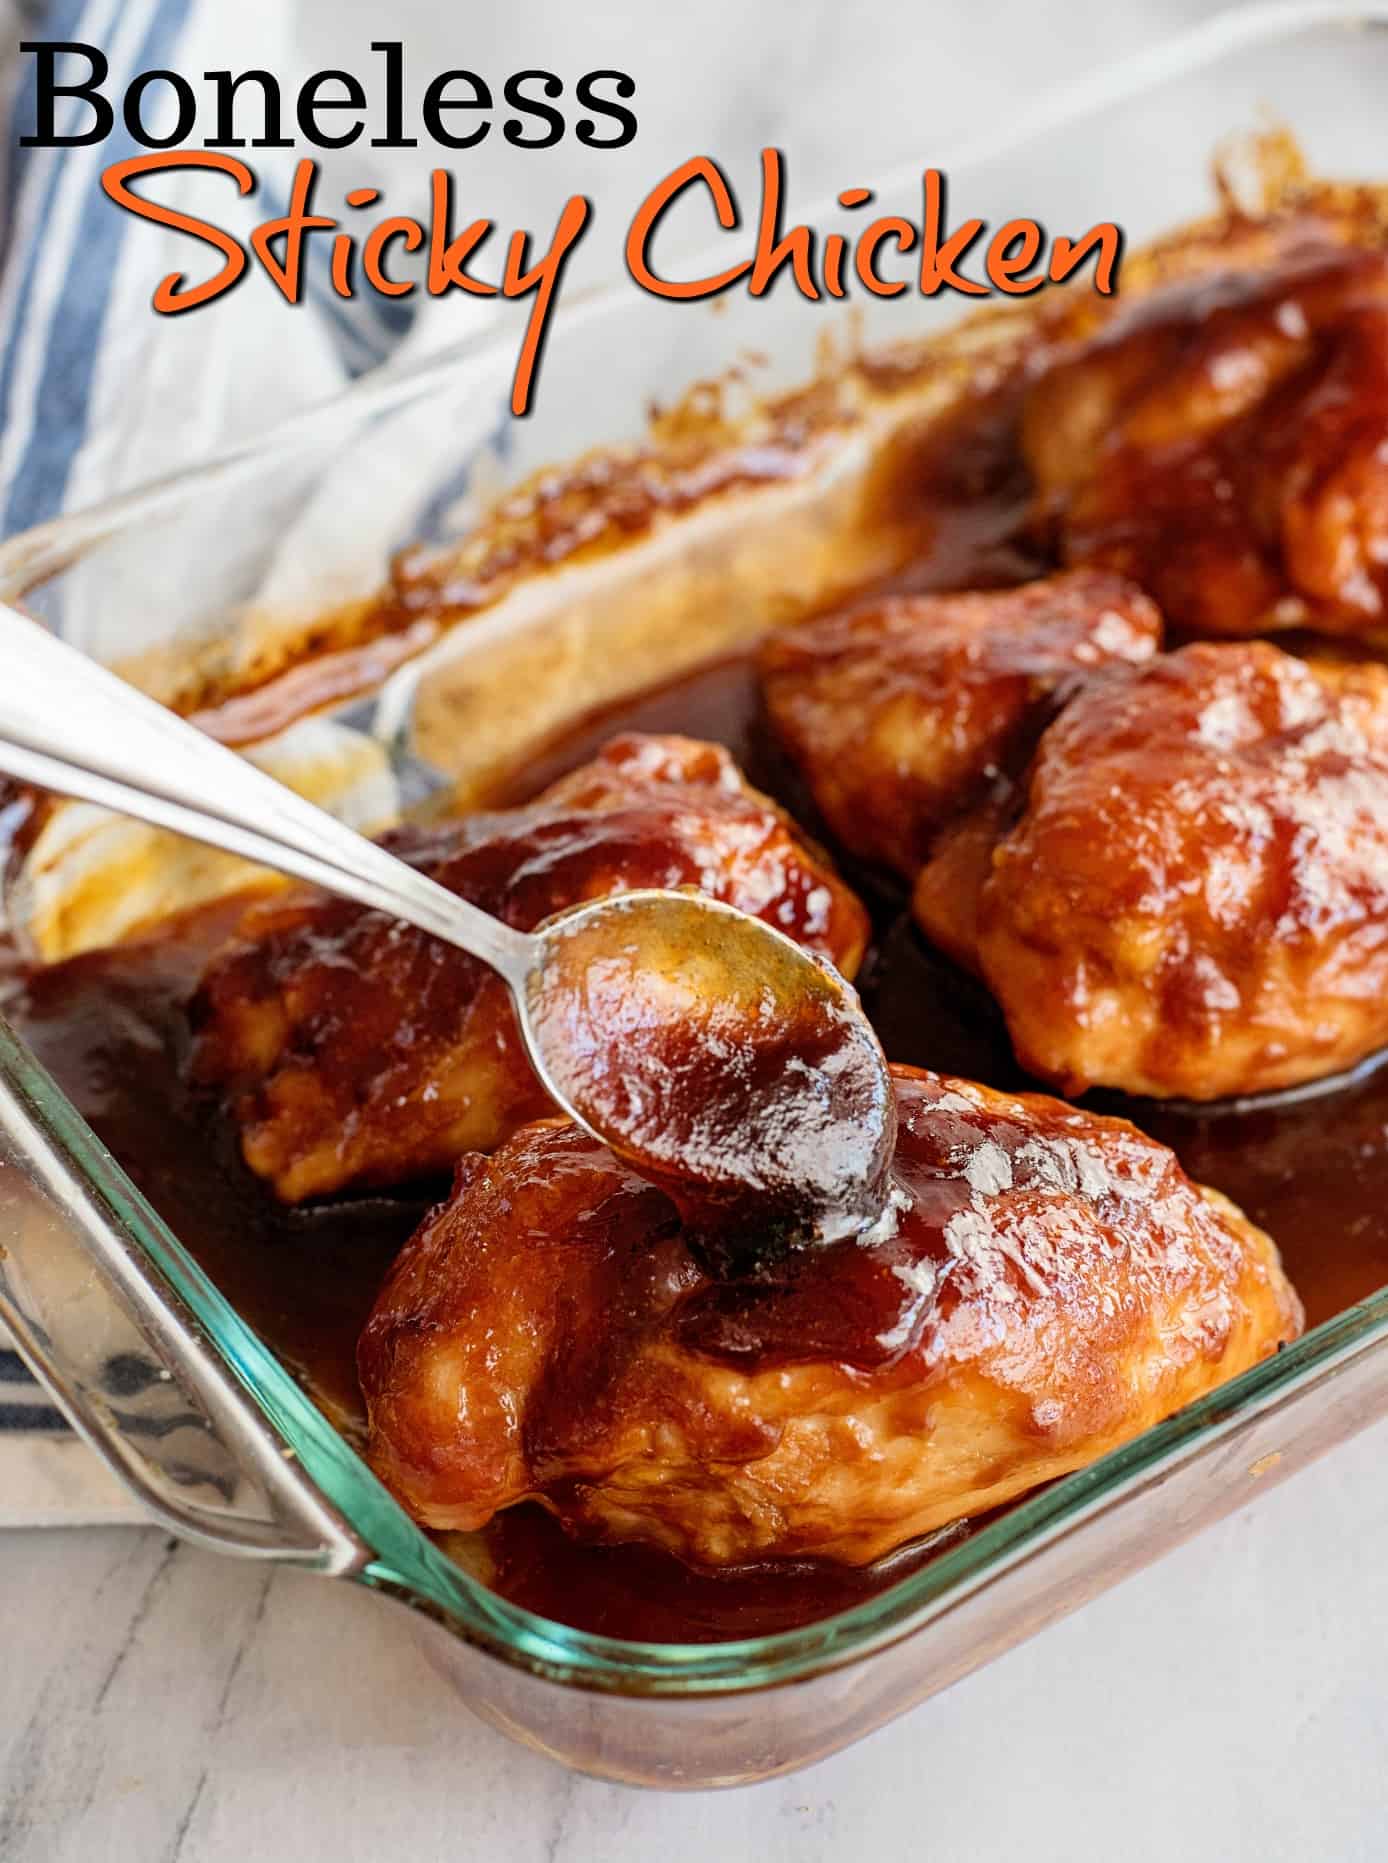
The sweet homemade barbecue sauce for this BBQ Chicken Breast in Oven recipe is AH-mazing, y’all. Made with the finger-lickin’ combination of honey, brown sugar, ketchup, soy sauce, and garlic powder, it makes the most sensational sticky chicken dish. With my little trick, even boneless, skinless chicken breasts come out incredibly moist every time!
A Quick Look At The Recipe
- Recipe Name: BBQ Chicken Breast in Oven
- Serves: 4 people
- Main Ingredients: boneless skinless chicken breasts, honey, ketchup, brown sugar, soy sauce, garlic powder, flour
- Why You'll Love It: The homemade barbecue sauce (with honey and soy) for this BBQ chicken breast in oven recipe makes the most finger-lickin' sticky chicken.
Never-Dry Oven BBQ Chicken Breast
Now, I’ve shared a sticky chicken recipe before on Southern Plate. However, the original recipe requires bone-in, skin-on chicken breast. The skin was key to helping the sticky sauce cling to the chicken.
I’ve since modified the recipe with a little trick (which will be revealed below) that makes it work with boneless skinless chicken breasts because we all know they are everyone’s favorite. They are easier (and often cheaper) to find these days. I personally always have them in my freezer.
This BBQ chicken breast in oven recipe includes a sweet and tangy homemade BBQ sauce that’s going to blow you away! It includes an enticing combination of honey, brown sugar, soy sauce, garlic powder, and ketchup. The boneless sticky chicken comes out nice and moist and irresistibly saucy.
Reader Rating
“Made this for dinner and wow!! This is delicious. My family enjoyed every bite. Thank you for another amazing recipe!” – Kate
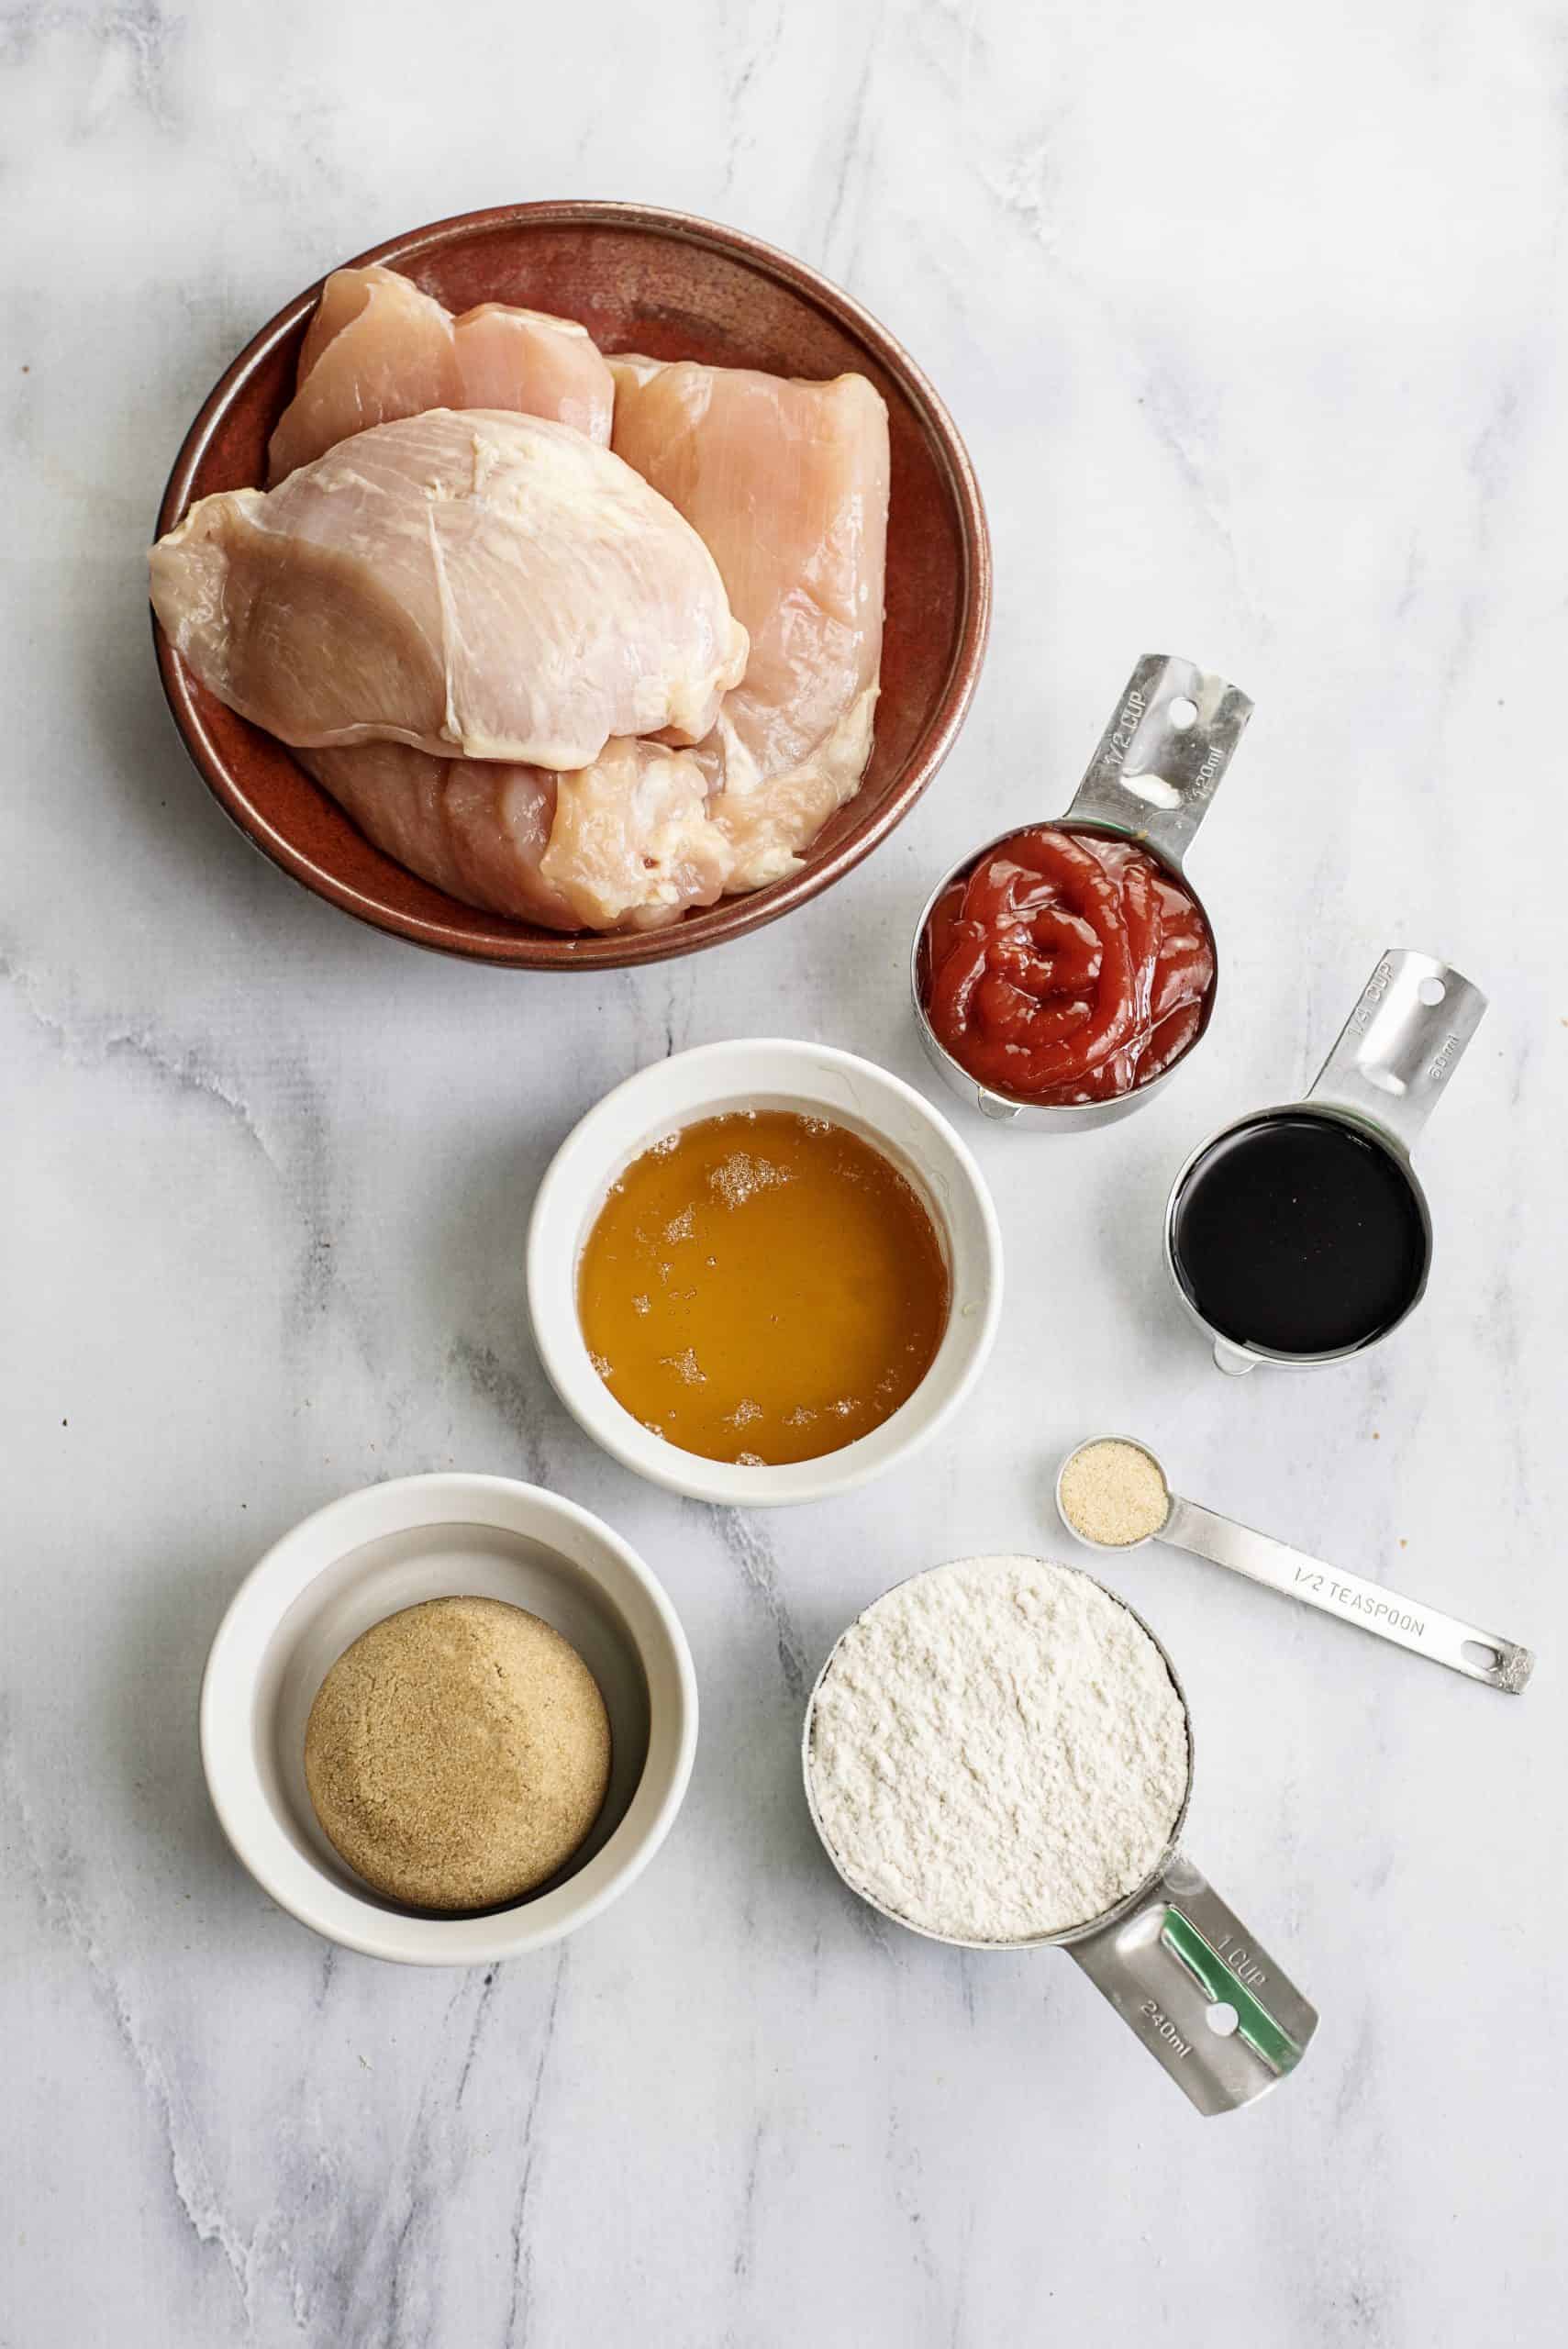
Recipe Ingredients
- Boneless, skinless chicken breasts
- Honey
- Brown sugar
- Ketchup
- Soy sauce
- Garlic powder
- All-purpose flour (self-rising flour will do just fine if that is what you have!)
My Tips for Perfectly Juicy BBQ Chicken Breast
- When you’re heating the sauce, whether in the microwave or in a saucepan, just warm it until the brown sugar dissolves, and it’s smooth. You don’t need to bring it to a full boil.
- When you dip the chicken in flour, make sure to shake off any excess before placing it in the dish. A light coating is all you need!
- Letting the chicken rest for five minutes before serving really makes a difference. It helps redistribute the juices, making the chicken more tender and flavorful. I usually baste it one last time right before I serve it.
How to Make BBQ Chicken Breast in the Oven
1. Preheat the Oven
Start by preheating your oven to 350°F and greasing a 9×13 baking dish.
2. Prepare BBQ Sauce
Next, place all of the BBQ sauce ingredients in a 2-cup measuring cup and stir well.
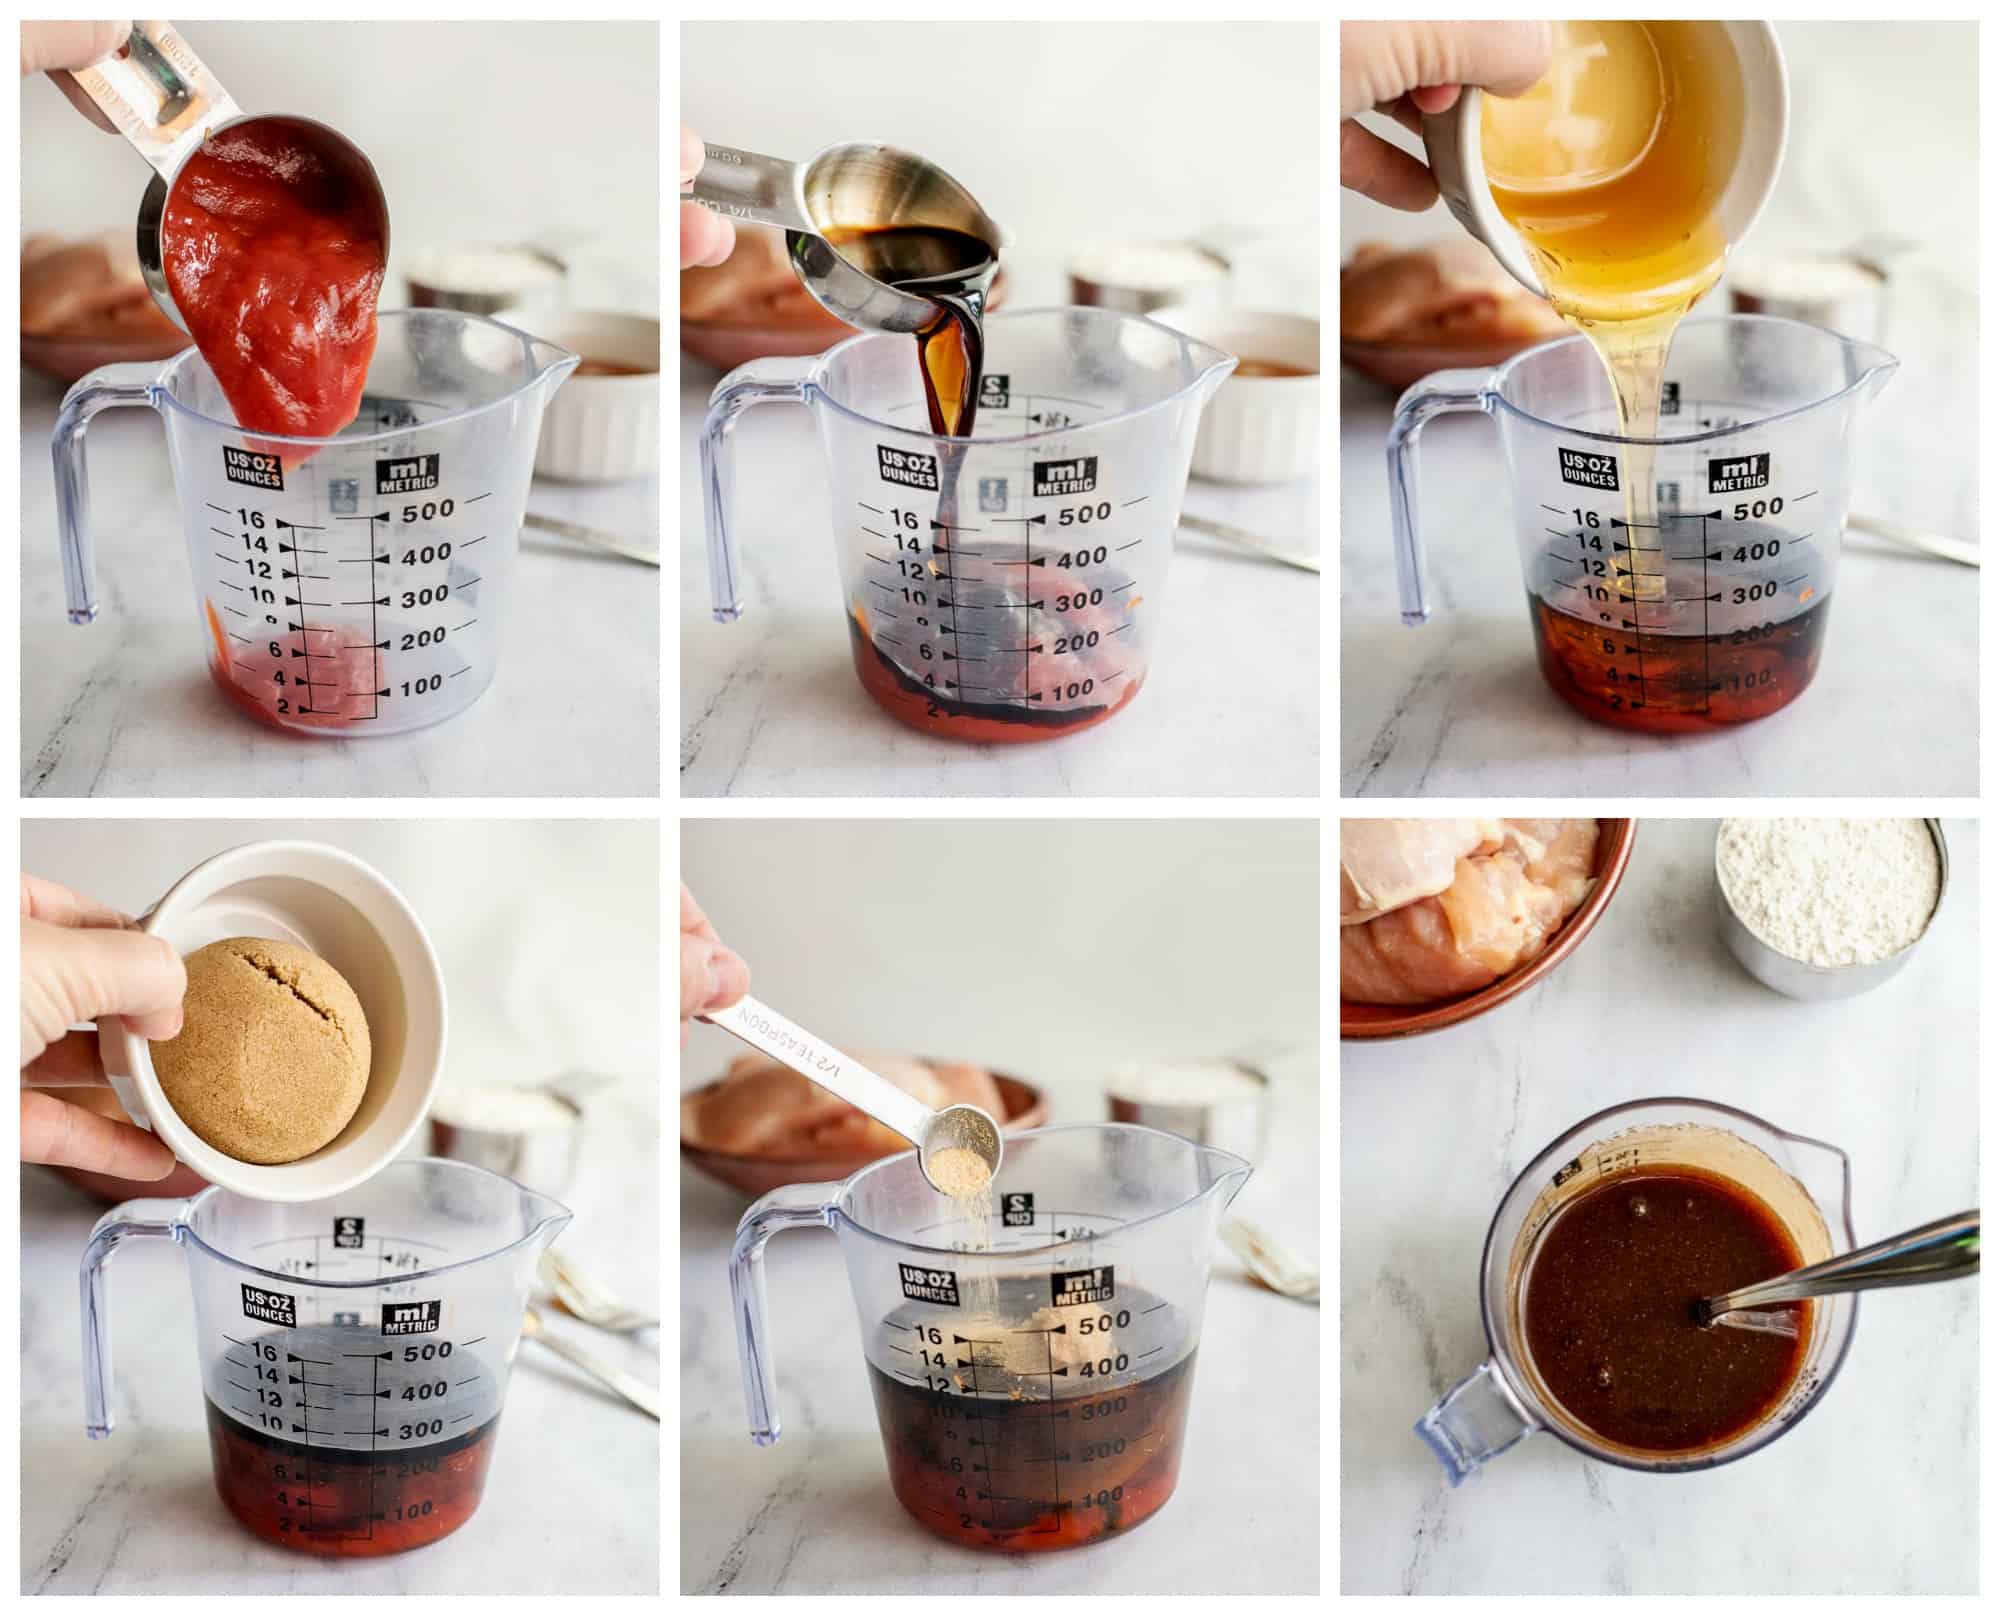
Then place this in the microwave or a small saucepot.
- If using the microwave: Heat for one minute and stir. Repeat in 30-second intervals, stirring after each, until smooth and well blended.
- If using a saucepot: Heat over medium heat, stirring often, until it becomes hot enough to blend together well with no lumps.
Pour just a bit of this wonderful sauce in the bottom of your prepared baking dish and spread to coat the bottom.
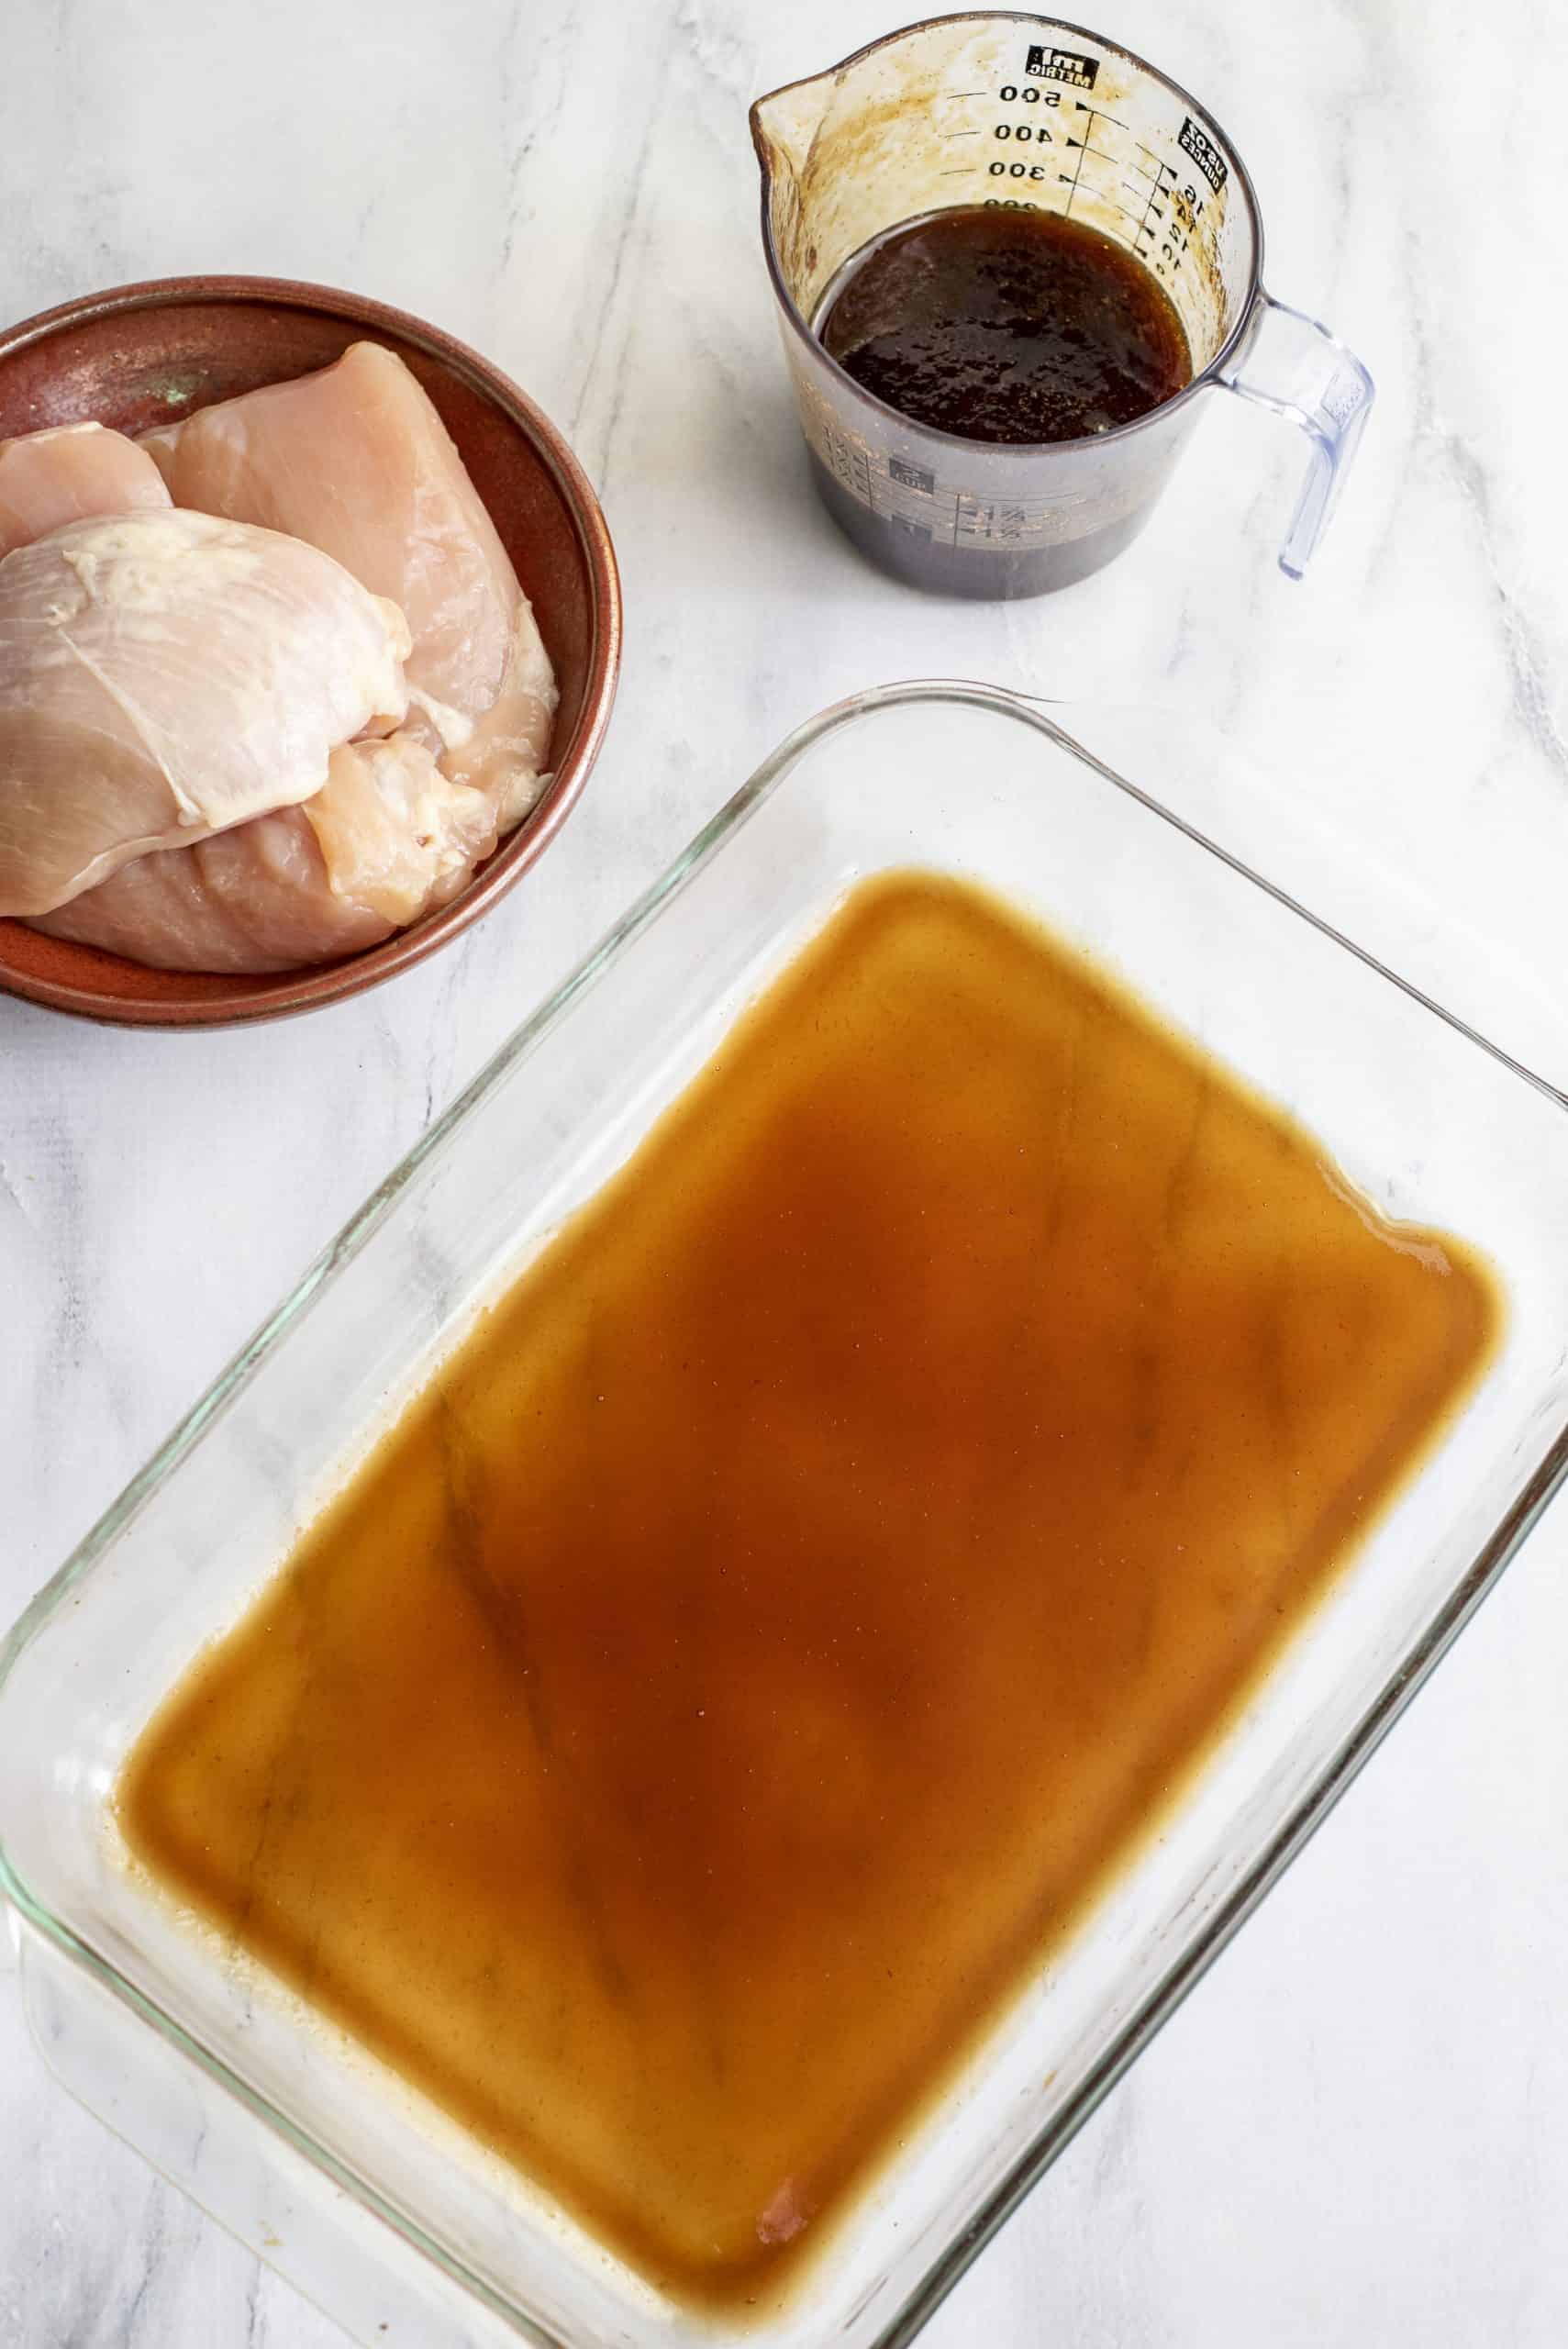
3. Add Chicken
Now place your flour in a shallow bowl. Press each side of each chicken breast into that so that it is lightly coated.
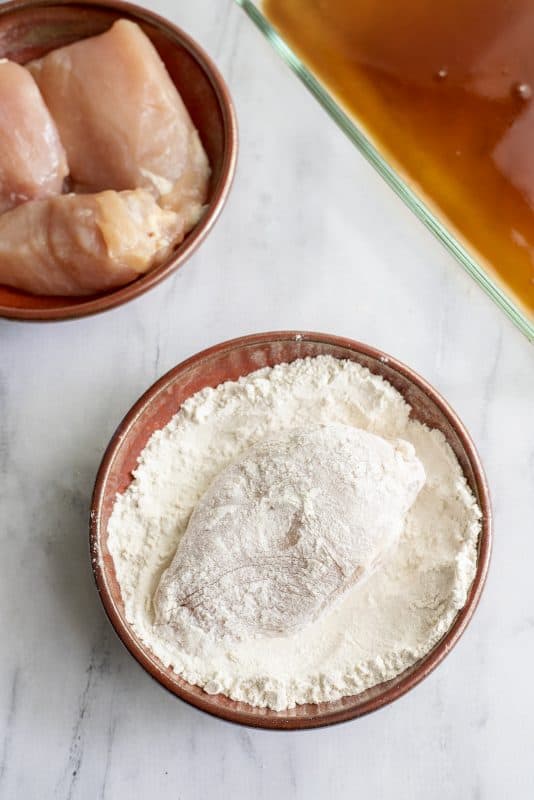
Then place these in your baking dish. Spoon the remaining barbecue sauce right over the top of your chicken.
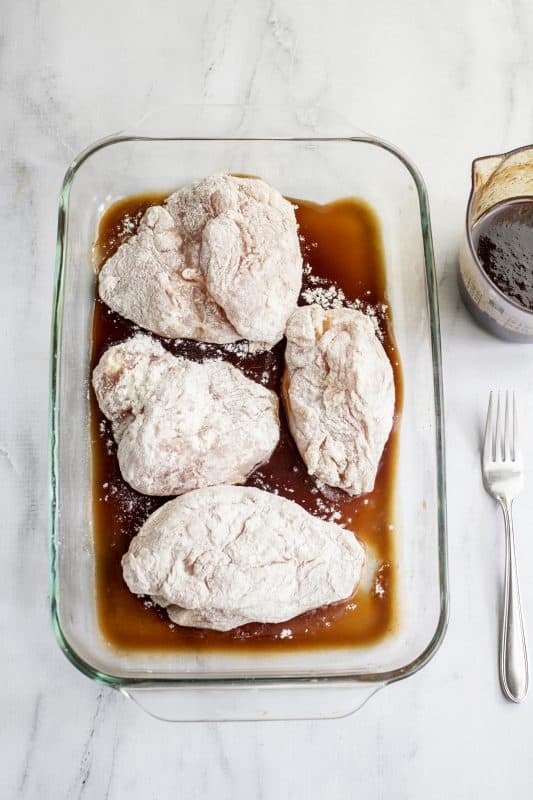

4. Bake
Place the chicken uncovered in the oven for 30 minutes.
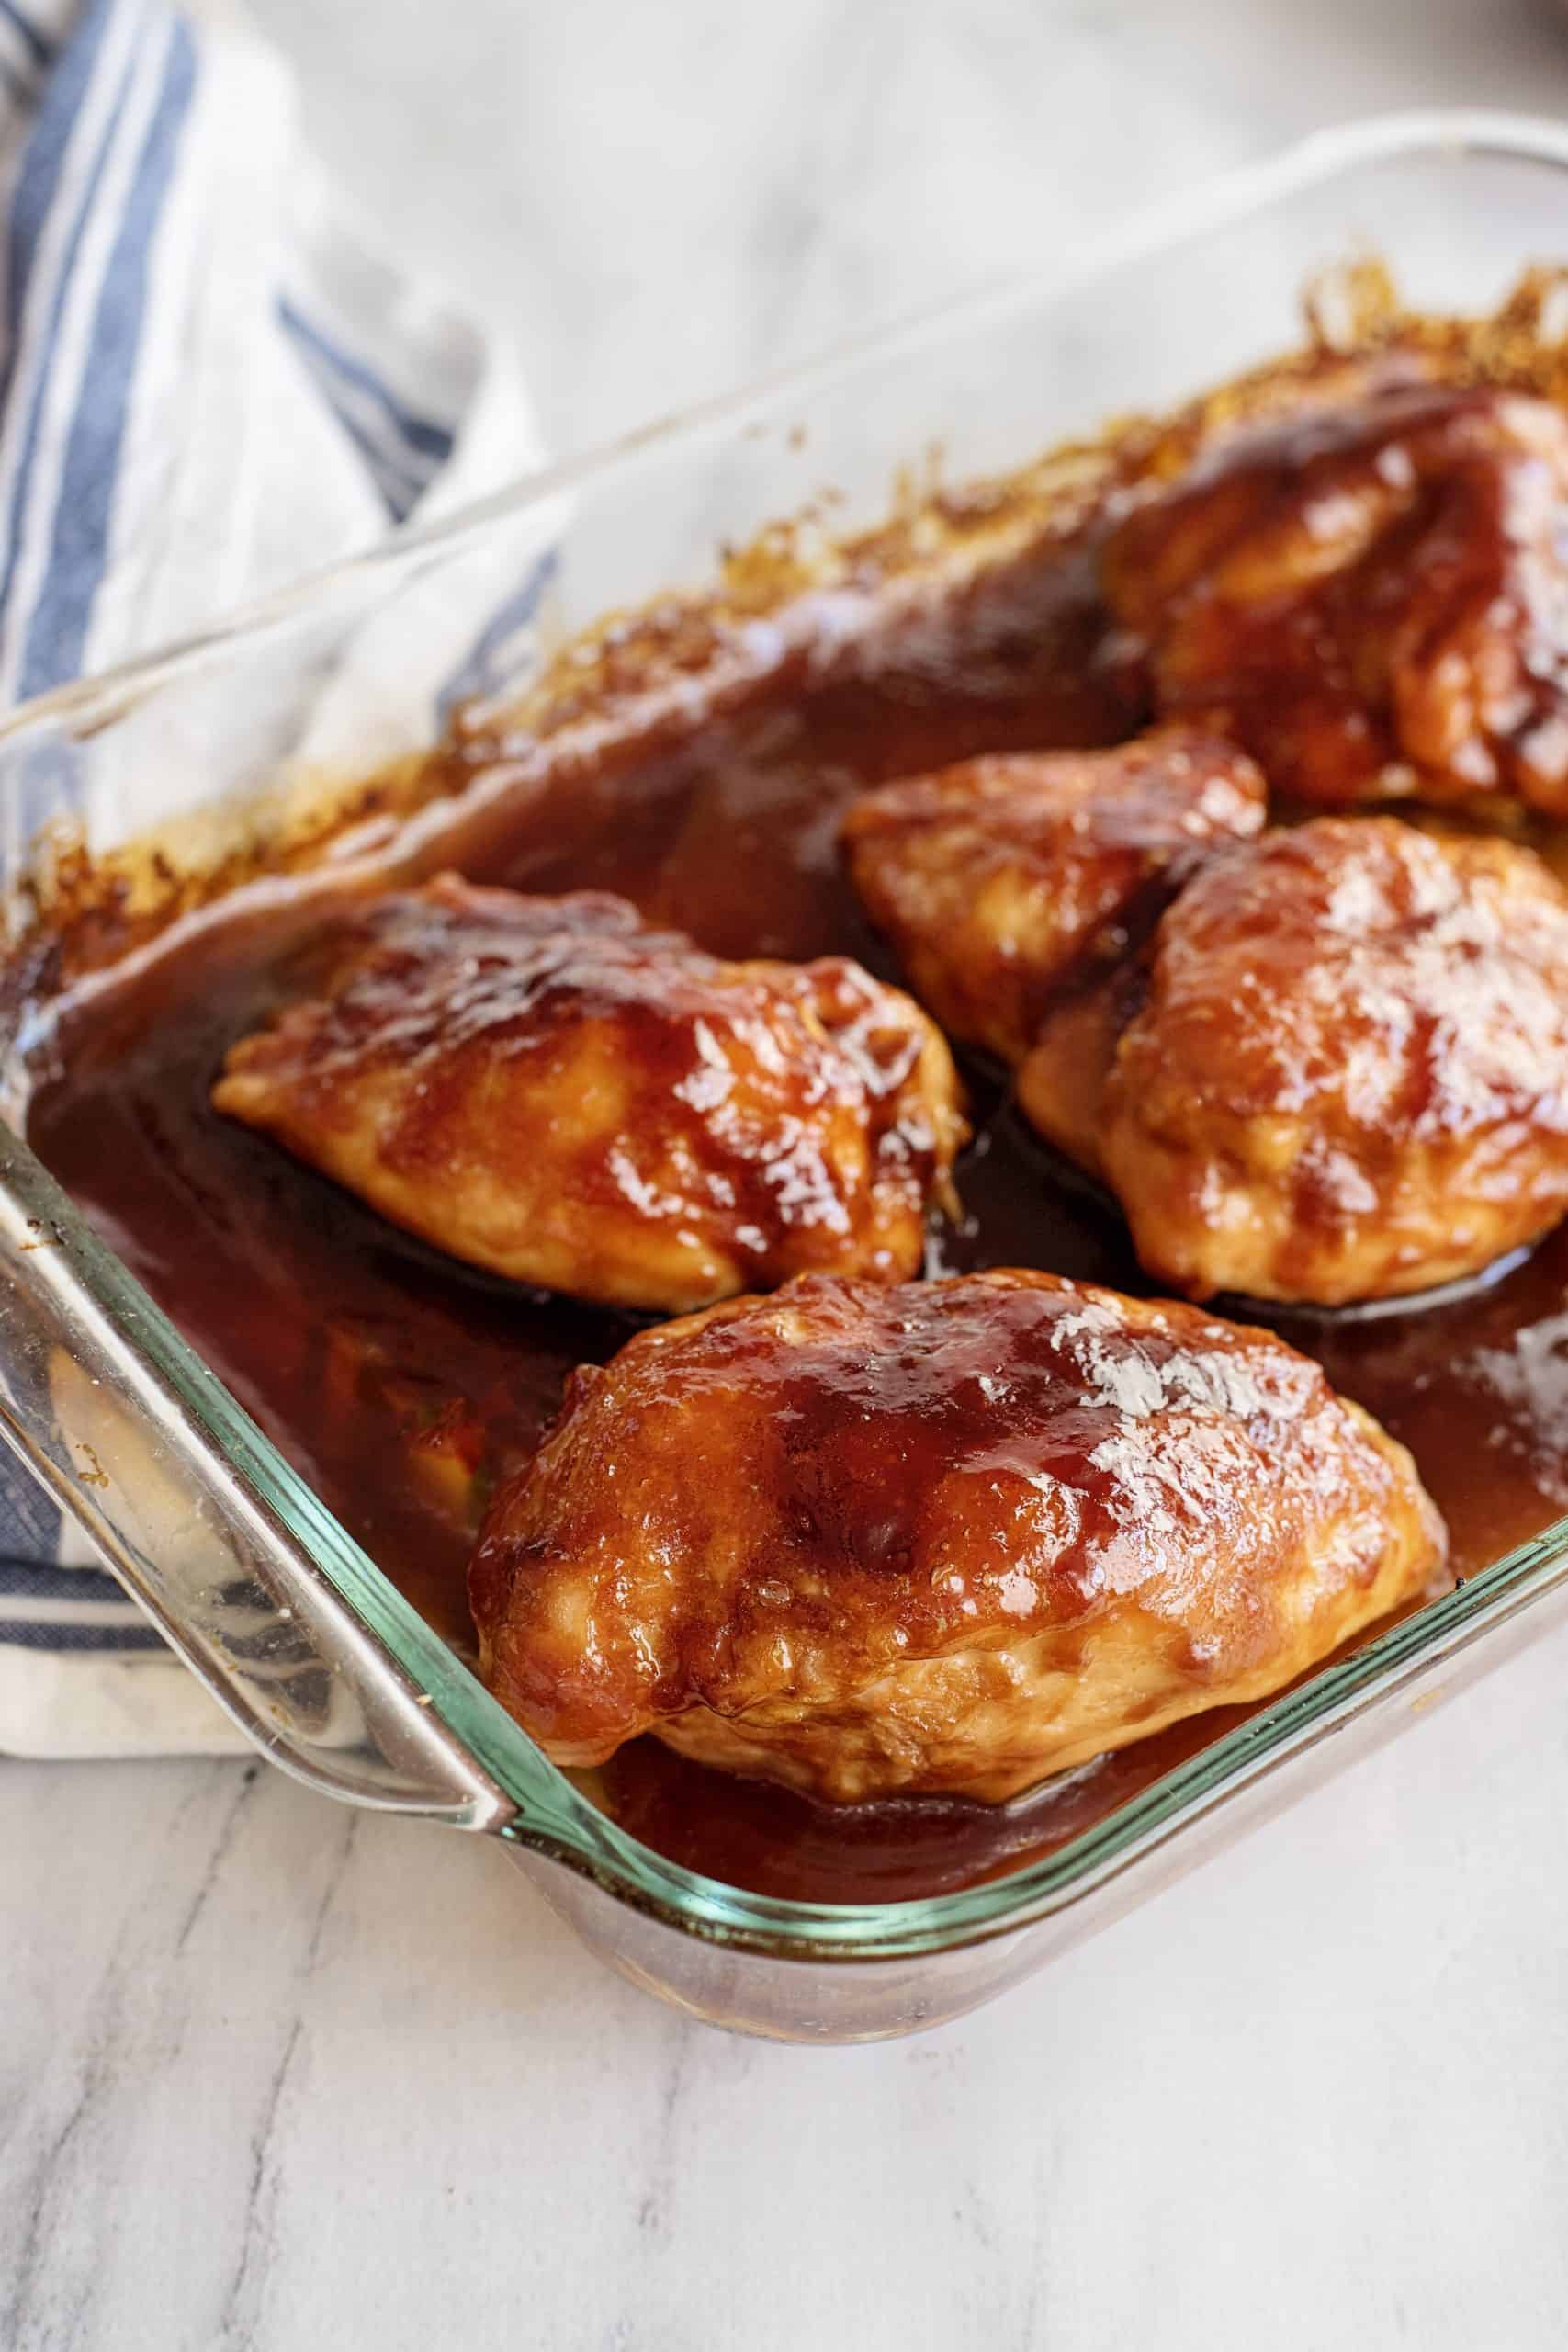
Once done, take it out and carefully flip the chicken pieces over. Spoon more of that sauce from the pan over them, then pop it back in the oven for another 15-30 minutes, or until the chicken is cooked through. I like to baste it one more time while it’s in the oven.
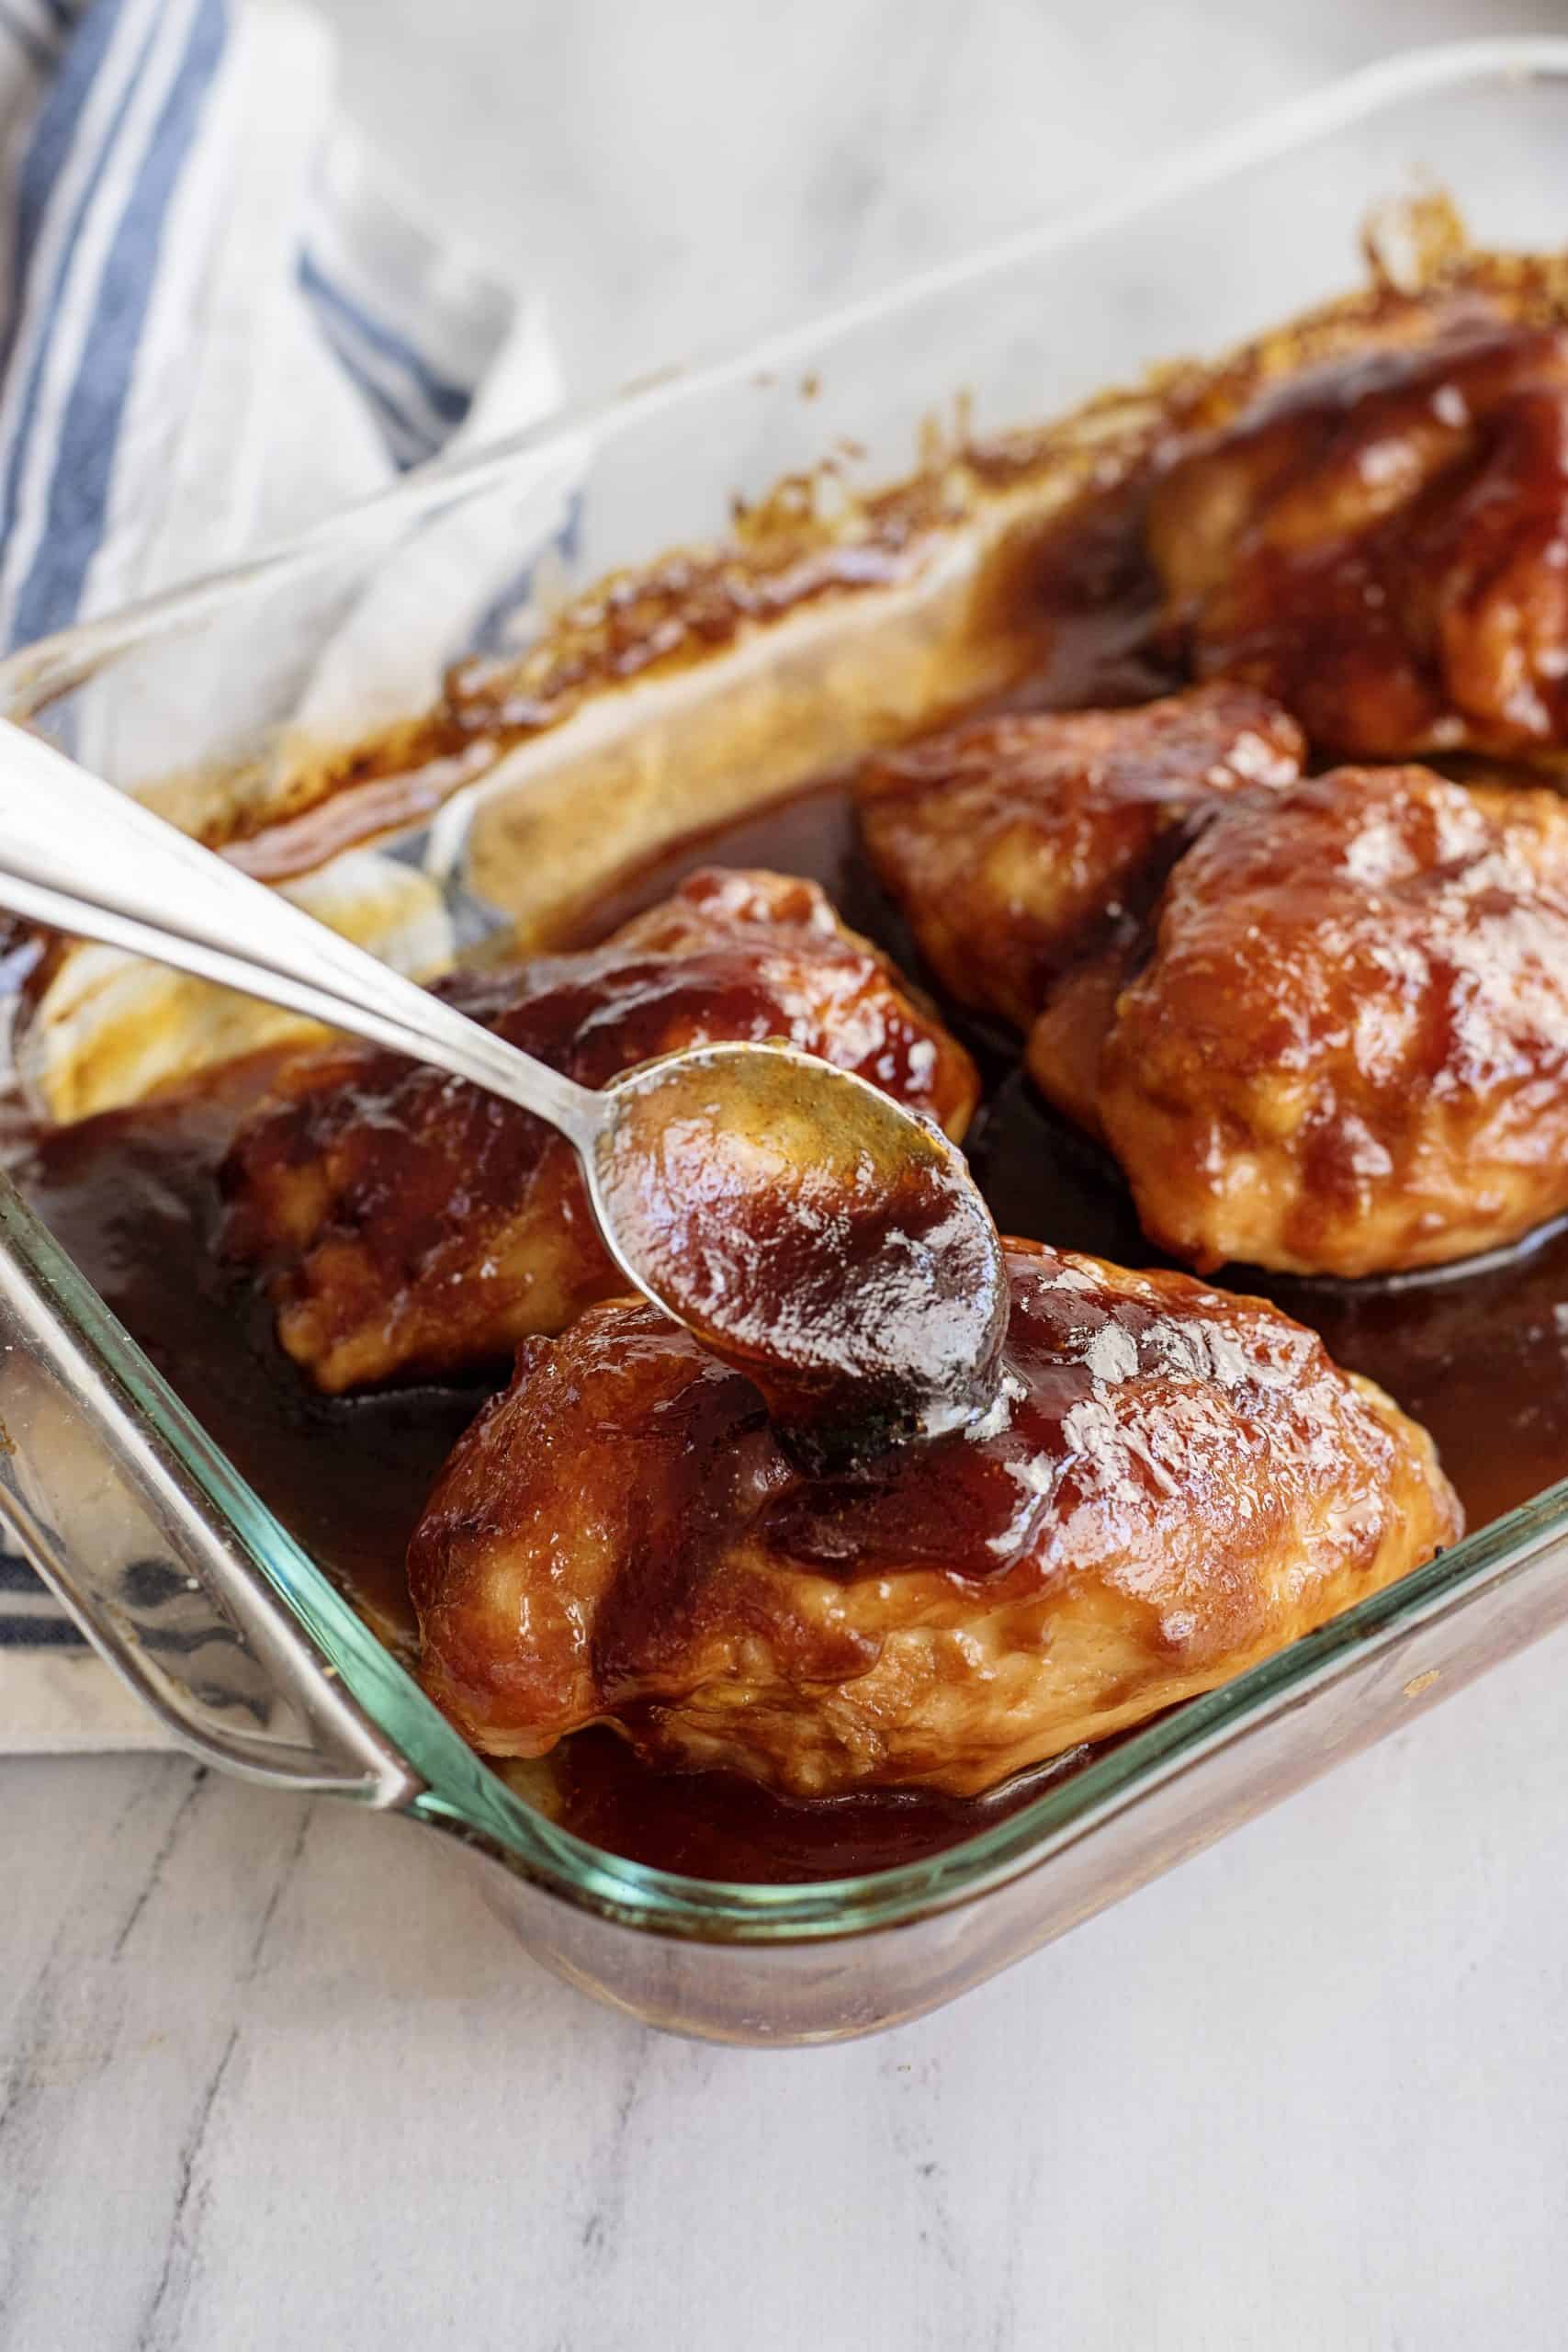
5. Baste & Serve
Once it’s done, take it out and give it another good basting with that sauce (don’t put it back in the oven, though!). Let it sit for about five minutes, baste it one last time, and then it’s ready to serve.
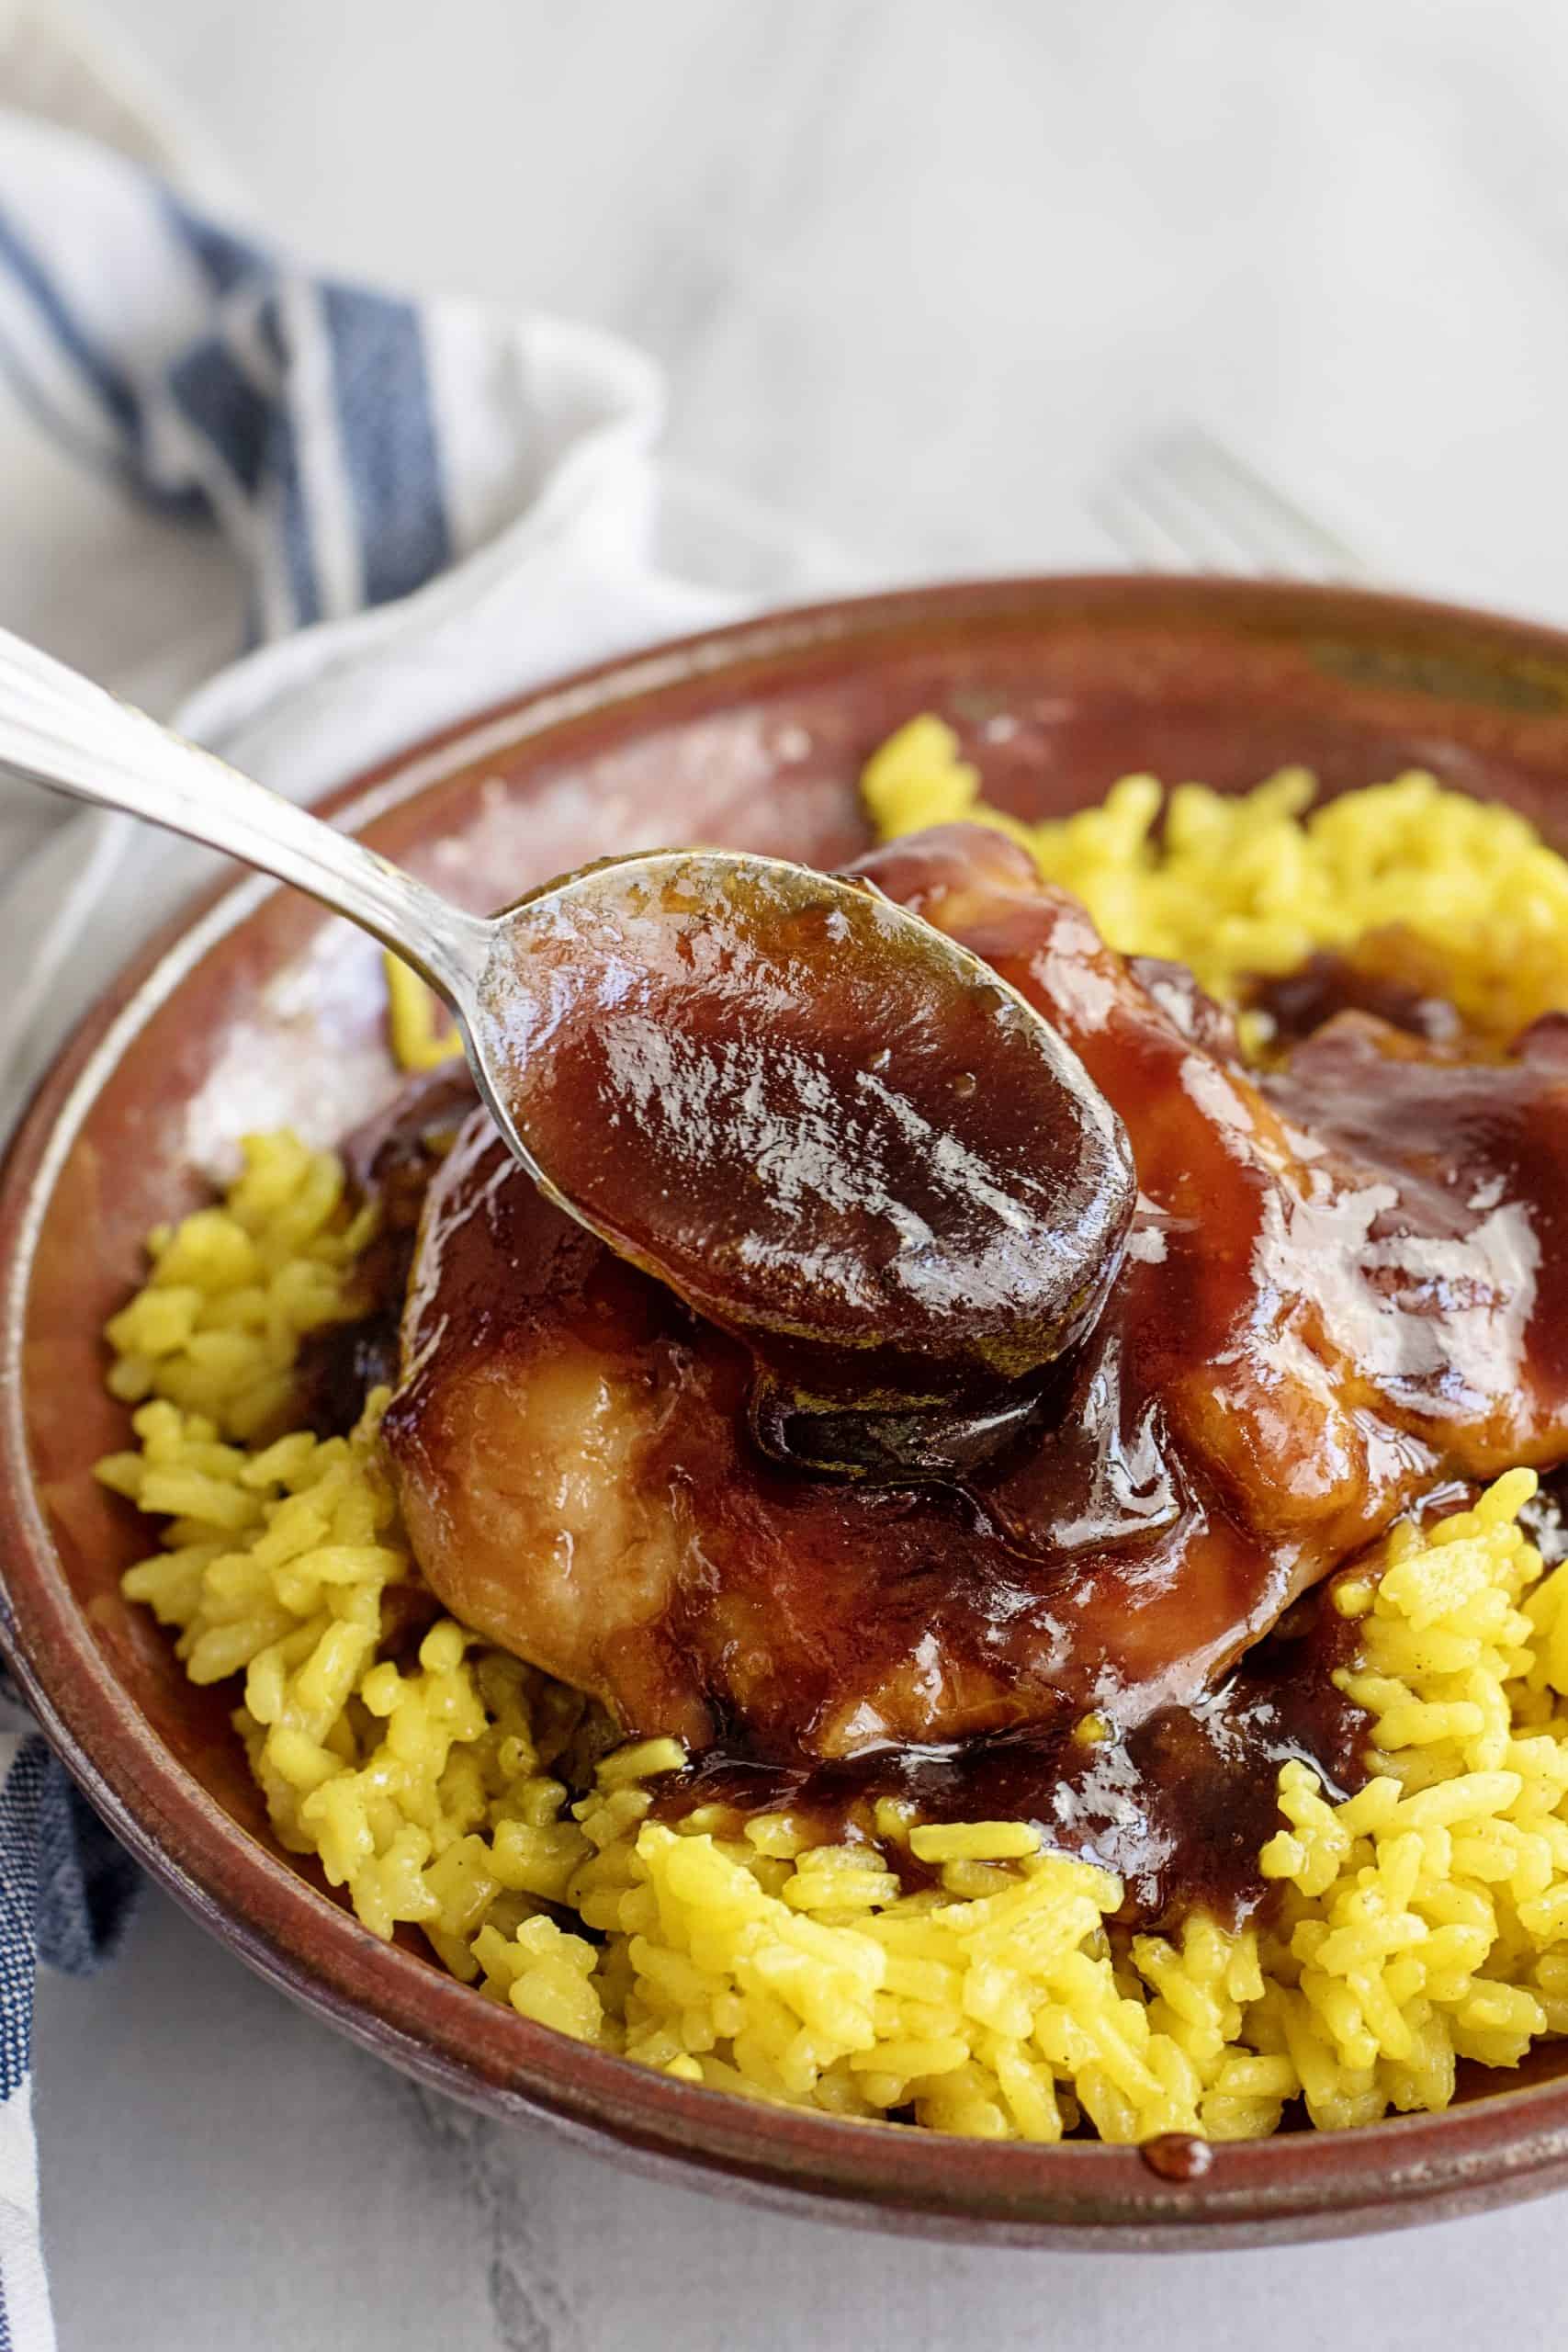
Sides I Like to Pair with BBQ Chicken
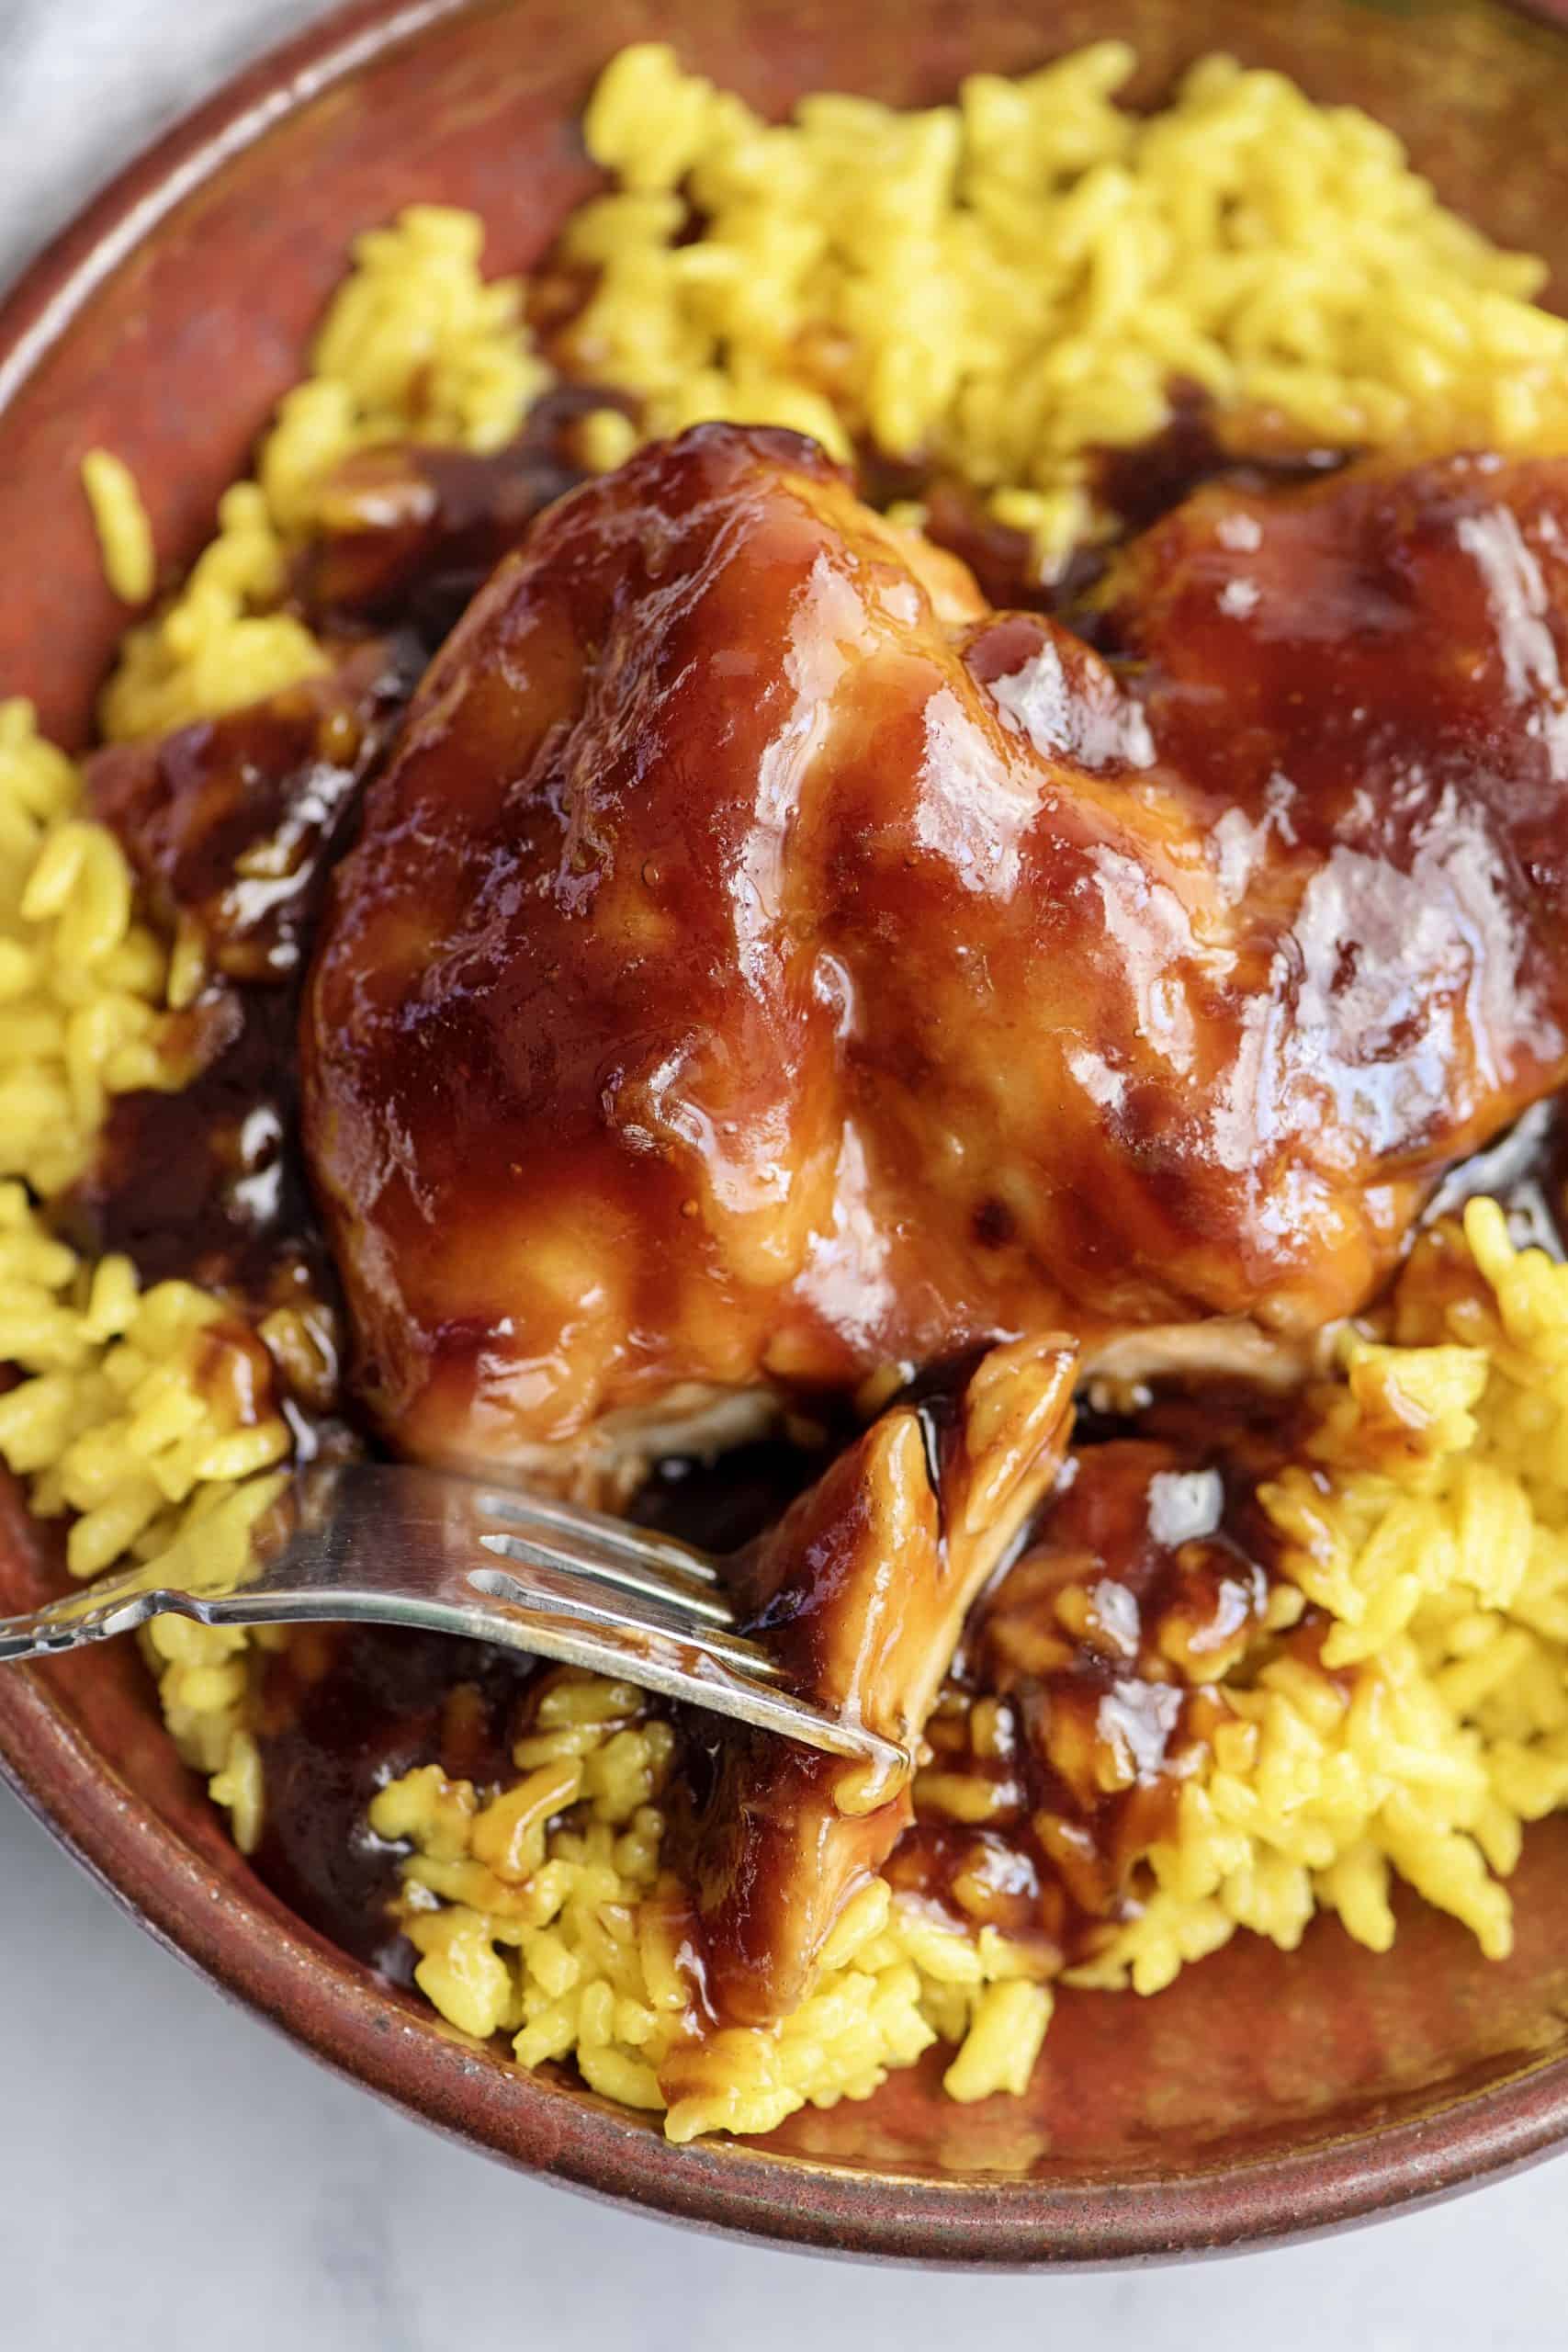
I like to serve my baked chicken breast with yellow rice or mashed potatoes so you can spoon some of that delicious BBQ sauce over them! For an epic summer cookout feast, it would also be amazing with some baked Velveeta mac and cheese, loaded baked potato salad, or red beans and rice.
Storage
Store leftover boneless sticky chicken in an airtight container in the fridge for up to 4 days. Reheat in the microwave, oven, or air fryer until warm. You can also freeze them for up to 4 weeks; just be sure to thaw them in the fridge before reheating.
BBQ Chicken Breast in Oven FAQs
Yes, you can! Chicken thighs are a great substitute and turn out super juicy. Just keep in mind that they might need a slightly different cooking time, so I’d recommend using a meat thermometer to check that they’ve reached an internal temperature of 165°F.
Yes, this boneless sticky chicken is a great recipe to prep in advance. You can make the sauce and store it in the fridge for a few days. When you’re ready to bake, just give the sauce a good stir, coat your chicken, and pop it in the oven. It makes weeknight dinners so much easier!
For the juiciest chicken breast recipes, I always pound them to an even thickness before cooking. If I have a little extra time, I’ll marinate or brine it first. Another big tip is to let the chicken rest for a few minutes after it comes out of the oven. This helps all those delicious juices settle back into the meat.
I hope your family and friends love this baked BBQ chicken breast recipe as much as mine does! Leave a rating and a comment below. I’d love to hear how it went!
BBQ Chicken Breast in Oven
Equipment
- 1 9×13 baking pan https://amzn.to/3tkmzqn
- 1 glass measuring cup https://amzn.to/3PBVPcv
- 1 meat thermometer https://amzn.to/45kFiiQ
Ingredients
- 4 boneless, skinless chicken breasts
- ½ cup honey
- ½ cup ketchup
- ½ cup brown sugar
- ¼ cup soy sauce
- ¼ teaspoon garlic powder
- 1 cup flour
Instructions
- Preheat your oven to 350°F and greasing a 9×13 baking dish.
- In a medium bowl or a large measuring cup (I use a 4-cup measuring cup), stir together the ketchup, soy sauce, honey, brown sugar, and garlic powder until well combined.½ cup honey, ½ cup ketchup, ½ cup brown sugar, ¼ cup soy sauce, ¼ teaspoon garlic powder
- If using the microwave: Heat for one minute and stir. Repeat in 30-second intervals, stirring after each, until smooth and well blended. If using a saucepot: Heat over medium heat, stirring often, until it becomes hot enough to blend together well with no lumps.
- Place enough sauce in the bottom of a 9×13 baking dish to be able to spread it around and cover the bottom.
- Place 1 cup of flour in a shallow bowl. Dip each chicken breast into flour on both sides and place in the baking dish top side down. Spoon remaining sauce over them, making sure to coat the chicken.1 cup flour, 4 boneless, skinless chicken breasts
- Place in the oven, uncovered. After 30 minutes, remove carefully flip chicken pieces over. Spoon sauce from baking dish over them again and return to oven for another 15-30 minutes, or until chicken is fully cooked, basting once more while cooking.
- Remove from oven and baste again. Allow to sit for five minutes and baste once more before serving. Excellent served with yellow rice or mashed potatoes so you can spoon some of that delicious sauce over them!
Notes
- See my original sticky chicken post with bone-in chicken here!
- When you’re heating the sauce, whether in the microwave or in a saucepan, just warm it until the brown sugar dissolves, and it’s smooth. You don’t need to bring it to a full boil.
- When you dip the chicken in flour, make sure to shake off any excess before placing it in the dish. A light coating is all you need!
- Letting the chicken rest for five minutes before serving really makes a difference. It helps redistribute the juices, making the chicken more tender and flavorful. I usually baste it one last time right before I serve it.
Nutrition
This recipe is featured on Meal Plan Monday 😁
Mmmm, yummmy! I want to make this tomorrow. I just got a package of unusually large chicken breasts each weighing about a pound. Should I use 1 or 2 of these breasts, with the amount of sauce in this recipe? 1 pound or 2 and I assume cut the large pieces smaller before cooking? Thanks so much.
I would cut them in half and just use two (two, cut in half, so four pieces). I had some dinosaur ones recently, too! And they were a great deal. What a find!
The newsletter with this recipe came through right as I was deciding what to make for dinner. It was a hit here. Thanks!
Courtney, I’m so glad!!!! Thank you for making my morning! 😀
Have you tried this with boneless skinless chicken thighs?
I haven’t but it should work perfectly fine 🙂
Sounds so good! Will be fixing this soon!
Do you think you could substitute coconut amino for the soy sauce?
I’ve never used coconut amino but if it has a similar flavor and texture (watery) it should work just fine.
It’s pretty much the same as soy sauce and not as much sodium. A nutritionist friend got me started using it. I’ll give it a try and report back. Thanks much!
I’ve got this in the oven for the first time. I’ll let you know how it turns out.
Has anyone tried this without the flour? I have Celiac Disease and can’t have flour & some flour subs don’t have the same results.
Here you go, the original recipe doesn’t need flour: https://www.southernplate.com/sticky-chicken/ This recipe uses it so that the sauce will have something to stick to.
I made it without the flour because the person I was taking it to needed glouton free. It turned out fine. I like it with the flour best but this still was yummy !
This looks awesome! Will be trying soon!
Thanks so much, I hope you enjoy it!
Can we keep
The sauce for another time?