Fuss-Free Southern Fried Chicken
As an Amazon Associate I earn from qualifying purchases.
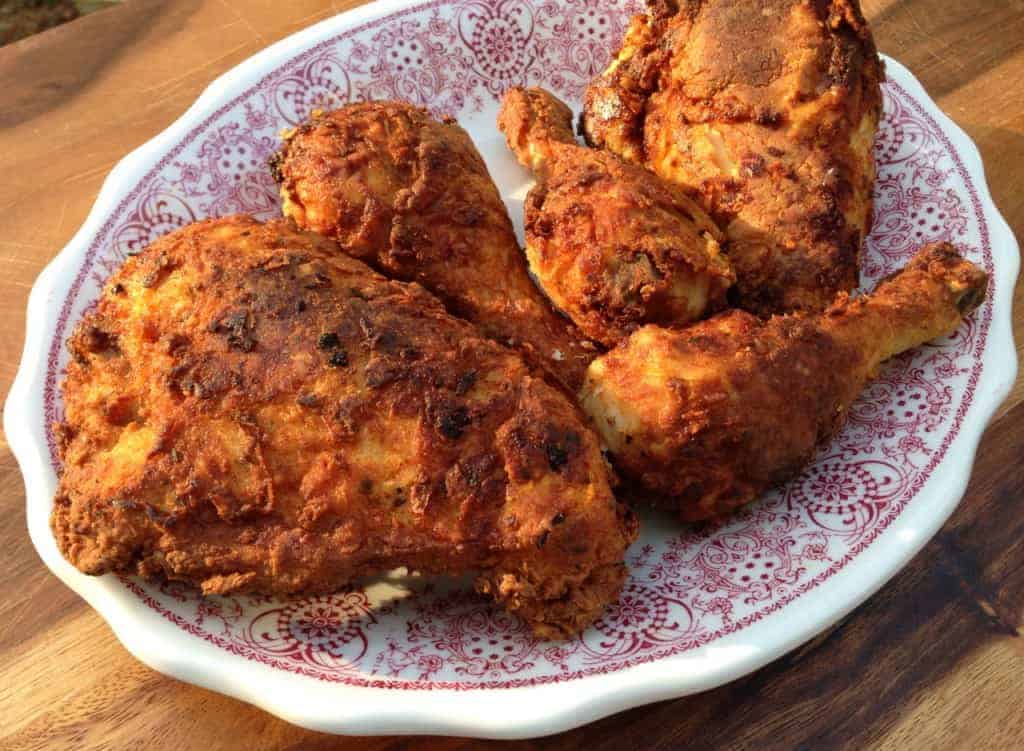
With a ranch dressing and buttermilk coating that delivers tender chicken underneath a crunchy skin, this easy and fuss-free southern fried chicken recipe is finger-licking good!
Today I’m going to show you how we make my beloved fuss-free southern fried chicken recipe. Every Southerner has one of these recipes in their back pocket and mine is a staple at family get-togethers.
My version is a little bit different. It’s oven-fried, but not how most folks expect it. You see, the chicken is baked to resemble being fried — that’s where the “fuss-free” comes in. Yep, this fried chicken recipe is going to blow your mind, because today we’re frying the chicken in oil, but in your oven.
The beauty of this is that once you bread your chicken in a delicious combination of ranch dressing and buttermilk, it’s pretty much a hands-off process. So rather than watching over a frying pan, you’re free to set the table, make some side dishes, or drink a nice glass of iced tea. The end result is a perfect fuss-free southern fried chicken dish that’s tender and moist on the inside, but wrapped in the most crunchy and tasty skin imaginable. Pair it with your favorite southern sides and you have a winning southern supper!
Susie Braund, my mother’s friend who is known for her kindness, passed on this cooking method, and from the moment Mama told me about it I couldn’t wait to try it. I think you’ll enjoy it too!
P.S. If you’re looking for a great chicken finger recipe that will have teenagers and other assorted children staking out your house for supper, check out my chicken planks recipe by clicking here.
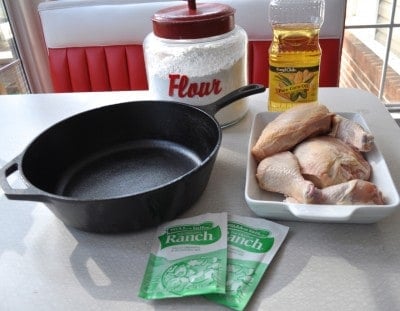
Recipe Ingredients
- Flour
- Oil
- Bone-in skin-on chicken (can be or legs)
- Buttermilk (any kind of milk will do)
- Ranch dressing (I used this to season the flour)
- Equipment: A deep cast iron skillet (a cast iron dutch oven will also work)
How to Make Fuss-Free Southern Fried Chicken
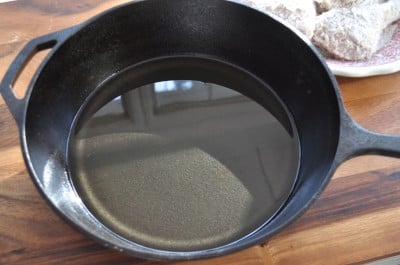
Before we get started (and this is VERY important) put about a 1/2-inch of oil in the bottom of your skillet and place that in the oven. Turn the oven to 450 degrees so that the oil is heating up as the oven heats up.
Why is hot oil important?
Hot oil is crucial for frying chicken because when your oil temperature is hot enough, it sears the breading as soon as contact is made and creates an instant coating. If your oil isn’t hot enough, your chicken pieces end up soaking up far more oil, ending with greasy (and not crunchy) chicken.
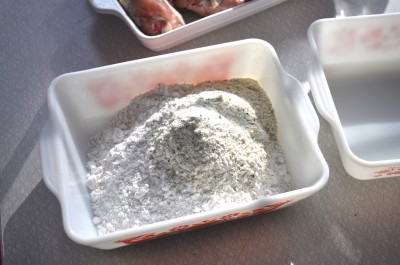
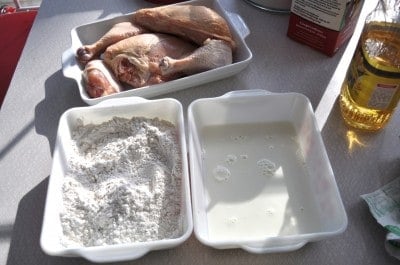
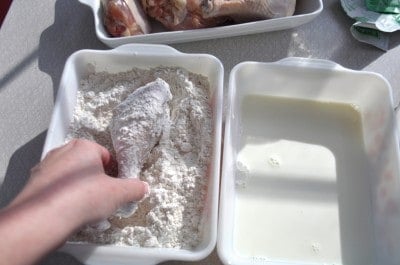
Place your flour in a shallow dish and season it.
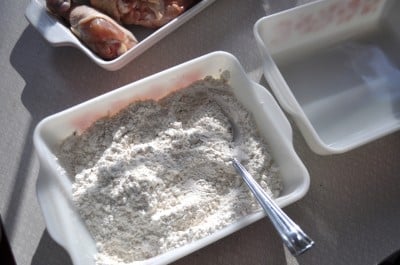
I’m using two packages of ranch dressing mix but you can just use salt and pepper if you like. This is totally up to you — we are ranch lovers in our house!
Mix that up.
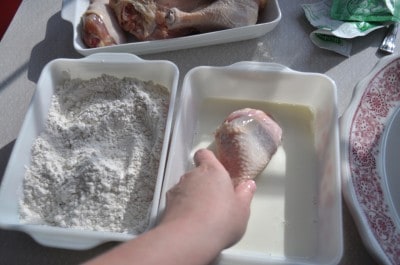
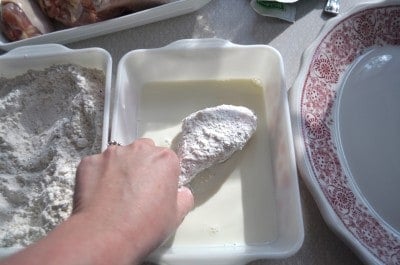
Pour some buttermilk into your other baking dish and get ready to dredge.
Place chicken in the milk first, coating the whole peice…
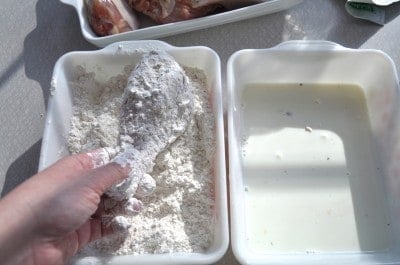
then the breading mixture (roll it around)…
then the milk again…
And finally, the once more.
This double-dipping method makes your final southern fried chicken so much more delicious (trust me).
You can, of course, just dip it in milk once, and seasoned flour once, if you want.
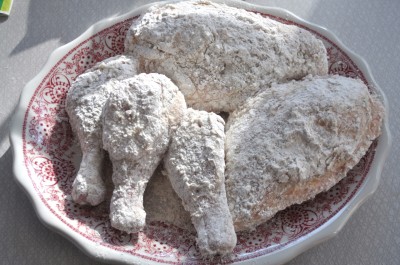
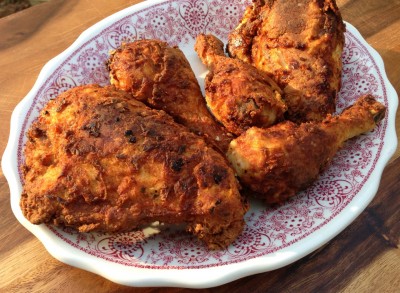
Repeat this process with the . Here are all of our breaded pieces on a gorgeous platter I found at an antique mall.
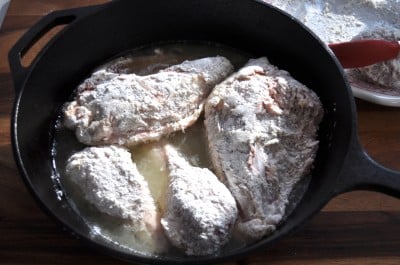
Take your hot, hot, hot skillet with the hot, hot, hot oil in it out of the oven with good protection for yourself and carefully put your chicken pieces in it.
They will begin to bubble and sizzle as soon as they get in there. Try not to let them touch, but do what you gotta do!
I ended up not being able to fit all of my chicken in this photo so I’m doing two batches.
Place this in the oven and “” for 40 minutes. This is when you and go and do whatever it is you’d rather be doing.
After 40 minutes, carefully remove the skillet from the oven, turn all of the pieces over, and place it back in the oven for 15 minutes.
by placing each on a paper towel-lined plate.
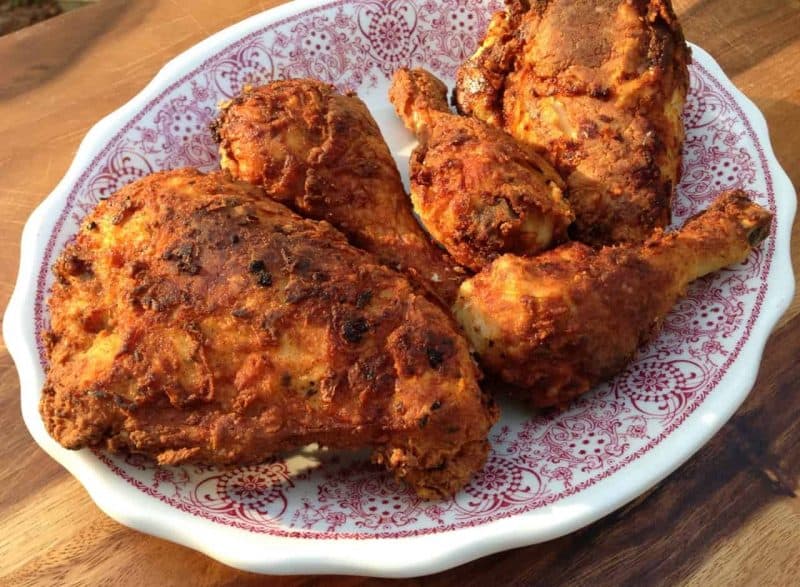
Now I know some of y’all are looking at that cooking time and thinking “Christy is crazy.” Well of course I’m crazy, but that is beside the point entirely. The chicken you see pictured was cooked at that exact amount of time at 450 degrees and was gooder than gold (that’s a Southern saying).
Enjoy this fuss-free southern fried chicken recipe, folks!
Please note: Mama wants me to let you know that I did wash the platter before I put the cooked chicken on it since I used it for the raw chicken as well. Thanks for looking out for us, Mama!
Storage
Store chicken leftovers in an airtight container in the fridge for up to 5 days. For best results, reheat either in the oven or air fryer.
Recipe Notes
- Now, all you need to make fried chicken is flour, salt, and black pepper. You do not have to use ranch dressing mix to season your flour if you don’t want to. If you’d rather just use plain flour, add about a tablespoon of salt and a 1/2 tablespoon of black pepper to two cups of flour and stir. That’s all you need. Of course, more or less salt and pepper to suit your taste.
- It is important that you know the accurate temperature of your oven for this recipe. Over time, ovens may not be accurate. A way to test this is to buy a simple oven thermometer on the kitchen gadget aisle for a few dollars. Preheat your oven with the thermometer in it and then see if the thermometer and the oven agree on temperature and adjust accordingly.
- If you only have self-rising flour, that will work fine. Just increase or decrease the amount depending on how many pieces of chicken you use.
- Any kind of milk will do. Once again, you may need to add more or less depending on how many pieces of chicken you use.
- The best oil for frying includes vegetable oil, canola oil, or peanut oil.
- Want extra heat? Mix two tablespoons of hot sauce with the buttermilk.
Recipe FAQs
What else can I use to season the flour?
The main purpose of this post is to show you this fuss-free method of frying chicken, so feel free to use your favorite breading recipe or try mine. I happened to use the ranch dressing mix this time but I actually do it a different way each time, depending on my mood. I am a big fan of garlic powder, paprika (or ), and parsley in my flour along with salt and pepper. Other simple seasoning options include and .
Should I brine my chicken beforehand?
A lot of recipes will tell you to brine your chicken before you fry it. I don’t for several reasons.
- I don’t want to.
- Typically, I don’t usually plan my meals far enough in advance.
- I don’t have time. When I’m ready to cook supper, I’m ready right then and I generally don’t lolly-gag around in the kitchen hours beforehand lookin’ for something to do.
- I can’t stand the thought of wasting buttermilk (what a lot of folks brine it in).
- Granny didn’t do it.
- See #1.
Having said this, if you prefer to brine your chicken, I think that is awesome and I salute you. Do it your way. Soak the chicken pieces in a buttermilk marinade in the fridge for at least six hours (or overnight) to make the flour stick better.
What do you serve with this southern fried chicken recipe?
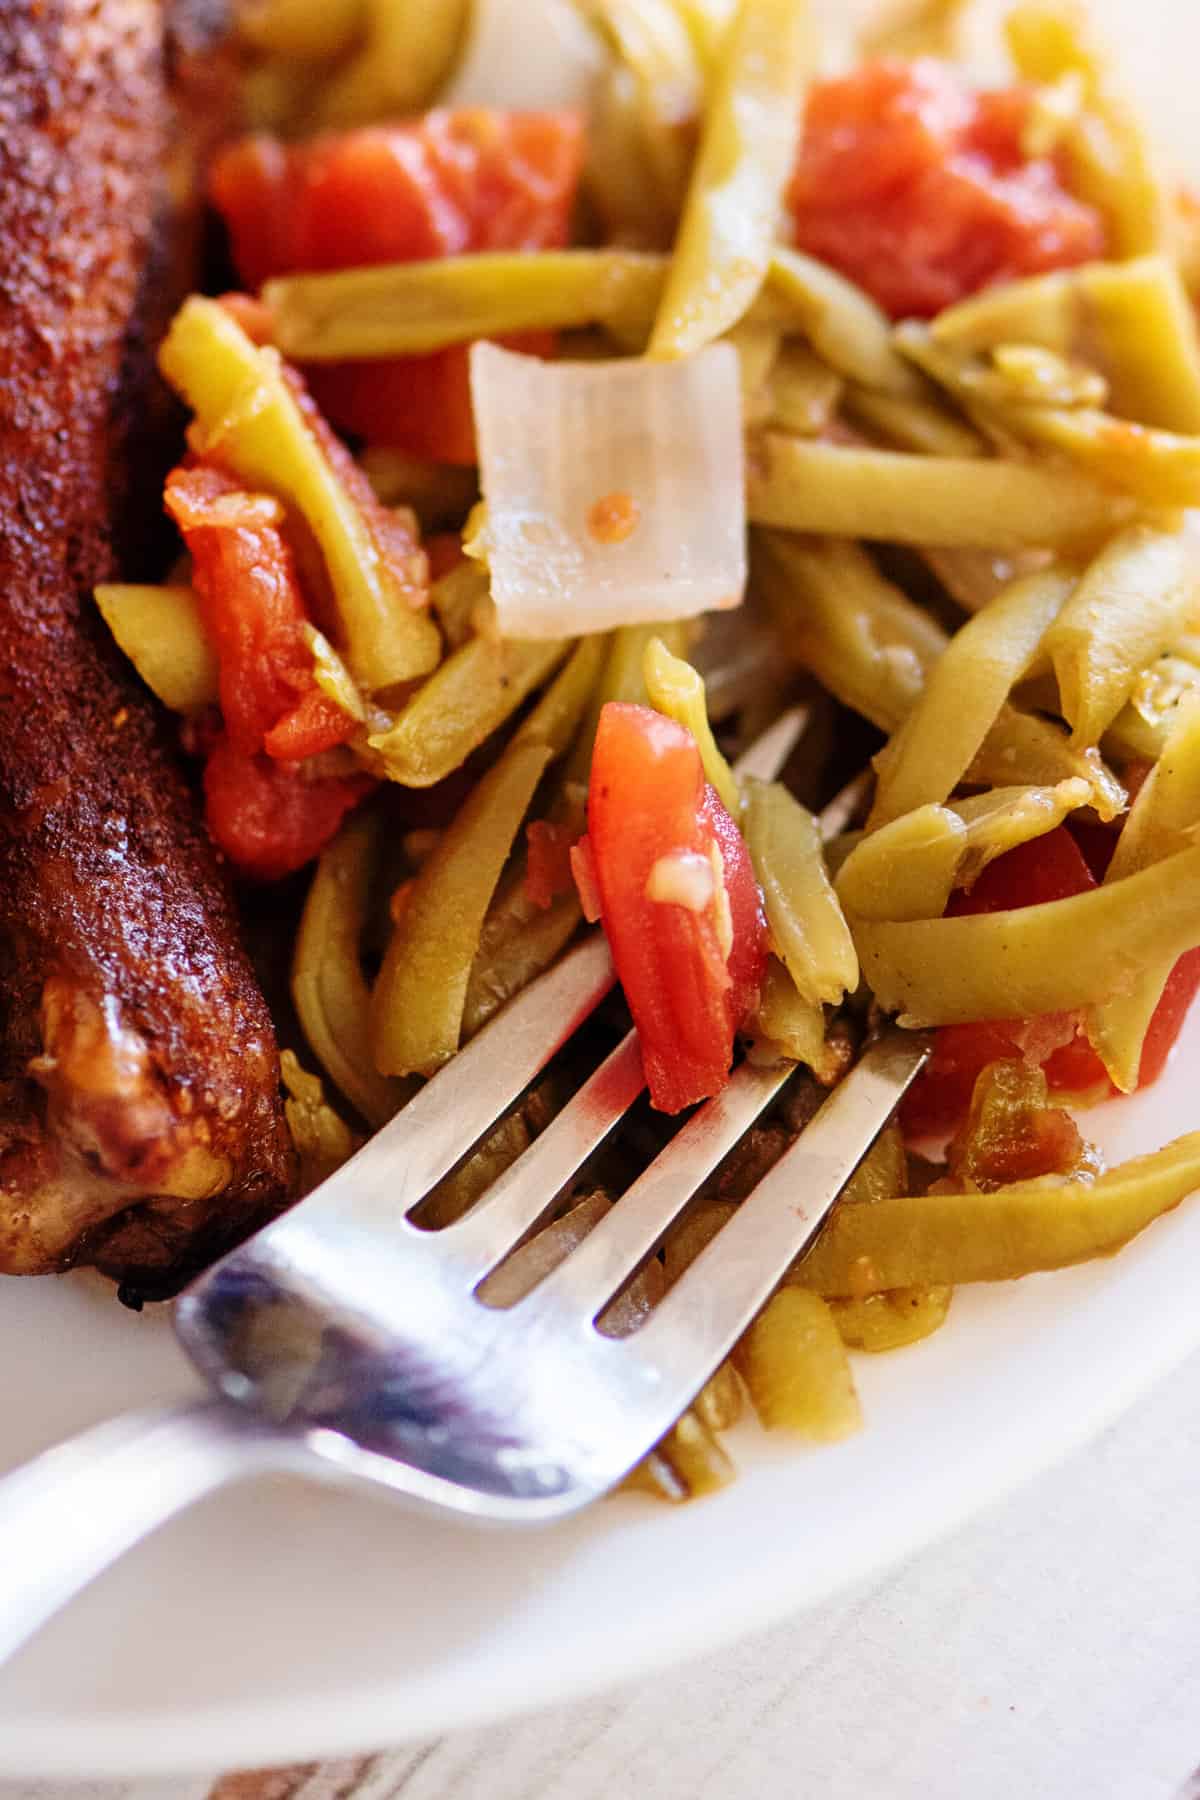
You can serve your fried chicken with a variety of different sides. Options include mashed potato, creamed corn, mac and cheese, coleslaw, cornbread, parmesan oven fries, buttermilk biscuits, green beans, or potato salad.
You may also like these chicken recipes:
Ingredients
- 3-4 pounds bone-in skin-on chicken pieces such as breasts, legs, or leg quarters
- oil for frying
- 2 cups all-purpose flour*
- 1-2 packages ranch dressing mix*
- 1-2 cups buttermilk*
Instructions
- Pour the oil to a depth of 1/4 - 1/2 an inch into a deep cast-iron skillet or dutch oven. Place in the oven and preheat to 450. It is very important that your skillet be in your oven while it preheats.oil for frying
- In a shallow dish, stir together flour and seasonings (either ranch dressing mix, salt and pepper, or seasonings of your choice).2 cups all-purpose flour*, 1-2 packages ranch dressing mix*
- In another shallow baking dish, pour about 1/4-inch of milk.1-2 cups buttermilk*
- Dip each chicken piece in the milk to coat all sides, then into the flour mixture, then milk again, and flour mixture again. Place on a platter when done.3-4 pounds bone-in skin-on chicken pieces such as breasts, legs, or leg quarters
- Five minutes after the oven is preheated, remove your skillet and carefully, (using tongs) place each piece of chicken in the skillet, positioning so that they don't touch.
- Return to oven for 40 minutes. Remove from oven, use tongs to flip each piece of chicken over, and return to oven for 15 minutes more.
- Remove chicken and place on a paper towel-lined platter. Enjoy hot or cold.
Notes
Nutrition
Submitted by Rick. Click here to submit your positive or encouraging quote, or to read more!

I wonder if you could use Pecan Flour to make this low carb…with the expense of the flour I would put it in a gallon zip lock bag and shake the chicken to coat then label the bag for baking chicken and put any left over flour in the freezer for future use.
I LOVE this recipe. I’ll never make fried chicken on top of the stove again. There was no mess, no being burned by popping grease tending to a hot stove, plus my 4 burners were free for cooking side dishes. The chicken was moist and juicy, and falling off the bone. My Husband loved it. Perfect use of your cast iron skillet. 10/10, will make again, probably once a week at LEAST. 🙂
Thank you so much Jo Beth!!! I am so glad to hear it was a hit at your house!!
Should I place the pan in the middle rack or lower? I feel that 450 degrees can darkened and over crisp the chicken, since the hottest part of my oven is the top.
My oven heats pretty evenly and I put it on the top rack. You know your oven best so it sounds like middle is gonna be good 🙂
Could you do this with fish?
We don’t eat much fish or seafood but I suppose you could. If you try it let me know how it turns out!!
I am a life time cook raising 3 boys an a sweet girl now having 15 grandchildren I have fried a lot of chicken but never have I fried chicken like this I was thinking really this cant work n WOW it was great no standing there turning keeping married to the stove I LOVE it LOVE it thank you so much for sharing this with us
Skin up or down when you put into the pot for 1st baking (the 40 min part)?
Either one is fine. I usually start top side down so I can end with it up, but both work just fine. 🙂
Covered Dutch oven or not? Thanks!
I don’t cover it.